In Odoo we have various field widgets like float, percentage, color picker, URL, etc. The field widgets help us to define a particular rendering for the field based on their type. In short, we can say that a field widget helps to perform a certain functionality to our fields.
If we consider the percentage widget it displays the value in percentage for a float field. So it is the functionality of the percentage widget. Like, we can add custom functionalities for fields using widgets.
In this blog let us see how to create a field widget in odoo14.
Let us consider the example of creating a widget quick_publish_button which has the same functionality as the publish button. The widget is said to be used for boolean fields.
The widget helps to publish/unpublish products from the website without directly redirecting to website view.
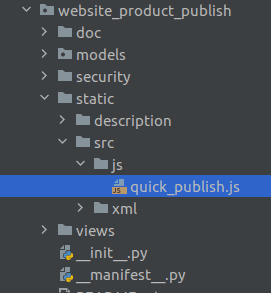
So for that, we need first of all to create a module with js file say quick_publish.js.
You can add the js file in the module as shown below:
In the js file include the following code:
odoo.define('website_product_publish.quick_.publish, function (require)
{
    'use strict';
    var AbstractField = require('web.AbstractField');
    var core = require('web.core');
    var field_registry = require('web.field_registry');
    var _t = core._t;
    var QuickWebsitePublishButton = AbstractField.extend({
    template: 'QuickWebsitePublish',
    events: {
    'click': '_onClick',
},
start: function ()
{
    this.$icon = this.$('.o_button_icon');
    return this._super.apply (this, arguments);
},
isSet: function ()
{
    return true;
},
_render : function ()
{
    this._super.apply (this, arguments);

// Displays the Published / Unpublished title

var published=this.value;
var info=published? _t ("Published"): _t ("Unpublished");
this.$el.attr('aria-label', info)
    .prop ('title', info);
    this.$ icon.toggleClass('text-danger',! published)
    .toggleClass ('text-success', published);
},
_onClick: function ()
    {
    var self = this;
    this._rpc (
    {
        model: this.model,
        method: 'quick_publish_products',
        args: [this.res_id],
    }). then (function (result) {
    self.do_action (result);
    });
},
});
field_registry
    .add('('quick_publish_button', QuickWebsitePublish)
});
AbstractField is the basic field widget used to render fields in a view.
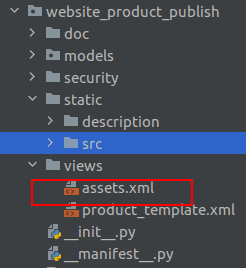
Then load the js file in the XML file say assets.xml as shown below:
<odoo>
<template id ="assets_backend" inherit_id ="web.assets_backend" name ="Website Backend Assets">
<xpath expr="//script[last ()]" position="after">
<script type="text/javascript"
src = "/ website_product_publish/static/src/js/quick_publish.js"/>
</xpath>
</template>
</odoo>
Now in the onclick function, we can set the product is_published field to true using rpc_query.
For that add a python file in the models folder as below:
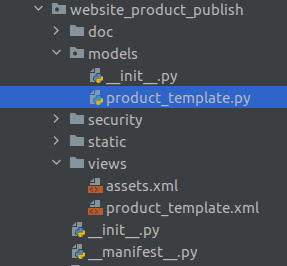
Include the following code in the product_template.py file:
from odoo import models, api, fields,_
class ProductTemplate(models.Model):
_inherit = 'product.template'
def quick_publish_products(self):
for rec in self:
rec.is_published = True if not rec.is_published else False
return
{
'type': 'ir.actions.client',
tag': 'reload',
}
Now we need to add the below code into the template. The template is loaded in static/src/xml folder according to the standard module structure.

<templates id ="template_quick_publish" xml: space="preserve">
<t t-name ="QuickWebsitePublish">
<button type="button" class="btn oe_stat_button">
<i class="fa fa-fw o_button_icon fa -globe"/>
<div class="o_stat_info">
<span class=" o_stat_text ">
<t t-if="widget.value">
Quick<br/>Unpublish
</t>
<t t-if ="!widget.value">
Quick<br/>Publish
</t>
</span>
</div>
</button>
</t>
</templates>
Now we need to provide this widget to our boolean field is_published.
For that let us add an XML file with the below code:
<odoo>
<record id="product_template_form_view_inherit" model="ir.ui.view">
<field name="name">product.template.product.website.forms.inherit</field>
<field name="model">product.template</field>
<field name="inherit_id" ref="website_sale.product_template_form_view"/>
<field name="arch" type="xml">
<xpath expr="//field[@name='is_published']"position="attributes">
<attribute name="widget"> quick_publish_button</attribute>
</xpath>
</field>
</record>
</odoo>
This is how we create a widget for the field in Odoo.
The procedure is we need to create a widget by extending the AbstractField and then register the widget to the field_registry.