The success of a business always comes with a good relationship with customers and clients. Hence the customer relationship is very much important for a company. This relation is maintained by good customer service and consequently, the business touches the success.
Odoo 13 gives the external users a website to connect with the company. The website can act as a medium to communicate with clients about the company’s bio and its services. Also, the website can provide customer access portals where customers can directly converse with the company and build strong relations.
Making use of the user ID and password, the clients can enter their portal and start conversing with the company. Via making use of the portal they can initiate their business practices like the sales, purchase, quotations, online payments and so on. The company can also set security against the modification of the documents.
Configuration
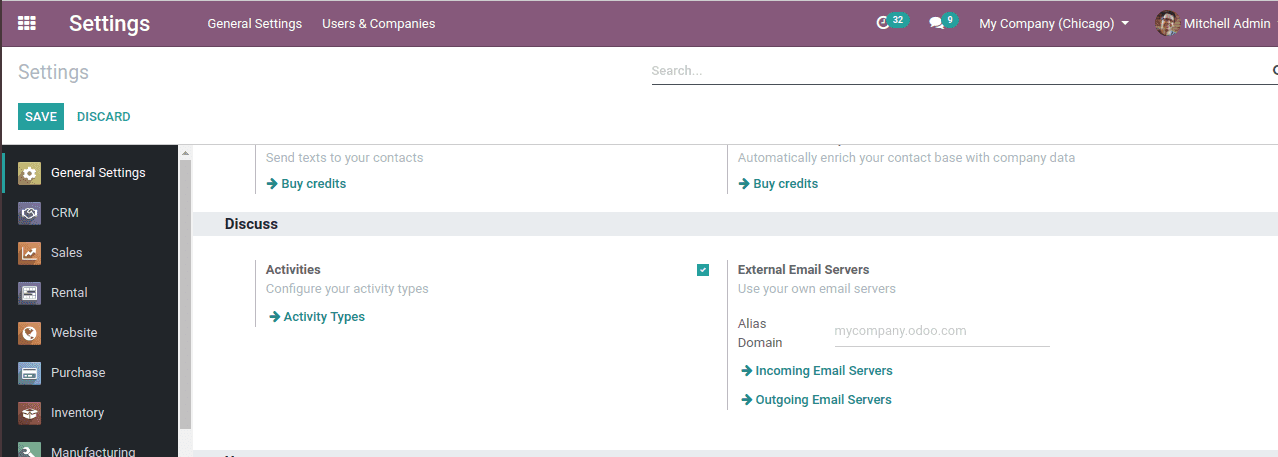
Firstly, we have to configure the “External email server”, so that we can directly send the emails to the customers. Here we need not use Gmail since we are configuring the email server in Odoo 13.
Thereafter, in the Contact module, we have to give permission to the customers.
Check, Setting -> General Setting -> Discuss -> External email server
There we have two options like incoming email servers and outgoing email servers. We have to configure both.
Configure incoming email server
Here, while clicking on the “incoming email server” we will be redirected to another window of the incoming email server.
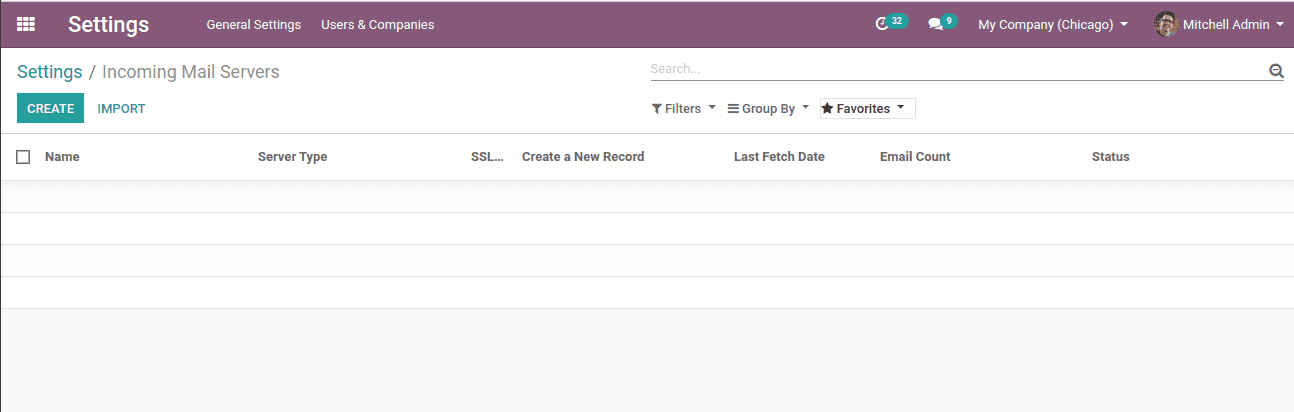
Here hitting on the “create” button we get with the form to create.
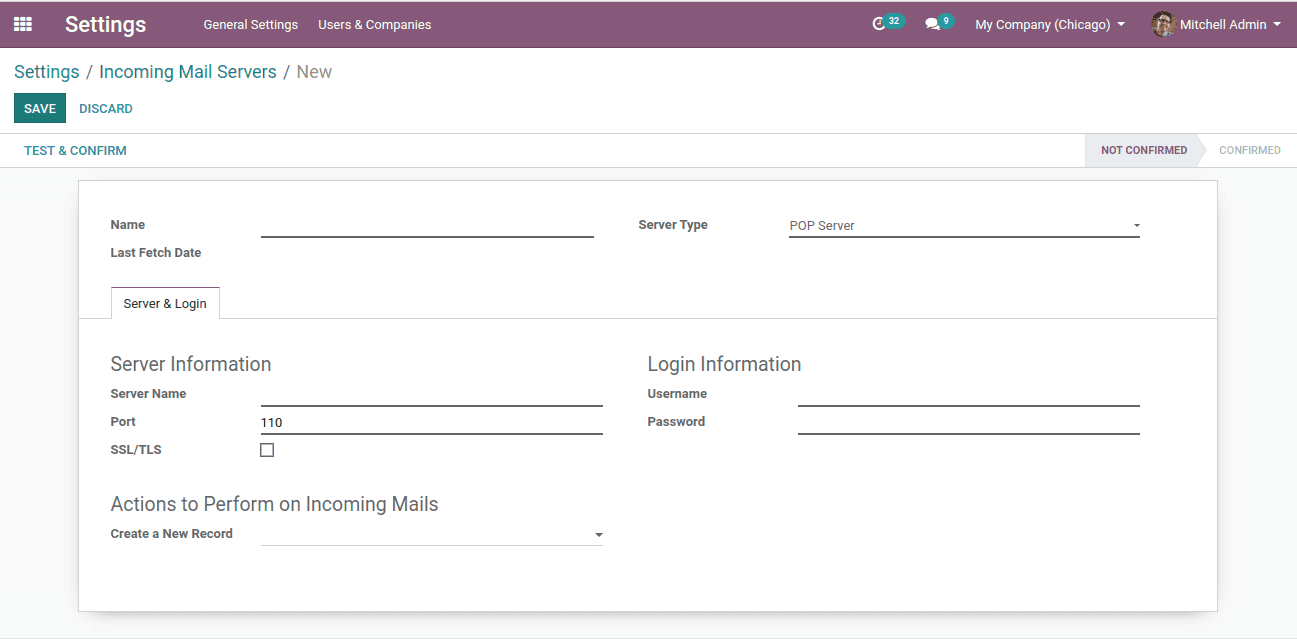
Server name: Name of the server.
Server type: Here we can choose the POP server, IMAP server, Local server. PoP is the most used server.
Port: Here we give the Port of the server.
SSL/TLS: Encrypting messages.
Username: Email ID.
Password: Email password.
Configure outgoing email server
Clicking on the “Outgoing email server” we will be redirected to the window of the outgoing email server.
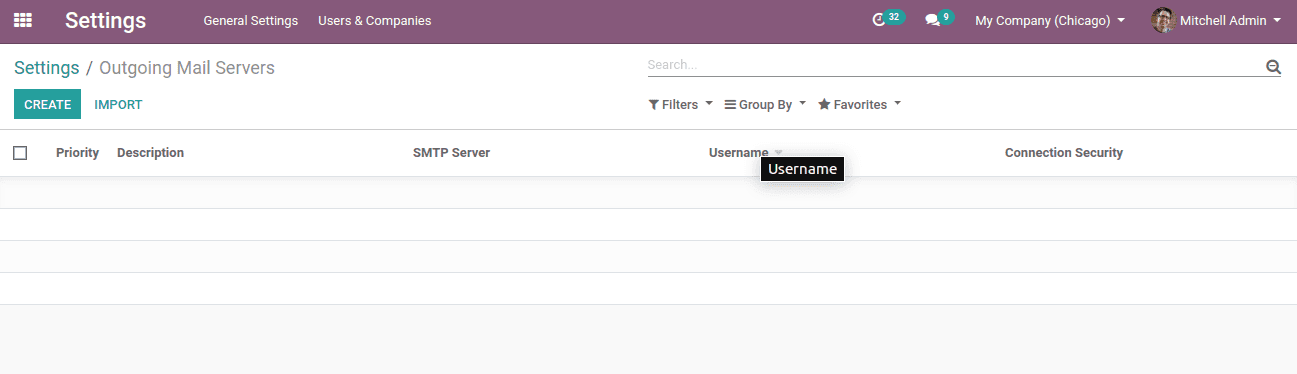
Click on the “create” button, a new form will appear.

SMTP server: smtp.gmail.com
SMTP port: SMTP server’s port
Connection security : SSL/TLS
Username: email account
Password: email password
Priority: Higher priority for a lower number
Click on the “Test Connection”, if it is successful you will get a message.
How to enable Portal access
The portal access is enabled in the contacts app. So let’s install the Contact module.
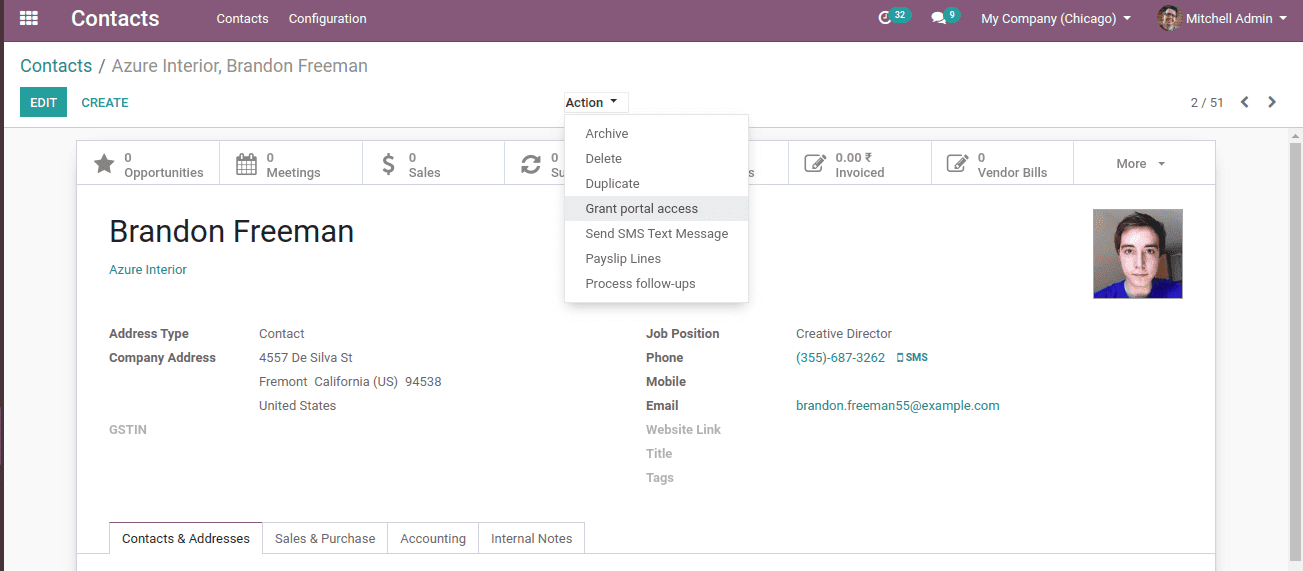
Here in this contact module, we have all the details of the customers. Here we shall grant permission for portal access. For that select particular customer, in the customer's window click the “Action” button there we shall find the option of “Grant portal access” in the dropdown list.
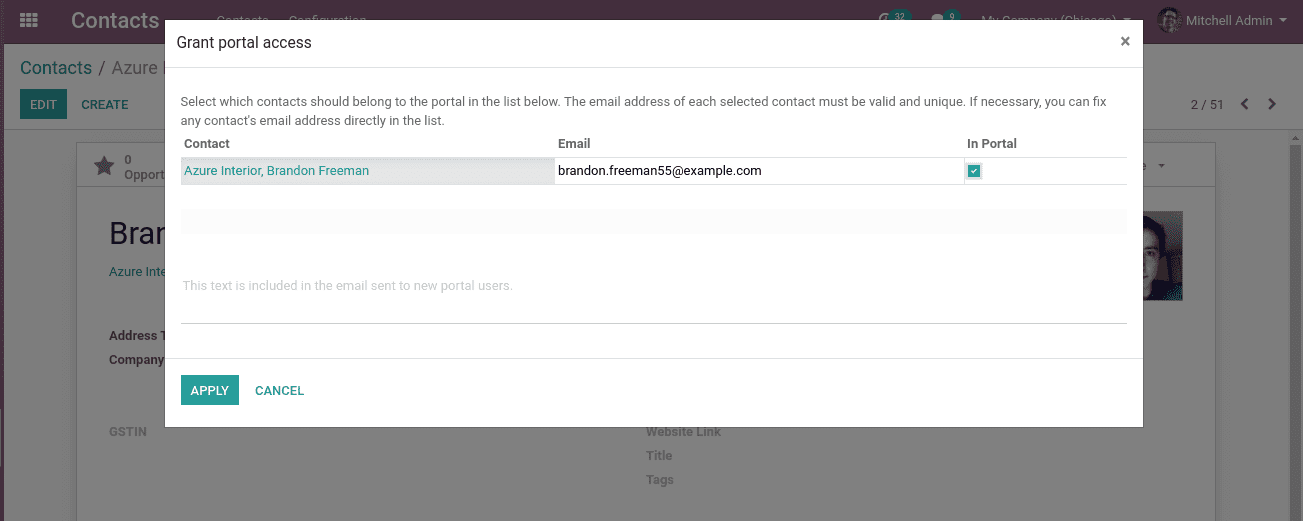
Clicking on the “grant portal access” a new pop up window will appear. There you can fill in the details and tick the “In portal”, then click the “Apply” to grant portal access.
In Odoo 13, we have two ways of accessing the customer portal:
Free sign up The option is public and any customer can enter the portal.
On the invitation: Here the customer can enter only when the admin sends the invitation( containing user id and password).
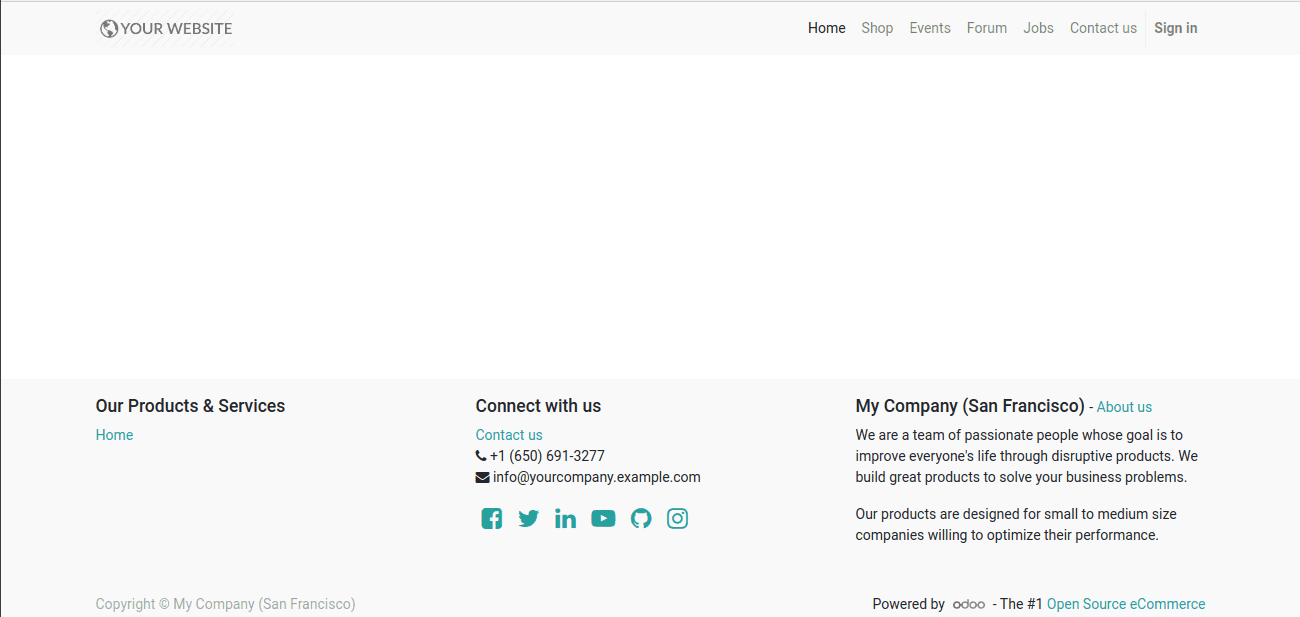
In the customer interface, we can see in the top right corner, signup/login option. There the customer can log in. Once the customer logged in, he/she can access their account by clicking “My Account”.
When the customer logs in, there gets to see the menu of the customer name. Clicking on the option, we get a dropdown of my account and logout.
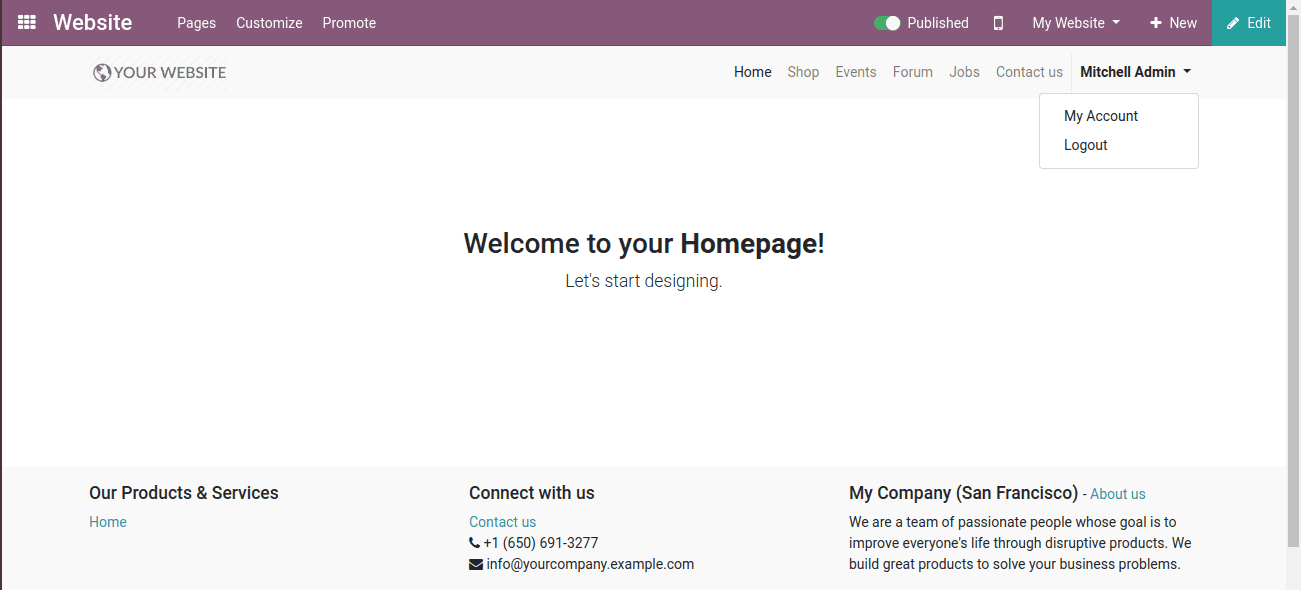
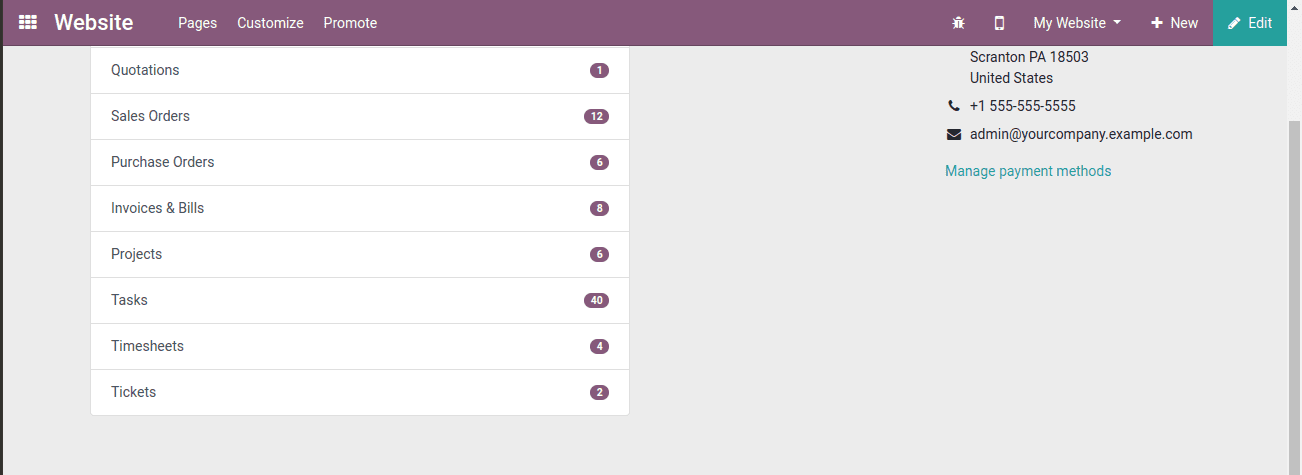
Clicking on the My account, one can enter his portal account and can perform necessary actions such as purchase, sales, and others.
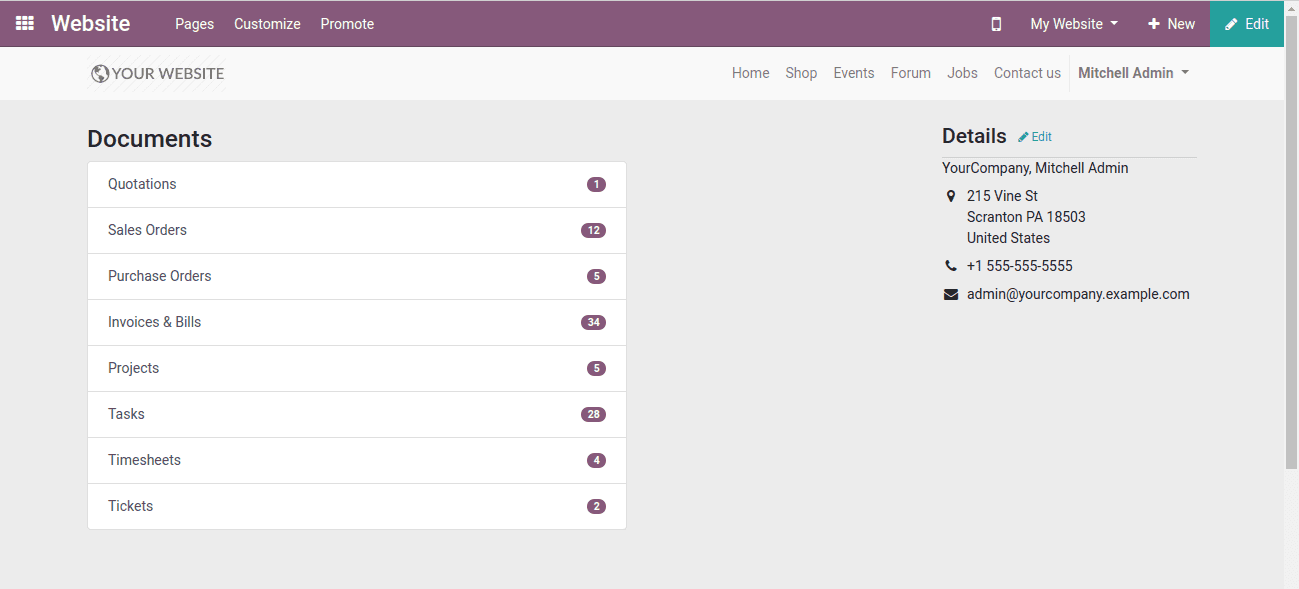
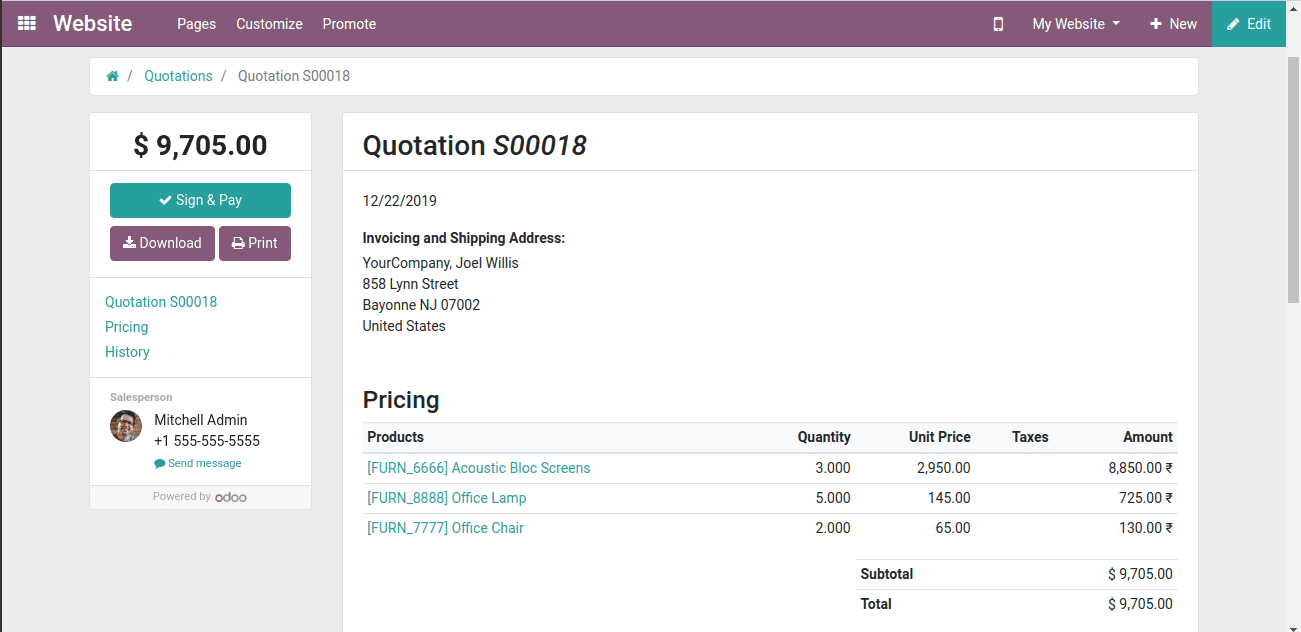
Manage quotations
By clicking on the quotations on the portal we will get the details of the quotation we received. Either you can accept the quotation or reject them.
Manage sales & purchase order
From this portal, the customer can manage the sales order. They can make the online payment from there itself. And also can do other necessary actions just like in the case of the above quotations.
Odoo live chat
Live Odoo Chat is intended to aid customers. It helps in having a live connection with the company.
Let’s see its configuration.
First of all, we need to install the module of “Live Chat”. In the website live chat channel, you can see the following attributes: menus of channels, reports, visitors, and configuration.
To create a new channel click on the “create” button.
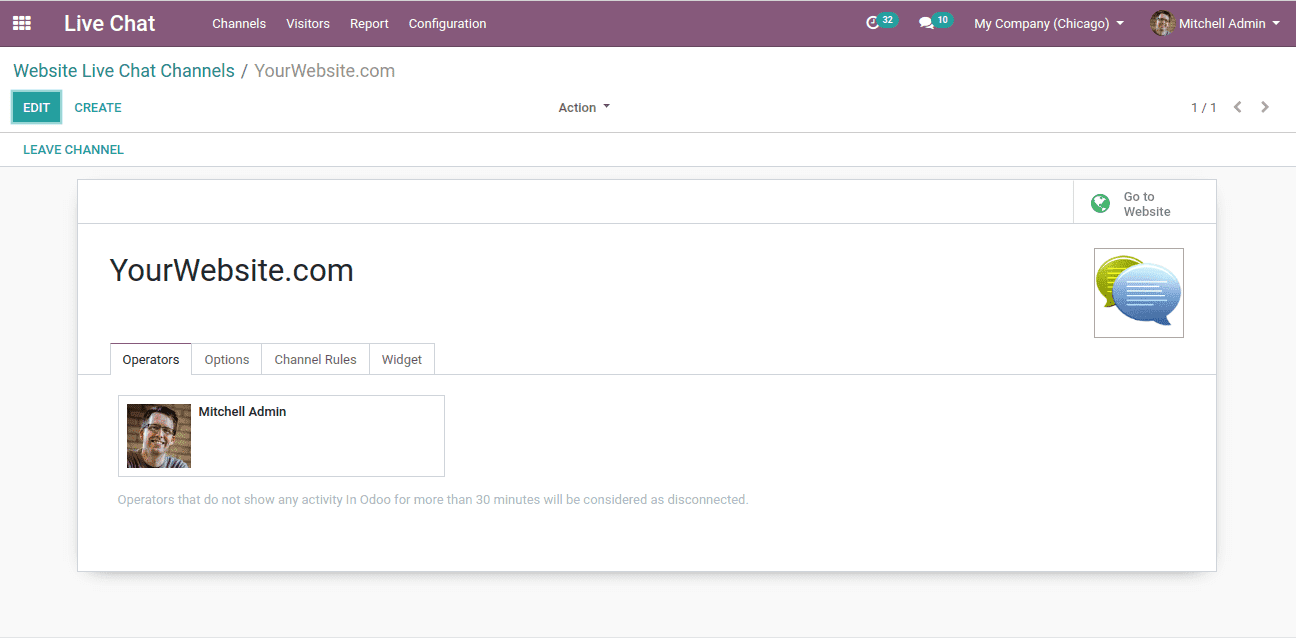
Underneath the tab “Options” one can edit the text of the button and welcome message.
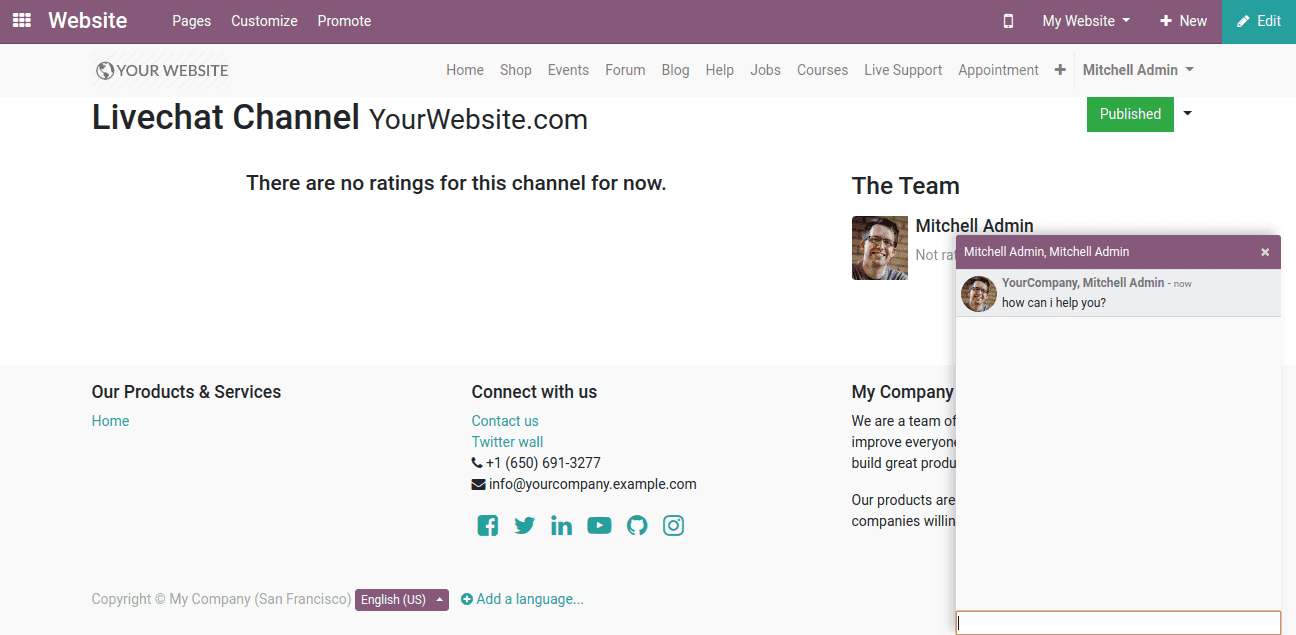
Here we shall see the Live chat box with a welcome message. The visitors shall ask questions and the operator correspondingly replies.
Live chat configuration in Odoo
Take the widget tab and copy the script given there.

Now let's go to the website -> customize -> HTML/CSS/JS Editor -> search main layout
Now paste the script there and refresh. Now we can see the live chat box there.
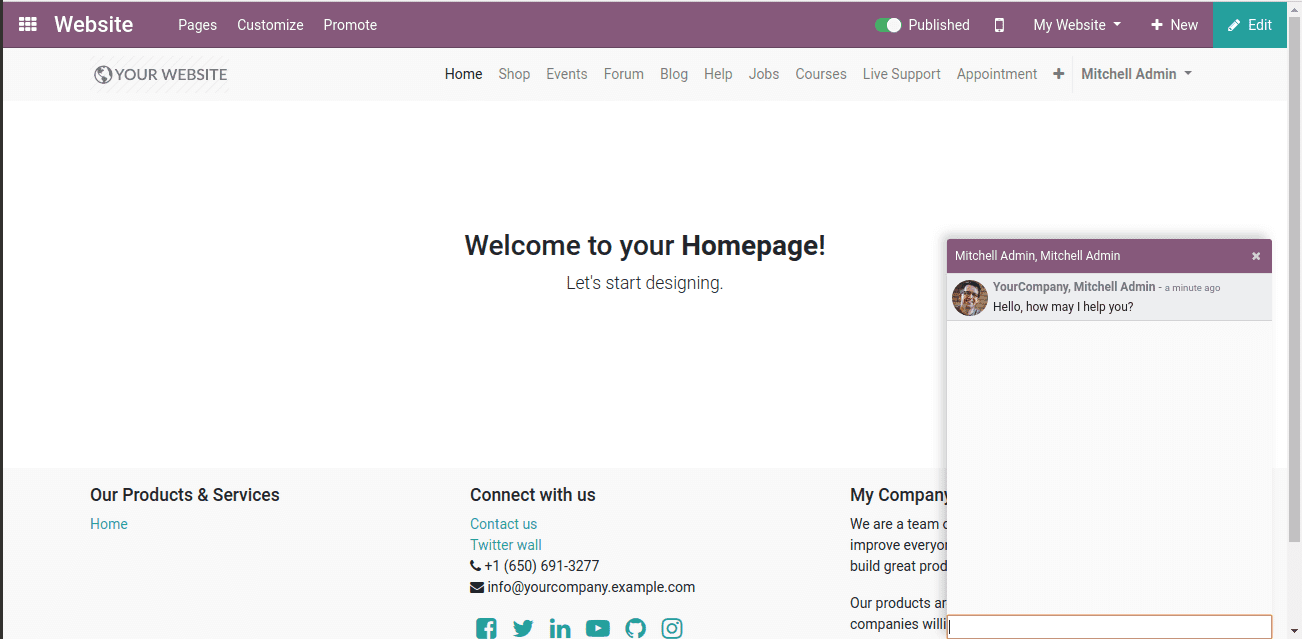
Thus from here, the user can have live chat with the customer and visitors.
Help desk in odoo 13
We get different types of customers from different places. They may or may not know about our services and products. Therefore having the feature like “help desk” will support the customers to know things better.
To start with, Install the “Helpdesk” module.
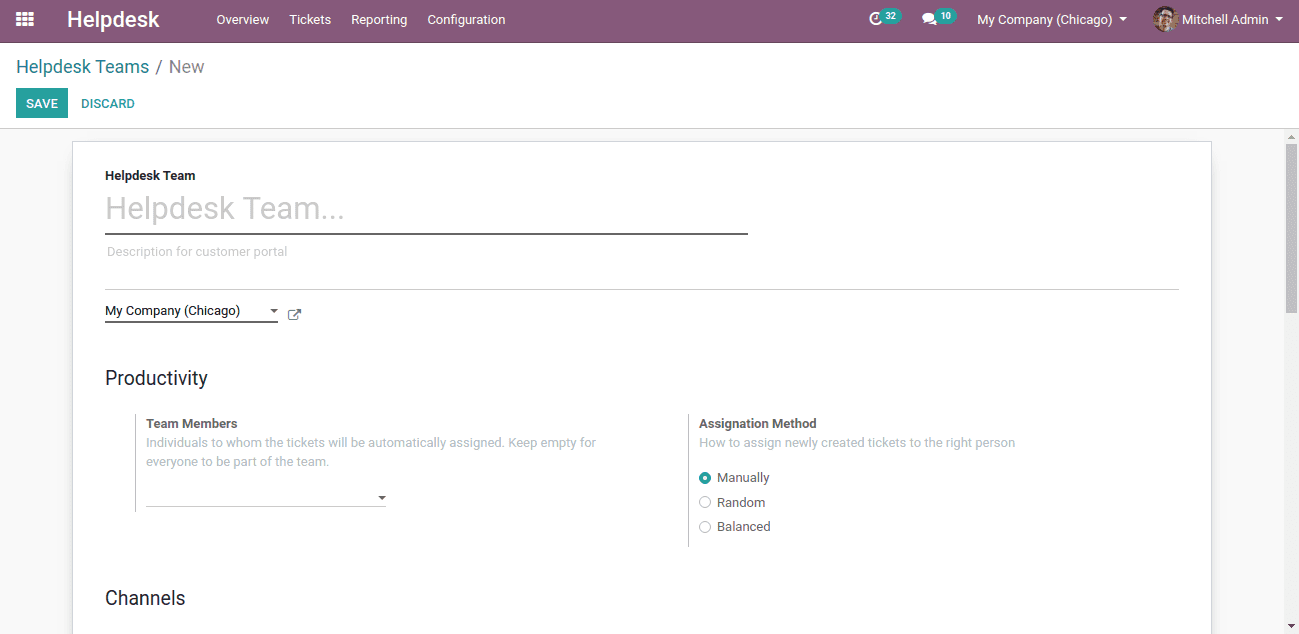
After having installed the module we have to create the helpdesk team.
Create helpdesk team
For that go to configuration -> helpdesk team -> create
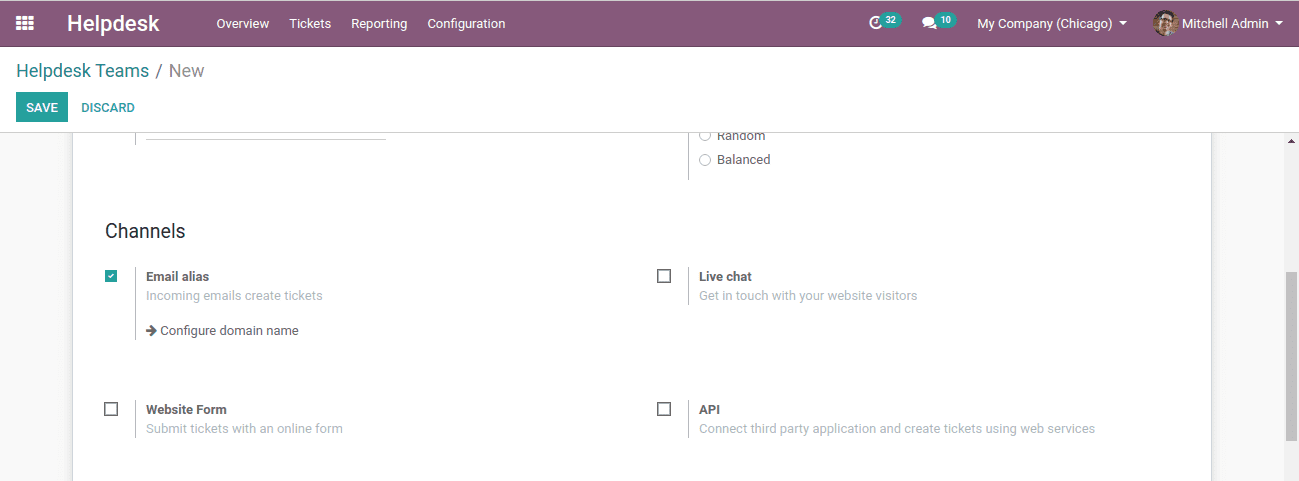
For the configuration of the helpdesk, we have four channels like,
* Email alias
* Live chat
* Website form
* API
After that, we can publish the helpdesk team on the website.
When we open the website and click on the help tab we shall see the published team there.
Timesheet
It is one of the cool features of Odoo 13. Here we can analyze the tasks of the employees, the working hours of the employees and the progress of the task and project that are tracked. Here the customer can view the progress of his projects assigned to the employees and can track its development.
Here the customer can see his projects and tasks assigned to the employees.
The employee can meanwhile open look at his task and its progress.
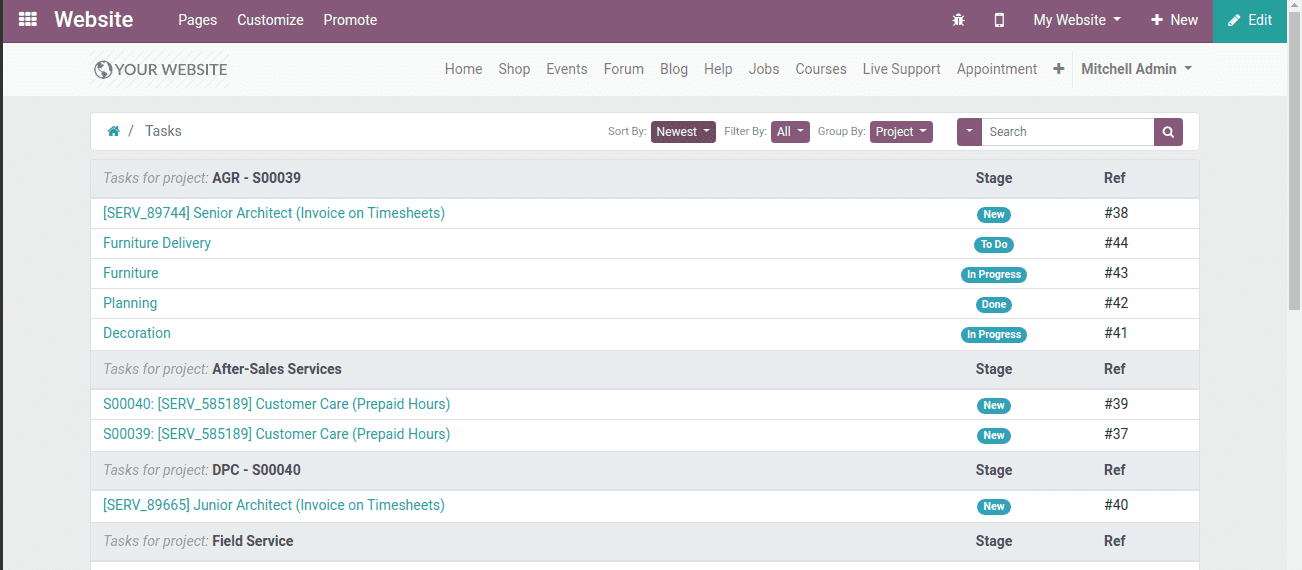
One can open any of the tasks and view its complete details
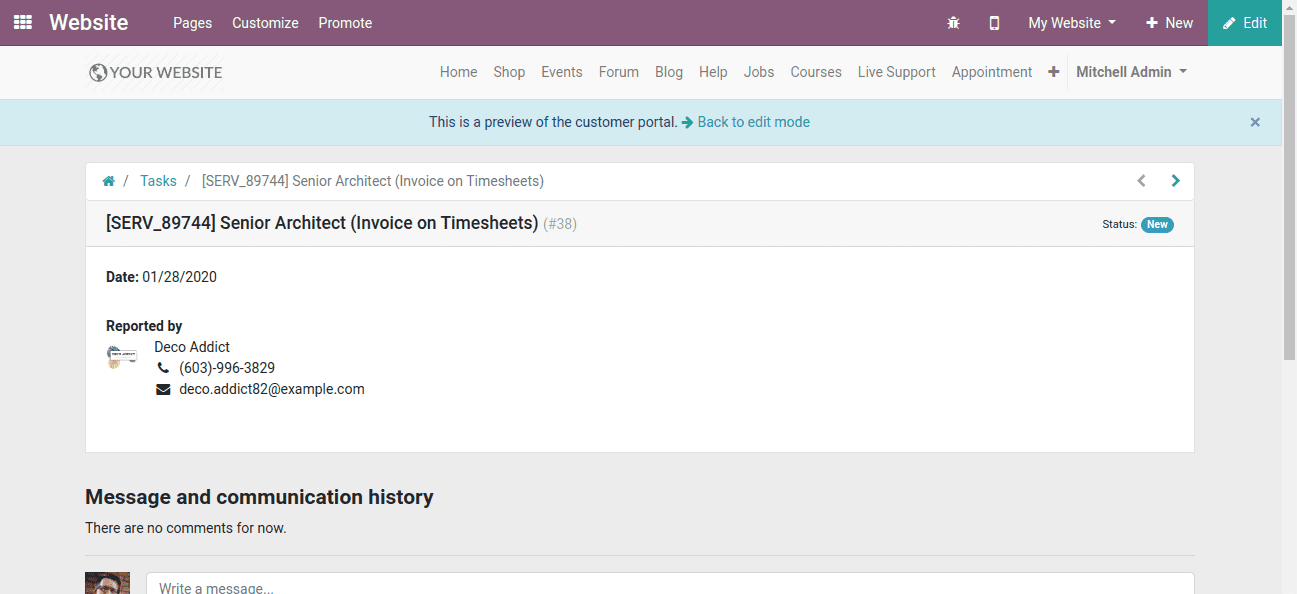
Here one can see the employee name (who is performing the customer’s project or task) and his contact. When we create a new project there we can see an option of “Allow timesheet”, if we tick that option we can see the progress of our work. Also at the same time, this timesheet will be updated in the related customer portal too.