Within the Odoo framework, an assortment of notification types can be found. Odoo facilitates the creation and dispatch of personalized sticky notifications triggered by specific events or actions. Various notification options exist in Odoo, namely:
1. Sticky Notification
2. Rainbow Man Effect
3. Alert
4. Raise Exception/Validation
The focus of this blog revolves around elucidating the process of crafting sticky notifications in Odoo.
Creating Sticky Notifications in Odoo
Sticky notifications in Odoo can be created based on the specific functionality required. There are two methods to create sticky notifications within the Odoo system:
1. Using Python:
To create sticky notifications, certain parameters are necessary:
Title: This parameter sets the title of the sticky notification.
Message: The message to be displayed.
Sticky: An optional boolean value. When set to true, the message remains visible until the user closes it or refreshes the screen. When set to false, the notification disappears after a few seconds.
Type: The type can be set as success, warning, or danger. A success-type notification appears in blue, a warning in orange, and danger in red.
notification = {
    'type': 'ir.actions.client',
    'tag': 'display_notification',
    'params': {
        'title': _('Warning'),
        'type': 'warning',
        'message': 'You cannot do this action now',
        'sticky': True,
    }
 }
 return notification
Here I added a button in the sale form, and when we click that button, it will show the display notification,
<xpath expr="//field[@name='company_id']" position="after">
   <button string="Check " type="object" name="action_check" class="oe_highlight"/>
</xpath>
This is the XML code to add a button in the sale form.
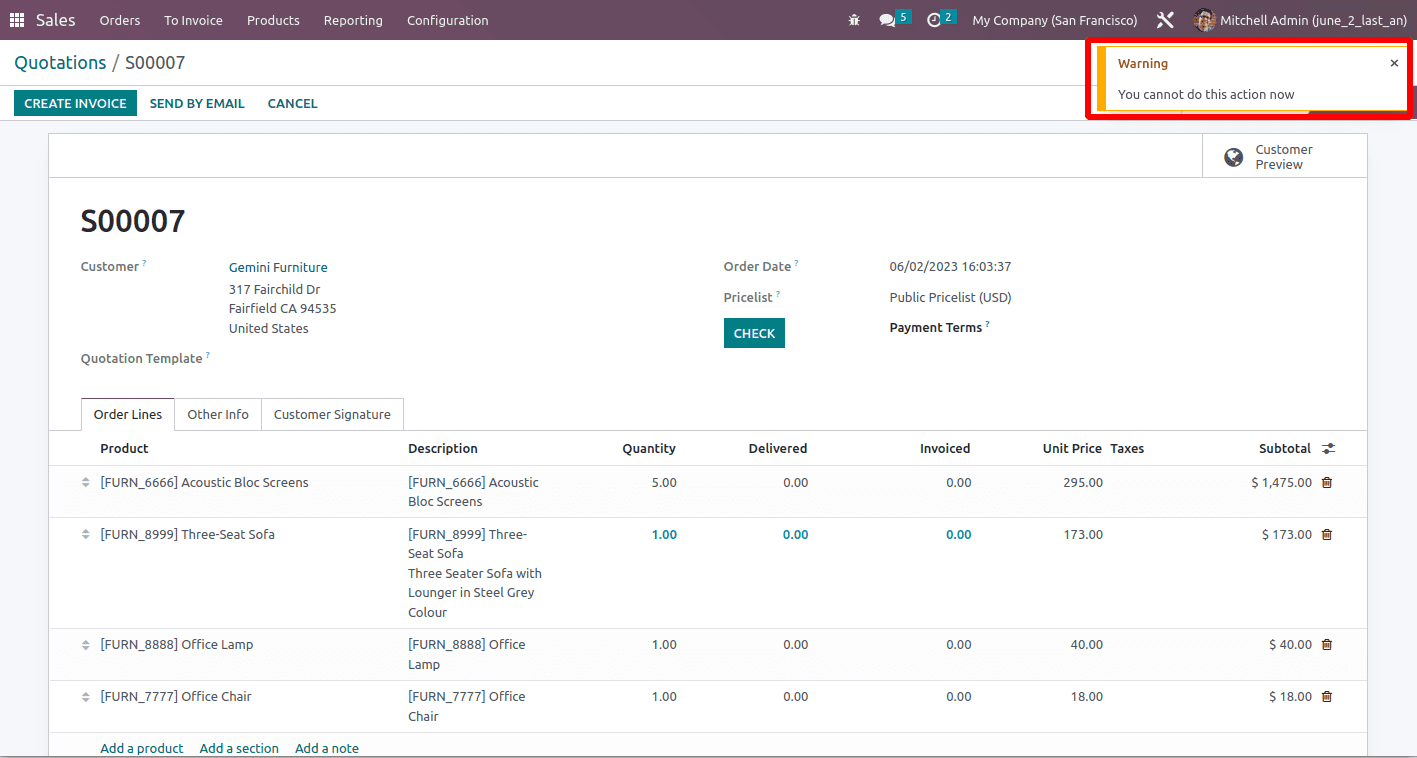
This is the output of the sticky notification.
2. Using JavaScript:
Now, let's explore how to create a custom notification using JavaScript.
The parameters for creating sticky notifications using JavaScript are the same as those used in the Python function. Additionally, we have an optional parameter called className, which allows us to set a CSS class for further customization.
Here is the syntax to create a custom notification using JavaScript:
This will display the notification as above.
The syntax is as follows:
function_name:function(){
    this.displayNotification("title", "message", "sticky", "className");
    }
An example of a sticky notification created by JS is given below.
this.displayNotification({
   type: 'warning',
   title: _t('Quiz validation error'),
   message: message,
   sticky: true
});
Display notifications are designed to be non-intrusive. They appear as temporary pop-up messages and do not block the user's interaction with the system. Users can continue with their tasks while still being aware of the message.
Whether it's notifying users about completed tasks, reminding them of upcoming deadlines, or providing them with relevant links, the display notification feature in Odoo enhances user engagement and helps streamline interactions within the system.