The Odoo ERP system, which will be helpful for monitoring and registering daily sales transactions, has a Point of Sale module that is essential to its operation. We will describe how to develop a unique POS Screen in this article. In Odoo 15, we may build unique screens using the Odoo Web Library (OWL). OWL is the most recent framework developed by Odoo.
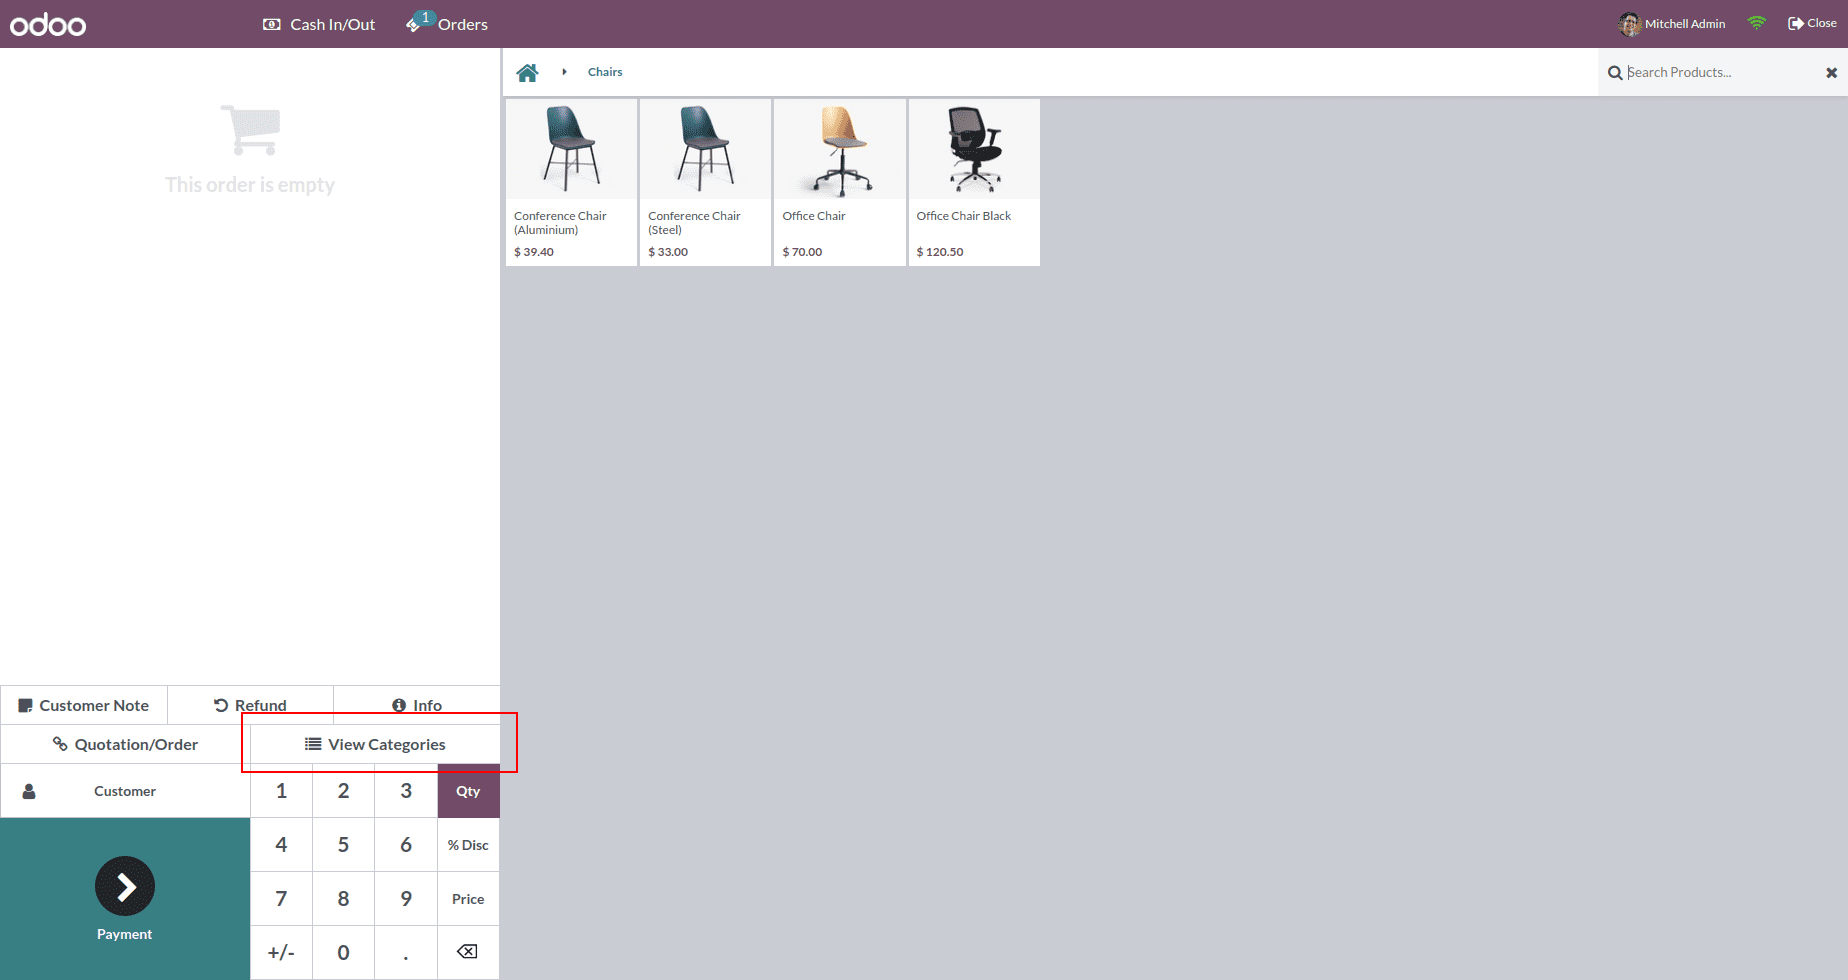
Let's build a screen to display the product categories in the POS. To do that, we must first add a button labeled "View Categories" to POS.
<?xml version="1.0" encoding="UTF-8"?>
<templates id="template" xml:space="preserve">
   <t t-name="CategoryControlButton" owl="1">
       <div class="control-button">
           <i class="fa fa-list" role="img" aria-label="Categories"
              title="Categories"/>
           View Categories
       </div>
   </t>
</templates>
Here, a template called "CategoryControlButton" was made. We specified owl="1" while building the template to indicate that it is an owl template. Then we need to add the template to the manifest file as follows:-
'assets': {
   'point_of_sale.assets': [
       'pos_custom_screen/static/src/xml/CategoryControlButton.xml',
    ],
},
In contrast to Odoo 15, which specified the template inside the web.assets_qweb part of the assets in the manifest, adding the POS template in Odoo 16 differs. Add the templates to point_of_sale.assets in Odoo 16. Then the next step is to add the js file for the CategoryControlButton.
odoo.define('pos_custom_screen.CategoryControlButton', function (require) {
   'use strict';
  const { Gui } = require('point_of_sale.Gui');
  const PosComponent = require('point_of_sale.PosComponent');
  const { identifyError } = require('point_of_sale.utils');
  const ProductScreen = require('point_of_sale.ProductScreen');
  const { useListener } = require("@web/core/utils/hooks");
  const Registries = require('point_of_sale.Registries');
  const PaymentScreen = require('point_of_sale.PaymentScreen');
  class CategoryControlButton extends PosComponent {
      setup() {
          super.setup();
      }
   }
  CategoryControlButton.template = 'CategoryControlButton';
  ProductScreen.addControlButton({
      component: CategoryControlButton,
      condition: function() {
          return true;
      },
  });
  Registries.Component.add(CategoryControlButton);
  return CategoryControlButton;
});
The js files are also included in the point_of_sale.assets in __manifest__.py. Here, we generated a class called "CategoryControlButton'' by extending the "PosComponent" for our newly added button. Then, added the 'CategoryControlButton' as the template for this class. We define the class as a component, the before or after the position for the button we want to display, as well as the conditions. The button will then appear on the Pos Screen. Add the component to the Registries after that. Output is as follows:
Next, we need to define the click function for the View Categories button. It can be defined inside the setup method.
class CategoryControlButton extends PosComponent {
   setup() {
       super.setup();
       useListener('click', this.onClick);
   }
   async onClick() {
       // click event for the button
   }
}
When we click the button, it is stated inside the _onClick method to display the template for the "CategoryScreen." Therefore, the CategoryScreen template must be defined next.
<?xml version="1.0" encoding="UTF-8"?>
<templates id="template" xml:space="preserve">
   <t t-name="CategoryScreen" owl="1">
       <div class="clientlist-screen screen">
           <div class="screen-content">
               <div class="top-content">
                   <div class="button back" t-on-click="back">
                       Back
                   </div>
               </div>
               <section class="full-content" >
                   <div class="client-window">
                       <section>
                           <div>
                               <div class="scrollable-y">
                                   <table class="categories-list">
                                       <thead>
                                           <tr>
                                               <th> Name </th>
                                               <th> Costing Method </th>
                                               <th > Inventory Valuation </th>
                                           </tr>
                                       </thead>
                                   </table>
                               </div>
                           </div>
                       </section>
                   </div>
               </section>
           </div>
       </div>
   </t>
</templates>
Like the CategoryControlButton, this template must also be put to the manifest. A back button with an on-click event and a table displaying the fields from the product category was added to the CategoryScreen template. The CategoryScreen's js should then be included. The manifest must have the same information for this js file as it does for CategoryControlButton. The manifest's assets section will be changed as follows:
'assets': {
   'point_of_sale.assets': [
       'module_name/static/src/js/CategoryControlButton.js',
       'module_name/static/src/js/CategoryScreen.js',
       'module_name/static/src/xml/CategoryControlButton.xml',
       'module_name/static/src/xml/CategoryScreen.xml',
       'module_name/static/src/scss/pos.scss',
   ],
},
The CategoryScreen.js,
odoo.define(module_name.CategoryScreen', function(require) {
'use strict';
const PosComponent = require('point_of_sale.PosComponent');
const ProductScreen = require('point_of_sale.ProductScreen');
const { useListener } =require("@web/core/utils/hooks");
const Registries = require('point_of_sale.Registries');
var rpc = require('web.rpc');
var core = require('web.core');
var Qweb = core.qweb;
const { onMounted, onWillUnmount, useState } = owl;
class CategoryScreen extends PosComponent {
setup(){
super.setup();
}
back() {
this.showScreen('ProductScreen');
}
};
CategoryScreen.template = 'CategoryScreen';
Registries.Component.add(CategoryScreen);
return CategoryScreen;
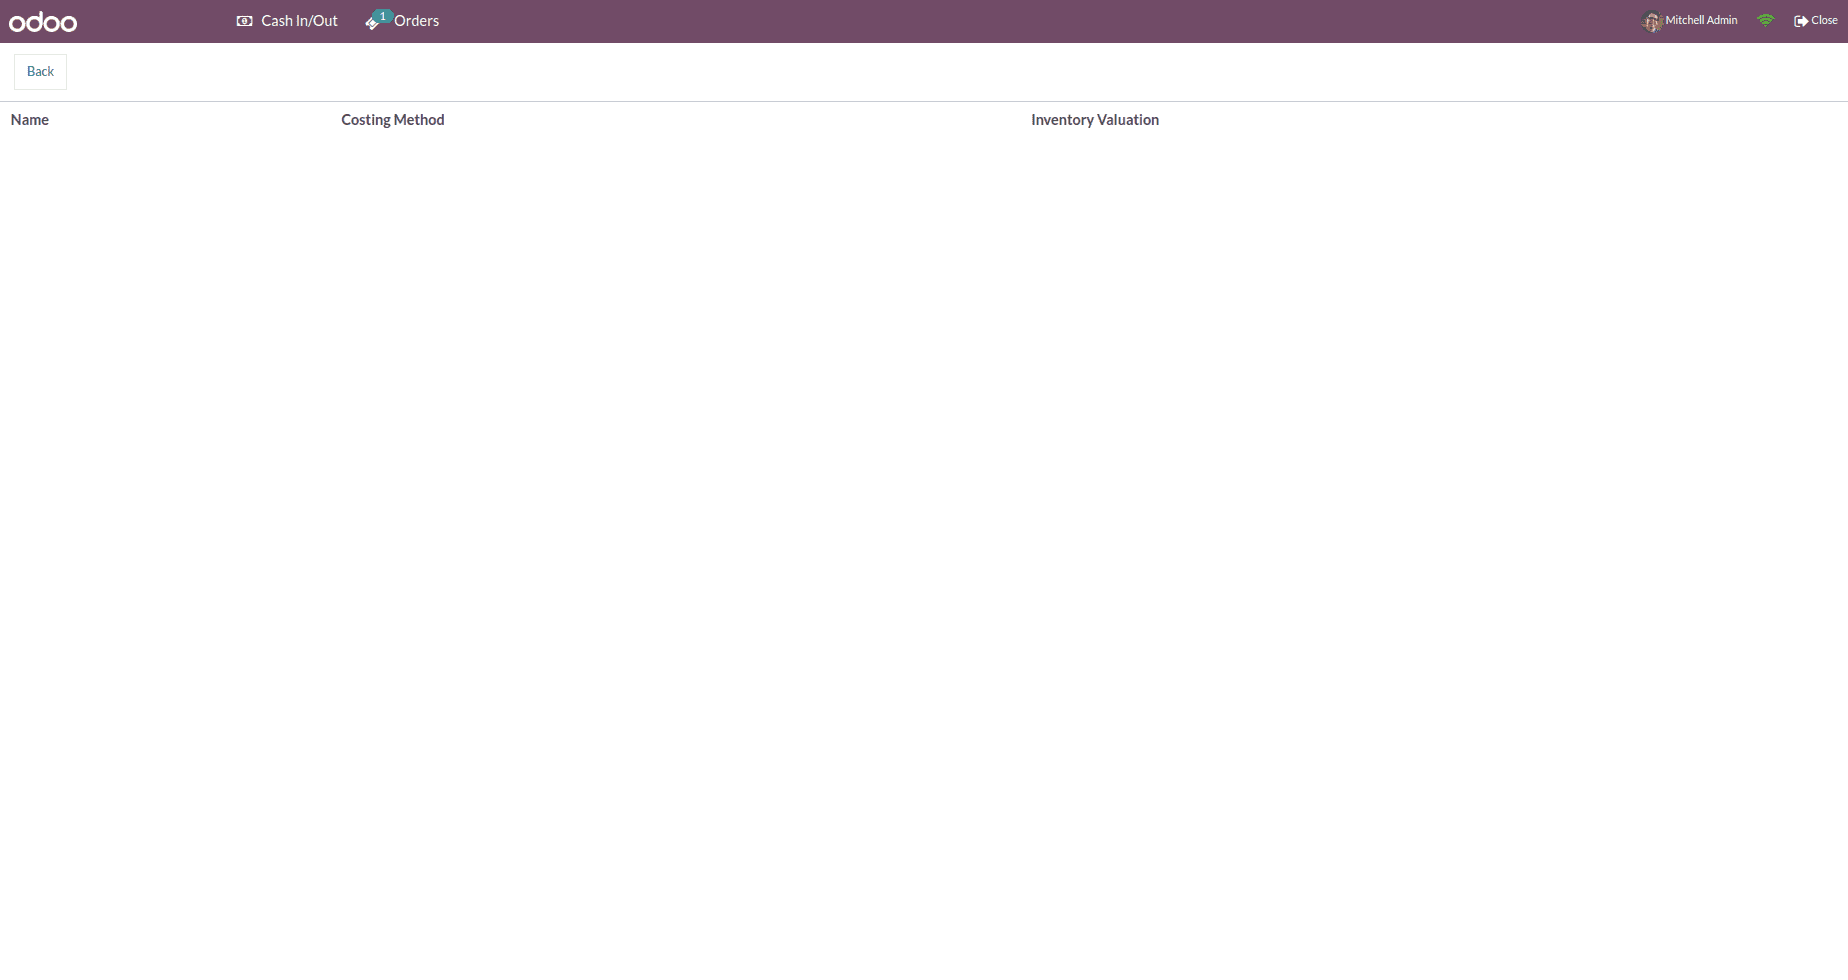
});In this instance, we also extended the PosComponent class and added the class CategoryScreen and the corresponding template. Then define the on-click event for the button inside the class. The CategoryScreen now looks like this:-
Now we need to display the data from the product category. For that, inside the on-click function of the View Categories button, we added an RPC call, which will return the data to display inside the CategoryScreen. When we call the function show screen, which is used to display the screen, we are also passing the result of the RPC call as properties to the CategoryScreen. Then the CategoryControlButton.js is updated as follows:-
class CategoryControlButton extends PosComponent {
   setup() {
       super.setup();
       useListener('click', this.onClick);
   }
  async onClick() {
    var self = this;
    await this.rpc({
                   model: 'product.category',
                    method: 'search_read',
                    args: [[], ['name', 'property_cost_method', 'property_valuation']],
            }).then(function (result) {
                 self.showScreen('CategoryScreen', {
                    categories: result,
                });
            });
    }
}
Also, we need to pass the details to display on the category screen, then the _onClick function is updated as follows:-
class CategoryControlButton extends PosComponent {
   setup() {
       super.setup();
       useListener('click', this.onClick);
   }
  async onClick() {
    var self = this;
    await this.rpc({
                   model: 'product.category',
                    method: 'search_read',
                    args: [[], ['name', 'property_cost_method', 'property_valuation']],
            }).then(function (result) {
                 self.showScreen('CategoryScreen', {
                    categories: result,
                });
            });
    }
}
Now the categories data will be available in the category screen inside props, we can access the details as props. categories inside the CategoryScreen. The CategoryScreen template is now updated as follows:-
<?xml version="1.0" encoding="UTF-8"?>
<templates id="template" xml:space="preserve">
   <t t-name="CategoryScreen" owl="1">
       <div class="clientlist-screen screen">
           <div class="screen-content">
               <div class="top-content">
                   <div class="button back" t-on-click="back">
                       Back
                   </div>
               </div>
               <section class="full-content" >
                   <div class="client-window">
                       <section>
                           <div>
                               <div class="scrollable-y">
                                   <table class="categories-list">
                                       <thead>
                                           <tr>
                                               <th> Name </th>
                                               <th> Costing Method </th>
                                               <th > Inventory Valuation </th>
                                           </tr>
                                       </thead>
                                       <tbody>
                                           <t t-foreach="props.categories" t-as="categ" t-key="categ.id">
                                               <tr>
                                                   <td><t t-esc="categ.name"/></td>
                                                   <td><t t-esc="categ.property_cost_method"/></td>
                                                   <td><t t-esc="categ.property_valuation"/></td>
                                               </tr>
                                           </t>
                                       </tbody>
                                   </table>
                               </div>
                           </div>
                       </section>
                   </div>
               </section>
           </div>
       </div>
   </t>
</templates>
We can also add style to our screen using separate scss files, and it can be added as follows:-
.categories-list{
   font-size: 16px;
   width: 100%;
}
.categories-list th,
.categories-list td {
   padding: 12px;
}
The style file is also added inside the point_of_sale.assets section inside the manifest file.
Then the Category Screen looks like this,
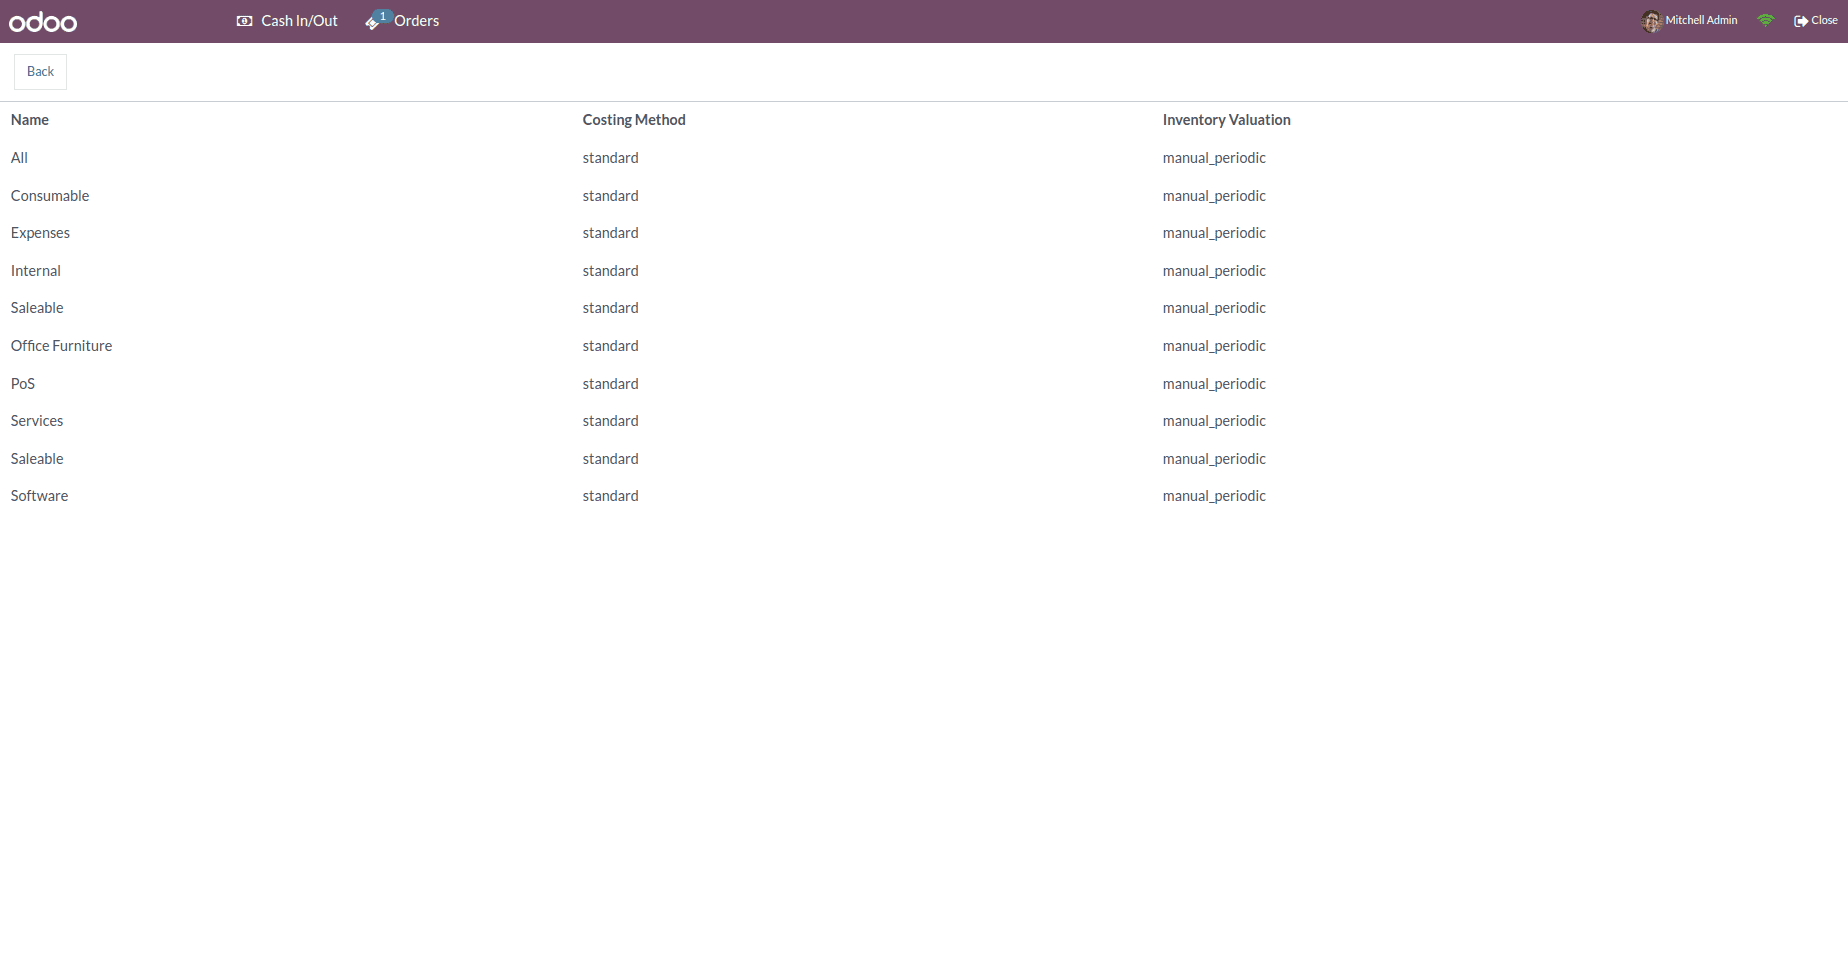
This is how a screen is added in POS.