In today's digital age, e-learning has become increasingly popular as a convenient and flexible way to acquire new skills and knowledge. If you're an educator or a content creator looking to monetize your expertise, selling e-Learning courses online can be a lucrative venture. One platform that offers robust features for creating and selling e-Learning courses is Odoo 17. In this blog, we'll provide a detailed guide on how to set up and sell your e-Learning course on the Odoo 17 website.
Odoo is a powerful open-source ERP (Enterprise Resource Planning) platform that offers a suite of business applications for various functions such as CRM, accounting, inventory management, and website building. With the release of Odoo 17, the platform has introduced several enhancements, including improved website-building capabilities and e-Commerce functionalities.
To sell courses through your website, you must activate the Paid Courses option from the Configuration Settings of the Odoo eLearning module.

Within the Configuration menu, Locate the option for "Paid Courses." Toggle the switch or checkbox next to "Paid Courses" to enable this feature. Once you activate this feature, you can create paid courses in your eLearning module. After creating the course, you must save this course as a Product in your Odoo database. First, let’s check how to create courses and content in the Odoo eLearning module.
Step 1: Accessing the eLearning Module
* Sign Up and Install Odoo 17: If you haven't already, sign up for an Odoo account and install the latest version of Odoo 17.
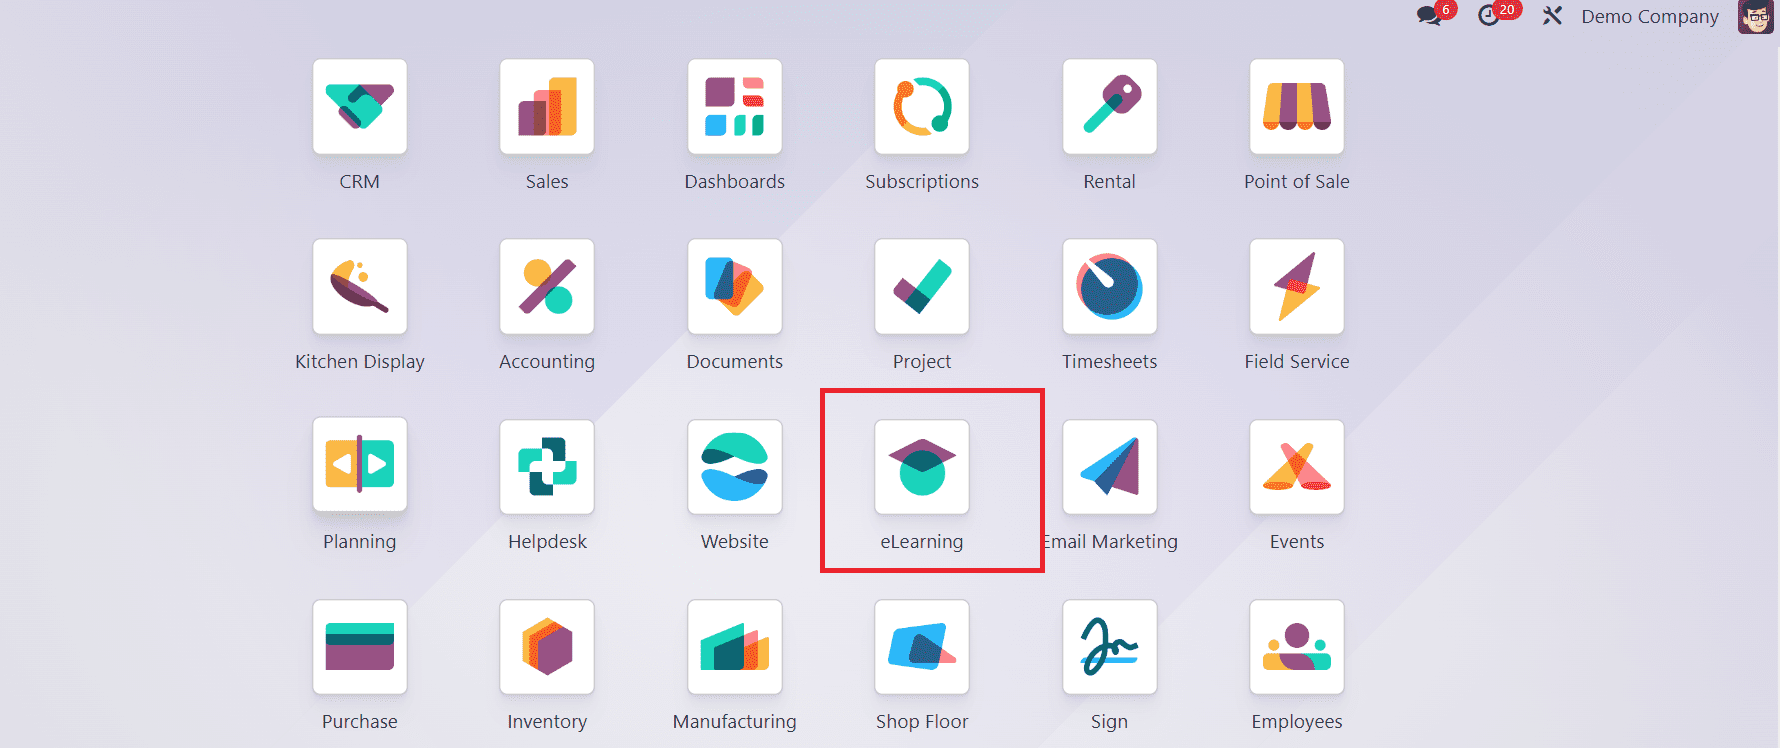
* Navigate to e-Learning Module: Once logged in, navigate to the e-Learning module in Odoo. You can find it either in the main dashboard or by searching for "eLearning" in the applications menu.
Step 2: Creating a New Course
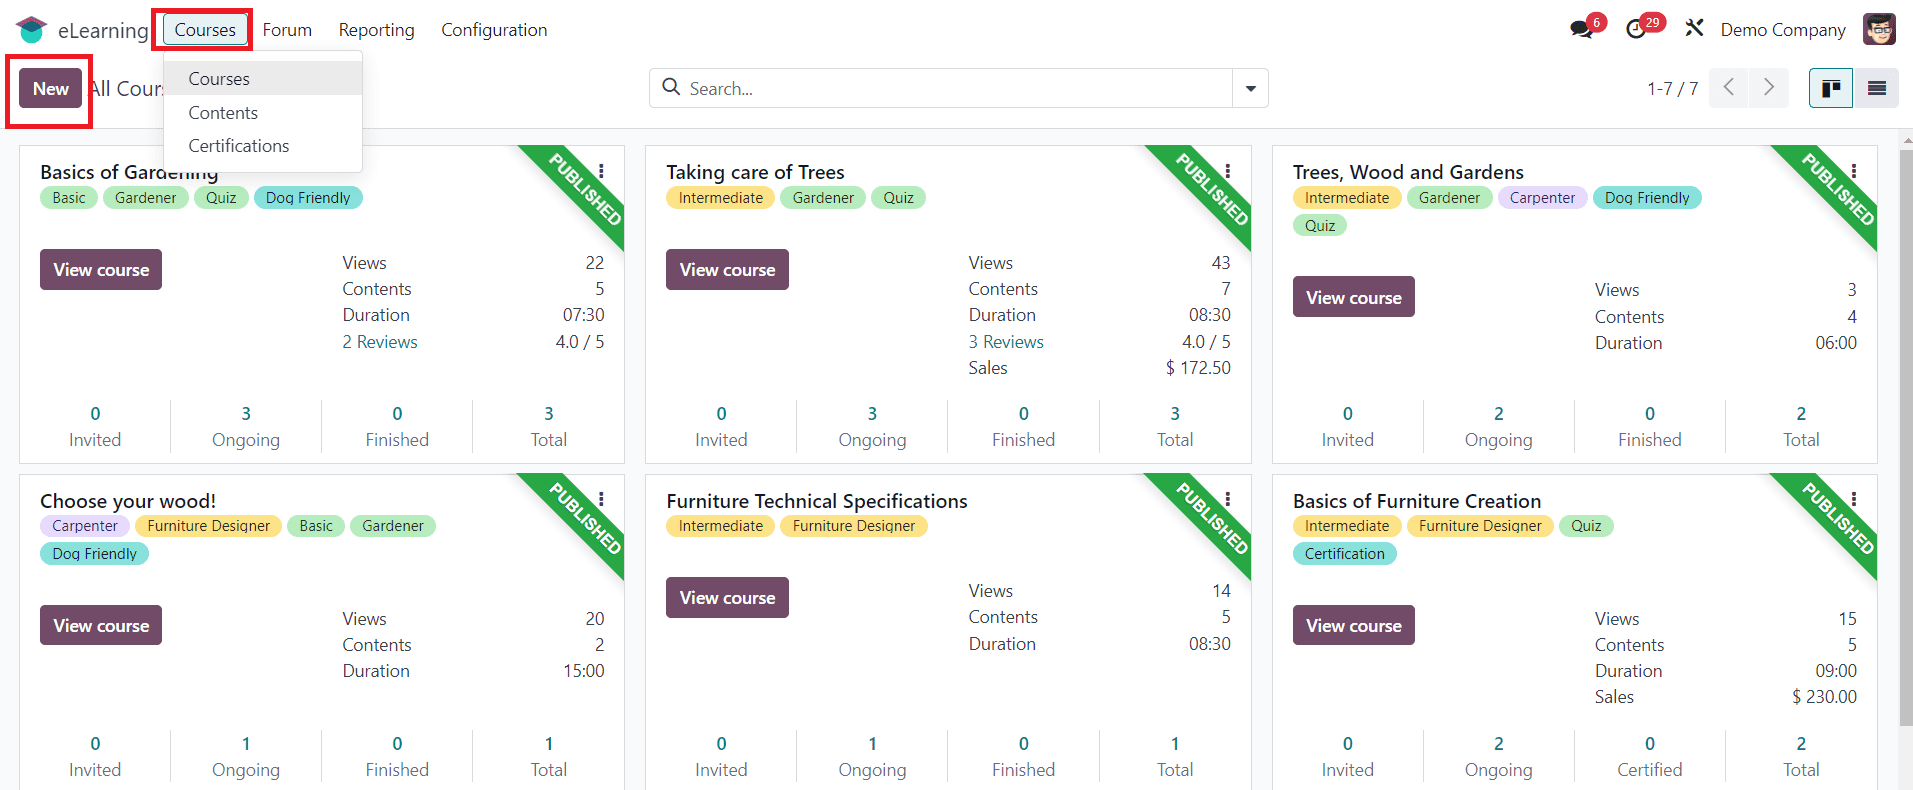
* Set Up Course Structure: Once inside the eLearning module, locate the "Courses" section and click on the "New" button to initiate the course creation process. This action allows you to define the parameters and content of your new eLearning course.
Here, you'll be prompted to enter essential details such as:
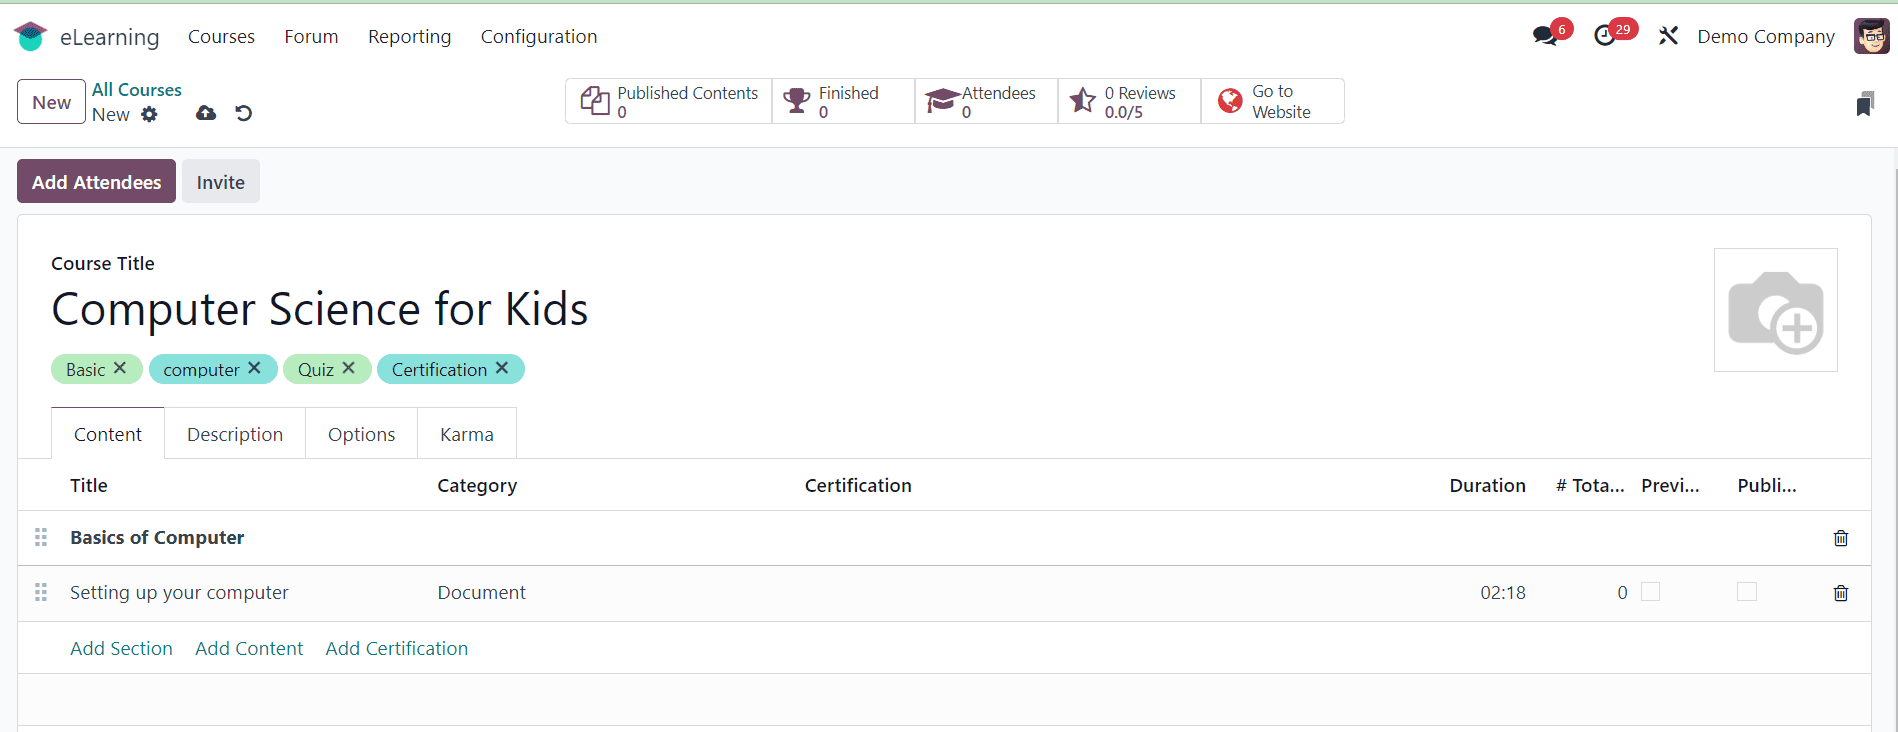
* Course Title: Provide a descriptive title that accurately reflects the course content.
* Description: Write a concise overview of the course objectives, target audience, and key topics covered. Clear and concise information ensures learners understand the course content and objectives. For instance, you can create a course titled "Introduction to Computer Science for Kids" and provide an engaging description.
* Tags: Add relevant tags to categorize and organize the course effectively.
Step 3: Adding Course Content
After defining the course details, it's time to populate it with engaging content. Within the course editor, you can:
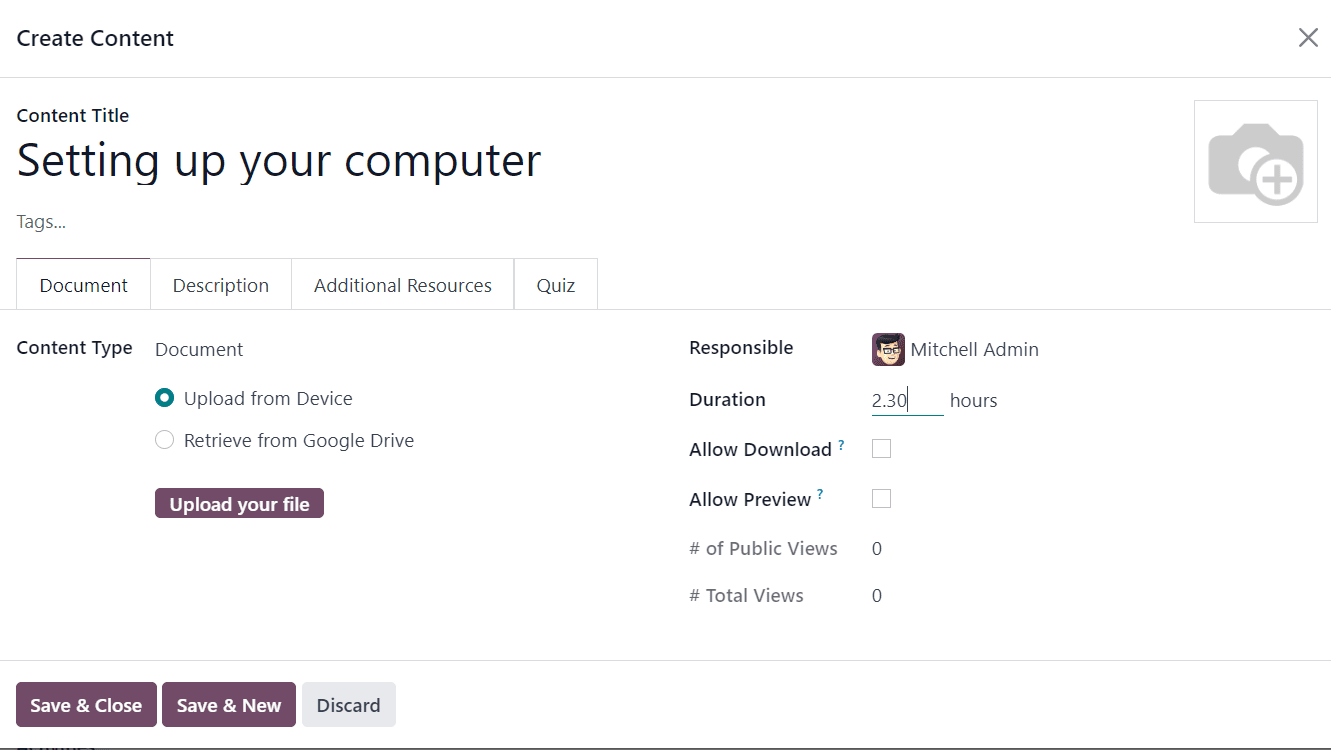
* Add Sections: Divide the course into logical sections or modules to structure the learning experience. Enhance each section of the course by adding content. Click on "Add Section" within the Content tab to create new sections. Then, select "Add Content" to input content titles, tags, and relevant materials. You can include documents, presentations, videos, quizzes, and other resources to enrich the learning experience.
* Upload Documents: Incorporate text documents, presentations, PDFs, or other instructional materials.
* Embed Multimedia: Enhance learning with videos, audio files, and interactive multimedia elements.
* Create Quizzes: Assess learners' comprehension by designing quizzes with various question types.
Step 4: Integrating Certifications
* Explore the option to add certifications to the course. Link relevant certifications, specifying completion criteria and assessment details. This step provides learners with official recognition upon successful completion of course requirements.
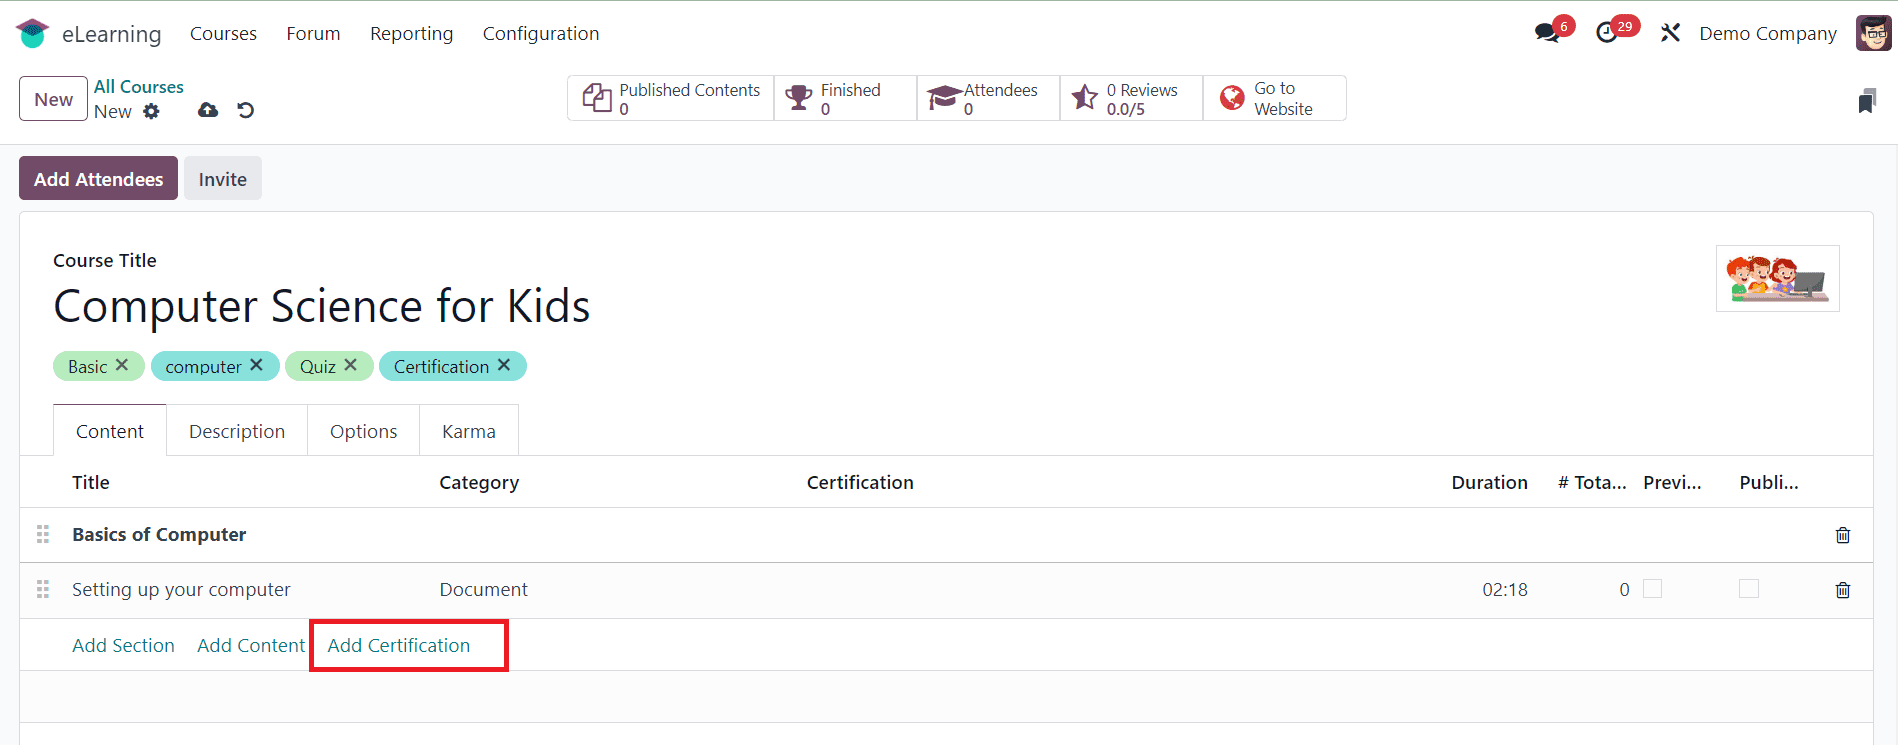
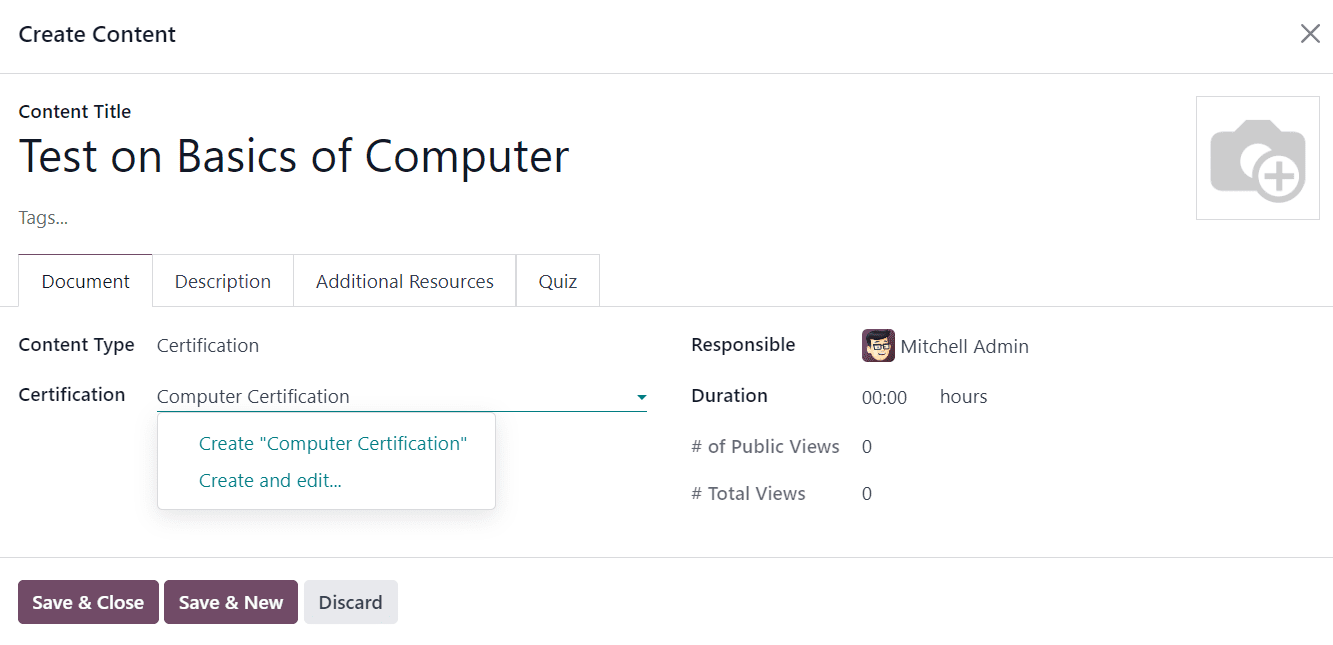
* Click on the "Add Certification" button to create a new certification. Specify the certification title, type, duration, and responsible user. Provide additional information in the description tab.
* Define quiz questions and rewards under the Quiz tab to evaluate learners' understanding of the course material. Designate correct answers and save the questions to finalize the certification setup.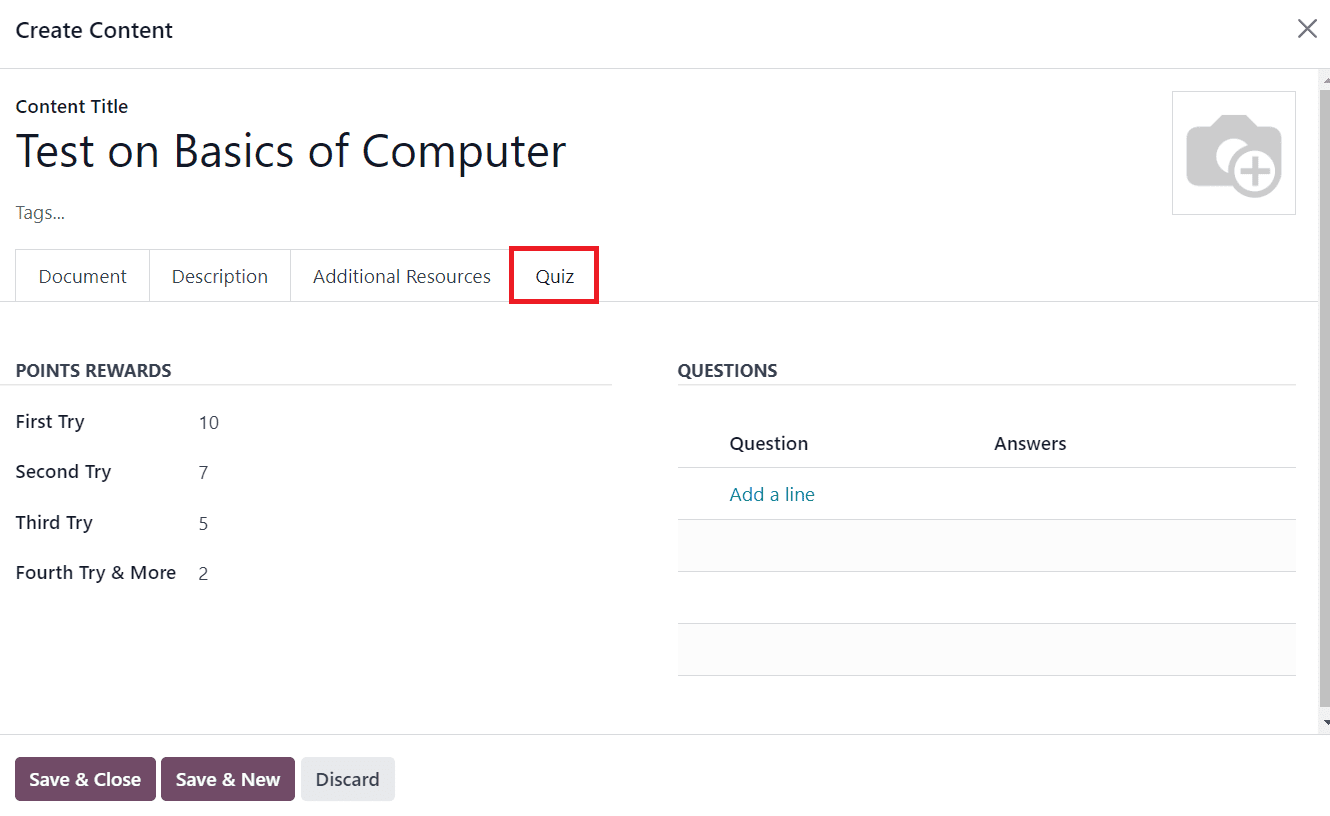
* Once you've selected the "Add a line" option, a new window will open, providing you with the interface to craft your question. Here, you'll input the Question Name, which serves as the prompt for learners to respond to. This should be clear and concise, effectively conveying the query you want to pose.
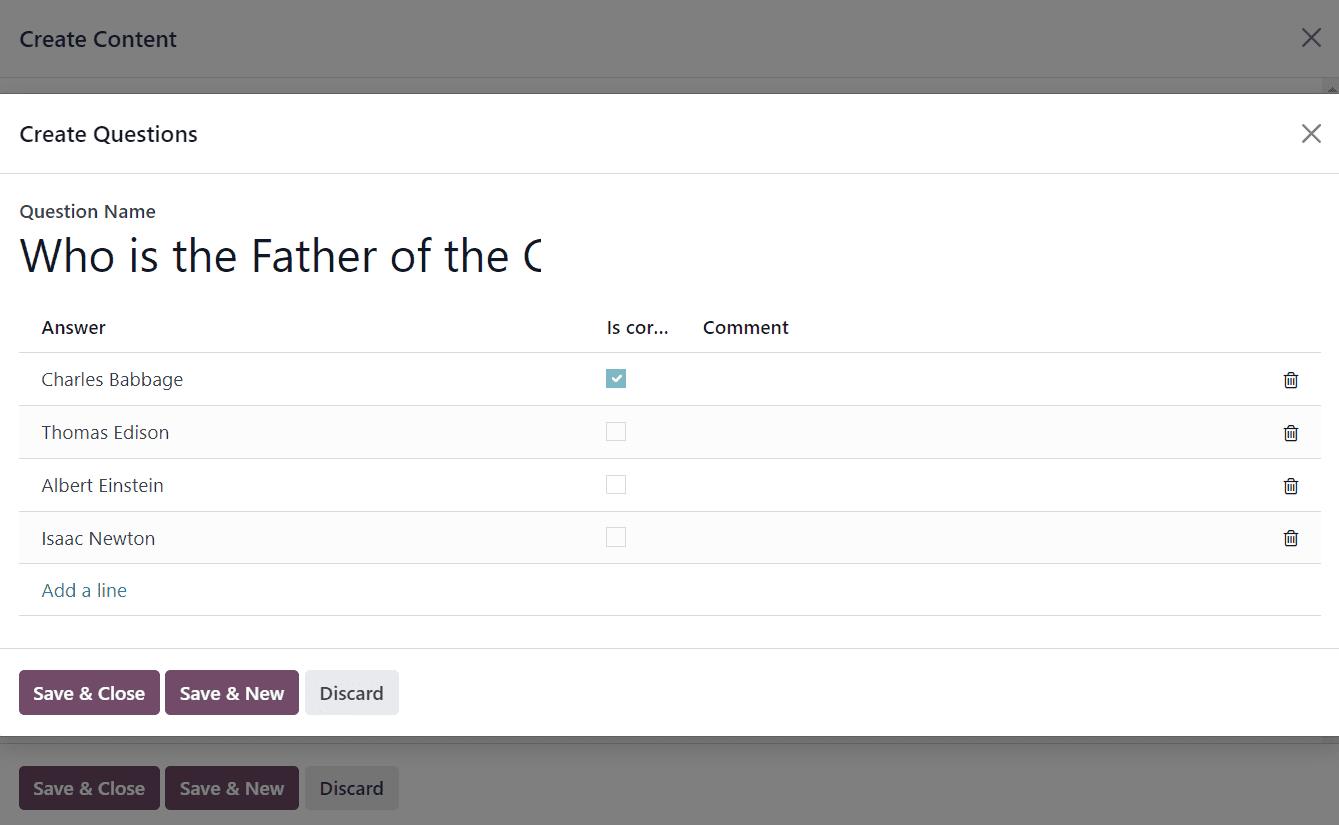
* After formulating the question, it's time to furnish possible answers. Click on the "Add a line" option within the Answer section to input multiple choices or options for respondents. These choices should cover a range of possibilities, ensuring a comprehensive assessment of the learner's understanding of the topic.
* As you populate the answers, it's crucial to designate the correct one. This can be done by checking the corresponding box below the "Is Correct Answer" label next to the appropriate response. This step ensures that learners are evaluated accurately, rewarding them for selecting the correct option.
* Once you've crafted the question and provided the answer choices, it's time to save your work. Click on the SAVE & CLOSE icon to preserve the question within the certification. This action finalizes the question's inclusion in the quiz section of the certification, ensuring that it contributes to the overall assessment of learners' knowledge.

* After saving the question, you'll find it neatly listed below the Question title in the Quiz tab. This allows you to review the questions you've created, make any necessary edits, or add additional queries to further assess learners' comprehension.
Step 5: Customizing Course Settings
The Odoo 17 eLearning module provides extensive customization options to tailor the course experience to your organization's needs. You can do this under the Options tab.
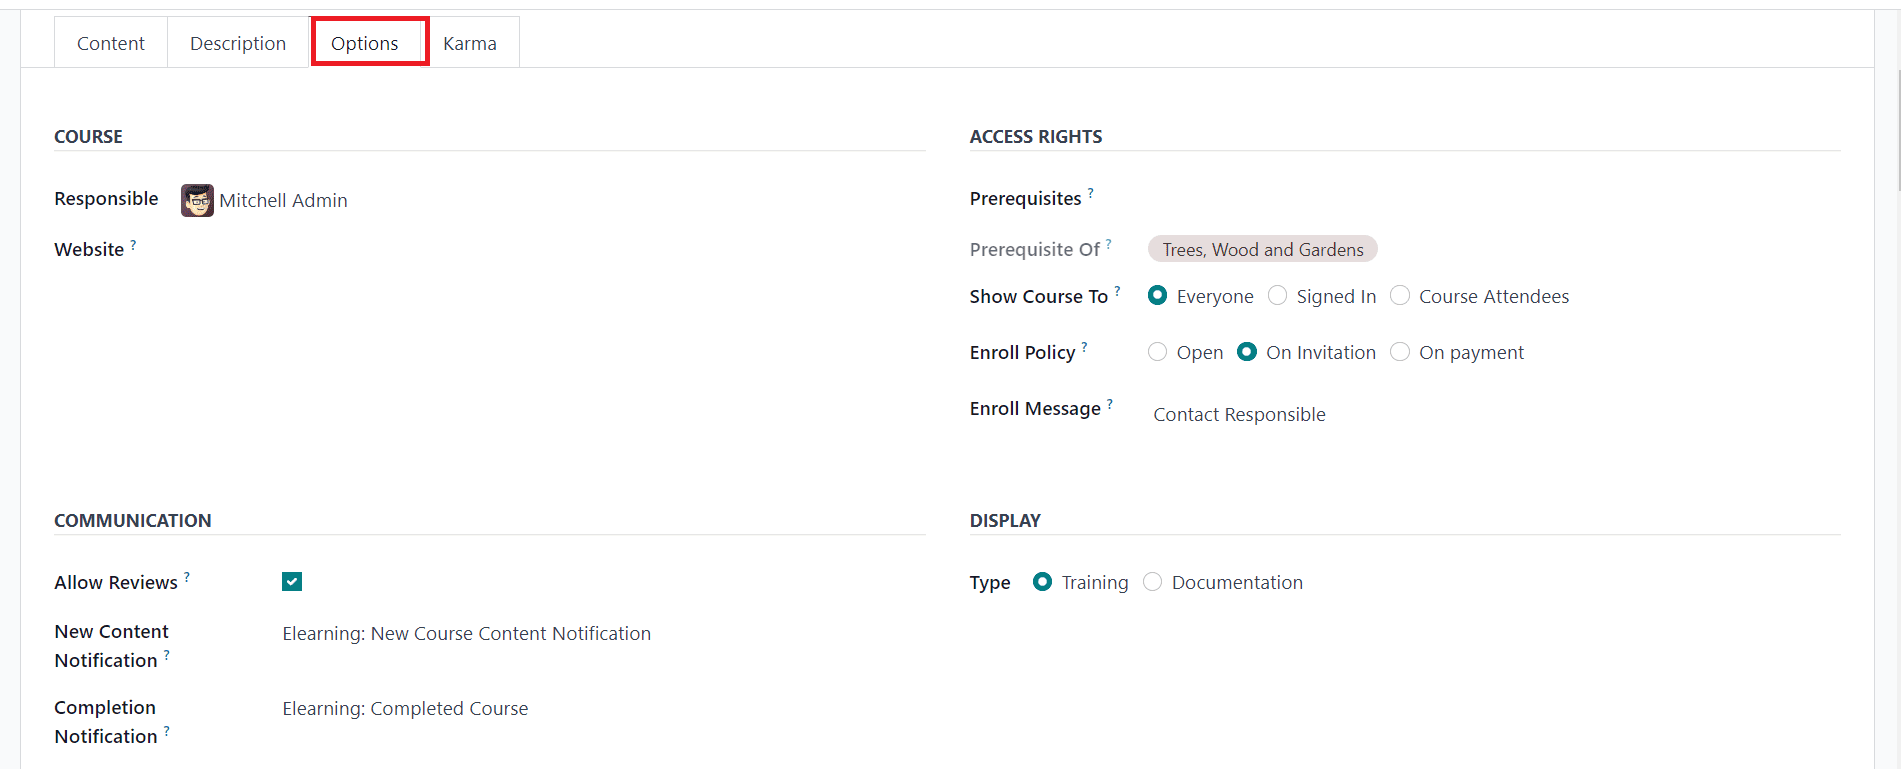
* The course configuration Options menu features a "Responsible Person" section. Additionally, the website where the course should be established can be located within the Options tab during the course creation process, as depicted in the accompanying image.
* If you want to allow the attendees to like and submit reviews on your courses, you can activate the Allow Reviews field.
* The New Content Notification defines the email your attendees will receive each time you upload new content. Once they reach the end of your course, the Completion Notification will be delivered to them.
* Mention the prerequisite courses to complete before accessing the current course in the Prerequisites field.
* Define who can access your courses and content in the Show Course To field. It can be set as Everyone, Signed In, or Course Attendees.
* Within the Display options, you have the choice between two settings: Training and Documentation.
Training: This mandates that courses be completed in the recommended sequence and presented as a structured training program.
Documentation: In this mode, you have the flexibility to access information in any order. You can utilize the Featured Content box to highlight specific pages on the course homepage if you opt for this setting.
* Enrollment Policy allows you to define how individuals will enroll in your course, offering several options:
Open: Allowing anyone to enroll in your course without restrictions.
On Invitation: Restricting enrollment to individuals who have been specifically invited to the course. If selected, you'll need to provide an Enroll Message explaining how invited individuals can enroll. This message will be displayed on your website alongside the course title.
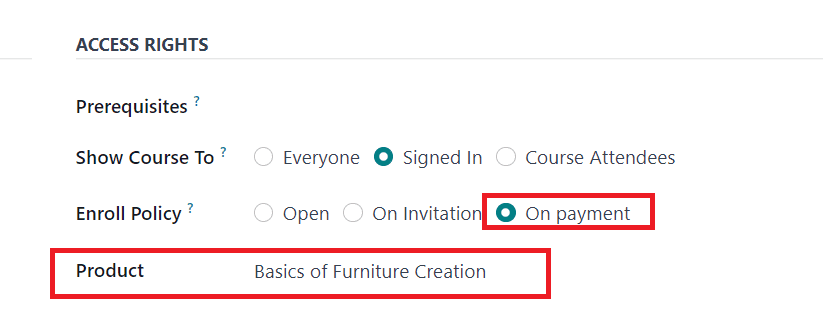
On Payment: Requiring individuals to purchase the course before they can enroll. This option is contingent on activating the Paid Courses feature.
* If you choose the On Payment option, you'll need to add a product for the course.
* You can use the Internal Link available next to the Product field to configure the details of the product as shown in the image below.
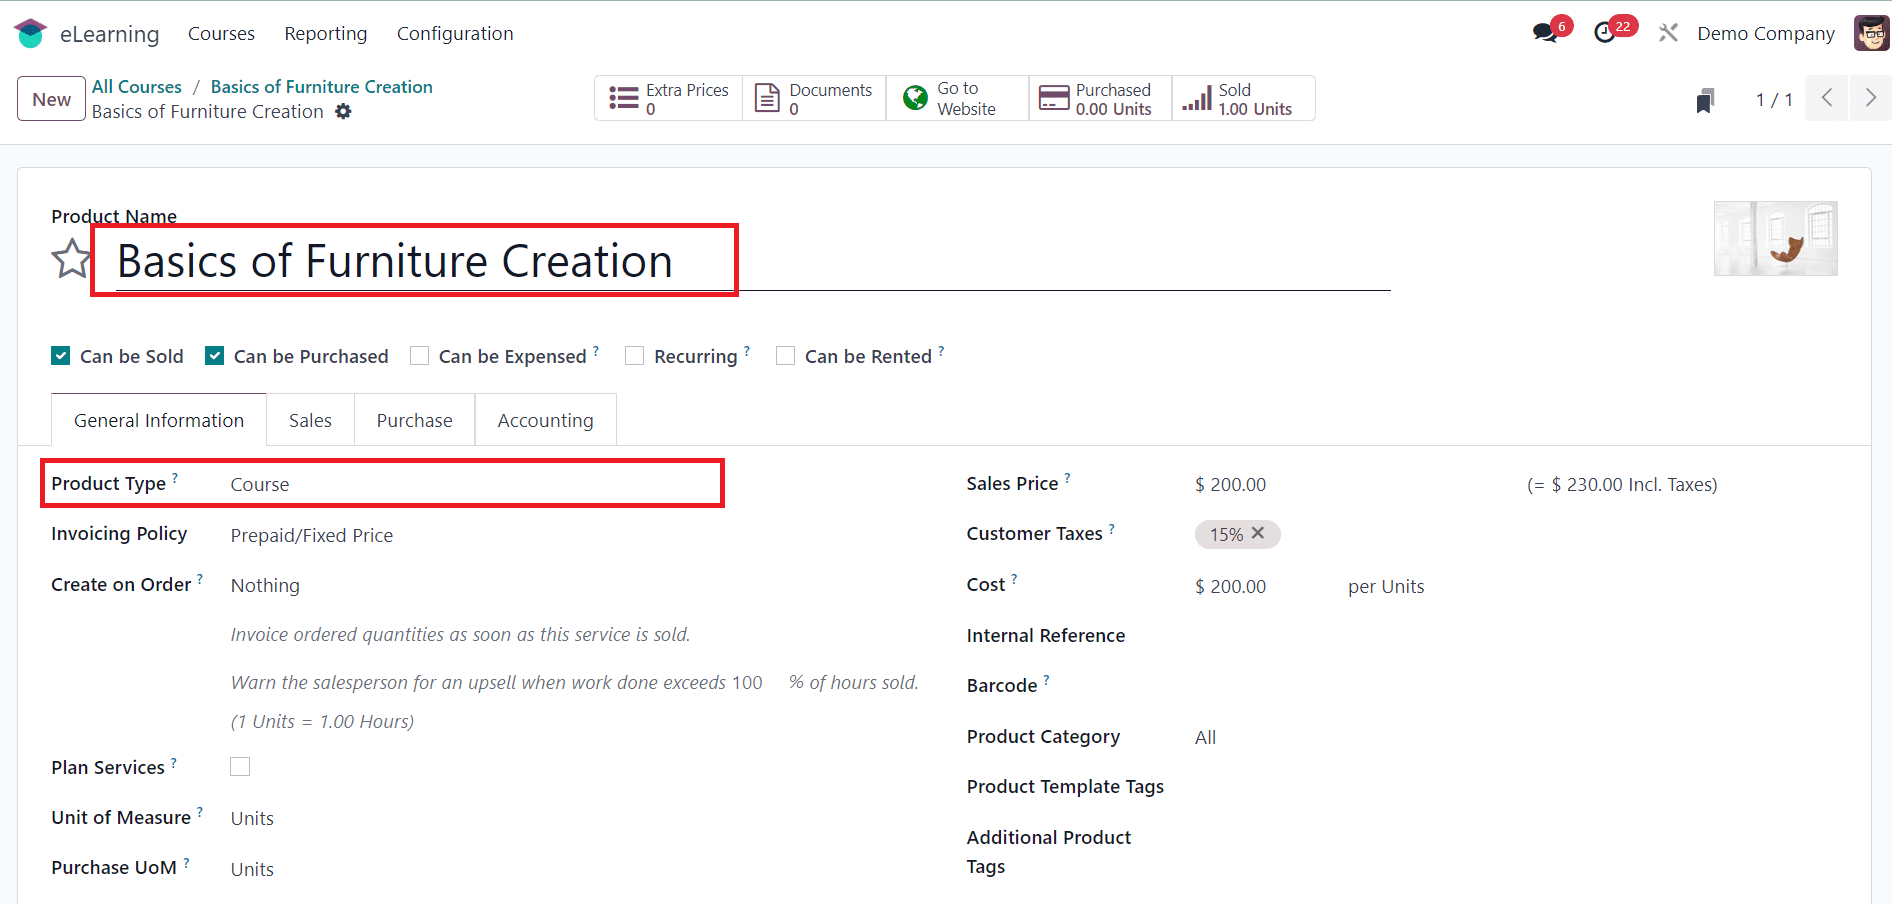
* While configuring the product, remember to select Course as the Product Type.
* Selecting the On Payment option as the Enroll Policy is necessary to sell this course online.
Step 6: Previewing and Publishing the Course
* Before making the course live, it's essential to preview it to ensure everything looks and functions as intended.
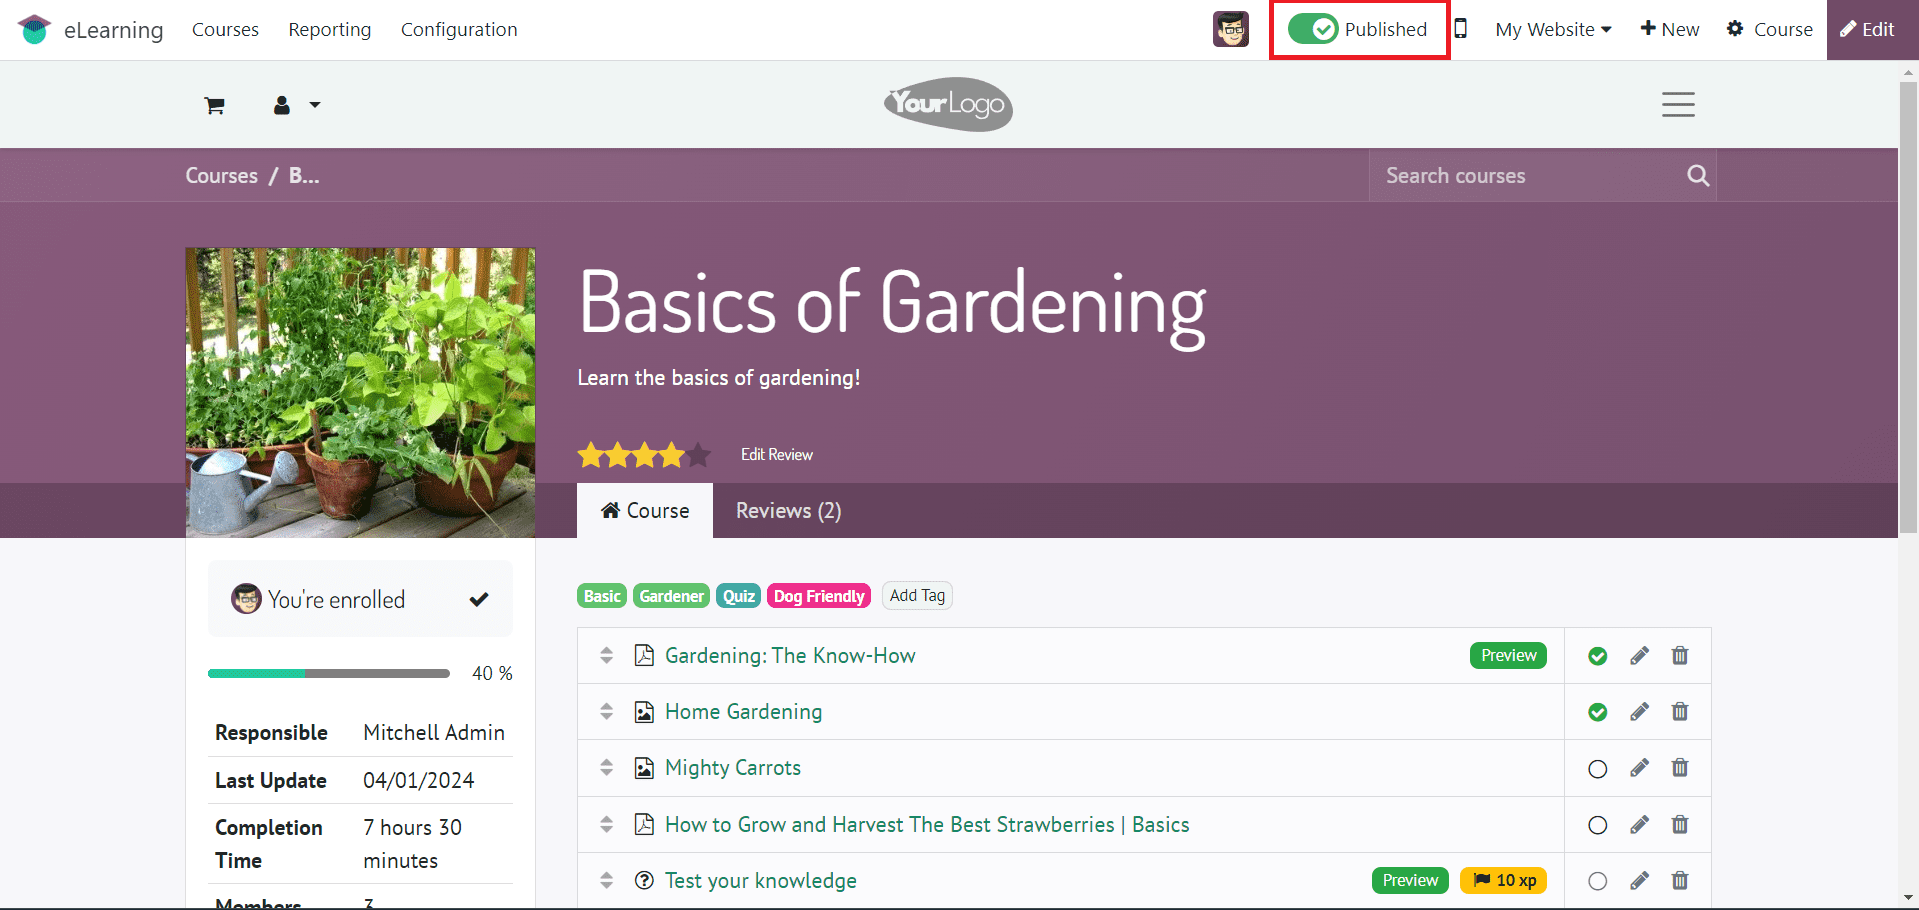
* Once all data is entered, save the course and certifications. Subsequently, publish the course by accessing the Go to Website smart menu and transitioning it to the Published state.
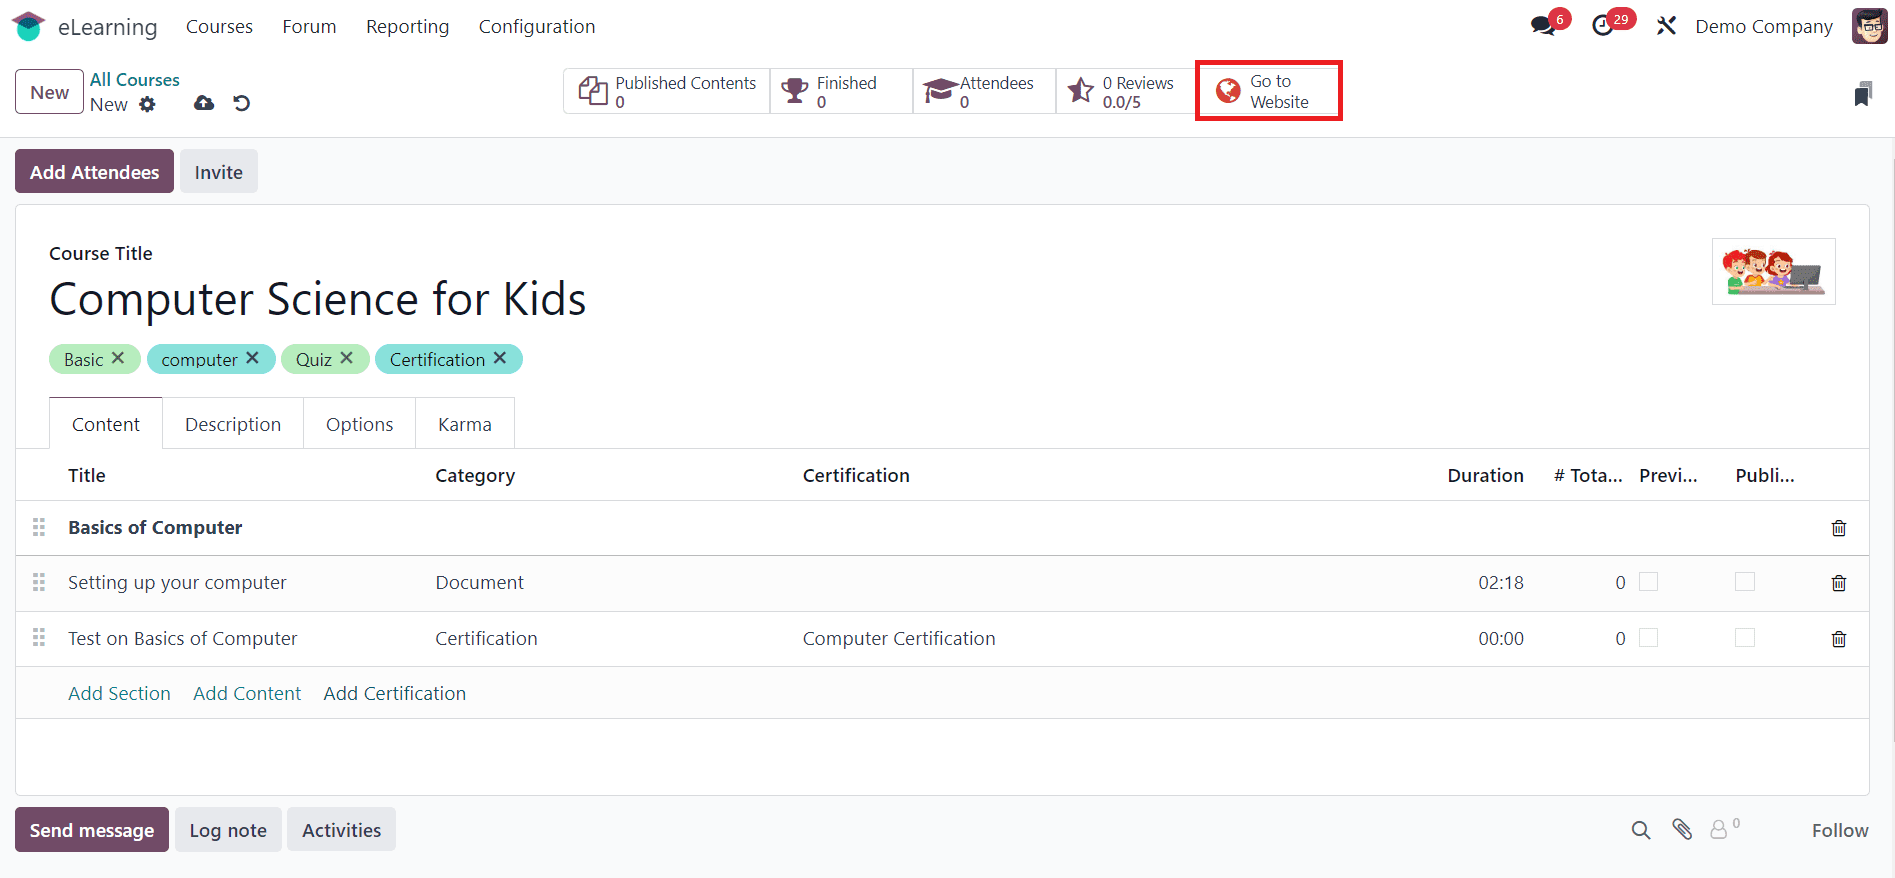
* Learners can access the courses by logging into the company website and navigating to the Courses platform. They can view available courses and enroll in programs to earn valuable credentials.
Purchase Courses from the Odoo Website
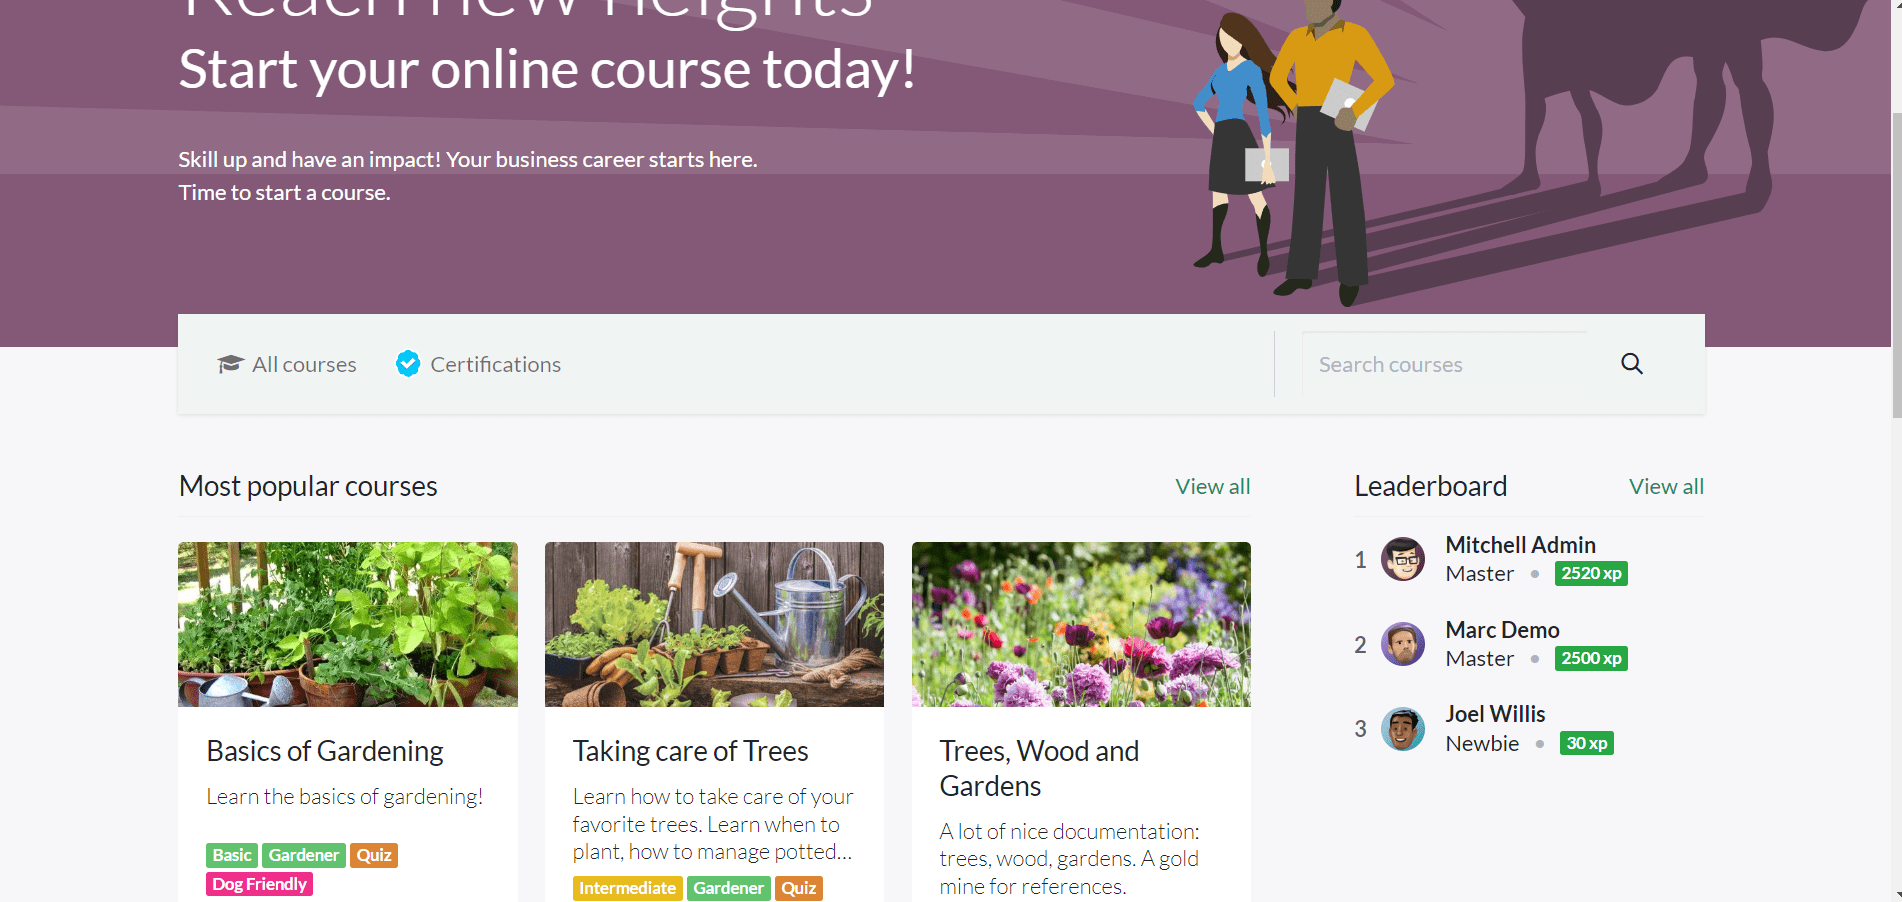
Now, let’s look into how to purchase a paid course from the Odoo 17 Website. The journey begins with browsing the extensive catalog of courses available within the Odoo 17 eLearning platform. Users can explore various categories, topics, and skill levels to find courses that align with their interests and learning objectives.
Once users identify a course they wish to enroll in, they can click on the course title to access detailed information. Here, they'll find a comprehensive overview of the course content, learning objectives, instructor credentials, course duration, and pricing details.
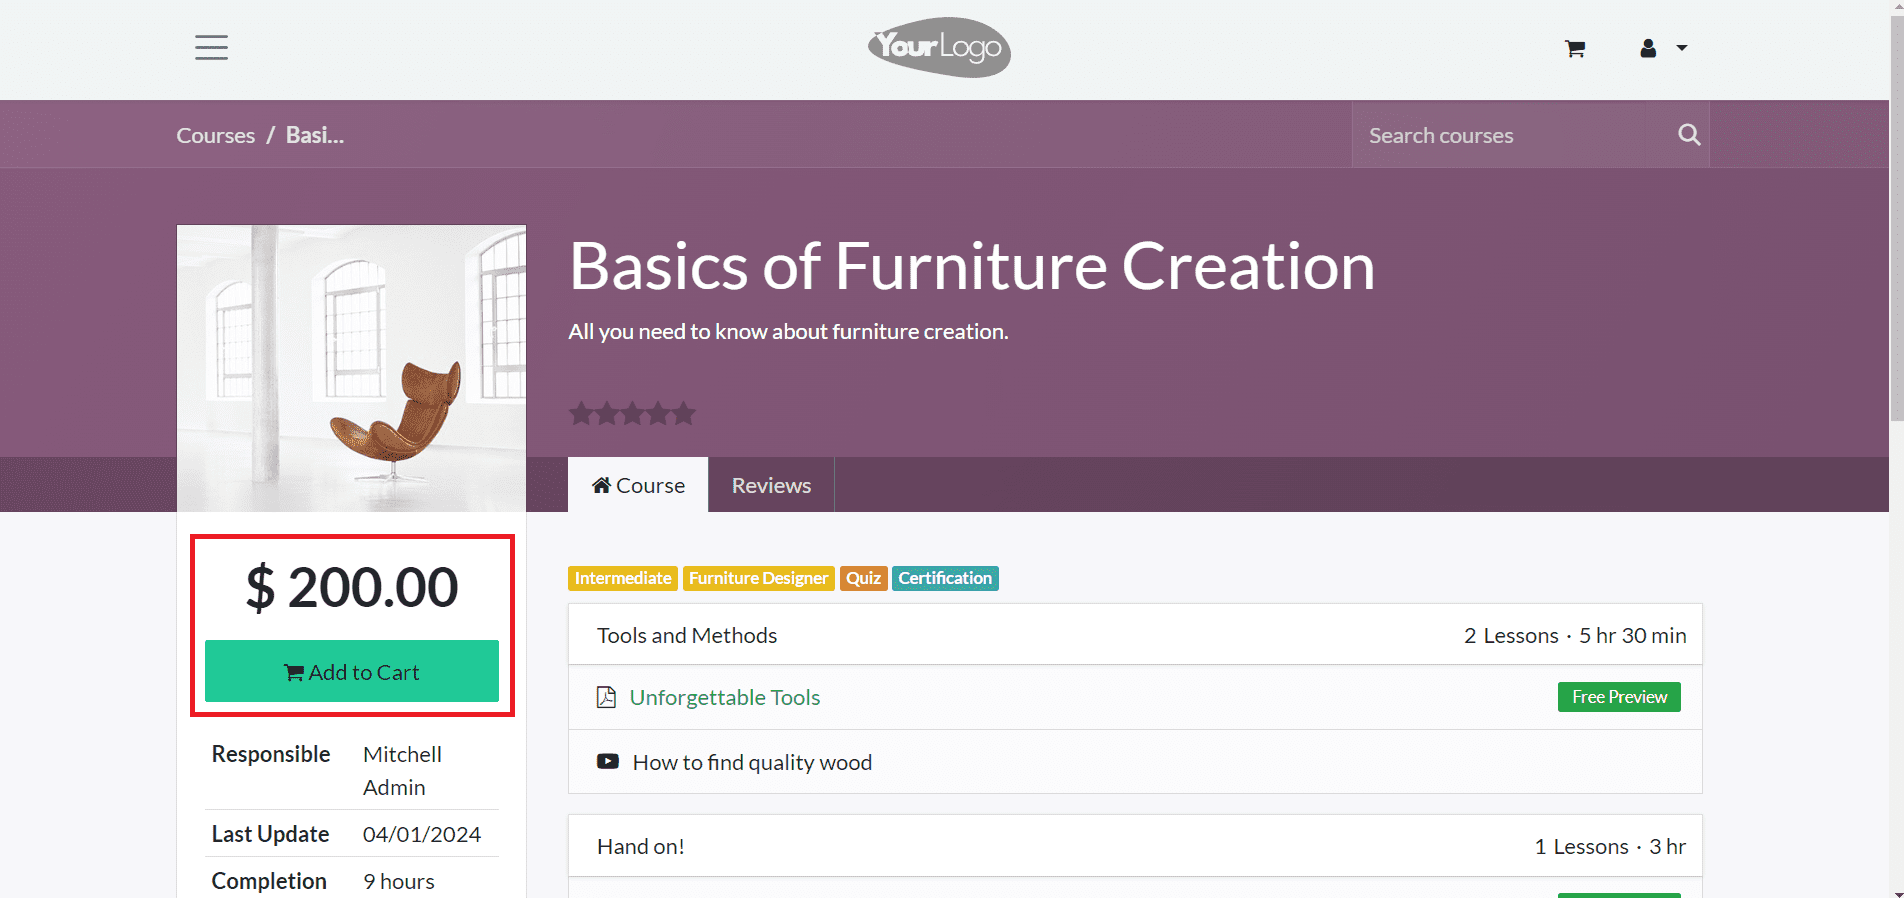
After reviewing the course description and requirements, users can proceed to enroll in the course by purchasing the course. You can do it by clicking on the "Add to Cart" button.
Once you add the product to your cart, you can select your cart and continue the payment process.
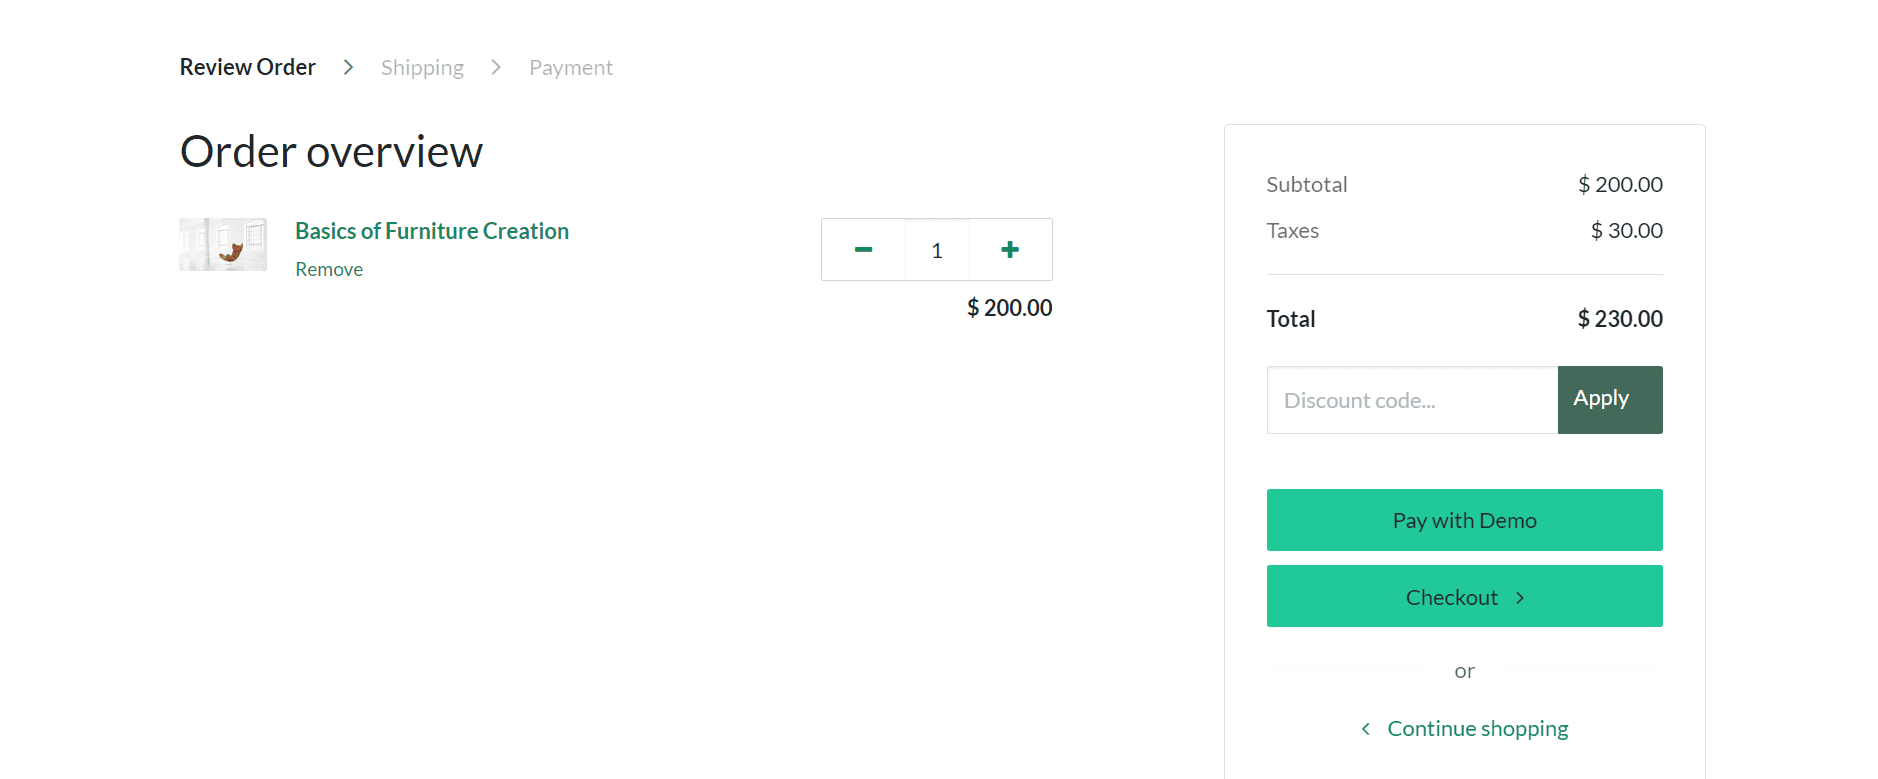
Upon clicking the payment button, users will be directed to the payment gateway to complete the transaction securely. Odoo 17 eLearning supports various payment methods, including credit/debit cards, PayPal, bank transfers, and other online payment gateways. Users can select their preferred payment method and enter the necessary payment details, such as card information or billing address. Once the payment is processed successfully, users will receive a confirmation notification, and their enrollment in the paid course will be confirmed.
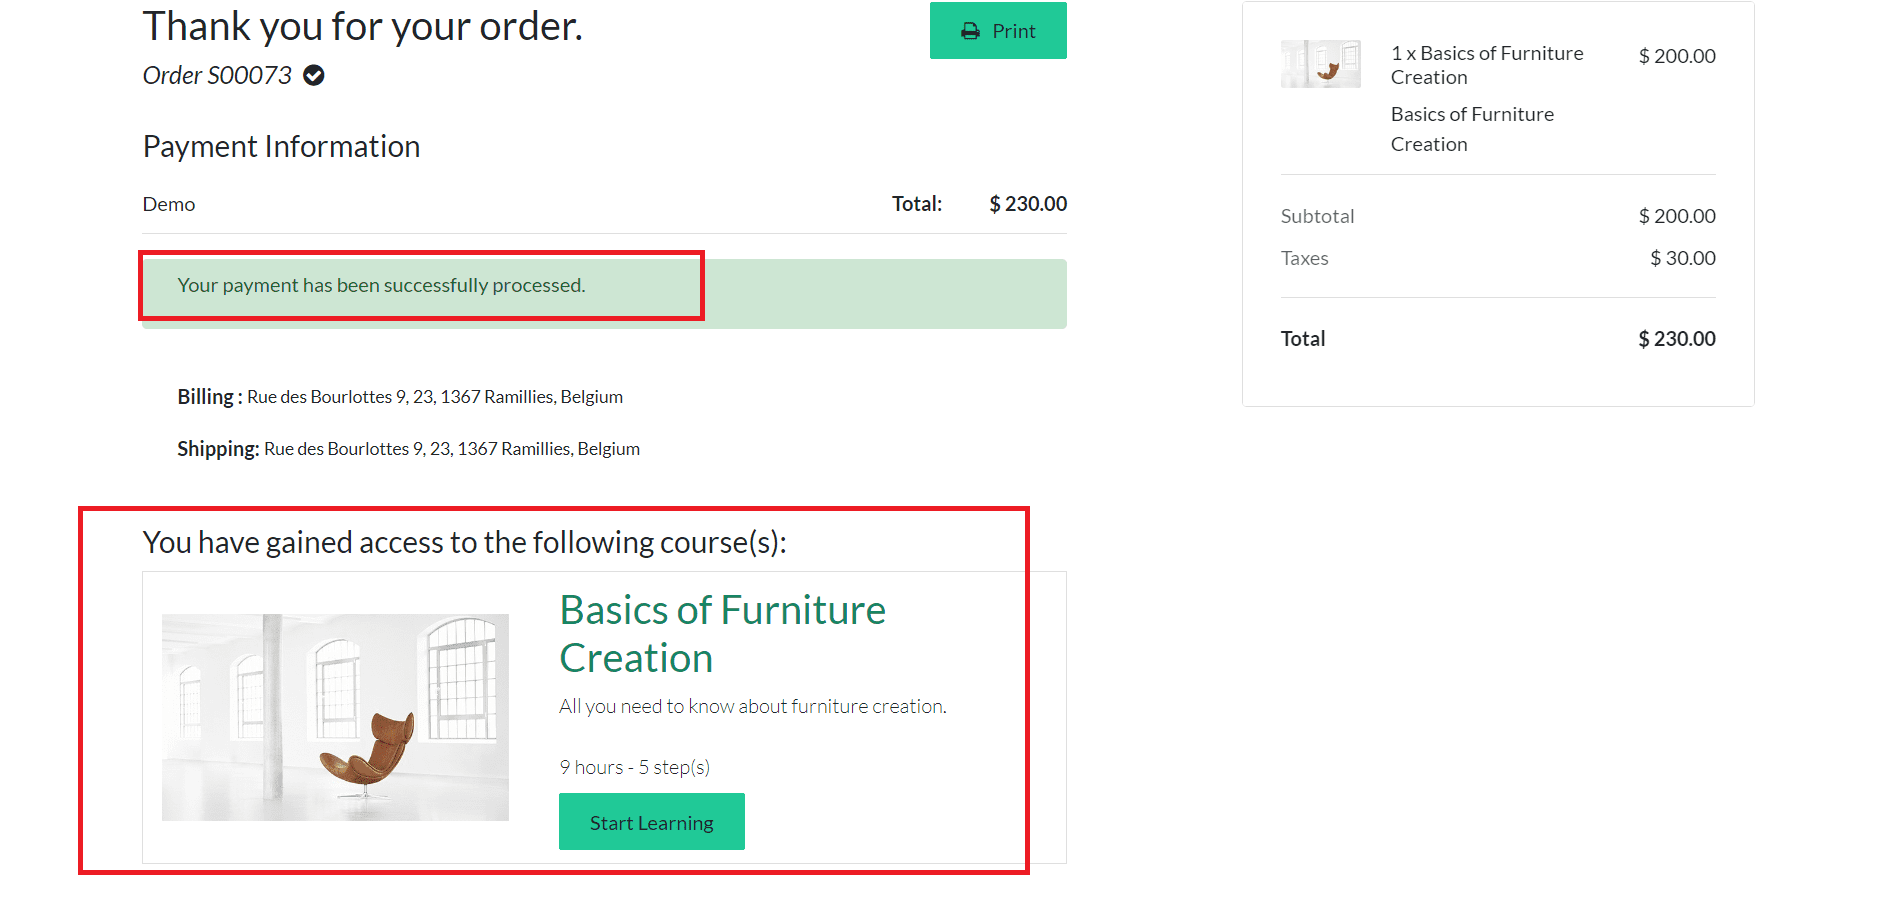
With enrollment confirmed, users gain instant access to the course content and resources using the Start Learning button. They can begin their learning journey by exploring modules, watching instructional videos, reading course materials, and completing assessments at their own pace.
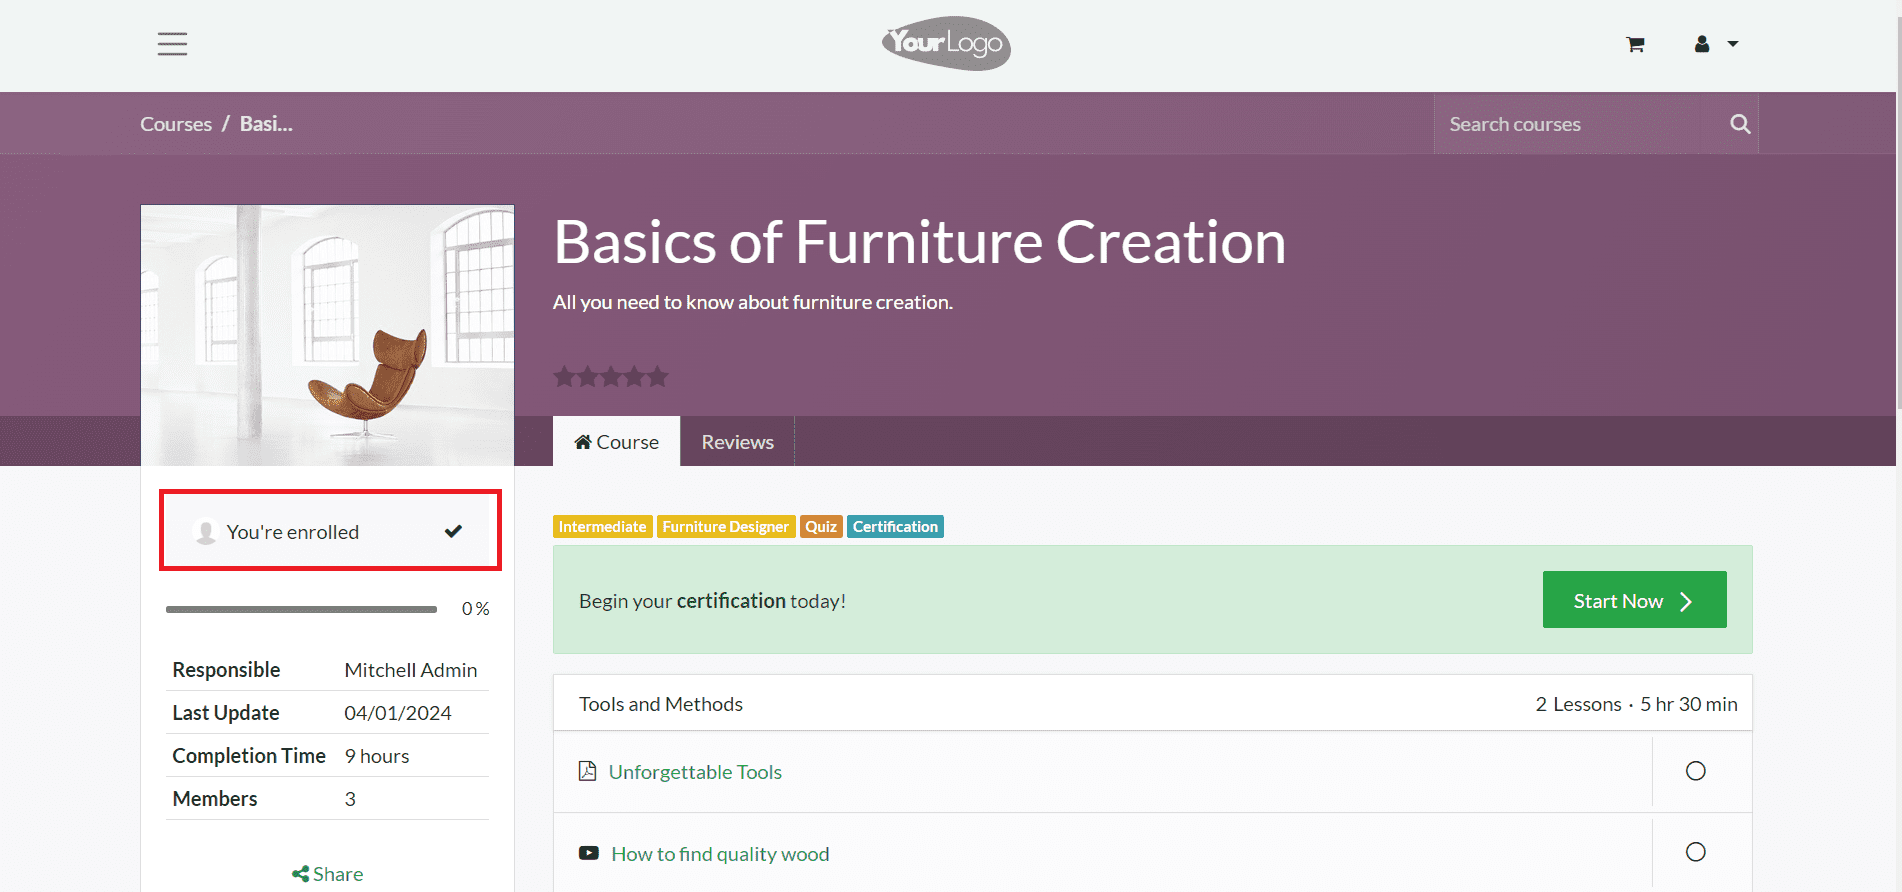
Odoo 17 eLearning provides a user-friendly interface that facilitates seamless navigation through course content, ensuring a smooth and engaging learning experience. Throughout the duration of the course, users can track their progress, view completion status, and monitor their achievements within the Odoo 17 eLearning platform. Interactive dashboards and progress trackers provide real-time insights into course completion rates, quiz scores, and overall performance metrics. Learners can stay motivated and focused as they work towards mastering new skills and earning course certifications.
Selling your e-Learning course on the Odoo 17 website can be a rewarding endeavor with the right strategy and execution. By following the steps outlined in this guide, you can create a high-quality course, effectively market it to your target audience, and provide an engaging learning experience for your students. With Odoo's comprehensive features and customizable options, you have the tools you need to succeed in the competitive e-Learning market. Start building and selling your e-Learning course on Odoo 17 today!