Odoo 20 is an open-source business management platform that brings a wide range of applications together in one system. It can be installed on different operating systems, including Windows. Although Odoo is commonly deployed on Linux servers, Windows users can also install and run Odoo 20 for development, testing, and other business purposes.
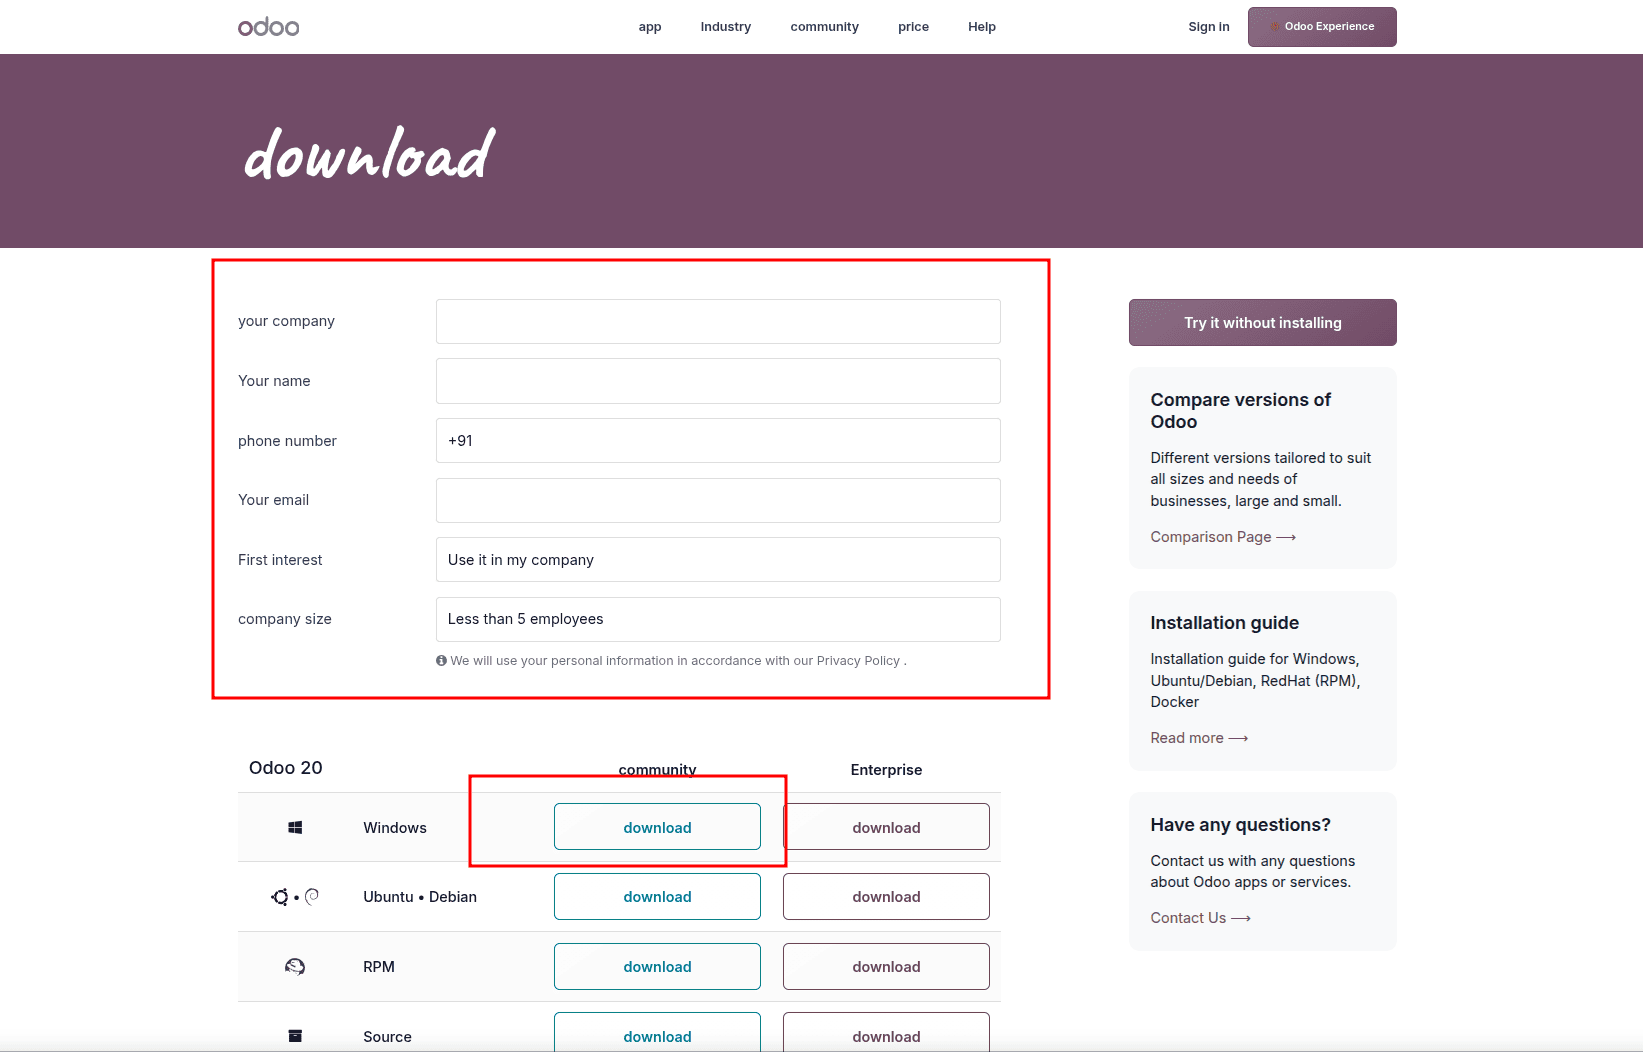
To download Odoo 20, visit the official Odoo download page. Find the download section and provide the requested information, such as your name, email address, phone number, company details, and how you plan to use Odoo. After completing the form, locate Odoo 20 and select the appropriate Windows installer. Click the Download button to start downloading the installer to your system.
Once the download is complete, the Odoo installer will be available as an executable file in your system’s Downloads folder.
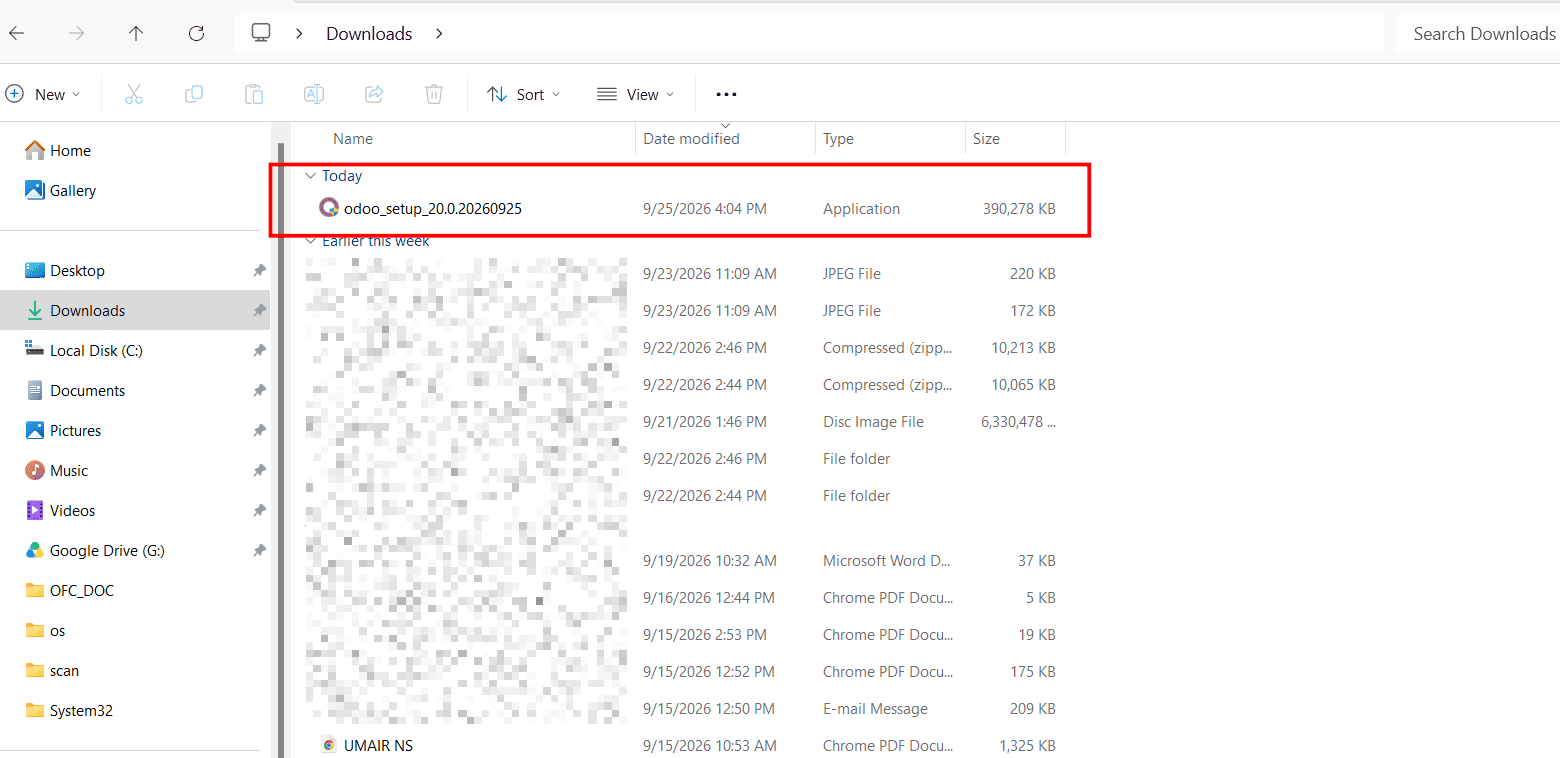
Double-click the downloaded installer to start the setup. The Odoo installation wizard will open in a new window and guide you through the required steps to complete the installation.
When the system asks for permission to proceed with the installation, click Yes. The Odoo Setup Wizard will then open. Click Next to continue with the installation process.
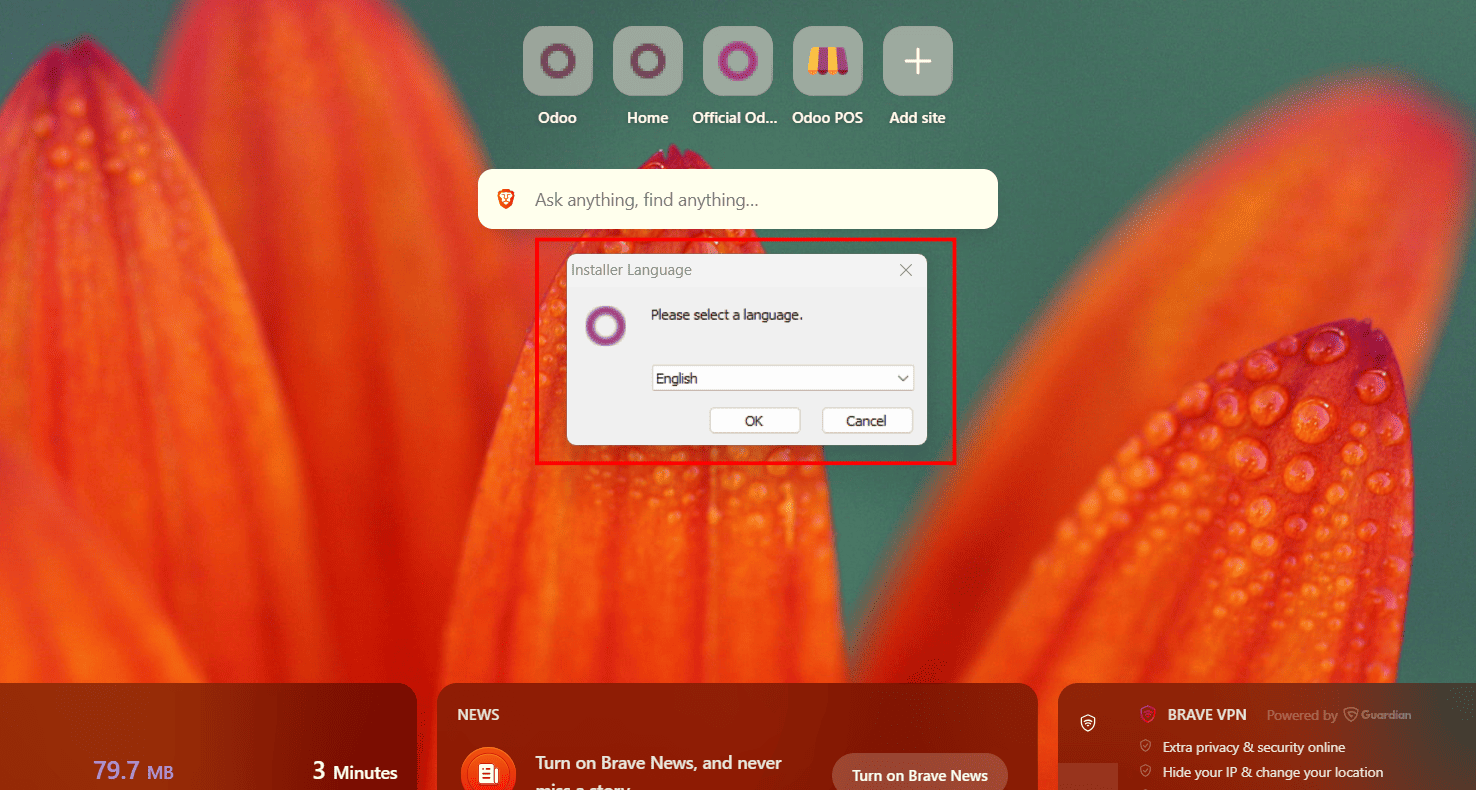
After clicking OK, the Odoo 20 Setup Wizard will open. Click Next to proceed with the installation. Continue selecting Next to move through each stage of the setup process.
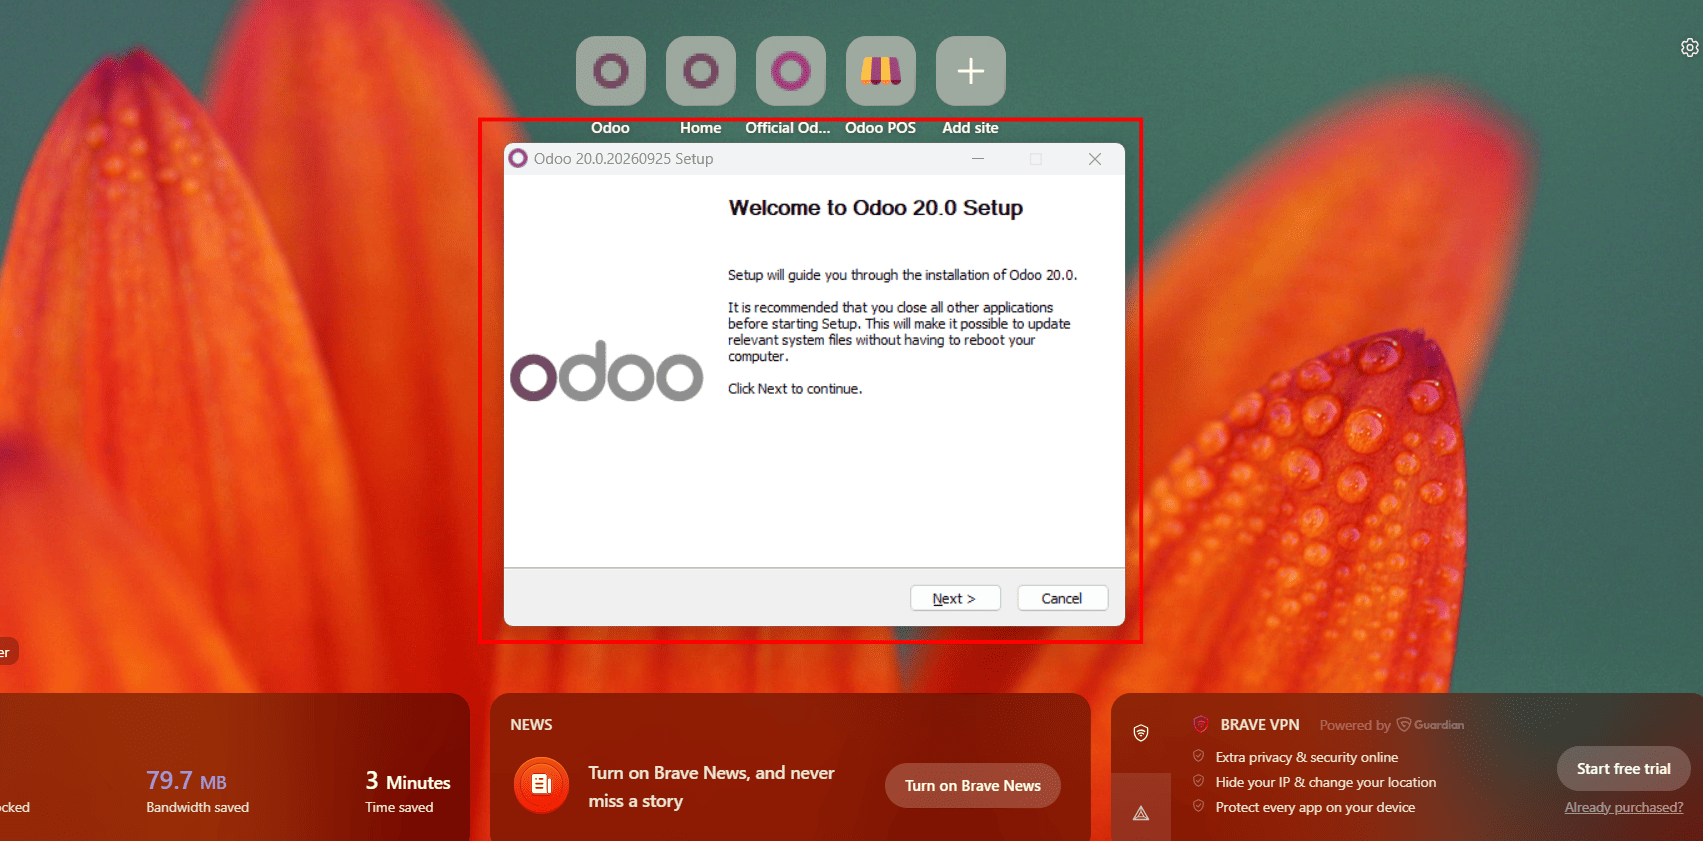
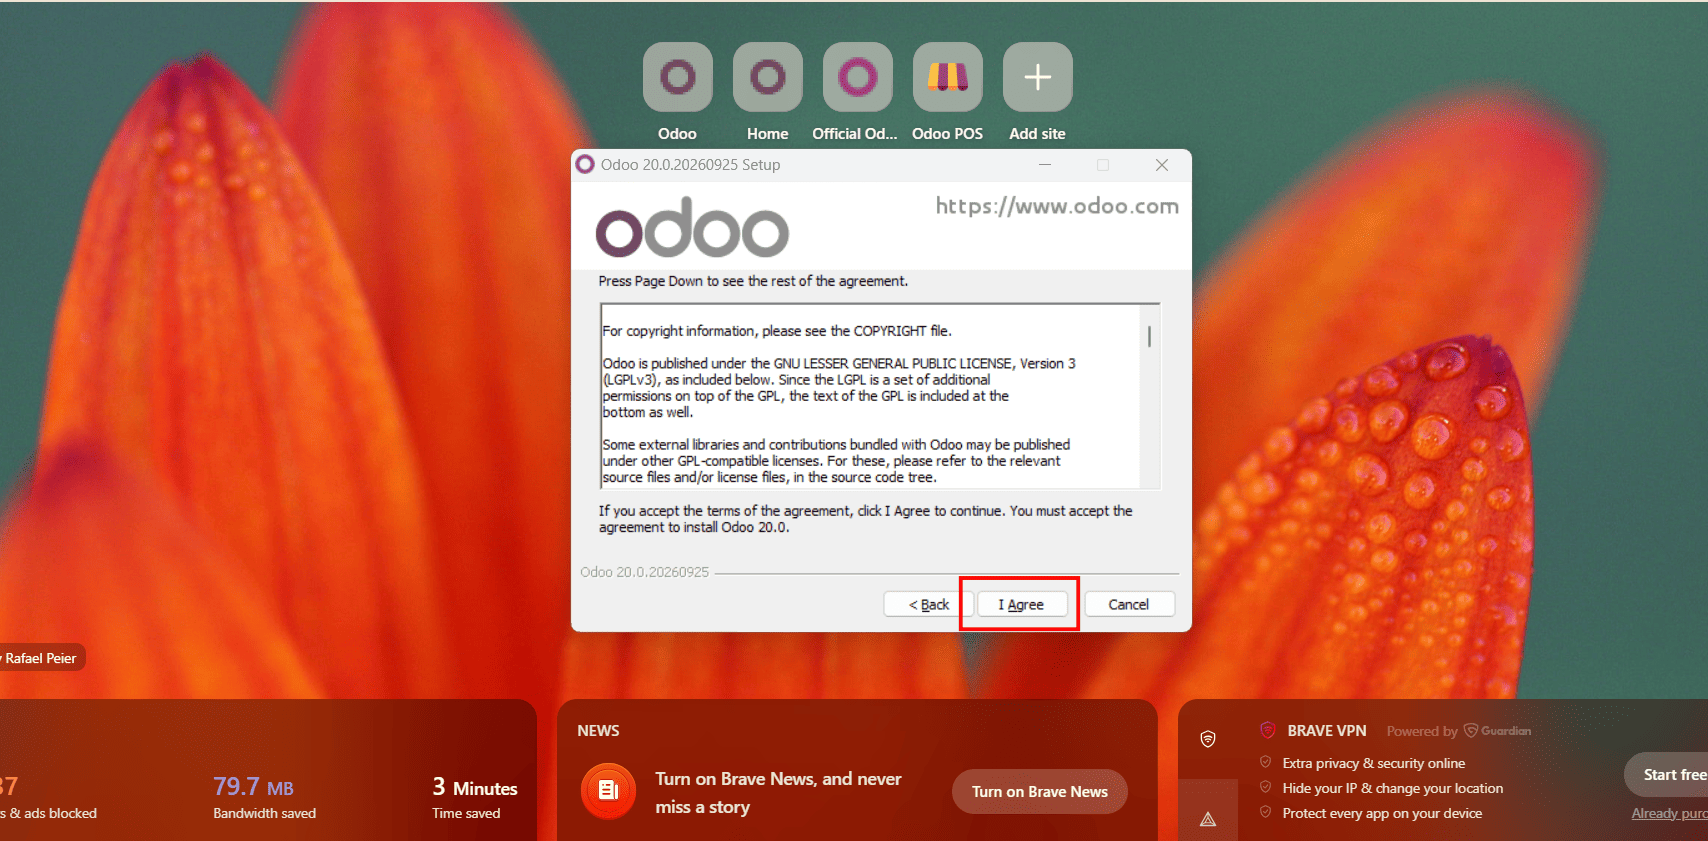
Click Next to continue. The installer will display the Copyright Information and License Agreement screen. Review the terms, and then click I Agree to proceed with the installation.
A database configuration page will appear. Here, we can select the Odoo server or PostgreSQL. If PostgreSQL is already installed in your system, it can't be ticked here. Click on Next.
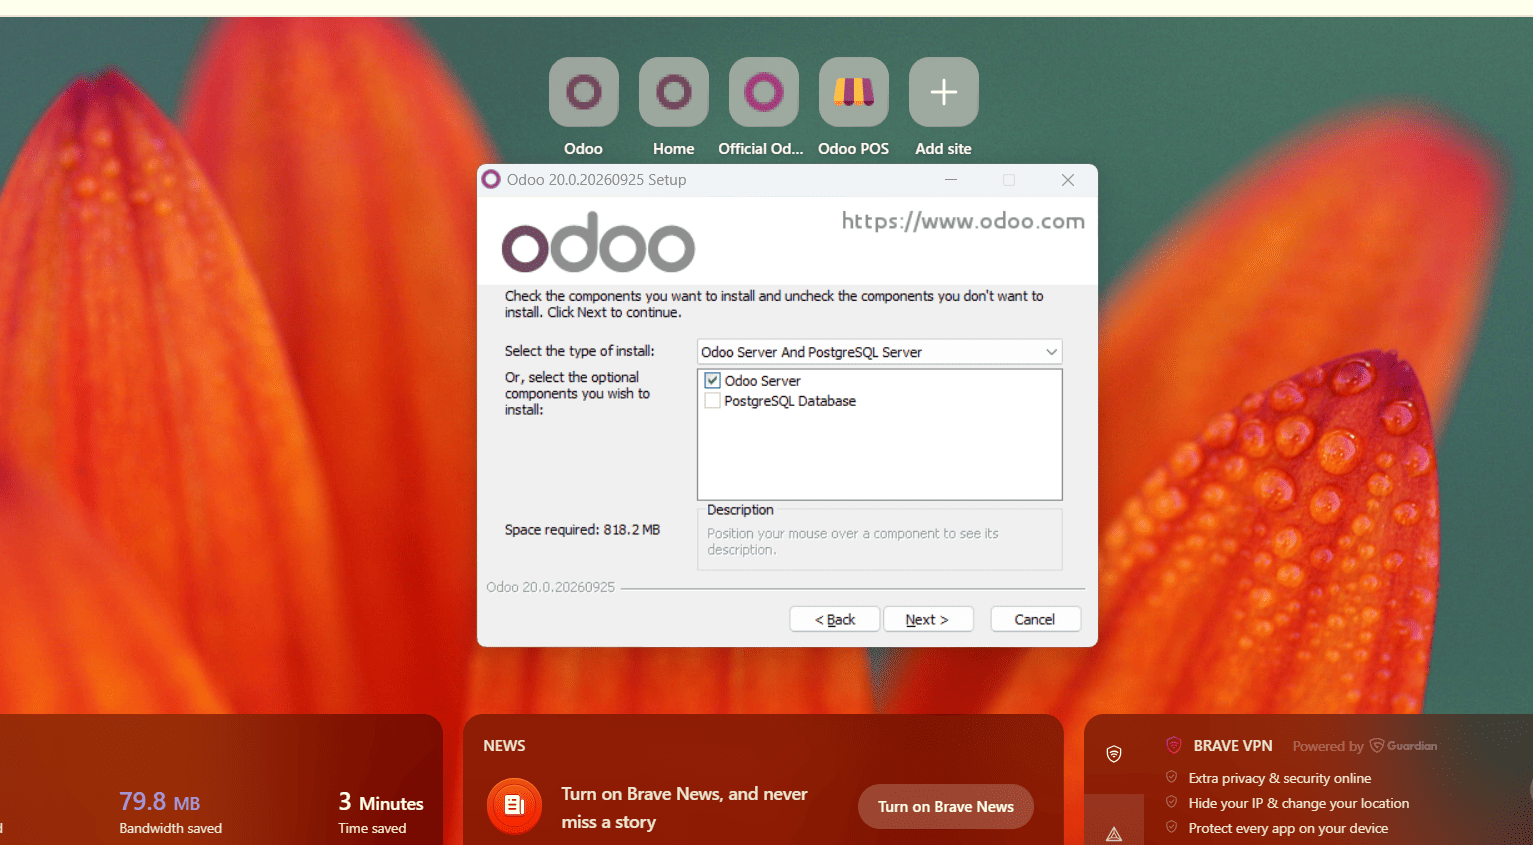
Otherwise, tick on PostgreSQL and download to the system. Next, the PostgreSQL configuration screen will appear. Enter the required database connection details, including the Host Name, Port, Username, and Password. After entering the details, click Next to continue.
In the next step, select the installation directory where Odoo will be installed on your Windows system. You can use the default location provided by the installer or click Browse to choose a different folder. Once you have selected the desired location, click Next to continue.
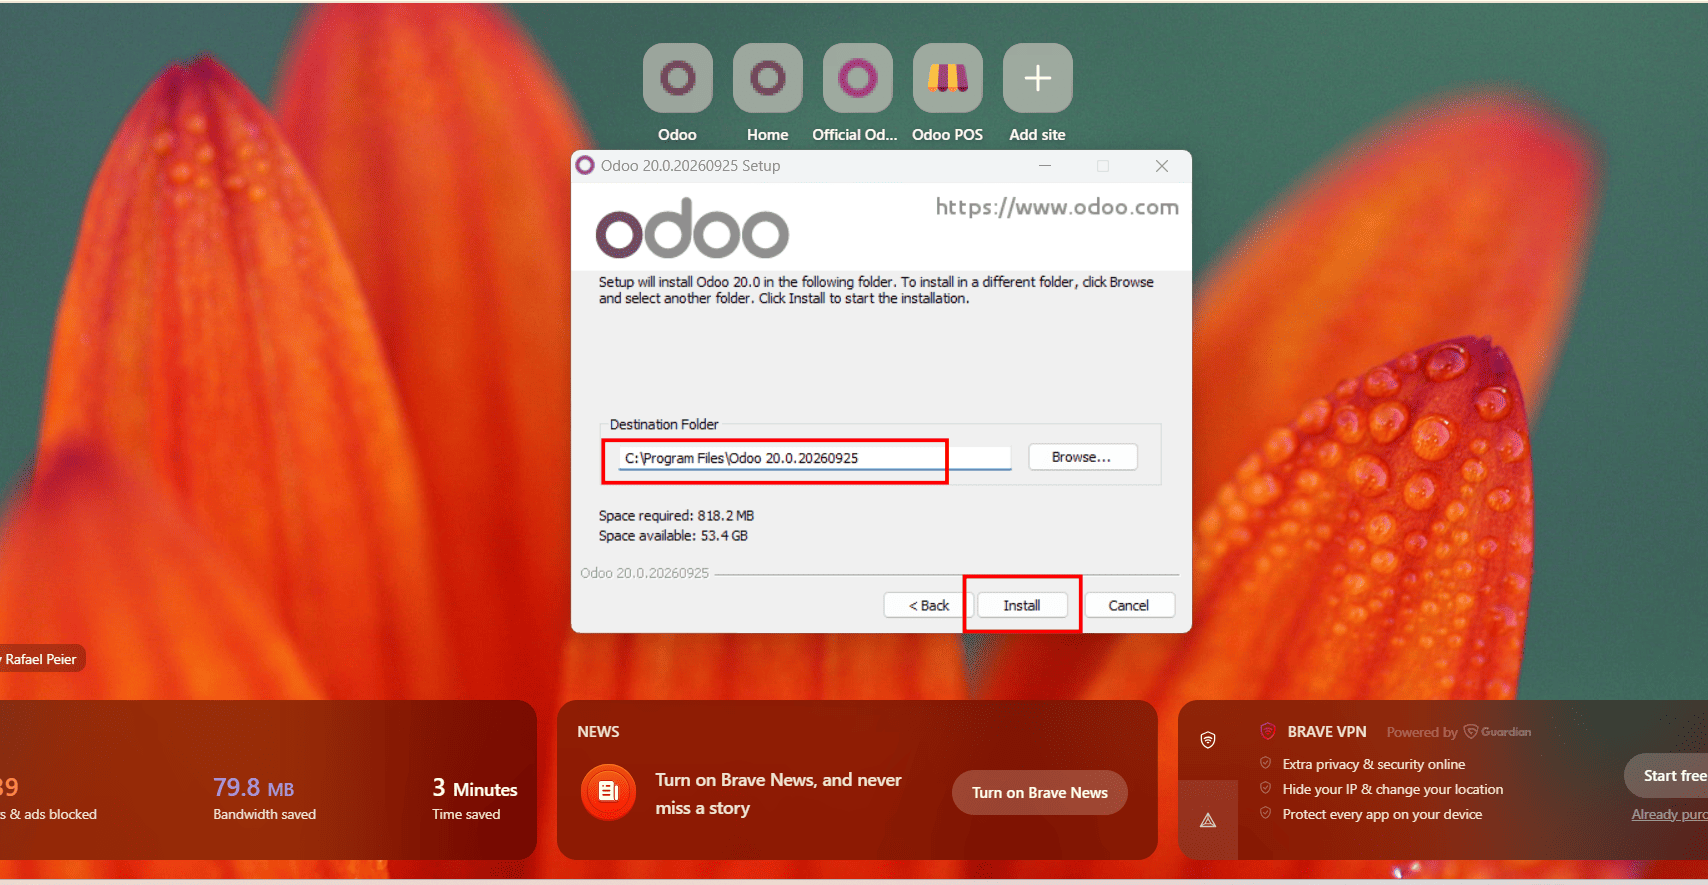
Click Next to begin the Odoo installation. The setup wizard will copy the required files and complete the necessary configuration automatically. The installation may take a few minutes, so wait until the process is finished.
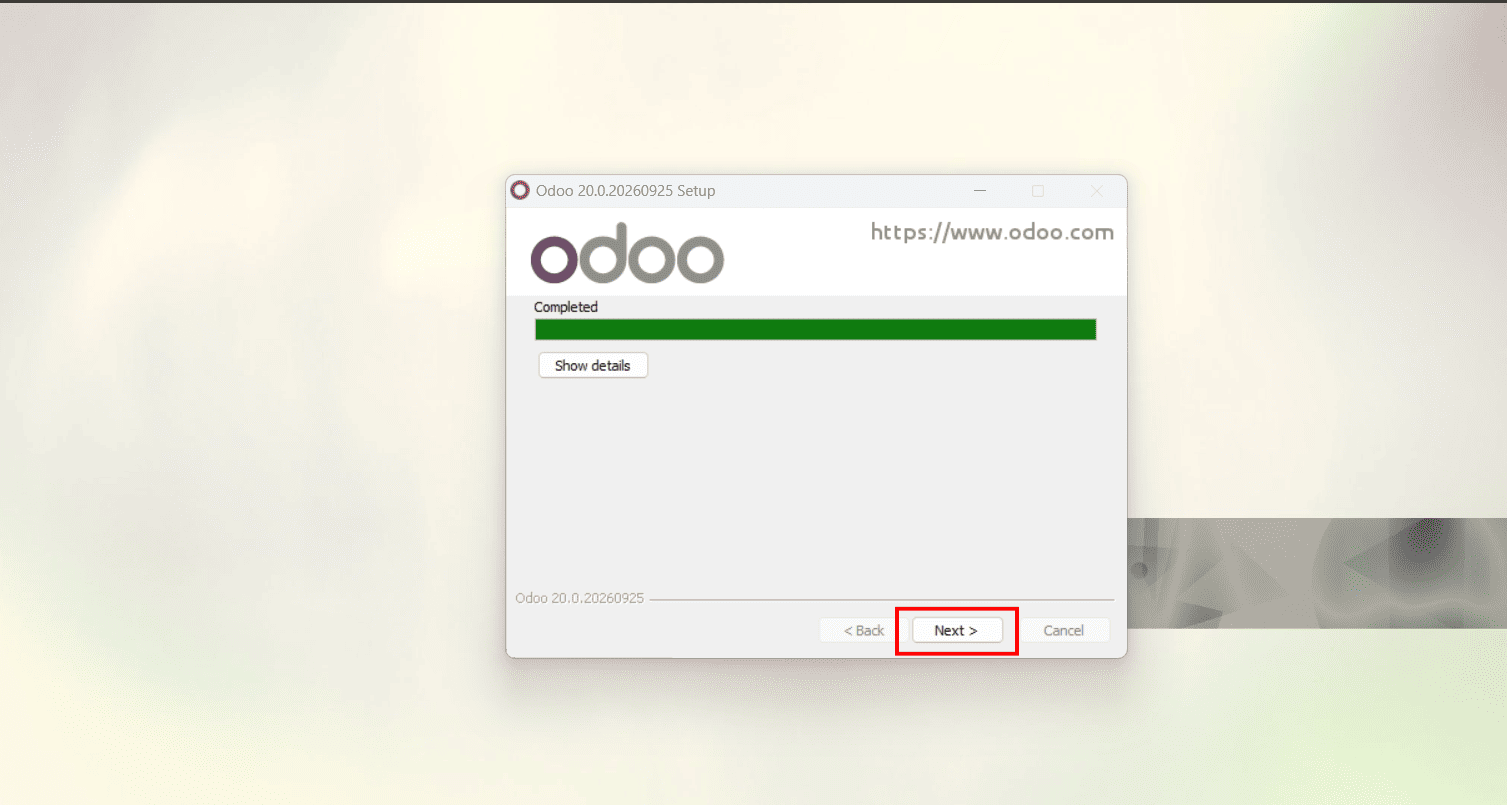
Once the installation is complete, click Next to move on to the final setup steps.
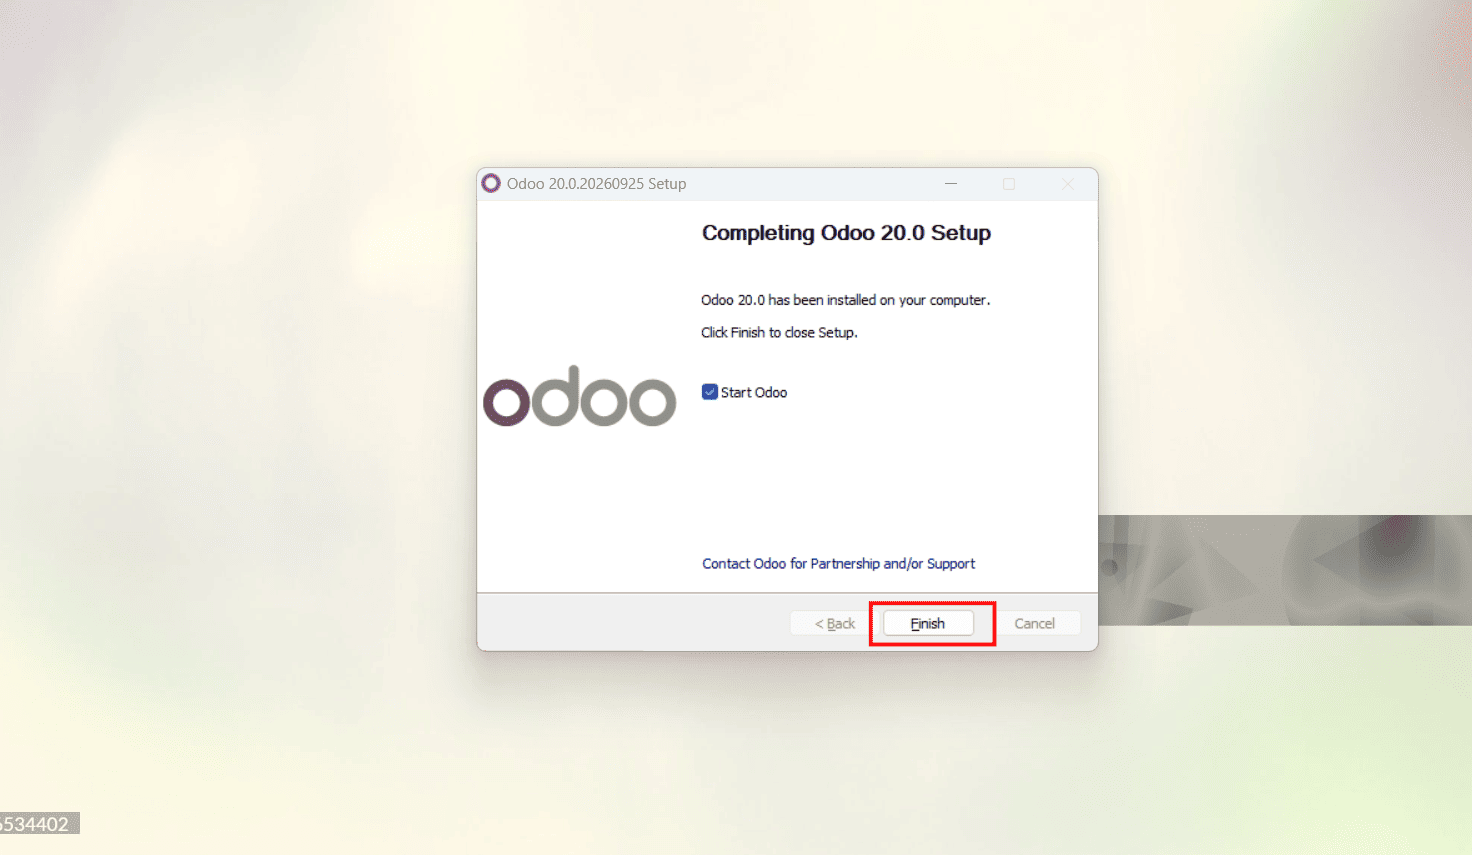
After the installation, the Odoo Database Manager will open. Set a Master Password, which is used to manage the Odoo databases. Then, enter a Database Name and provide the Email and Password for the administrator account. Once all the required details are entered, click Create Database to complete the setup.
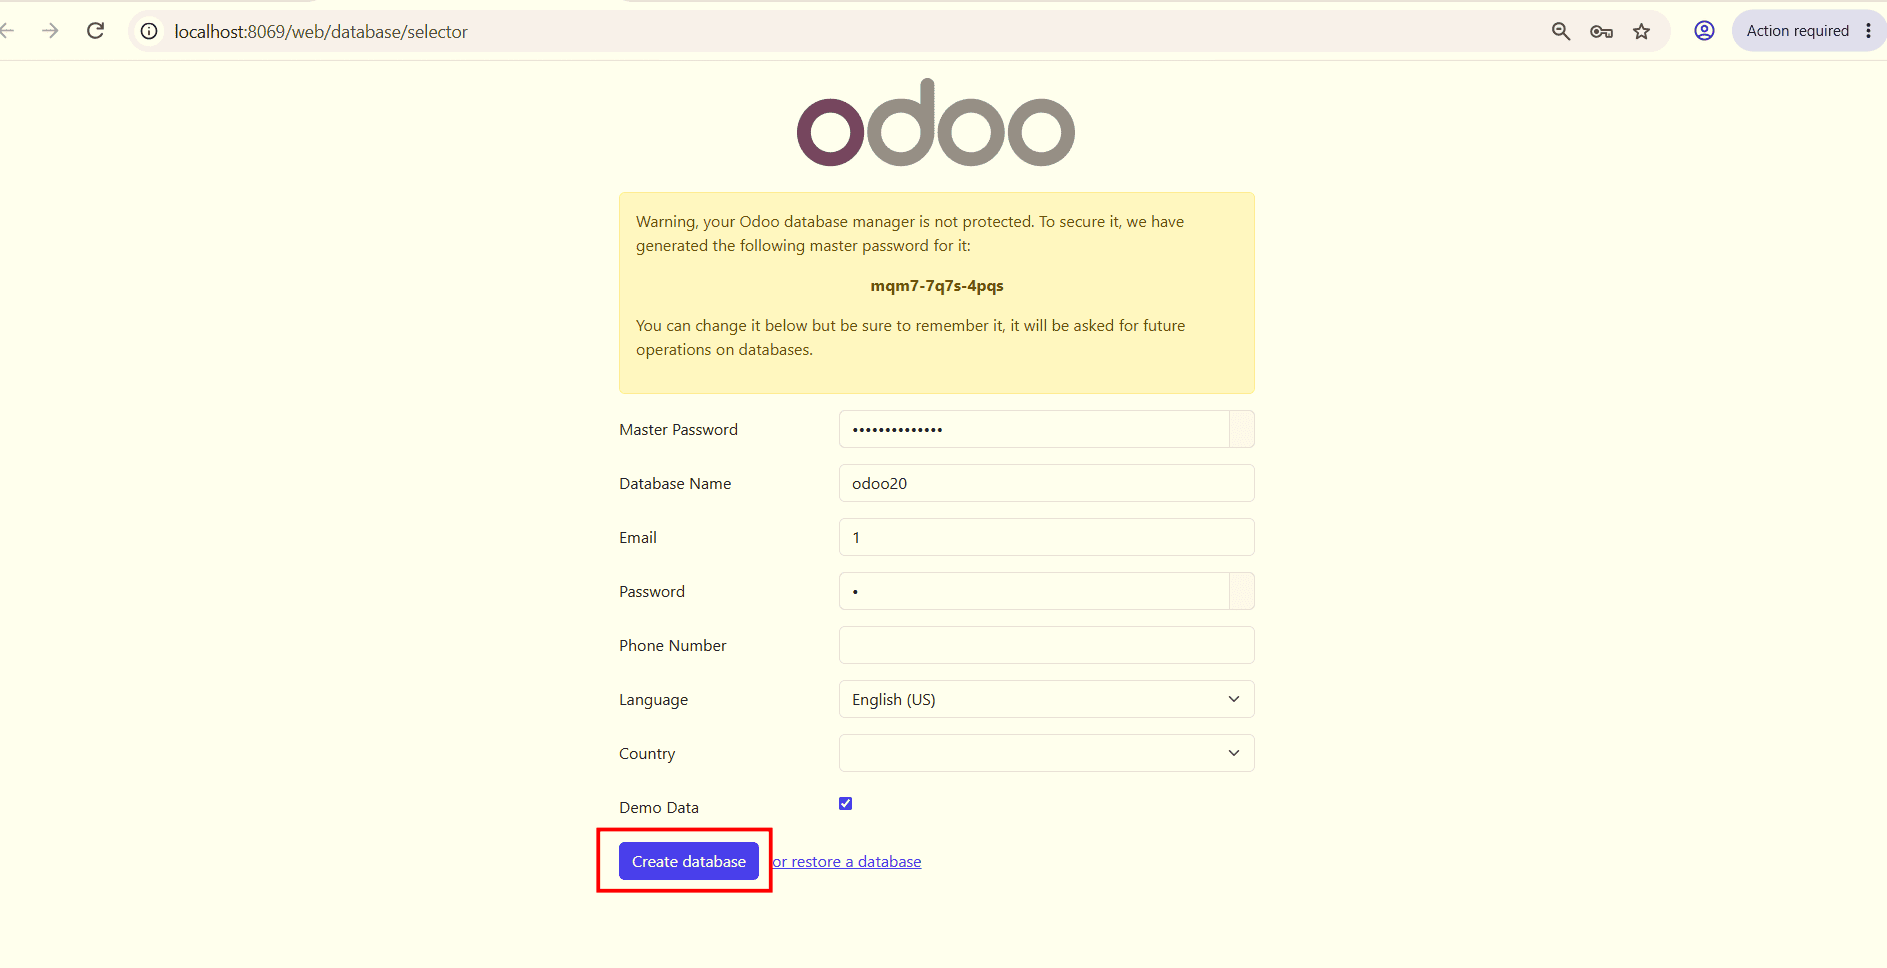
Click Create Database to finish creating the database. Once the database is ready, Odoo will take you to the login page. Enter the Email and Password you configured during database creation, then click Login to access your Odoo 20 dashboard.
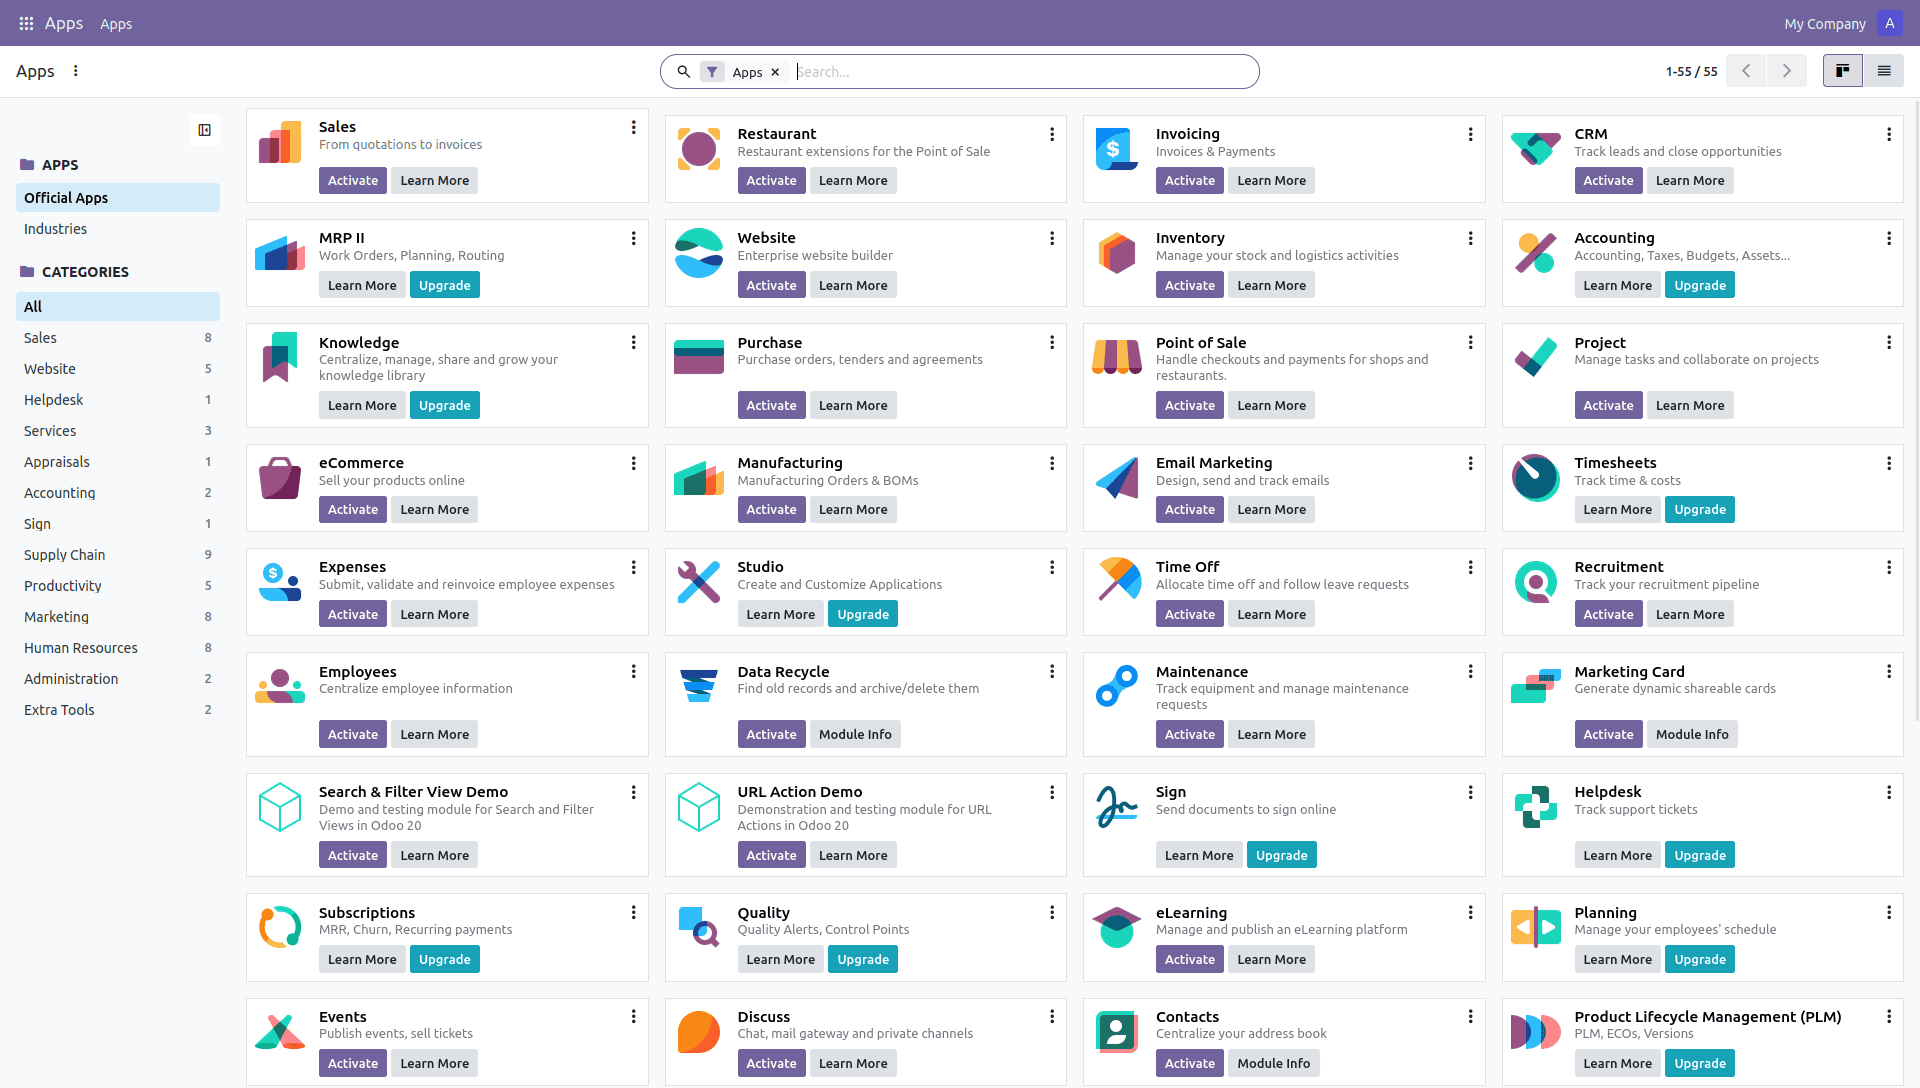
After logging in, you can install the Odoo applications that fit your business requirements, such as Sales, Purchase, Inventory, Accounting, and CRM. Configure the applications according to your workflow and start using Odoo 20 on your Windows system.
To read more about How to Set Up Odoo 20 Development Environment Using PyCharm on Windows, refer to our blog, How to Set Up Odoo 20 Development Environment Using PyCharm on Windows.