In this blog, let’s discuss a practical demonstration of UseOwnedDialogs in Odoo 18. This is a powerful hook in Odoo that wraps the dialogue services and automatically closes the opened dialogue when the component is unmounted. Let's see how to implement this hook in your custom module step-by-step to make your business logic more powerful and efficient.
Let's start by creating a module with the following manifest structure
{
    "name": "Your Module Name",
    "version": "18.0.1.0.0",
    "summary": "",
    "description": """
    """,
    "author": "Your Name",
    "website": "https://yourwebsite.com",
    "category": "Tools",
    "depends": ["web"],
    "data": [
         "views/your_module_actions.xml"
    ],
    "assets": {
        "web.assets_backend": [
            "your_module_name/static/src/components/components.xml",
            "your_module_name/static/src/components/components.js",
        ],
    },
    "installable": True,
    "application": False,
    "license": "LGPL-3",
}
This hook is mainly used for the effective development of modals and pop-ups used in your business logic.
First, create the component to implement the hook in our custom module development. Create the component.js file in your static/src/components directory.
/** @odoo-module **/
import { registry } from "@web/core/registry";
import { Component, useState } from "@odoo/owl";
import { useOwnedDialogs } from "@web/core/utils/hooks";
import { ConfirmationDialog } from "@web/core/confirmation_dialog/confirmation_dialog";
import { useService } from '@web/core/utils/hooks';

class CustomAction extends Component {
    static template = "your_module_name.CustomAction";
    setup() {
        this.addDialog = useOwnedDialogs();
        this.action = useService("action");
        this.state = useState({
            message: "Click the button below to open a modal popup.",
        });
    }
    onButtonClick() {
        this.addDialog(ConfirmationDialog, {
            body: ("Are you sure you want to exit"),
            confirm: async () => {
                this.action.doAction({
                    type: "ir.actions.act_url",
                    url: `/web`,
                    target: "self",
                });
            },
            cancel: () => {},
        });
    }
}
registry.category("actions").add("your_module_name.action_js", CustomAction);
Now, create the component.xml under the static/src/components directory
<?xml version="1.0" encoding="UTF-8"?>
<templates xml:space="preserve">
    <t t-name="your_custom_module.CustomAction">
        <div class="o_action_manager" style="display:flex; justify-content:center; align-items:center; height:100%; width:100%;">
            <div class="o_custom_action text-center p-5 border rounded shadow-sm bg-white">
                <h1 class="text-primary mb-4">OWL Client Action</h1>
                <p class="mb-4" t-esc="state.message"/>
                <button class="btn btn-primary" t-on-click="onButtonClick">
                    Open Modal Popup
                </button>
            </div>
        </div>
    </t>
</templates>
So, we have successfully created a custom component and its corresponding template.
Now let’s create the required action and menus to view the created custom component and hooks used in it.
Add the below actions and menus in your your_module_actions.xml inside your views directory.
<?xml version="1.0" encoding="utf-8"?>
<odoo>
   <!-- Client action -->
   <record id="action_custom_owl" model="ir.actions.client">
       <field name="name">Custom OWL Action</field>
       <field name="tag">your_module_name.action_js</field>
   </record>
  <!-- Root Menu-->
  <menuitem id="menu_custom_owl_root"
         name="OWL Action"
         sequence="10"/>
  <!-- Child menu to view the created component -->
  <menuitem id="menu_custom_owl_action"
         name="My OWL Action"
         parent="menu_custom_owl_root"
         action="action_custom_owl"
         sequence="10"/>
</odoo>
Our module structure is completed. Now, let’s install the module from the app store.
Once it is installed successfully, you can see our root menu created in the apps section.
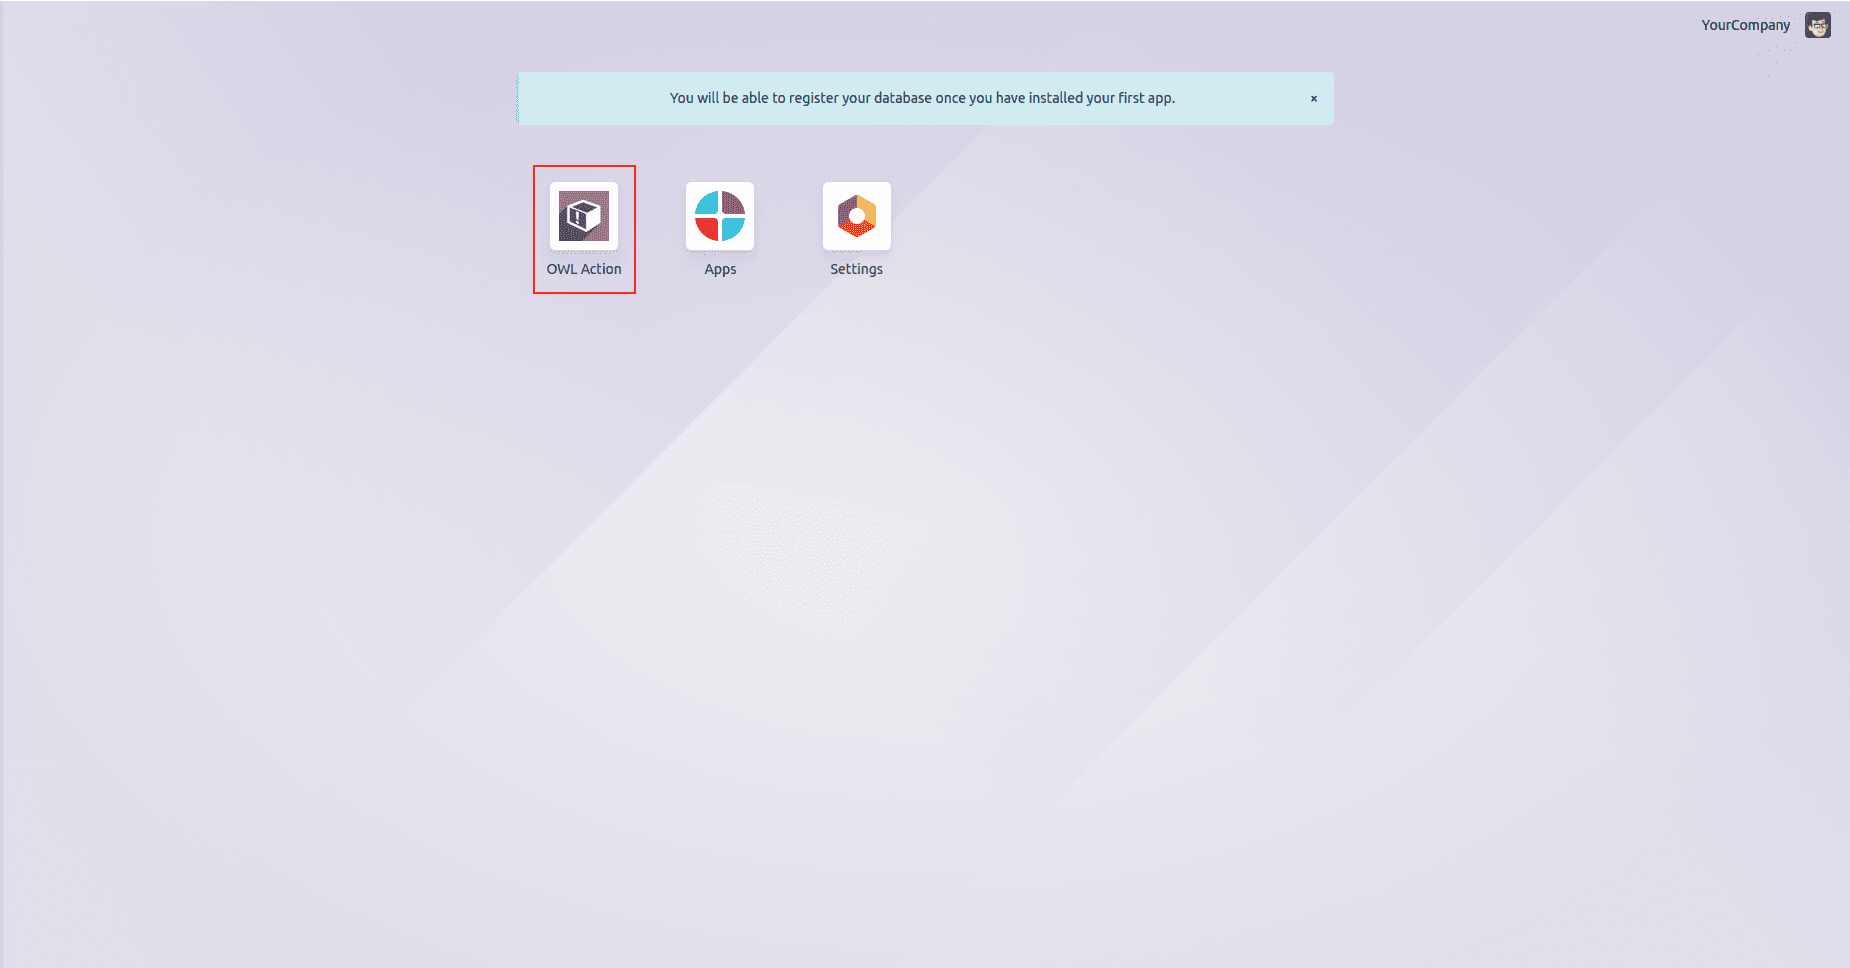
Now, click on the above root menu to open the created custom component.
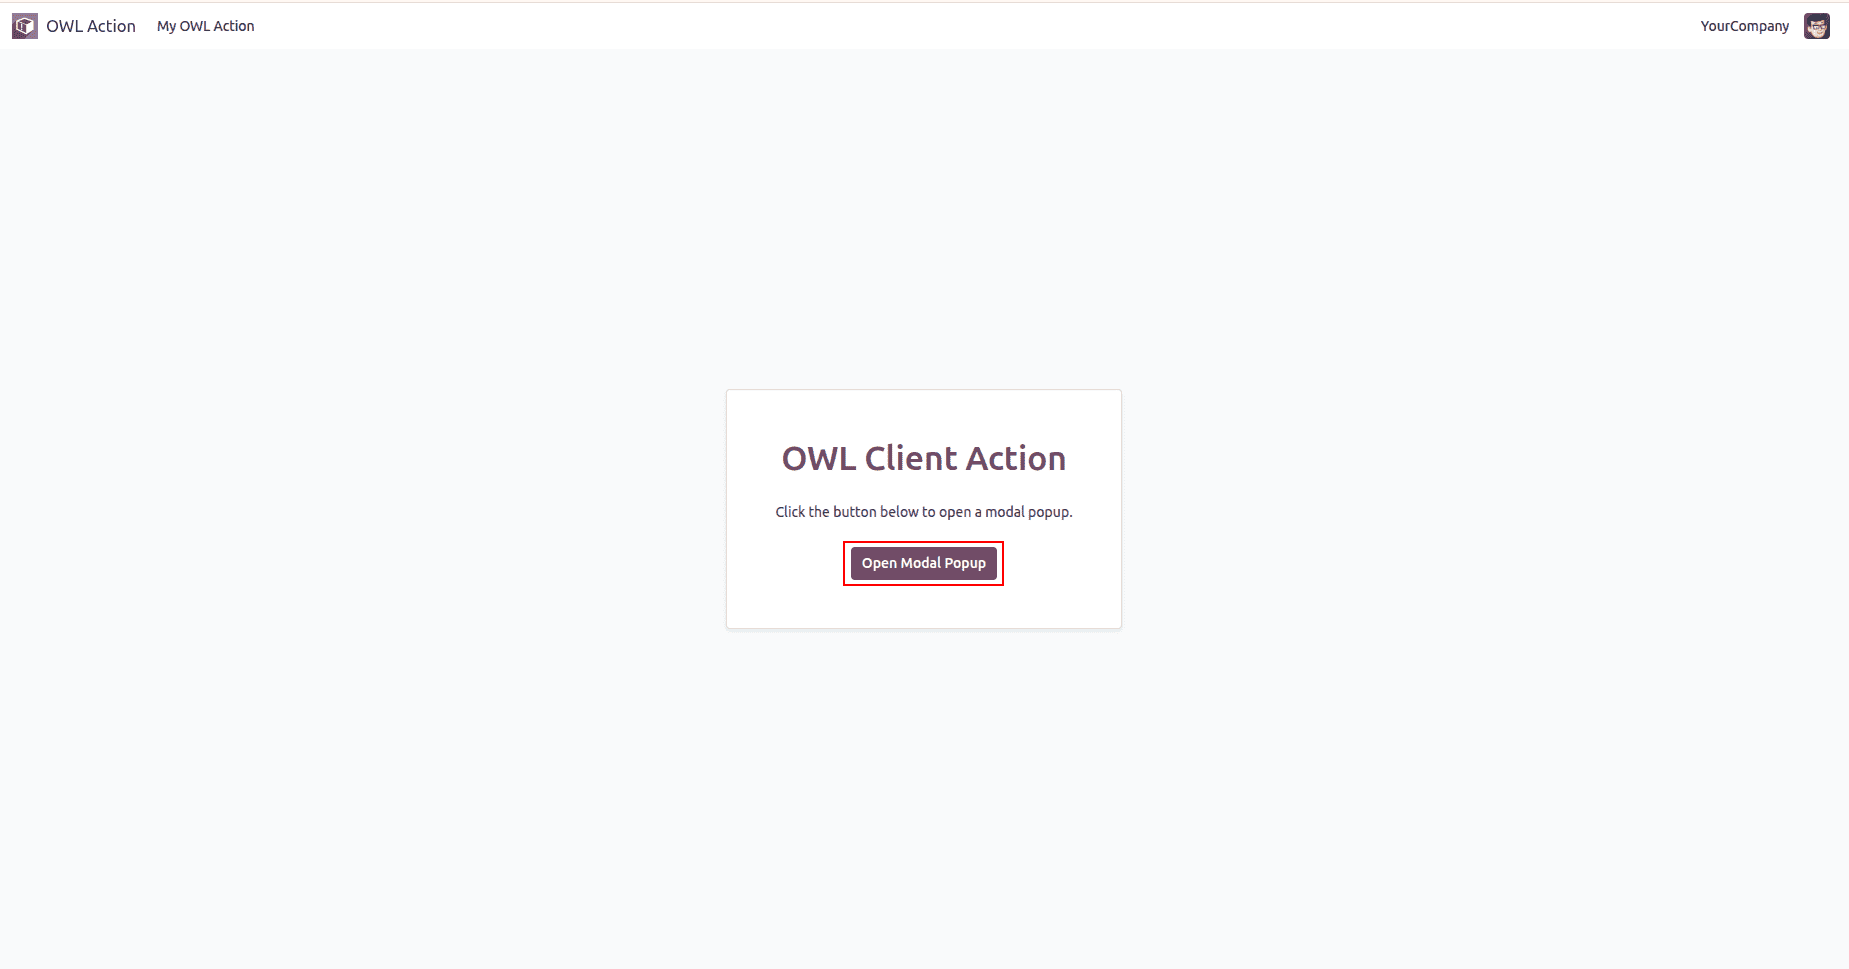
Here, you can see the Open Modal Popup button in the component. Click on the button to view the dialog opened by the useOwnedDialogs hook.
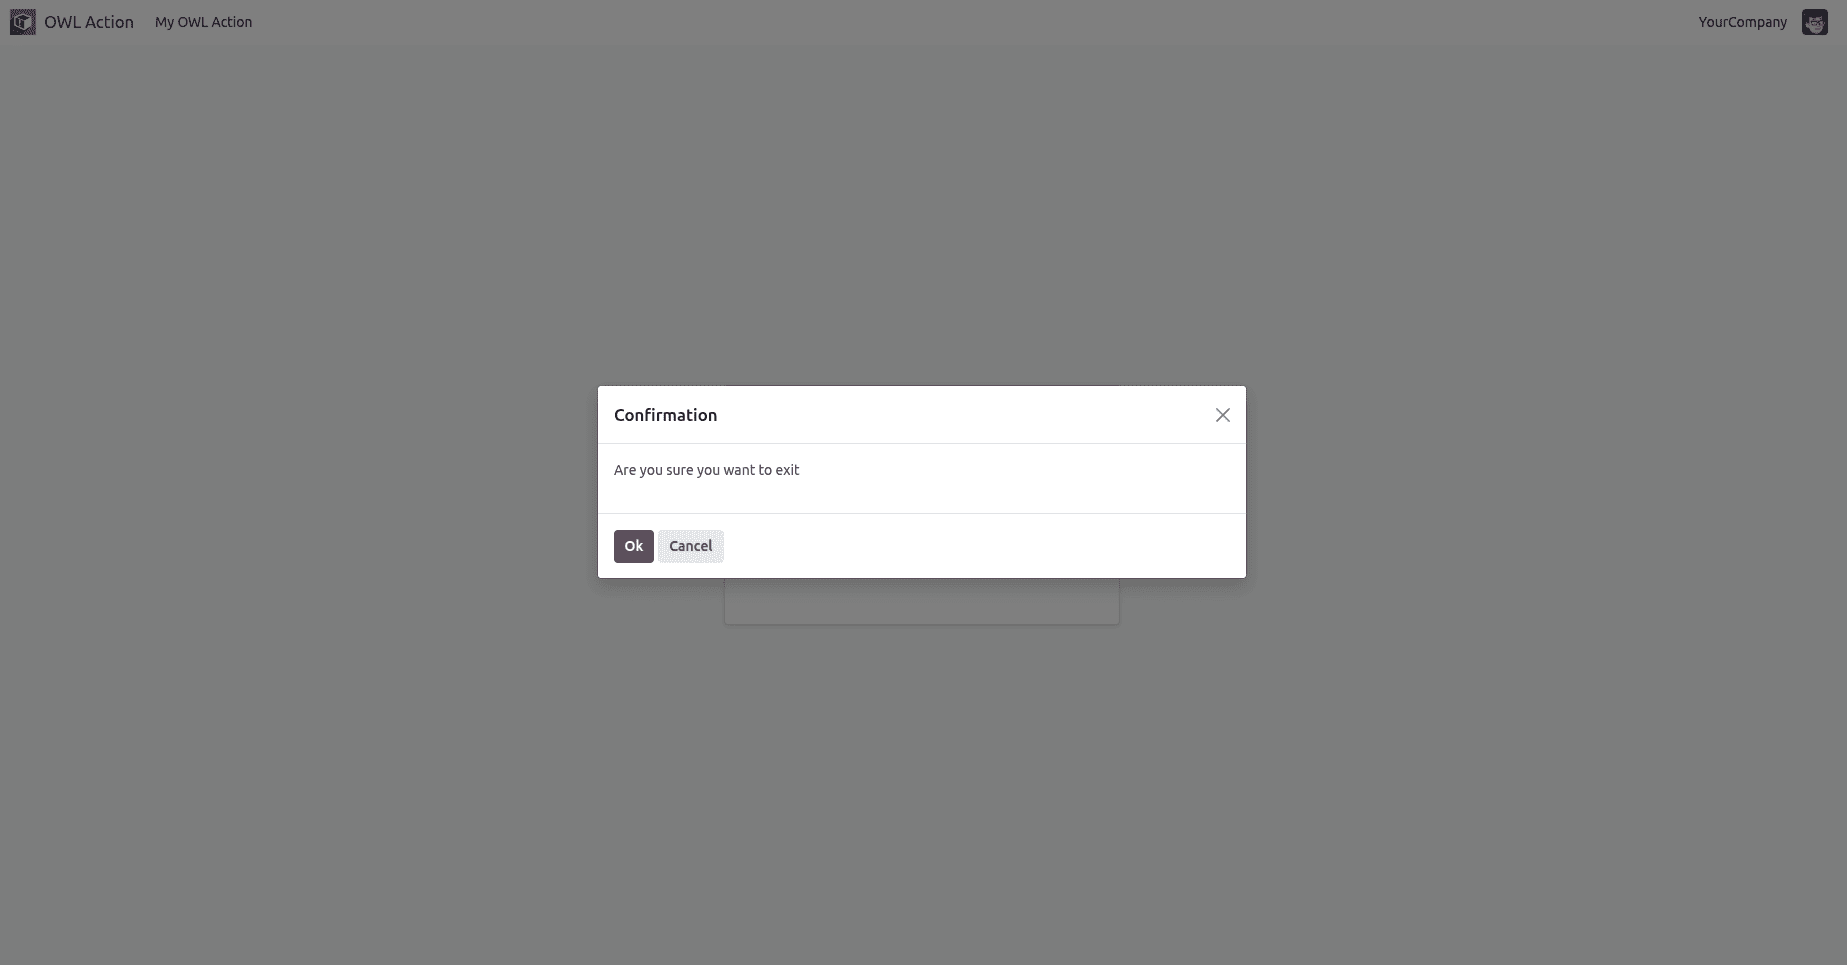
Even if the component is removed from the client session while the dialog is still open, this hook makes sure to close while the component is removed or unmounted from the DOM.
In this blog, we have discussed how to use the useOwnedDialogs in your custom development. The main advantage of using this hook is that it prevents memory leaks caused by components when destroyed, and the dialog opened from it is never closed.
To read more about How to use the useOwnedDialogs hook in Odoo 19, refer to our blog How to use the useOwnedDialogs hook in Odoo 19.