Odoo 18 continues to represent data through objects, which are displayed using various types of views. It supports a wide range of data visualization formats, including list view, kanban view, cohort view, pivot view, and calendar view. Introduced in Odoo 17 and further improved in Odoo 18, the hierarchical view provides a clear and structured way to visualize relationships within data, enhancing the overall effectiveness of information presentation in the system.
This blog explains the process of creating a basic hierarchical view in Odoo 18.
Hierarchical view:
Create the Python Model as illustrated below:
To begin, we need to define a new Python model, for example, 'department.details'.
Below is the code for creating the department model, ensuring that both the parent_id and child_ids fields refer to the same 'department.details' model to establish a hierarchical relationship.
from odoo import fields, models
class DepartmentDetails(models.Model):
   _name = 'department.details'
   _description = 'create a new model for hierarchy'
   _rec_name = 'department'
   department = fields.Char()
   parent_id = fields.Many2one("department.details")
   child_ids = fields.One2many("department.details",'parent_id')
Create the XML View as Shown Below:
To define the XML view, follow the steps below:
First, create an action for the model using the following definition:
<record id="department_details_action" model="ir.actions.act_window">
  <field name="name">Department details</field>
  <field name="res_model">department.details</field>
  <field name="view_mode">list,form,kanban,hierarchy</field>
</record>
Create the hierarchical view like below:
<?xml version="1.0" encoding="utf-8"?>
<odoo>
   <record id="department_details_view_hierarchy" model="ir.ui.view">
       <field name="name">department.details.view.hierarchy</field>
       <field name="model">department.details</field>
       <field name="arch" type="xml">
           <hierarchy child_field="child_ids"
                       draggable="1">
               <field name="department"/>
               <templates>
                   <t t-name="hierarchy-box">
                       <div t-attf-class="o_hierarchy_node_header d-flex justify-content-center pb-4"
                            t-att-title="parent_id">
                       </div>
                       <div class="o_hierarchy_node_body d-flex flex-column text-center">
                           <div class="w-100 position-relative">
                               <field class="fw-bold" name="department"/><br/>
                           </div>
                       </div>
                   </t>
               </templates>
           </hierarchy>
       </field>
   </record>
Create Menu:
<menuitem
       id="menu_root"
       name="Pledges"
       action="department_details_action"
       sequence="10"/>
Configure Security:
Set up the necessary security permissions as outlined below.
id,name,model_id:id,group_id:id,perm_read,perm_write,perm_create,perm_unlink
Access_department_details,department.details,model_department_details,base.group_user,1,1,1,1
Also add the depends in the manifest as follows:
'depends': ['base', 'web_hierarchy',],
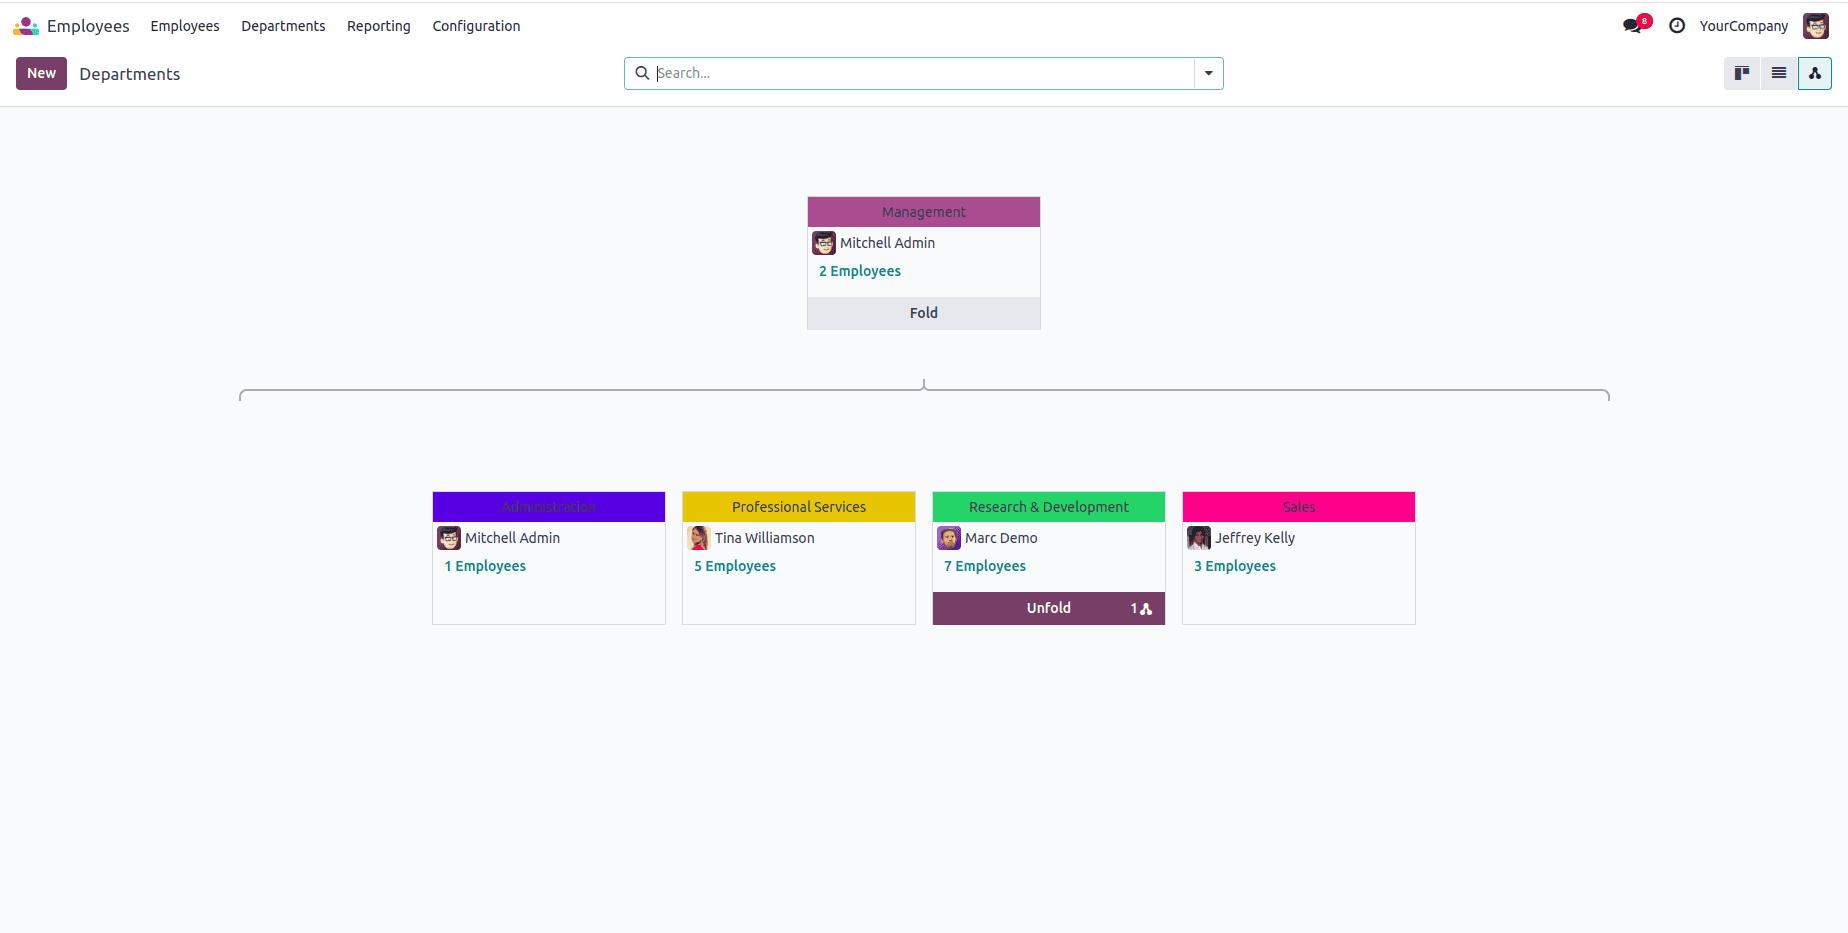
Here, we get the hierarchy view as follows.

The advanced hierarchical view feature in the Odoo platform helps streamline the operation of multiple menu functions, thereby improving the platform's overall efficiency in business management.
To read more about How to Create a Hierarchical View in Odoo 17, refer to our blog How to Create a Hierarchical View in Odoo 17.