A staging instance is a full, isolated duplicate of your live Odoo environment same database, filestore, and modules that lets you test upgrades, new modules, or risky changes without ever touching production. EasyInstance builds this in with one click: name it, wait a couple of minutes, and you have a neutralized copy ready to break and rebuild as much as you like.
Step 1 - Create a new staging instance
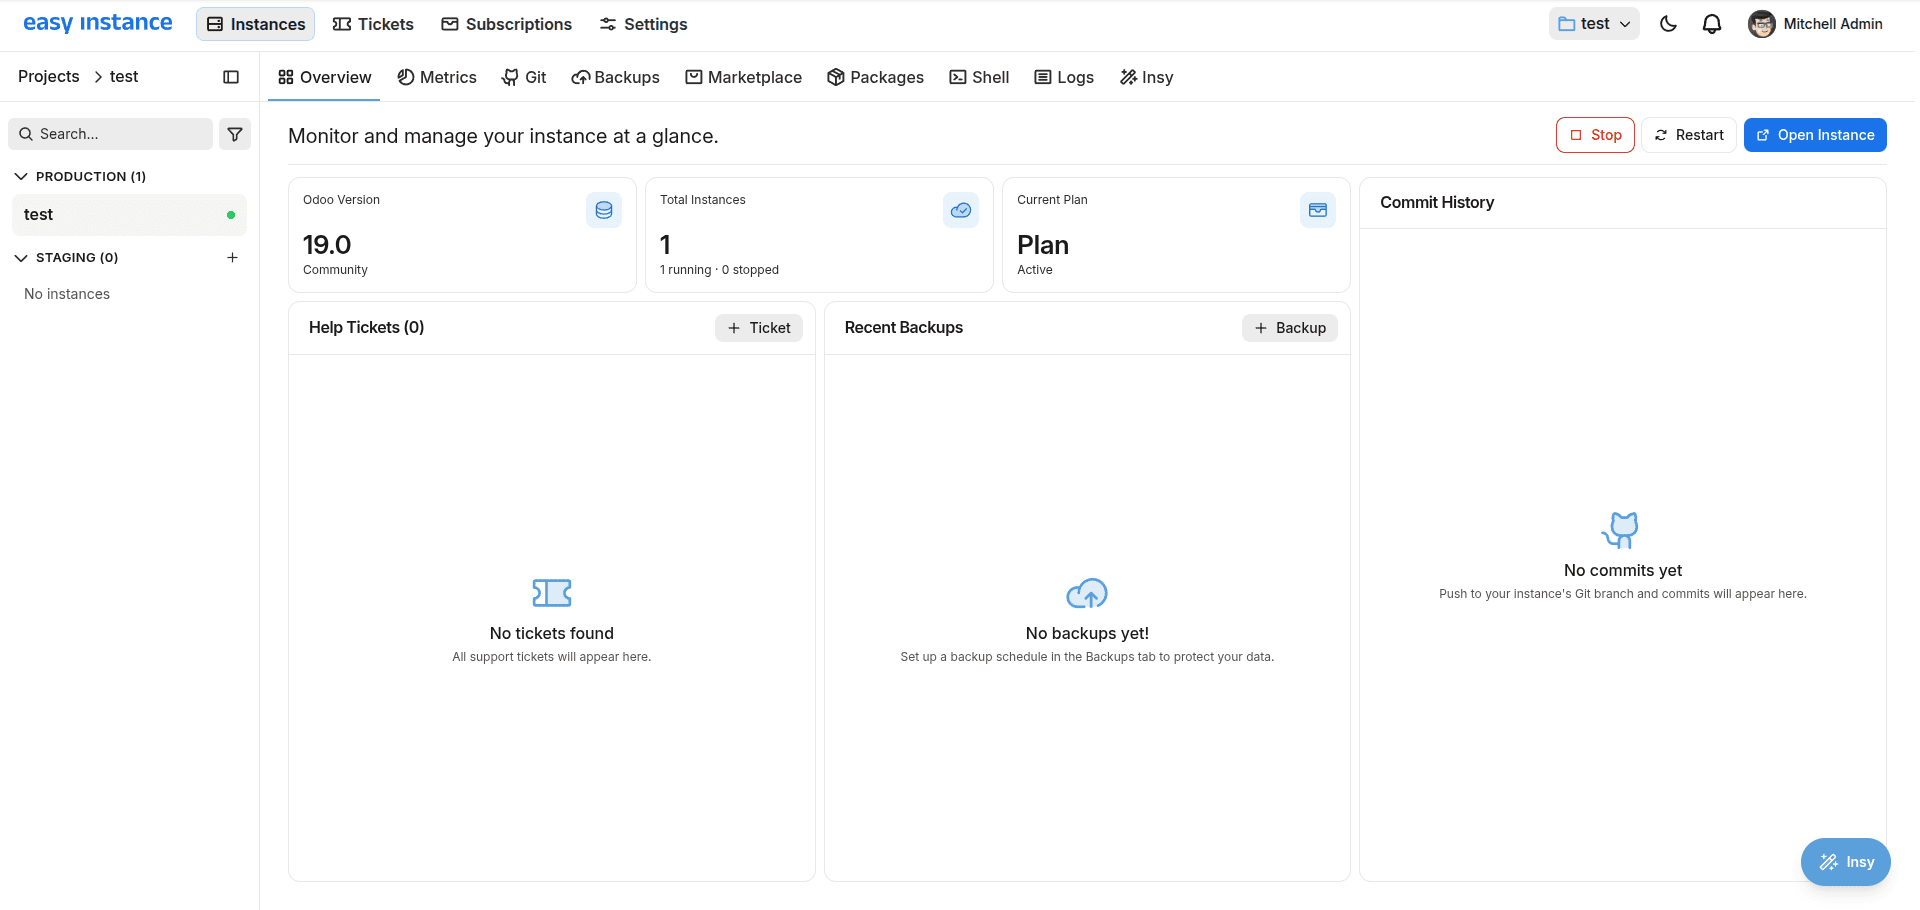
In order to be able to set up a staging instance, there needs to be an existing Odoo production instance that is running on EasyInstance. On the dashboard, click on “New Project," provide a name, select an Odoo version, and then deploy. There are two pieces of information from that step that are important for moving forward.
Two things need to be in place first:
- An active subscription - your production instance's plan must be current, not expired.
- A connected Git repository - linked under the Git tab, so EasyInstance knows which custom modules to copy in.
Step 2 - Create a staging instance
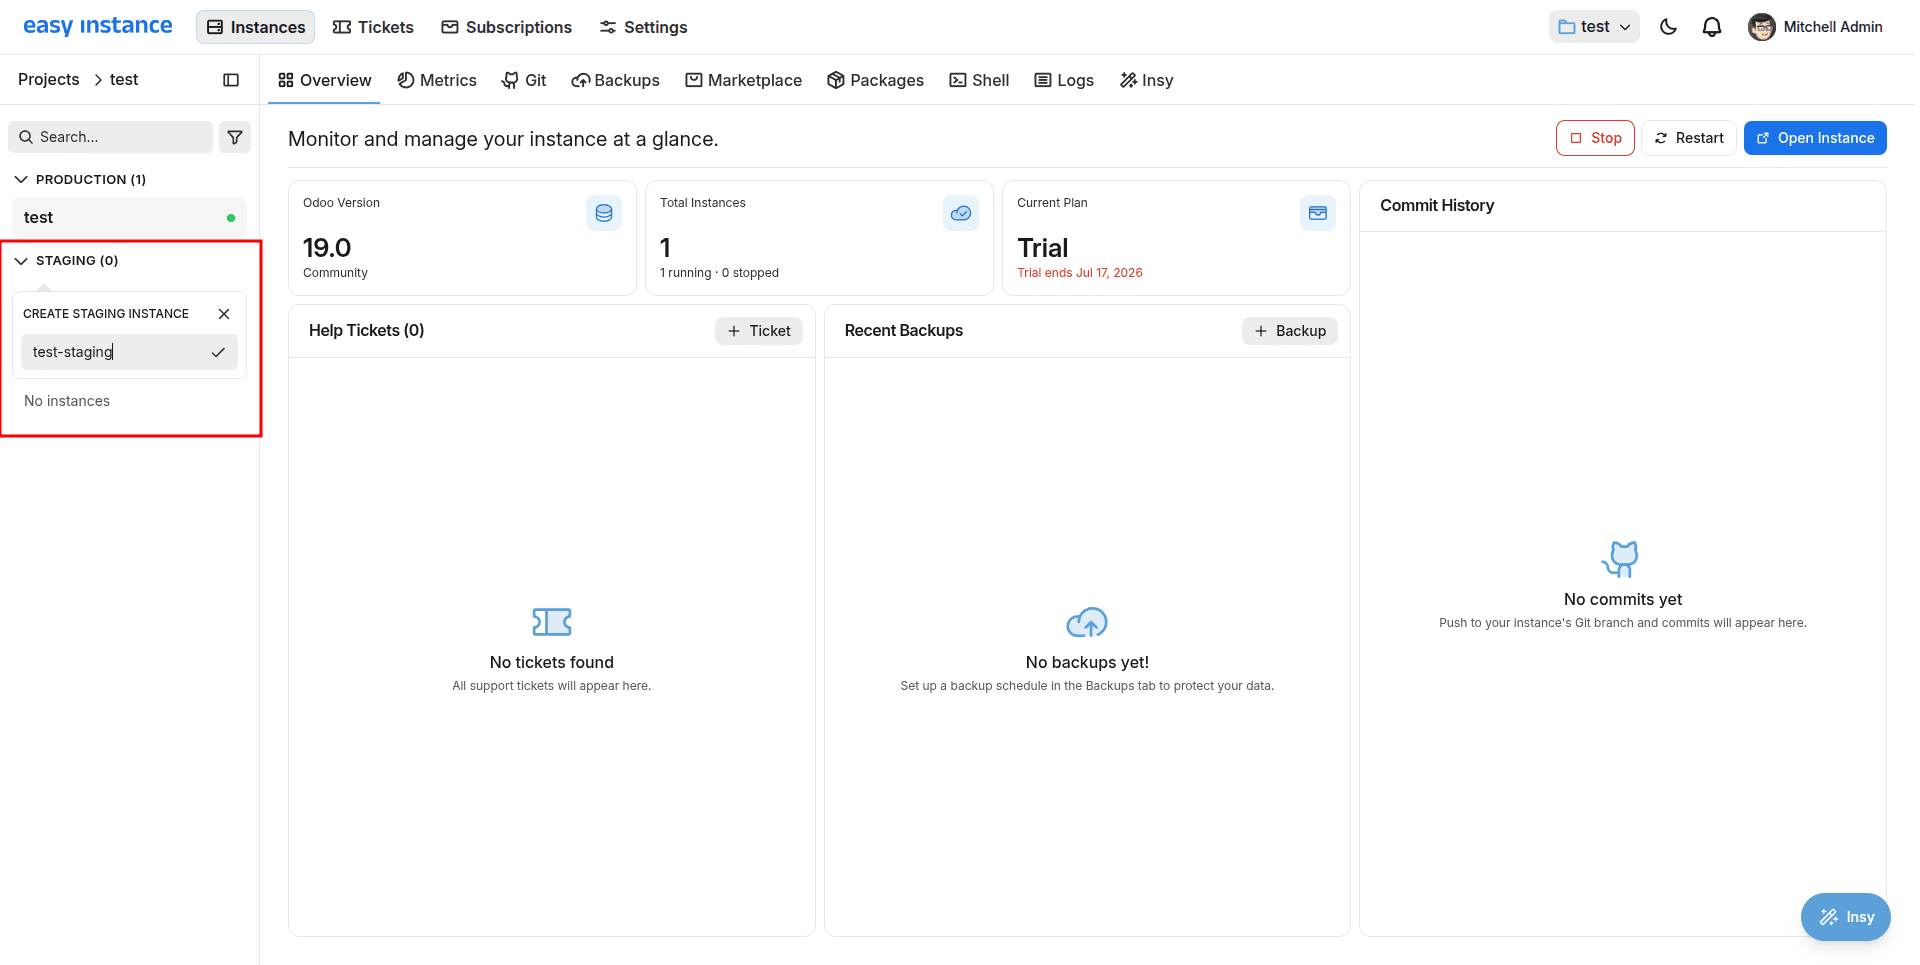
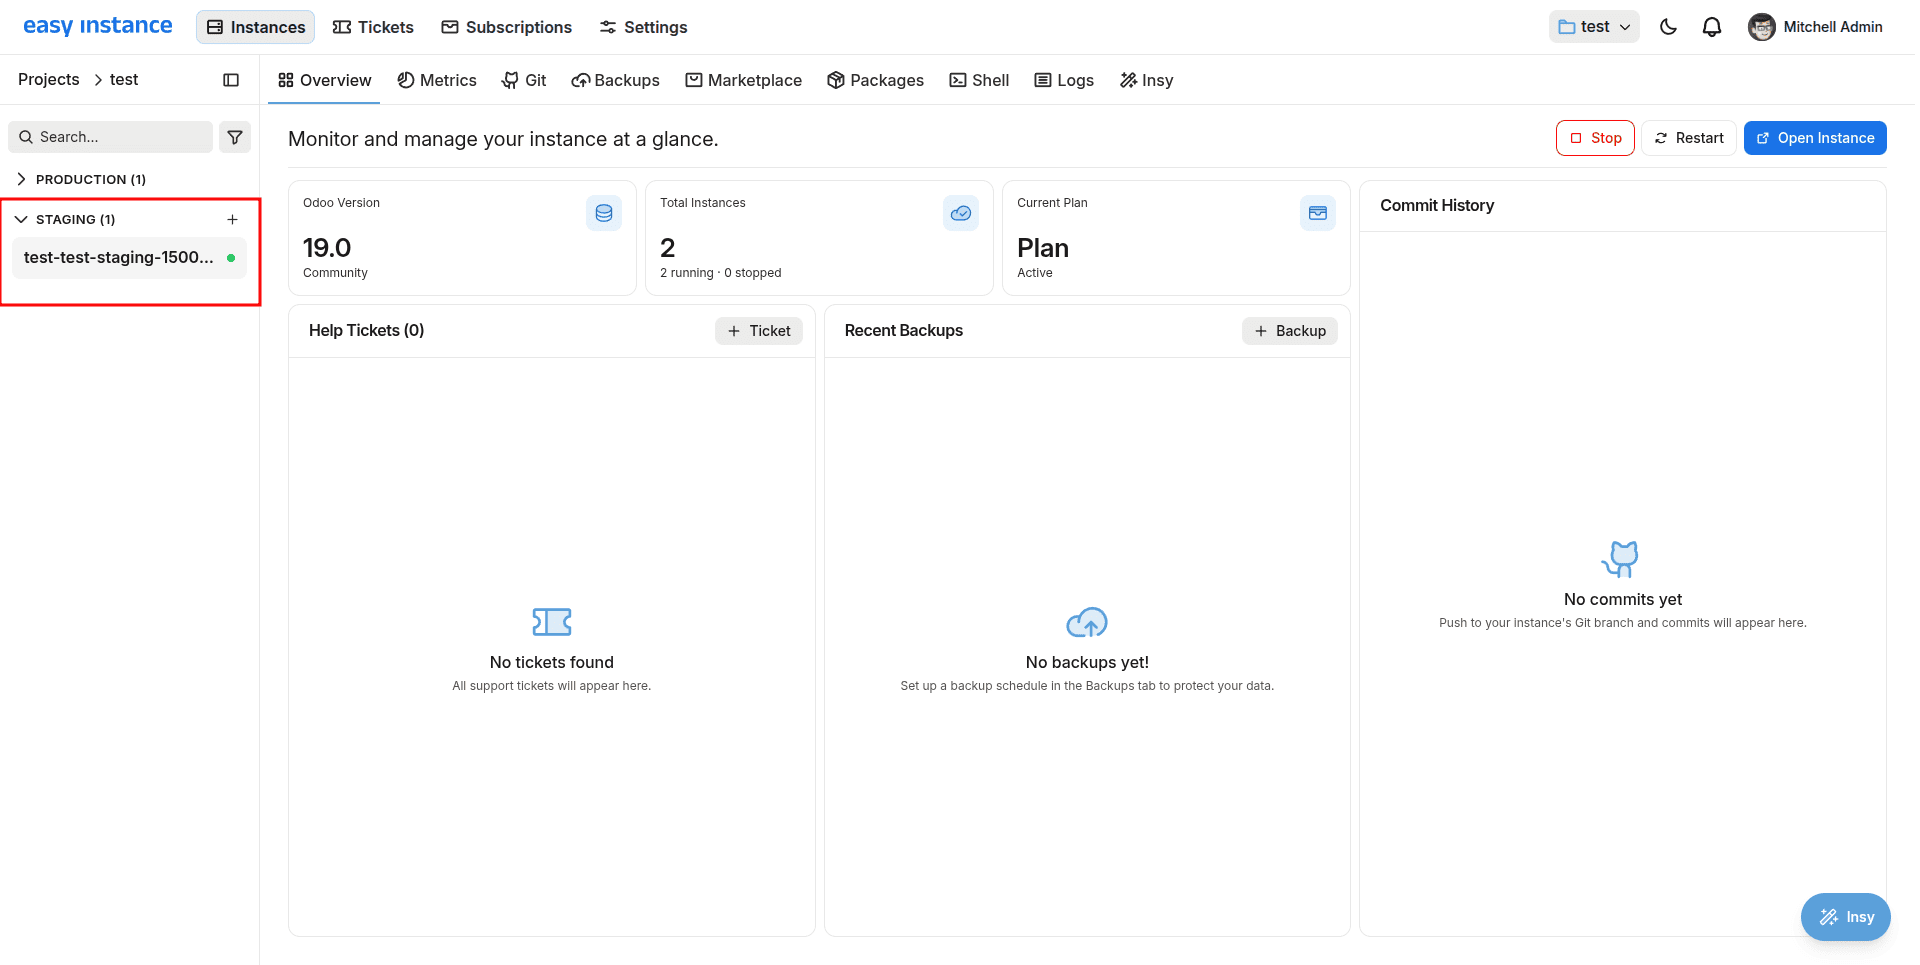
Open your production instance and find the Staging section in the left sidebar. Click the + icon, type a name using lowercase letters, numbers, and hyphens; it becomes part of the instance's subdomain, e.g. test-staging and confirm. Staging is always created from Production, never from another staging instance.
Step 3 - What happens during deployment
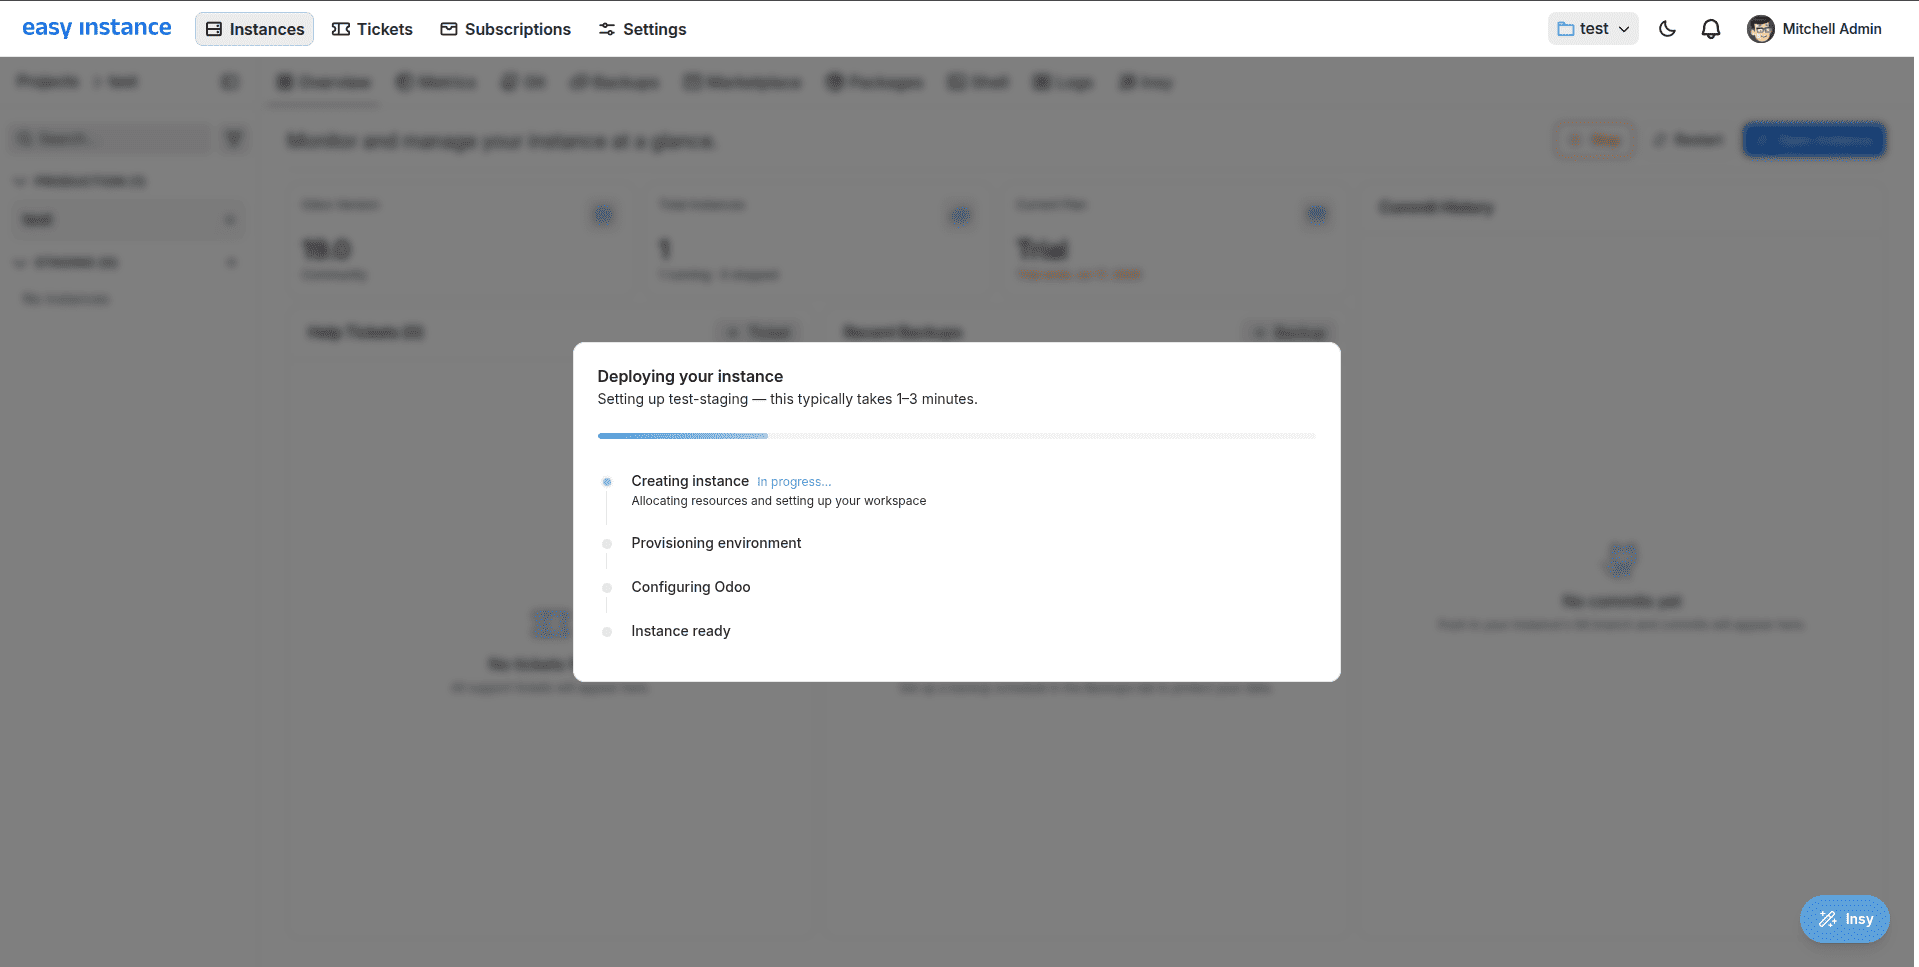
Once you verify the name, you'll get a Deploying your instance modal with a progress bar and four stages you can watch tick by in real-time, handy if you're waiting on it before starting a test and reassuring the first time you do this and don't know what 'a couple of minutes' actually looks like:
- Creating instance: EasyInstance allocates the compute resources for the new environment and sets up its workspace, entirely separate from production's.
- Provisioning environment: Networking and storage volumes are configured so staging has its own isolated disk and network path rather than sharing production's.
- Configuring Odoo: This is the step doing the heavy lifting: your production database snapshot and filestore are copied in, every module, official and custom, is installed, and Odoo initializes against that data.
- Instance ready: A final check confirms everything booted correctly before the environment is handed over to you.
The deployment usually takes 1-3 minutes. Where you fall in that range depends mostly on how much there is to copy: a small database with a few modules finishes near the low end, while a large filestore full of attachments or a long list of custom modules to install pushes it toward the high end.
Step 4: Your staging instance is live
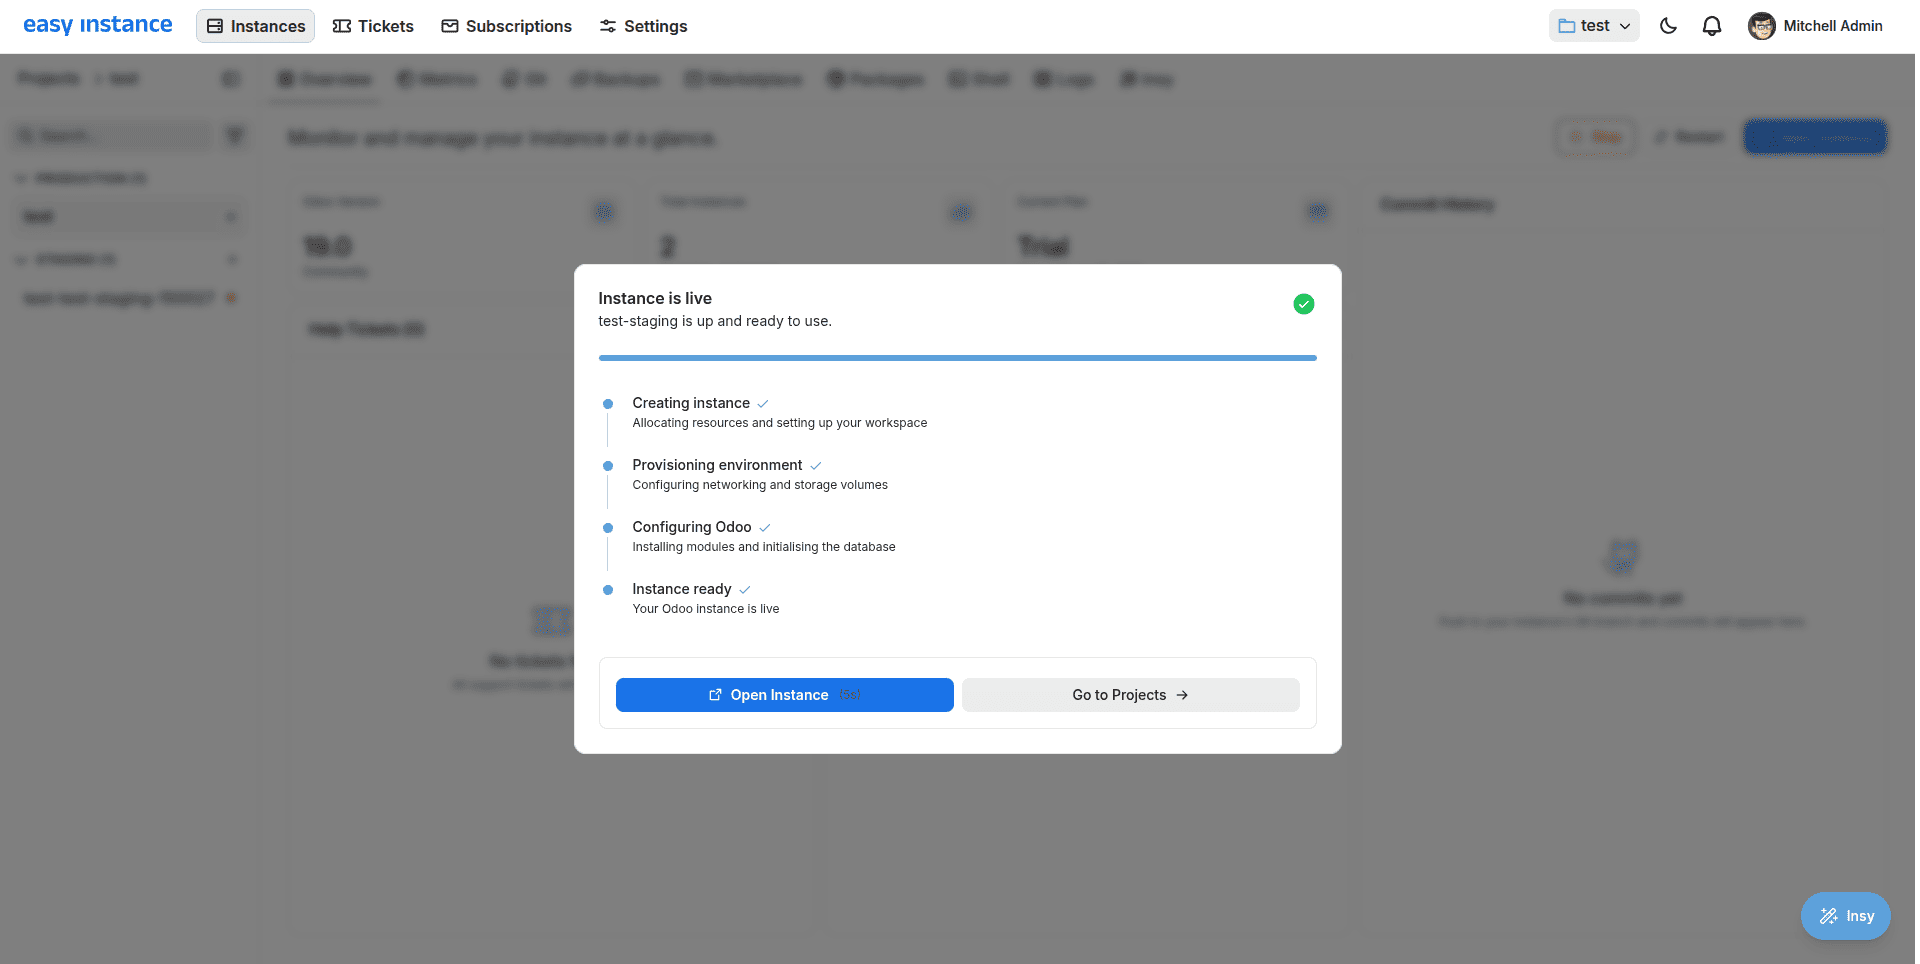
When all four stages are completed, the modal changes to Instance is live with a green checkmark next to each stage and a brief confirmation: “test-staging is up and ready to use.” You have two options here: Click "Open Instance" to go straight to the Odoo login screen and start working immediately, or click "Go to Projects" to go back to your dashboard and return to it later. In either case the staging instance runs in the background independently and does not need this modal to be open or will disappear if you navigate away.
Step 5: Managing staging alongside production
Back on the dashboard, you'll see STAGING (1) in the sidebar and your new instance listed below with a green status dot confirming it's running. The Total Instances counter on the Overview tab goes up to reflect that, and your plan details change accordingly: the staging instance is now a first-class citizen of the project, not a side artefact.
You manage it just like you’d manage production: Open, Restart or Stop it from the same toolbar, and it gets the full set of tabs you’re already used to: Metrics, Git, Backups, Marketplace, Packages, Shell, Logs, and Insy all work independently against staging’s own data. That makes a difference in practice: if something breaks during a test, you can pull up staging’s own Logs or drop into its Shell tab to debug it, with zero risk of touching production’s.
Therefore, the Staging section supports more than one entry, it is not a single long-running copy. You typically have one staging instance running at all times for ongoing QA, and you occasionally spin up a second, short-lived instance, called something like upgrade-test, just to validate a particular version upgrade before blowing it away.
Step 6: Your staging instance is ready
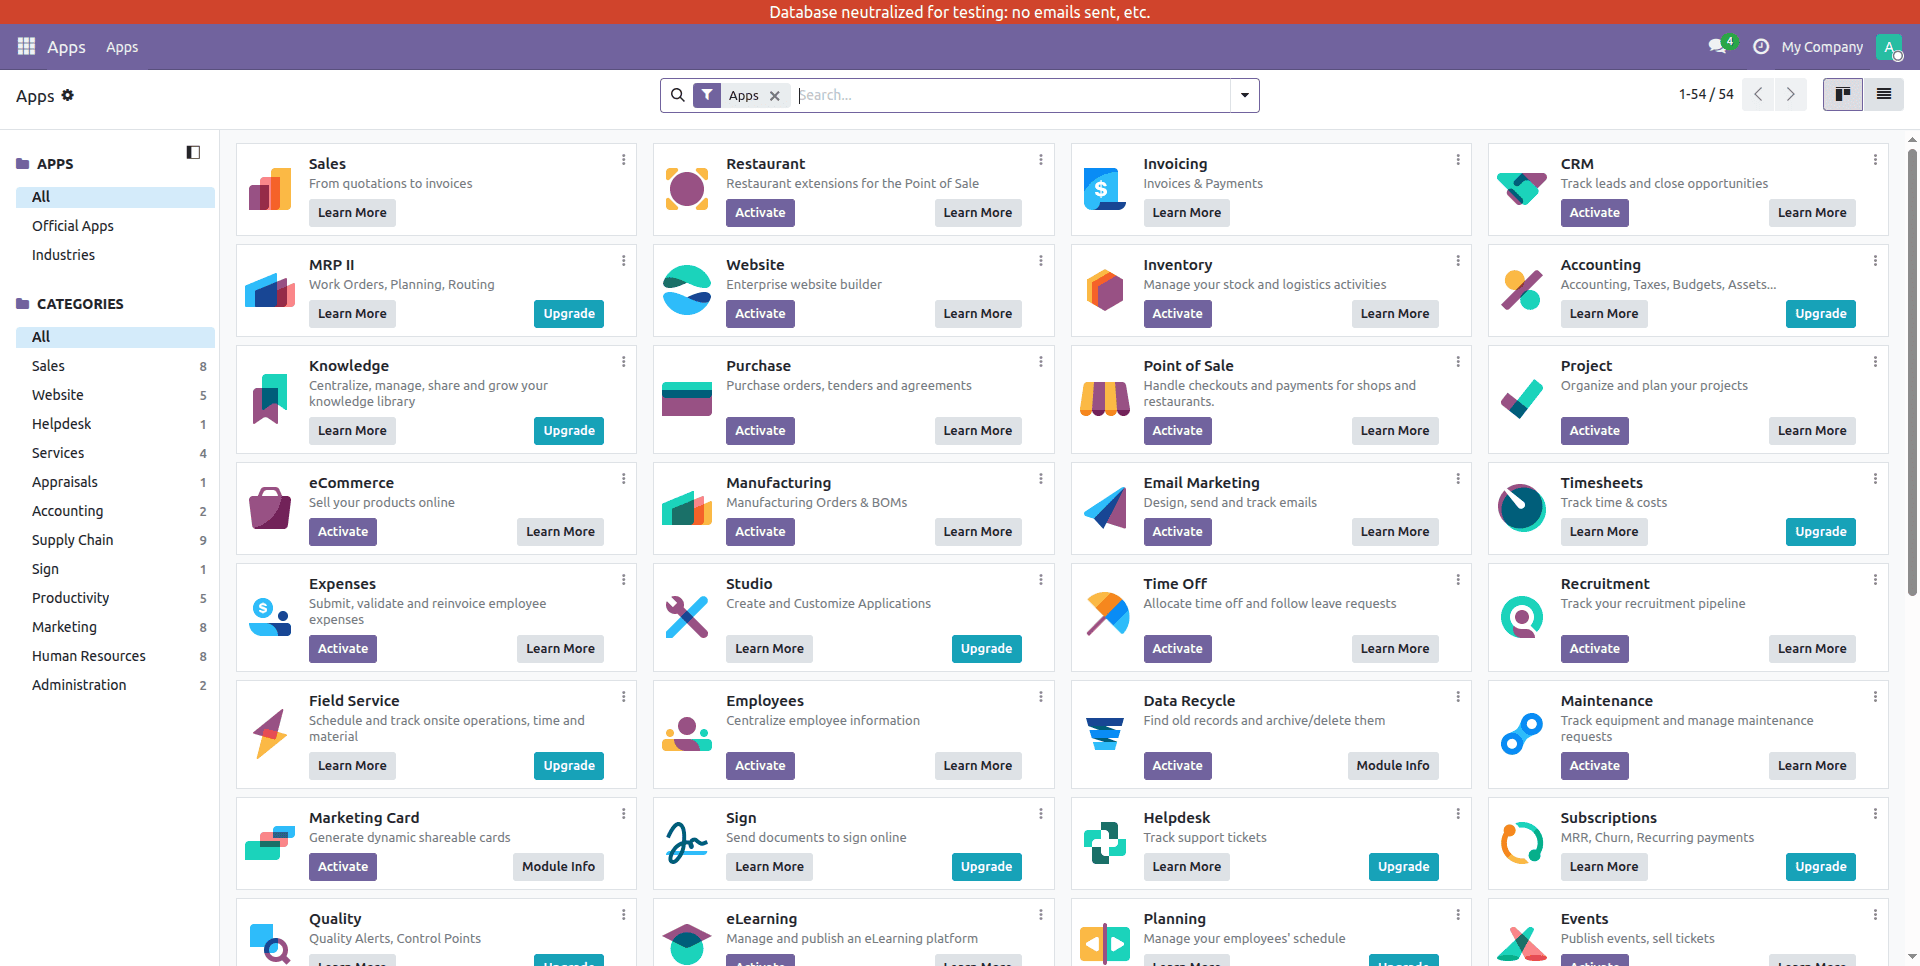
Once you open your staging database, you will see an obvious sign right at the top of the Odoo backend that says: "Database neutralized for testing: no emails sent, etc." This is something that serves as a constant reminder and there is reason behind it, as staging is actually the exact copy of the production environment with all the actual customers' data included.
- Outgoing email is disabled. Invoices, marketing campaigns, password resets, and any automated notification a module fires simply won't be delivered, so testing a change to your invoicing flow can never accidentally email a real customer.
- Scheduled actions are switched off. The cron jobs that normally sync data, send recurring invoices, or run nightly cleanups don't fire on staging, so it won't quietly act on stale copied data in the background while you're testing something unrelated.
- External integrations and webhooks are muted. Payment gateways, shipping carriers, CRMs, or any third-party webhook a module would normally call are never triggered from staging, so outside systems never see test traffic that looks like the real thing.
This is why it becomes truly valuable in real-world applications, as opposed to being merely an oddity; you can use the Marketplace and install a module, do a complete upgrade of the Odoo version, import a disorganized Excel file, test out a script that hasn’t been tested yet, give your new employee access to the application, and none of these actions can result in any data being leaked outside of the staging environment.
With EasyInstance, testing an Odoo upgrade or a risky module install becomes safe and effortless. What used to mean crossing your fingers on production can now happen on an isolated copy of your live site. All you need is to create your instance, spin up staging, and start testing.
To read more about How to Add Custom Modules in Easy Instance, refer to our blog How to Add Custom Modules in Easy Instance.