In Odoo 17, the revamped calendar view is a powerful scheduling tool that empowers businesses to optimize resource allocation, manage appointments, and streamline operations. This blog explores the enhanced features and benefits of this feature, including agile scheduling with a user-friendly interface, resource allocation management, seamless integration with other Odoo apps, extensive customization options, and mobile accessibility. Whether you're a sales team, project manager, or resource manager, Odoo 17's calendar view equips you with the tools to supercharge your scheduling capabilities, ensuring efficient time management and maximizing productivity for your organization.
Let’s take a look at how we can create a calendar view in Odoo 17.
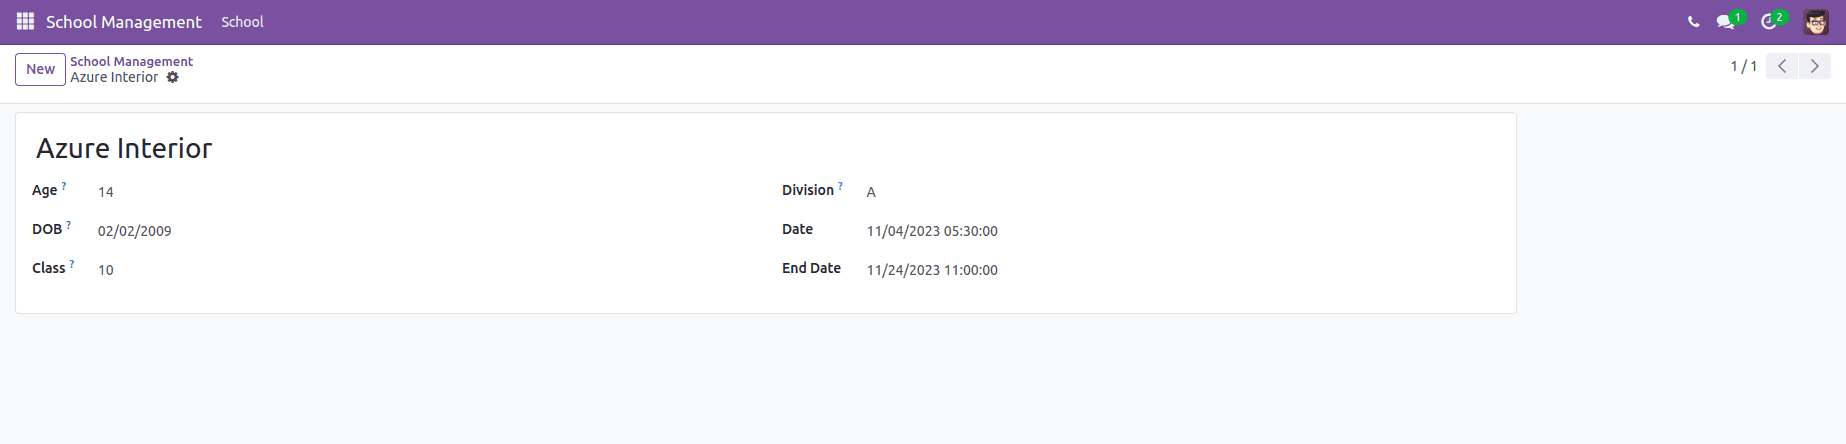
First, we must define the models and corresponding fields to create the calendar view. After defining the fields, this is the view of the model.
For this view, we need to create the calendar view. For that, we need to define the XML files under the ‘views’ directory of the module. In that file, we need to specify the calendar view using ‘<calendar>’.
Now we can move to the code that we need to create a calendar view.
<record i="school_management_view_calendar" model="ir.ui.view">
   <field name="name">school.management.view.calendar</field>
   <field name="model">school.management</field>
   <field name="arch" type="xml">
       <calendar date_start="date" string="School Management Calendar"
              mode="month" color="name" event_open_popup="true"
             quick_add="false" date_stop="end_date">
           <field name="dob"/>
           <field name="name" avatar_field="avatar_128"/>
           <field name="st_class"/>
           <field name="division"/>
       </calendar>
   </field>
</record>
Then, we need to define the view type calendar in the action.
<record id="school_action" model="ir.actions.act_window">
   <field name="name">School Management</field>
   <field name="res_model">school.management</field>
   <field name="view_mode">tree,form,calendar</field>
</record>
In the calendar view, we can see multiple attributes like date_start, date_end. Let’s explain one by one,
date_start - It indicates the starting date of the calendar event. The beginning date of the calendar event will be used if we supply a date field from the model for which we are building the calendar view in this field.
date_stop - It indicates the ending date of the calendar event.
mode - A view is available on a daily, weekly, and monthly basis with the calendar view. It displays the Calendar view's default view mode as soon as the page loads. The values for this attribute can be Day, Week, or Month.
color - This gives color for different events based on the specified field (generally many2one). Records with the same value for this field will show the same color.
event_open_popup - If this is set, then the event will open as a popup. That is, if the event_open_popup="true" then the view that extends from the calendar will open as a popup. Otherwise, it will open events in a form.
quick_add - This field can do instant event creation.
- Used to filter the many2one records.
Let’s look at the view, We can see the icon calendar is added in the view,

After clicking the calendar view, we can see the records as displayed in the view.
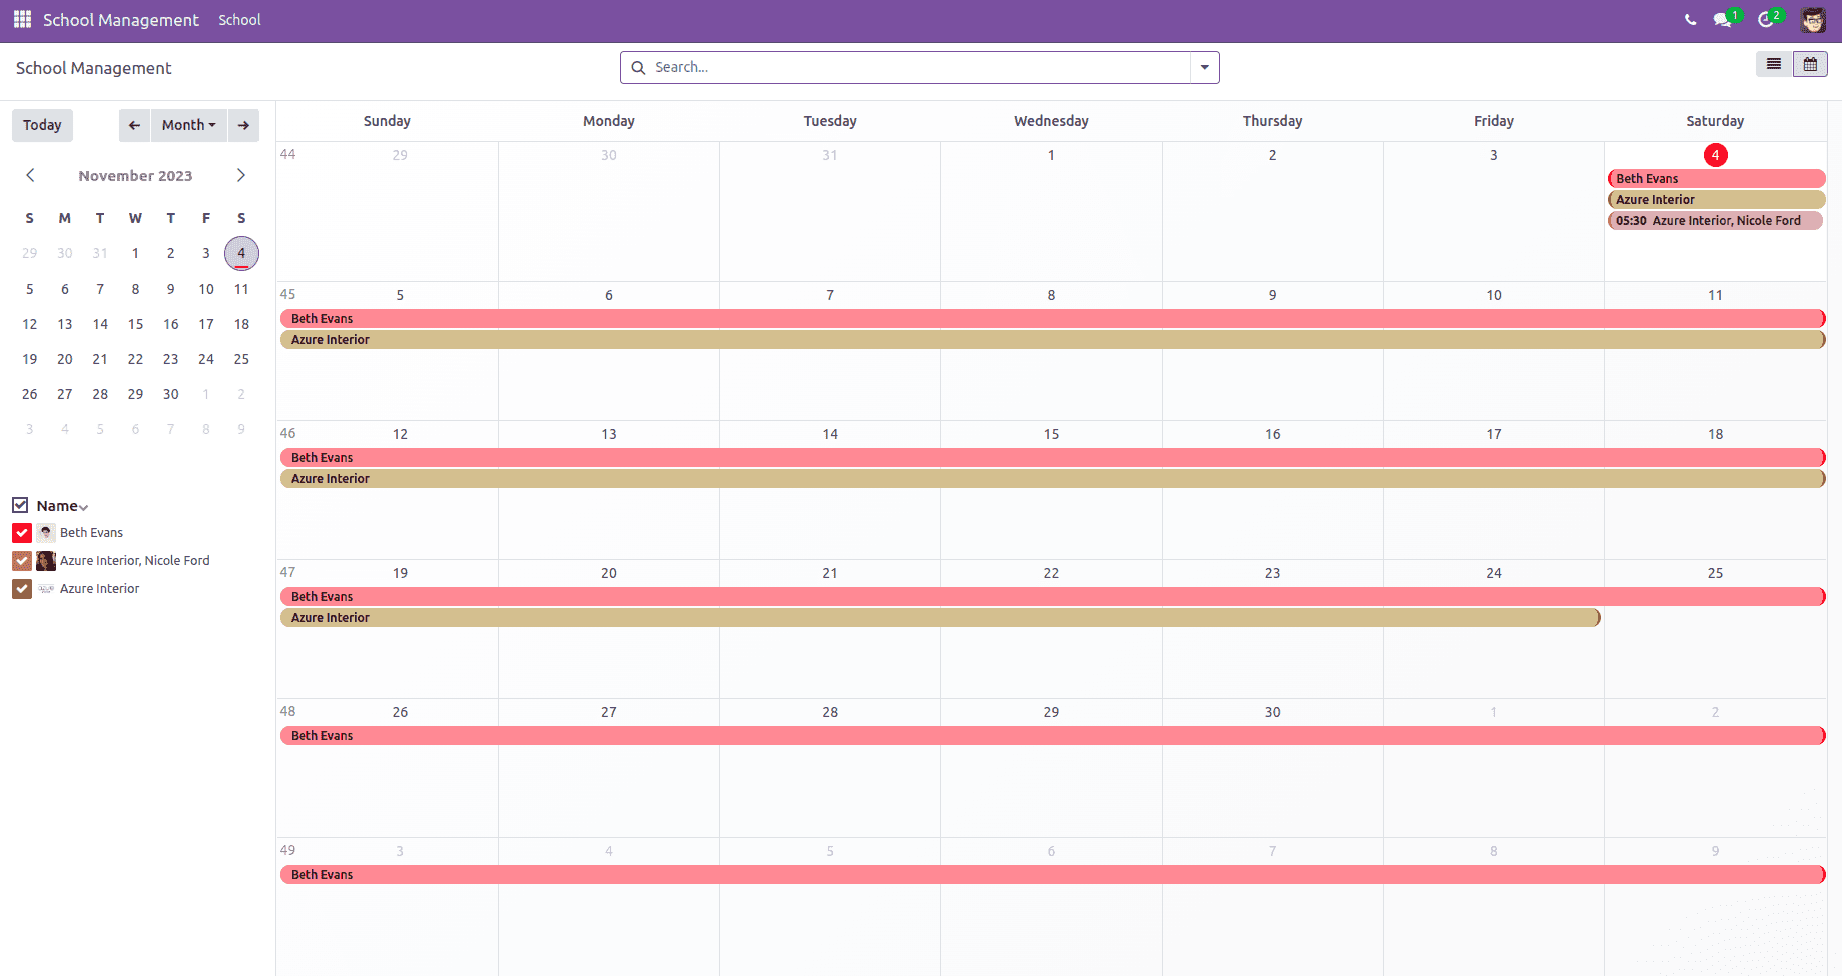
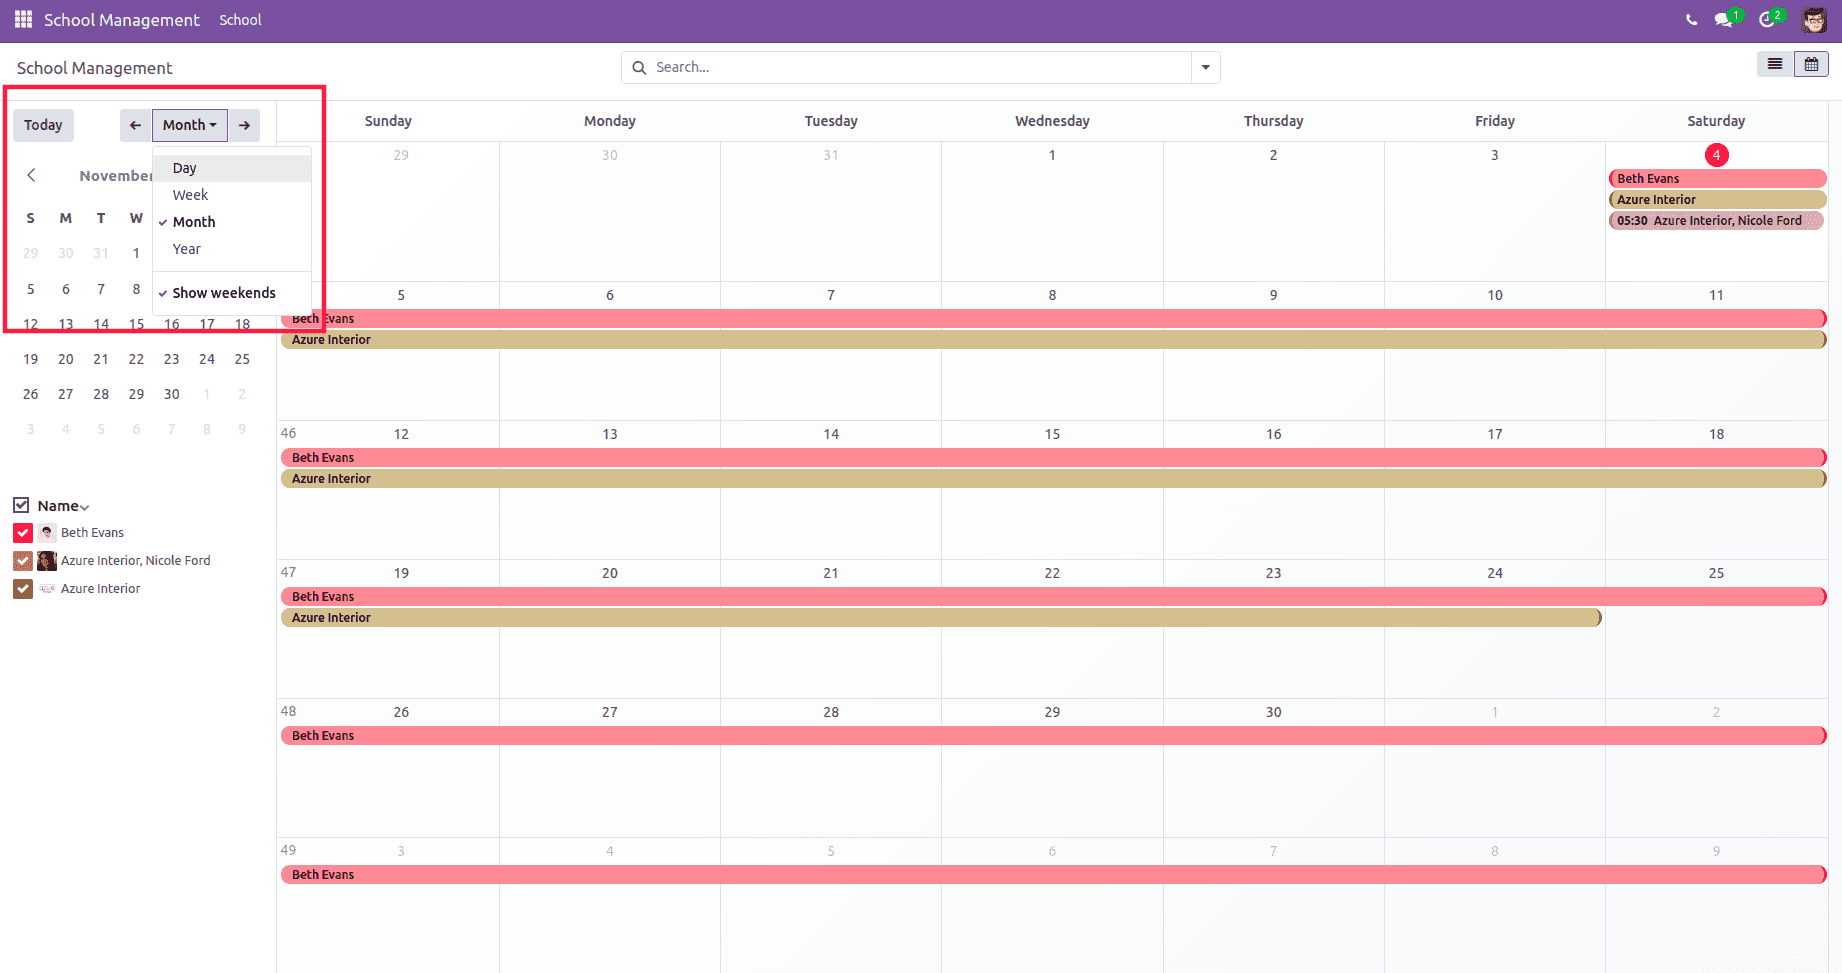
The colored area indicates that records are within that date. In the picture, we can see the records are filtered by month, and we can change this to day, week, and year.
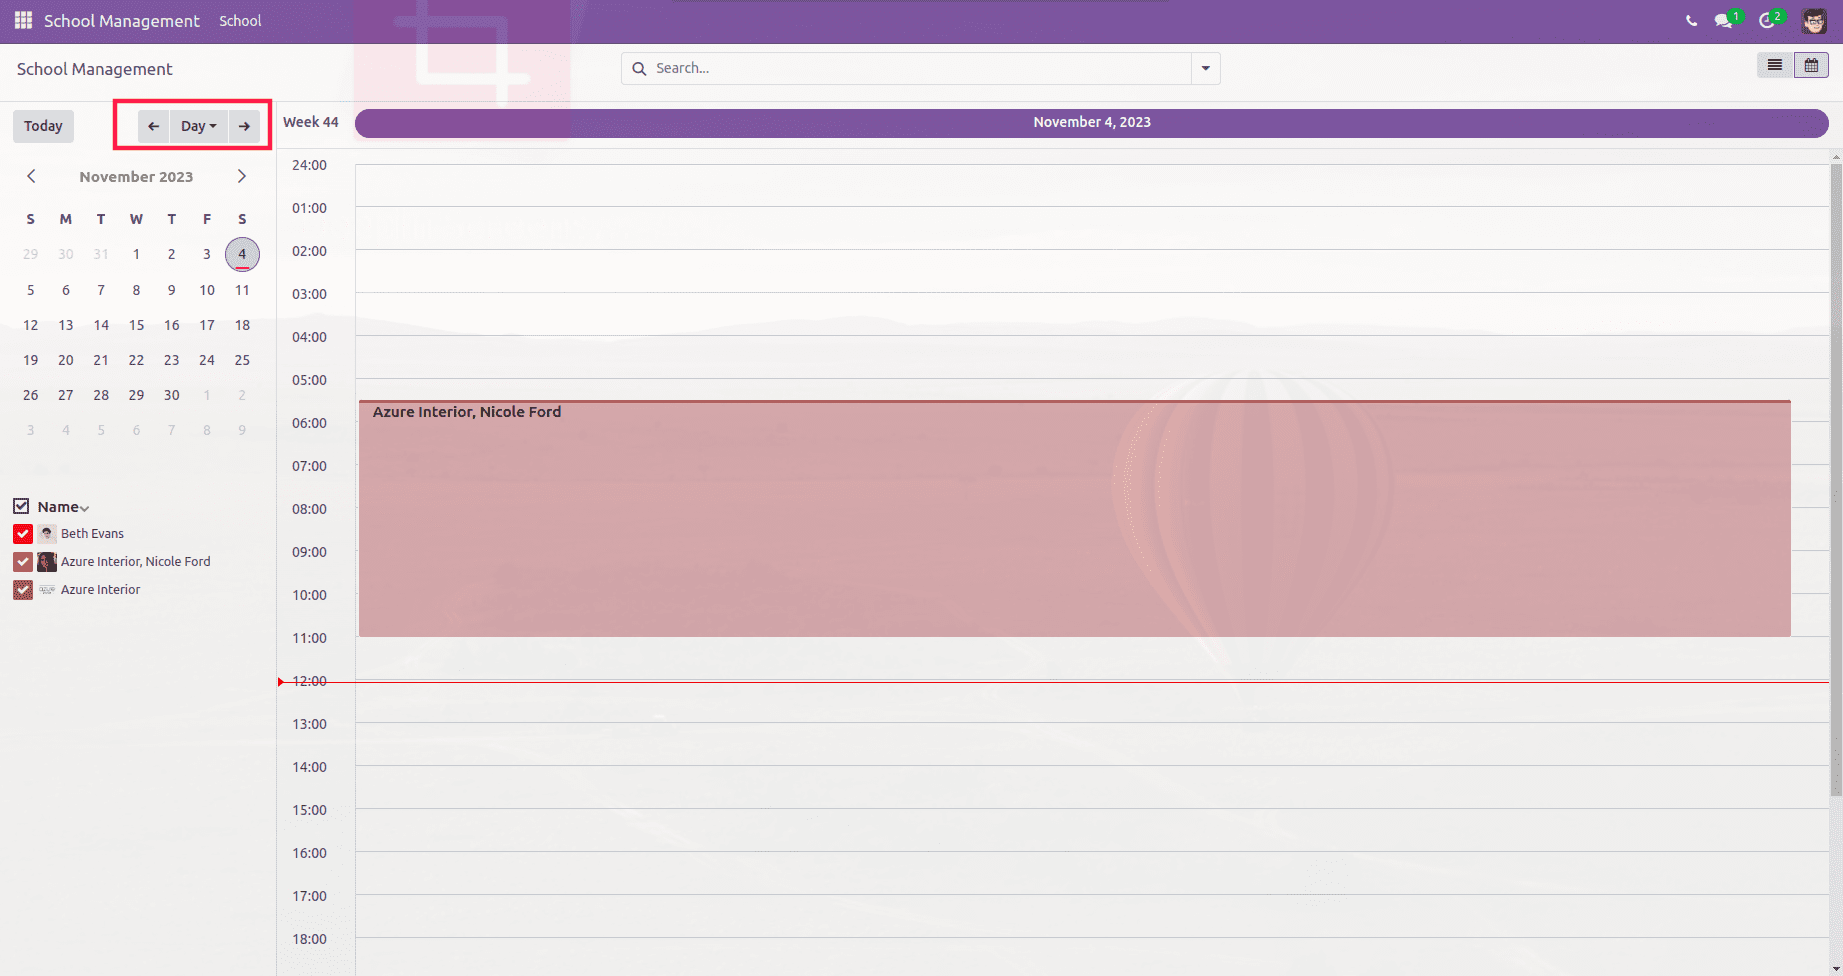
If we set mode =’day’, then the view is,
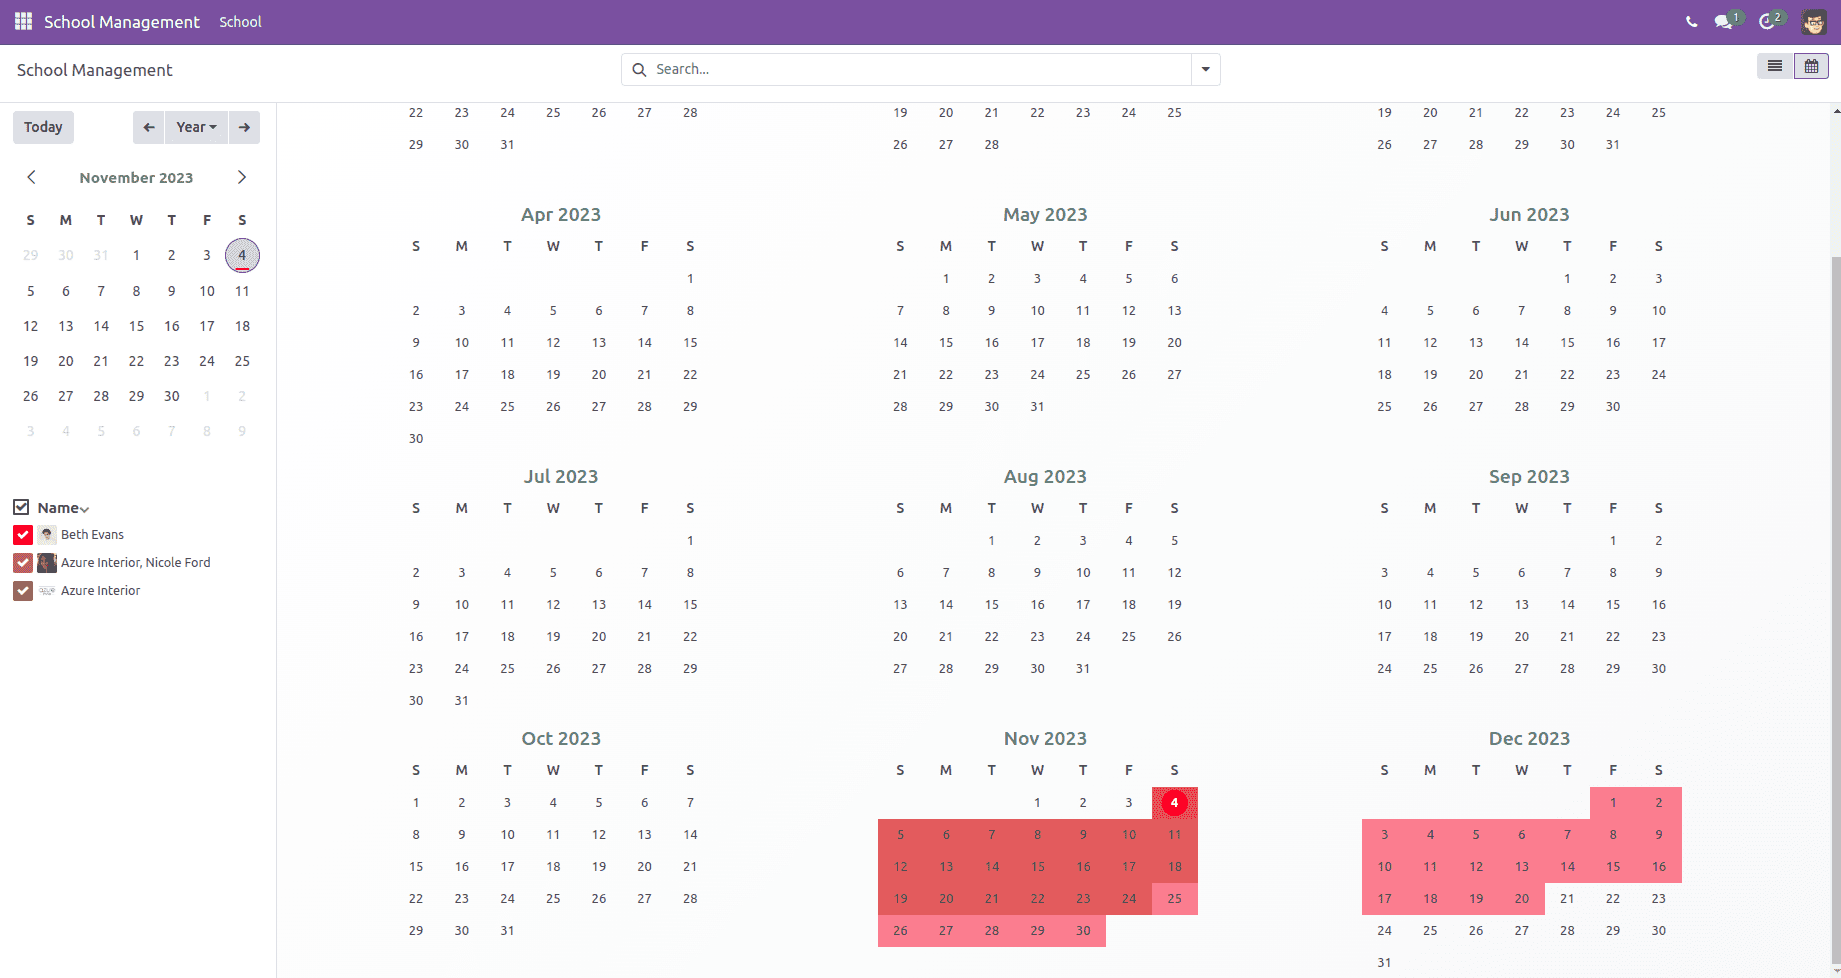
If we set mode = ‘year’, then the view is,
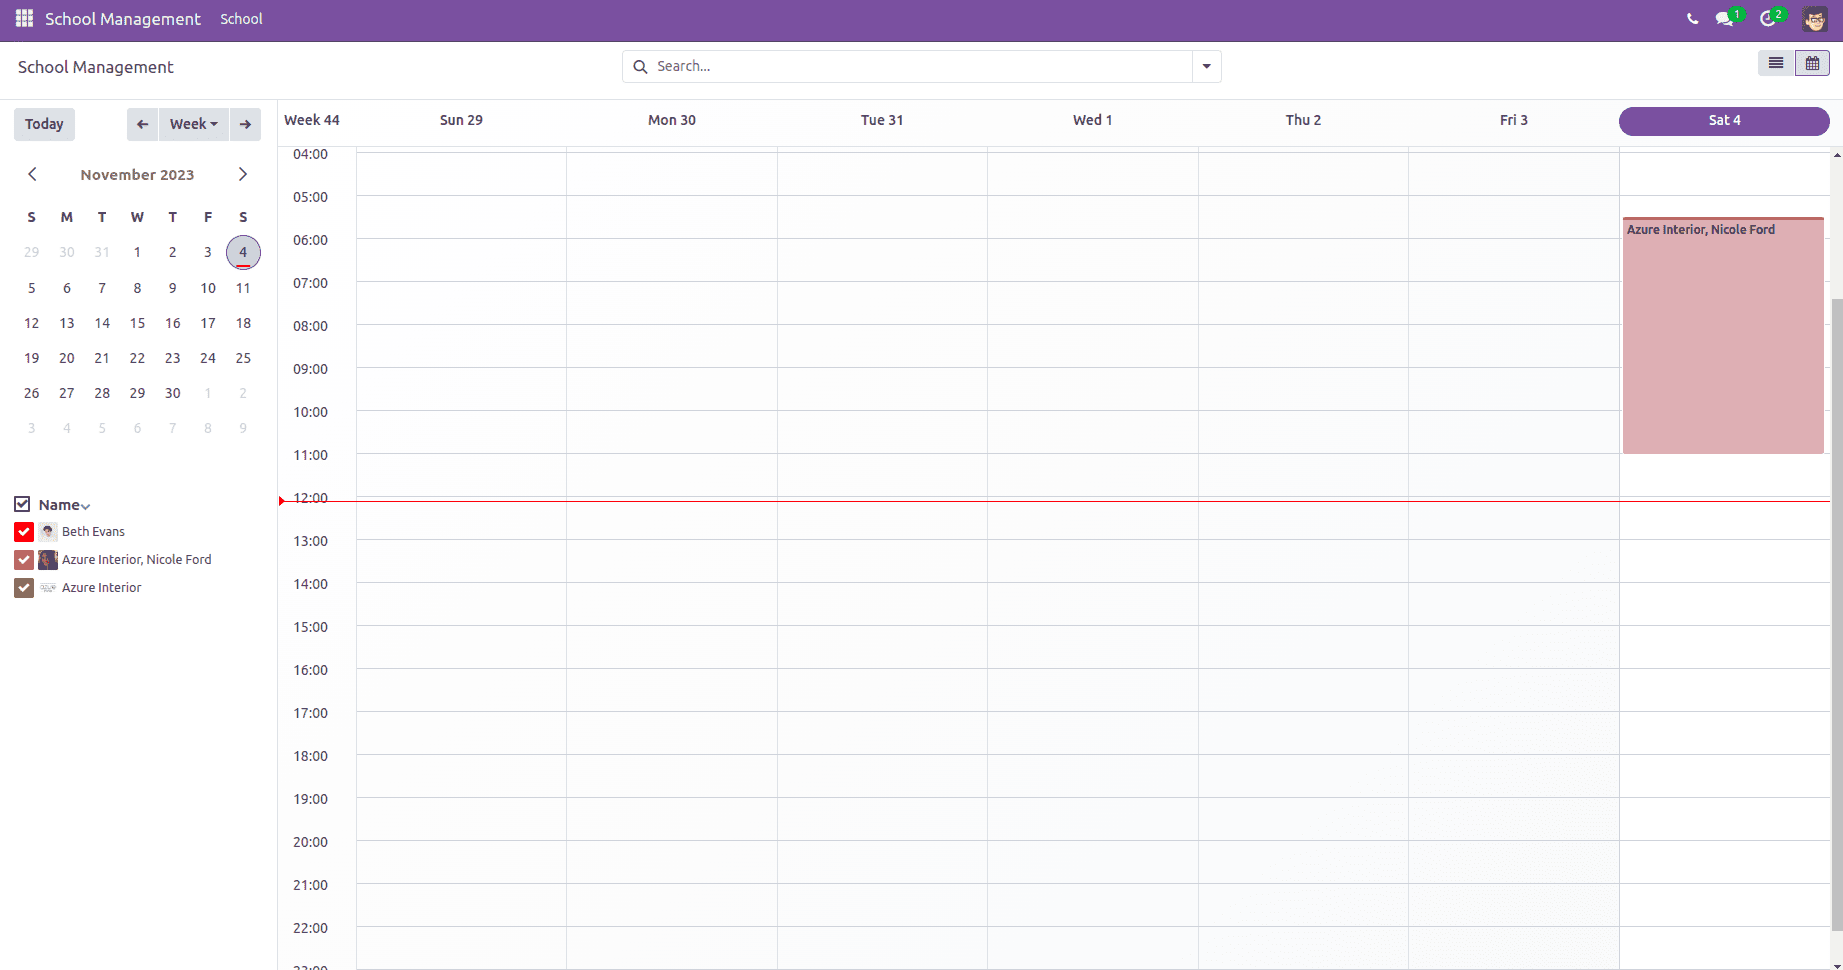
If we set mode = ‘week’, then the view is,
Also, we can filter our records by the many2one field that we set as the avatar_field.
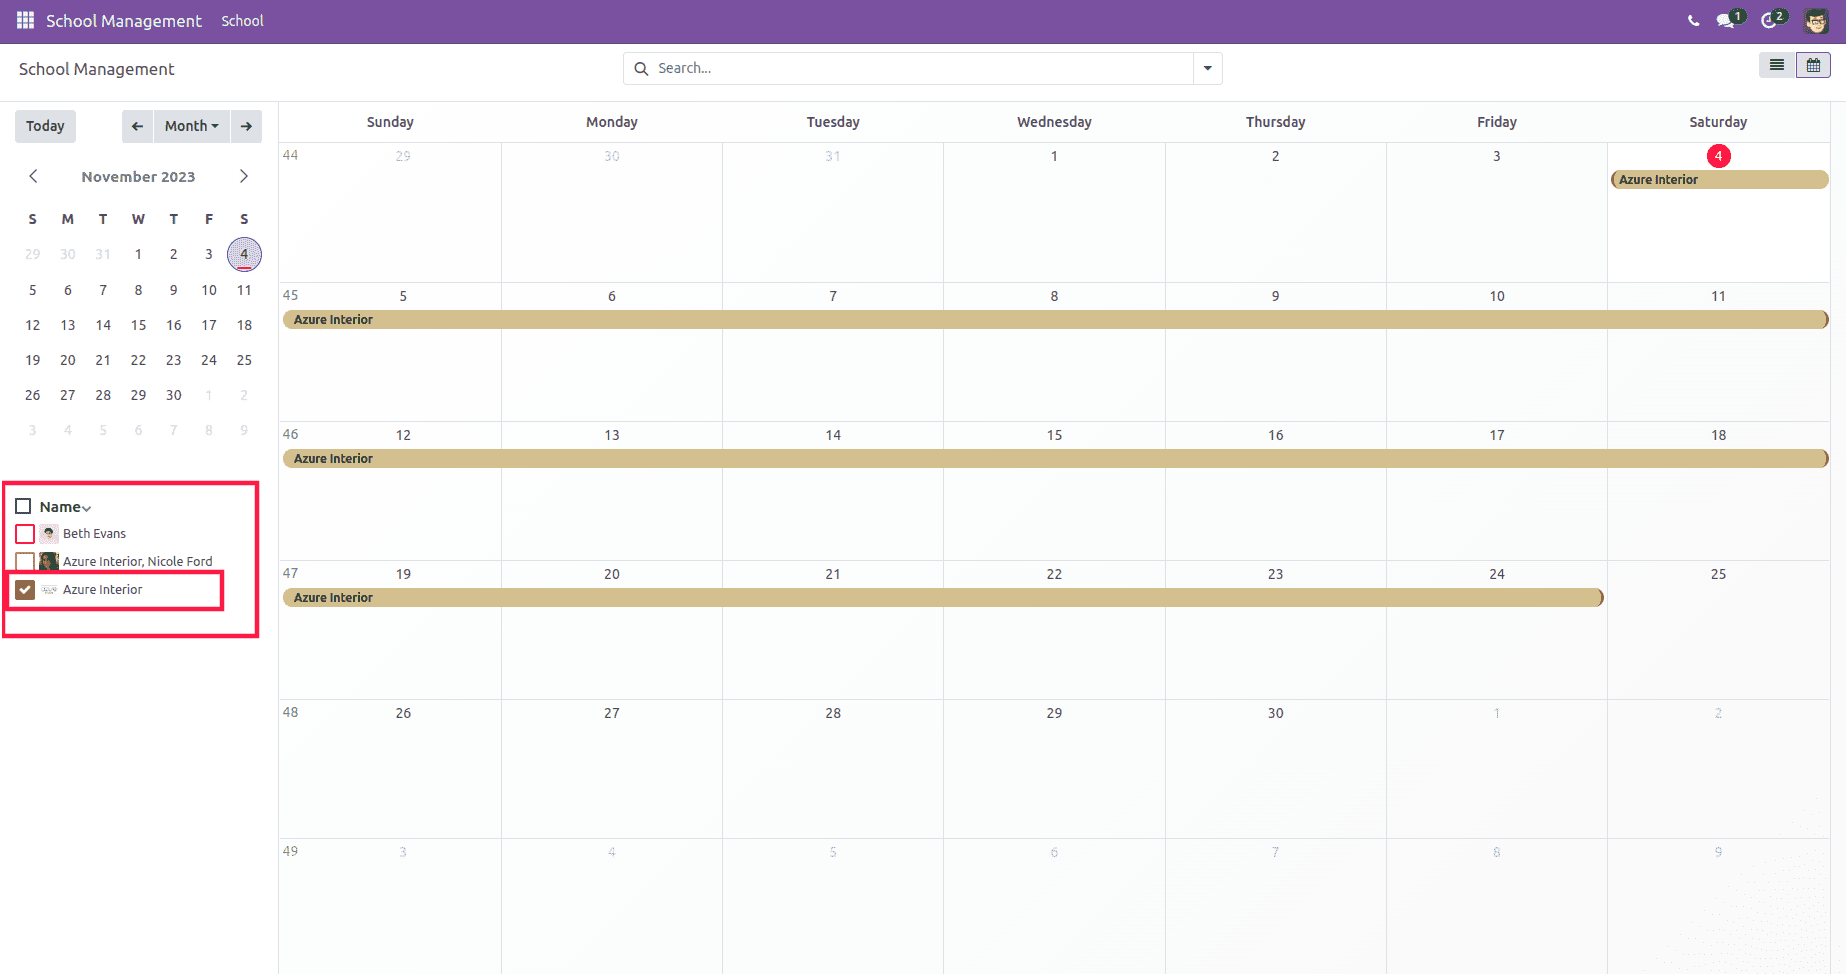
In the above image, we can see that only Azure Interior records are available because we enabled the checkbox for that avatar_field.
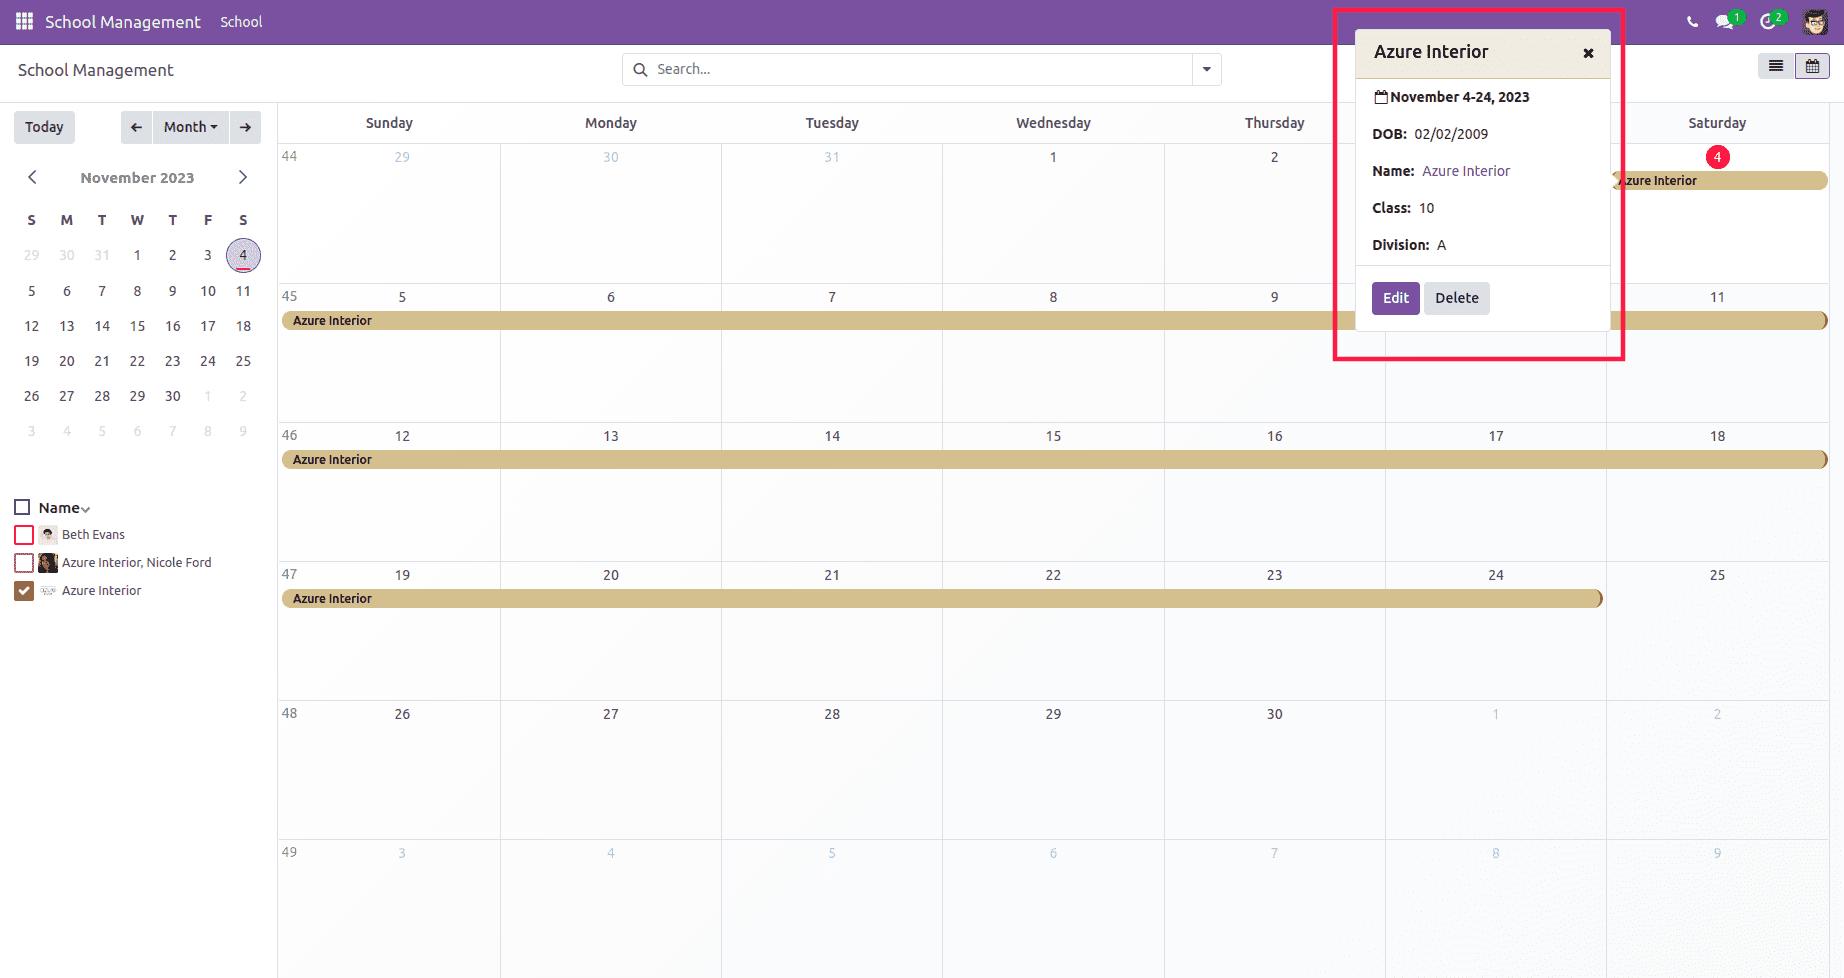
Also, we can see the created records by clicking on them.
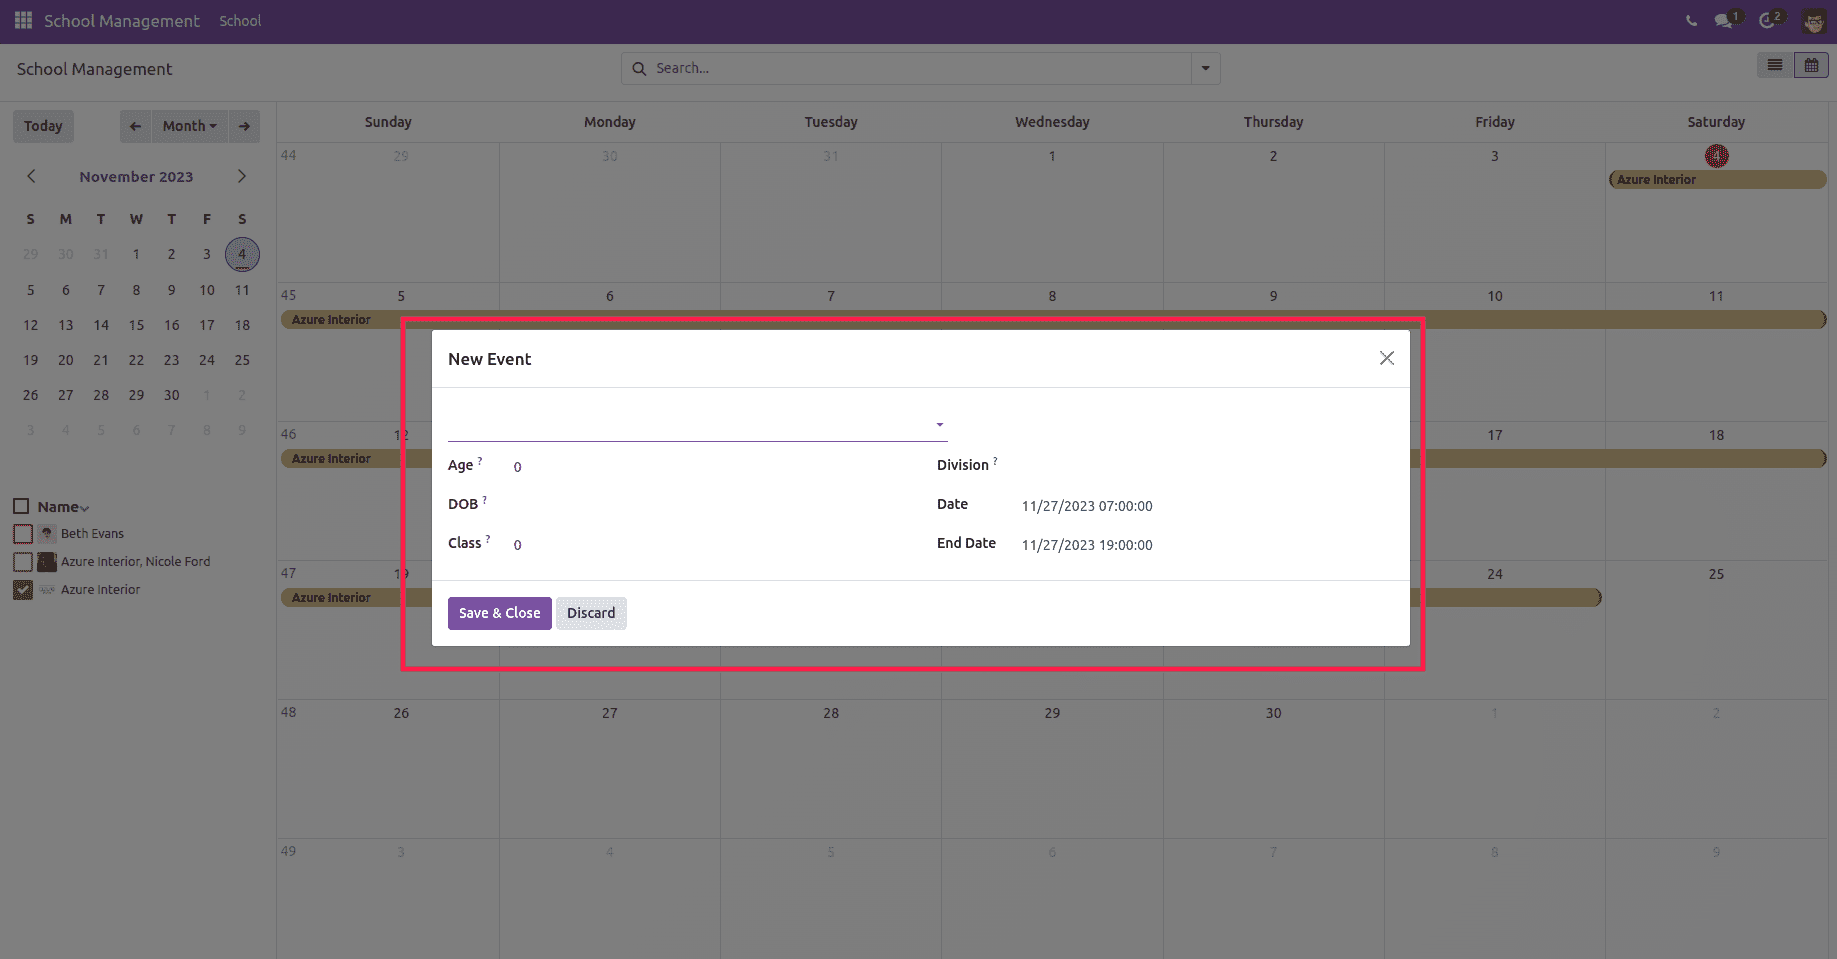
We can quickly create a new record by clicking on the date that we need to create the record.
In Odoo 17, the calendar view offers a flexible and user-friendly solution for scheduling and resource management. With its integrated features, customization options, and mobile accessibility, it empowers businesses to optimize their operations and boost productivity. Embrace this tool to streamline your scheduling processes and take your business to new heights of efficiency and success.
To read more about creating a custom calendar on the Odoo 16 website, refer to our blog How to Create Custom Calendar on the Odoo 16 Website