Managing multiple companies can be a significant challenge, particularly when it comes to tracking accounts, finances, and reports. Many businesses operate with different branches or companies under the same group, and preparing reports separately for each one takes time and effort.
With Odoo 19, you don’t have to struggle anymore. Odoo comes with a multi-company feature that allows you to manage multiple companies in a single database. The best part is that you can also generate multi-company reports to see the overall performance of your business group or check the financials of each company individually.
In this blog, we will explain step by step how to generate multi-company reports in Odoo 19. You will also learn how to use company filters, view consolidated results, and export the reports easily. By the end, you’ll see how Odoo makes reporting across companies simple and efficient.
Multi-Company Reports in Odoo 19
Odoo 19 makes it simple to handle reports across multiple companies. Once the multi-company feature is enabled, you can easily switch between companies or even select several at once to generate consolidated reports. Let’s see how you can set this up and start generating reports.
Step 1: Setting Up Multi-Company
To do this, go to Settings > Users & Companies > Companies, and click New to create companies.
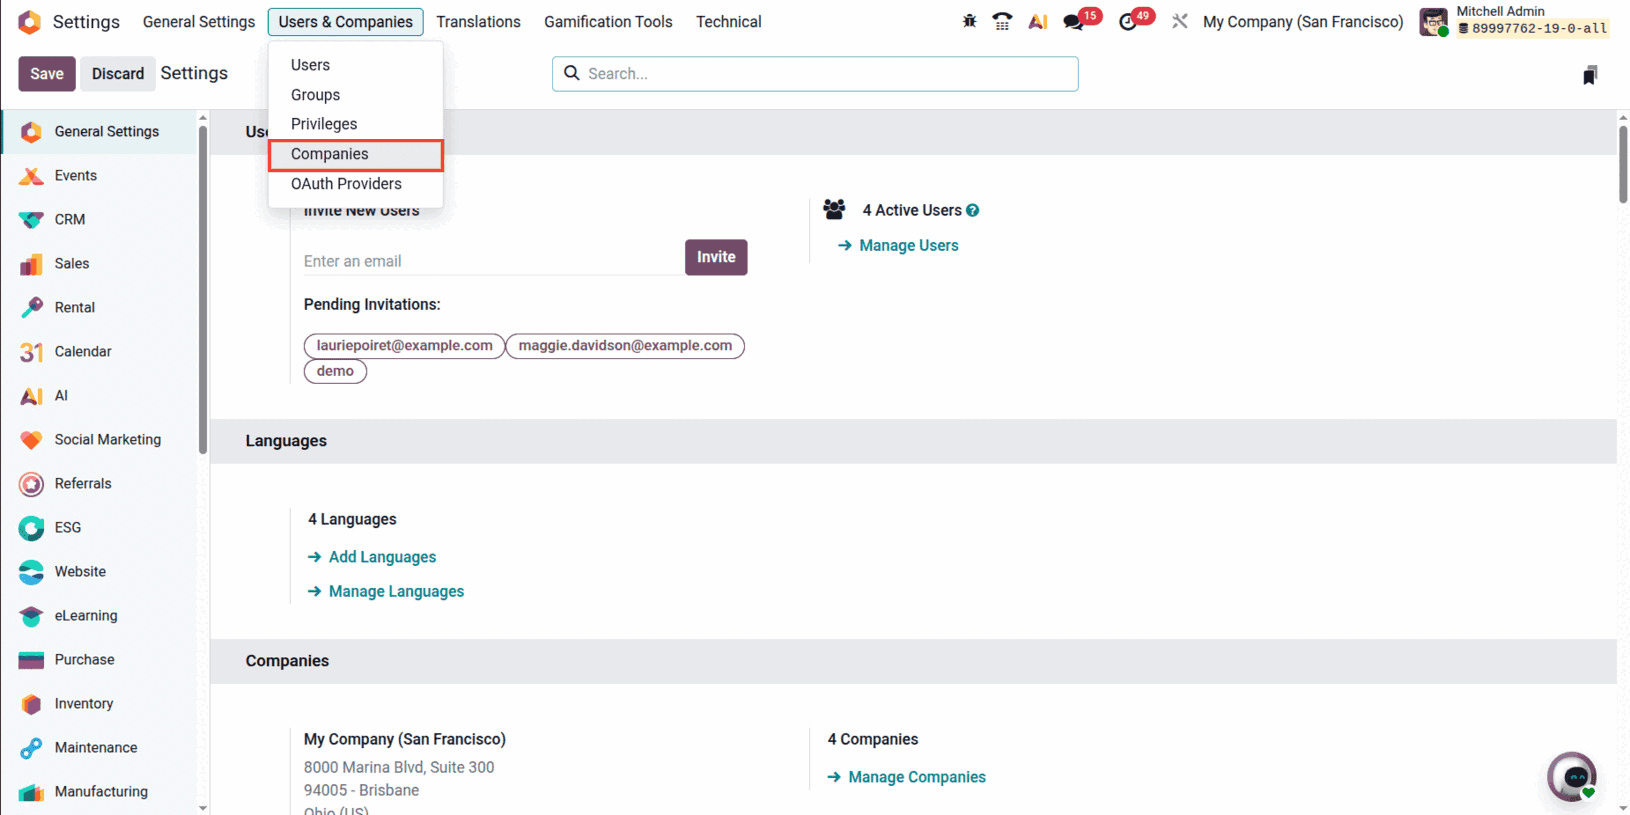
For instance, let's create two companies, Company 1 and Company 2.
Enter important details such as company name, choose the country, and correct currency.
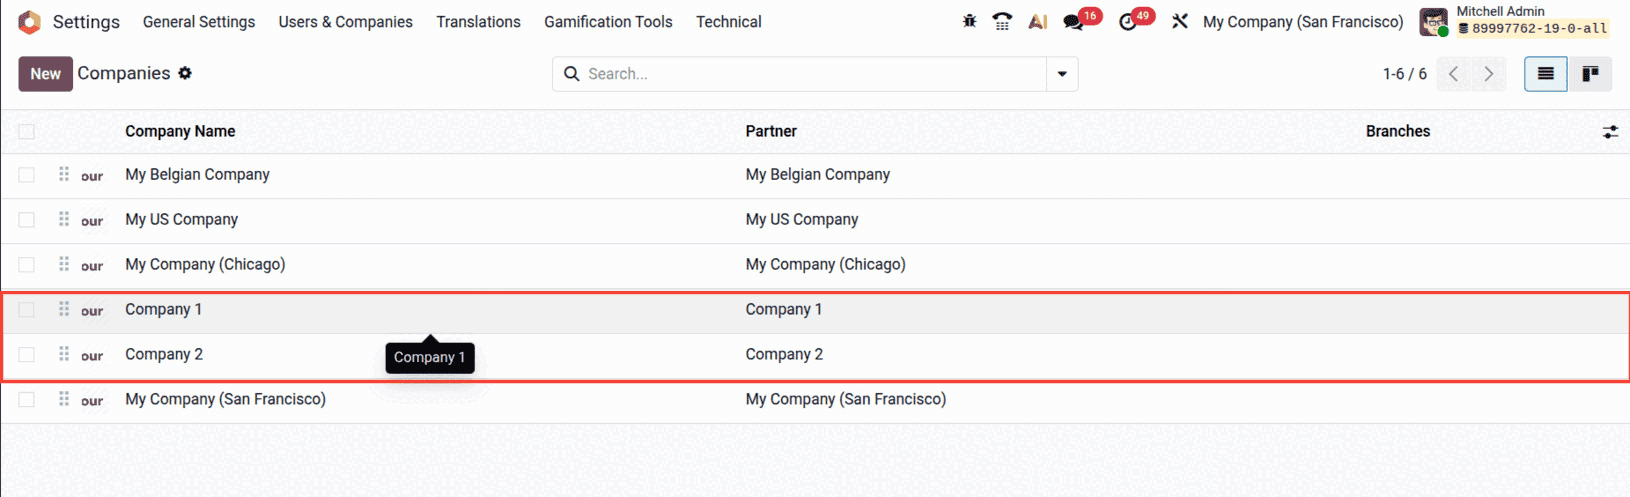
Once you save, you now have multiple companies that we have created now.
At the top of the screen, you will notice a company switcher dropdown. This lets you select one company to work with, or even enable multiple companies at once to view combined data.
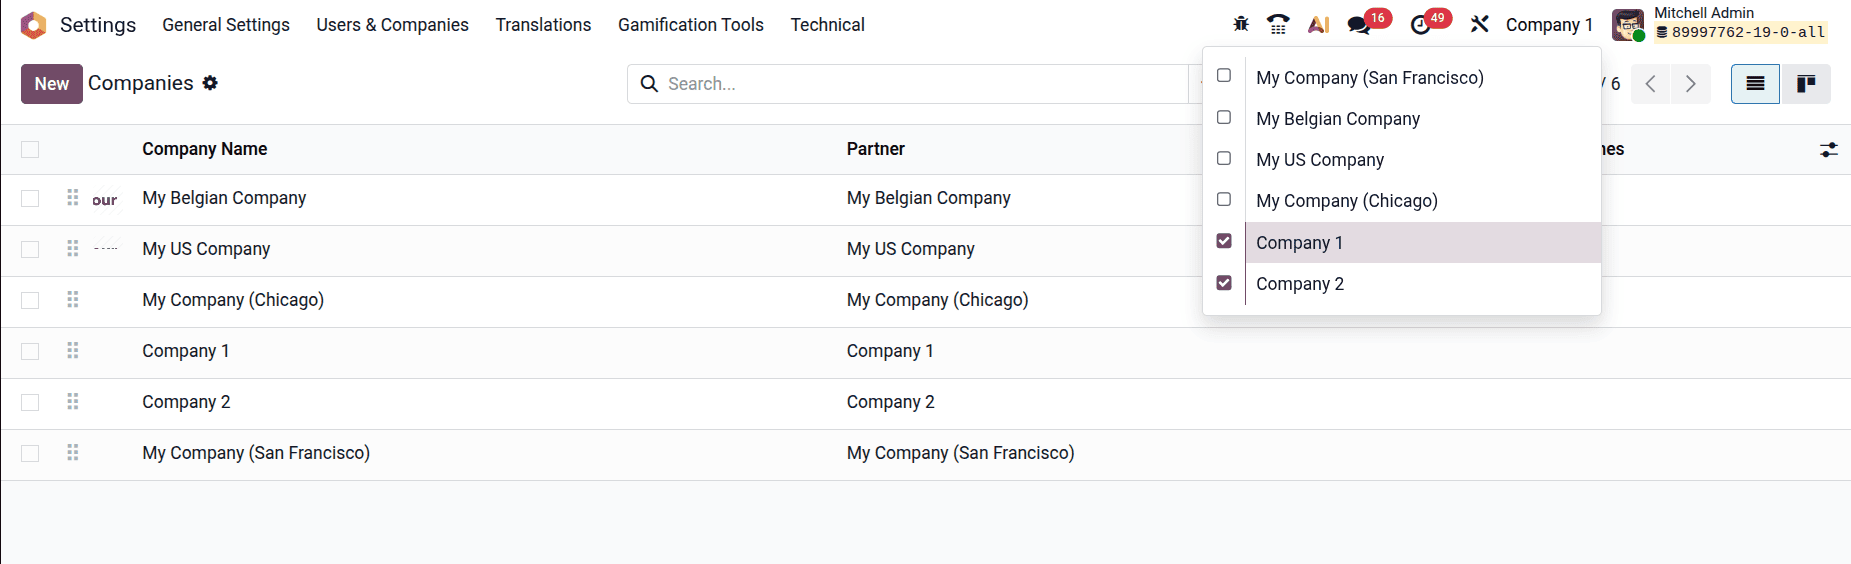
As shown in the screenshot above, both Company 1 and Company 2 are available in the dropdown. By ticking the boxes, you can either work inside a single company or enable multiple companies together to view consolidated data across them. This makes it simple to manage operations for different business entities without logging in separately for each one.
Step 2: Assigning Users to Companies
After creating multiple companies, the next important step is to make sure your users have access to them. By default, a user might only have access to a single company. To allow them to work across companies, you need to assign the companies in their user settings.
To give access:
- Go to Settings > Users & Companies > Users.

- Create a new user record.
- Under the Companies field, select the companies the user should work with.
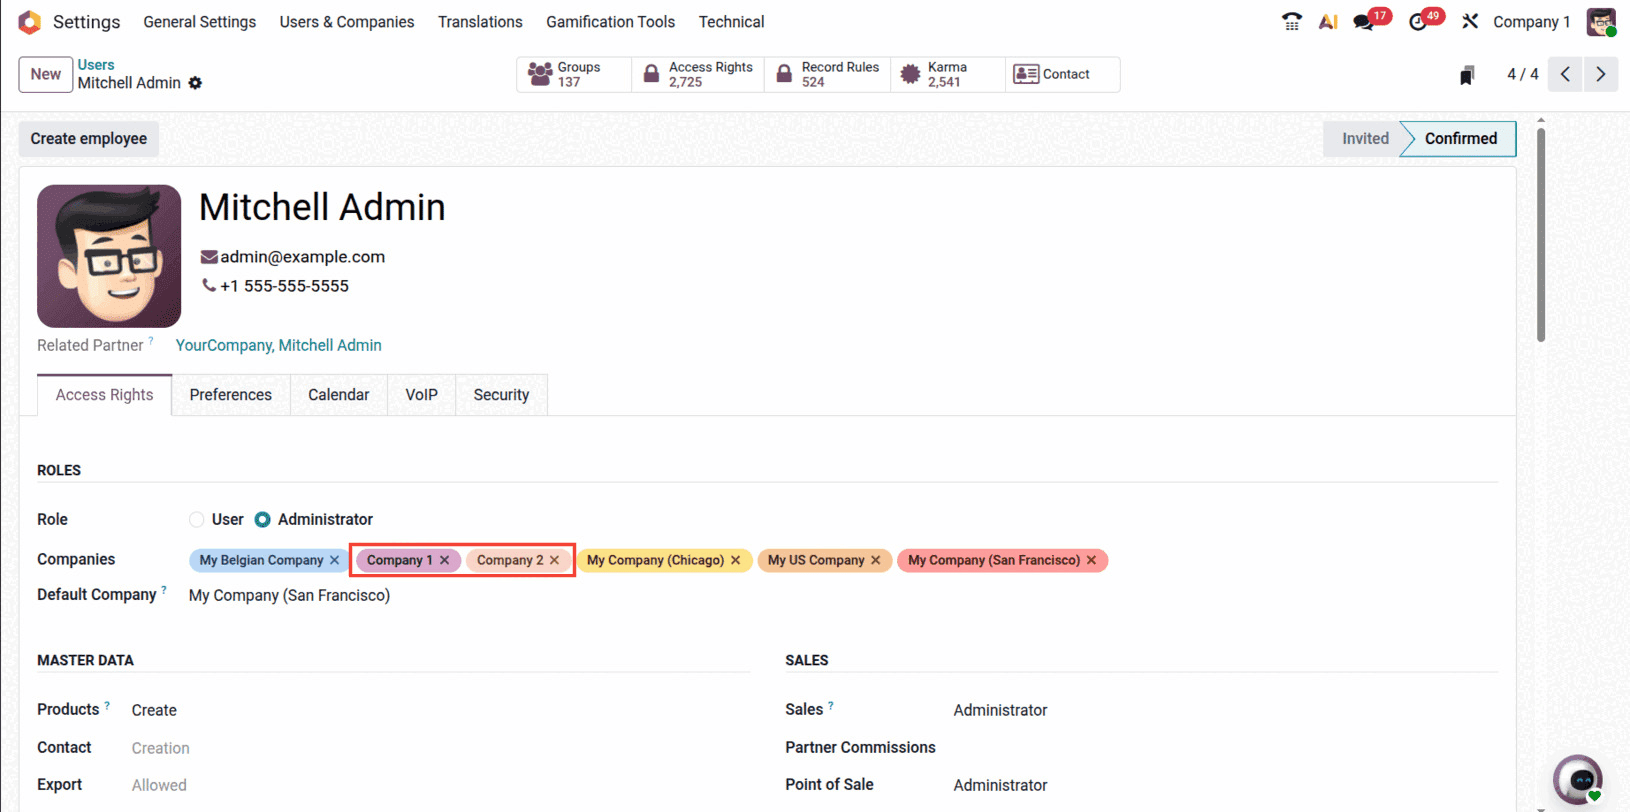
- You can also choose a Default Company that will load every time the user logs in.
This way, users can switch between companies using the dropdown at the top of the screen. For example, if you allow a finance manager to access both Company 1 and Company 2, they can generate consolidated reports without switching back and forth.
Step 3: Generating a Multi-Company Report
Now that your companies and users are set up, you can start generating reports across them.
To make our multi-company reports meaningful, we first need some sample data in both companies. Let’s create a few simple transactions:
- Switch to Company 1 from the company switcher at the top.
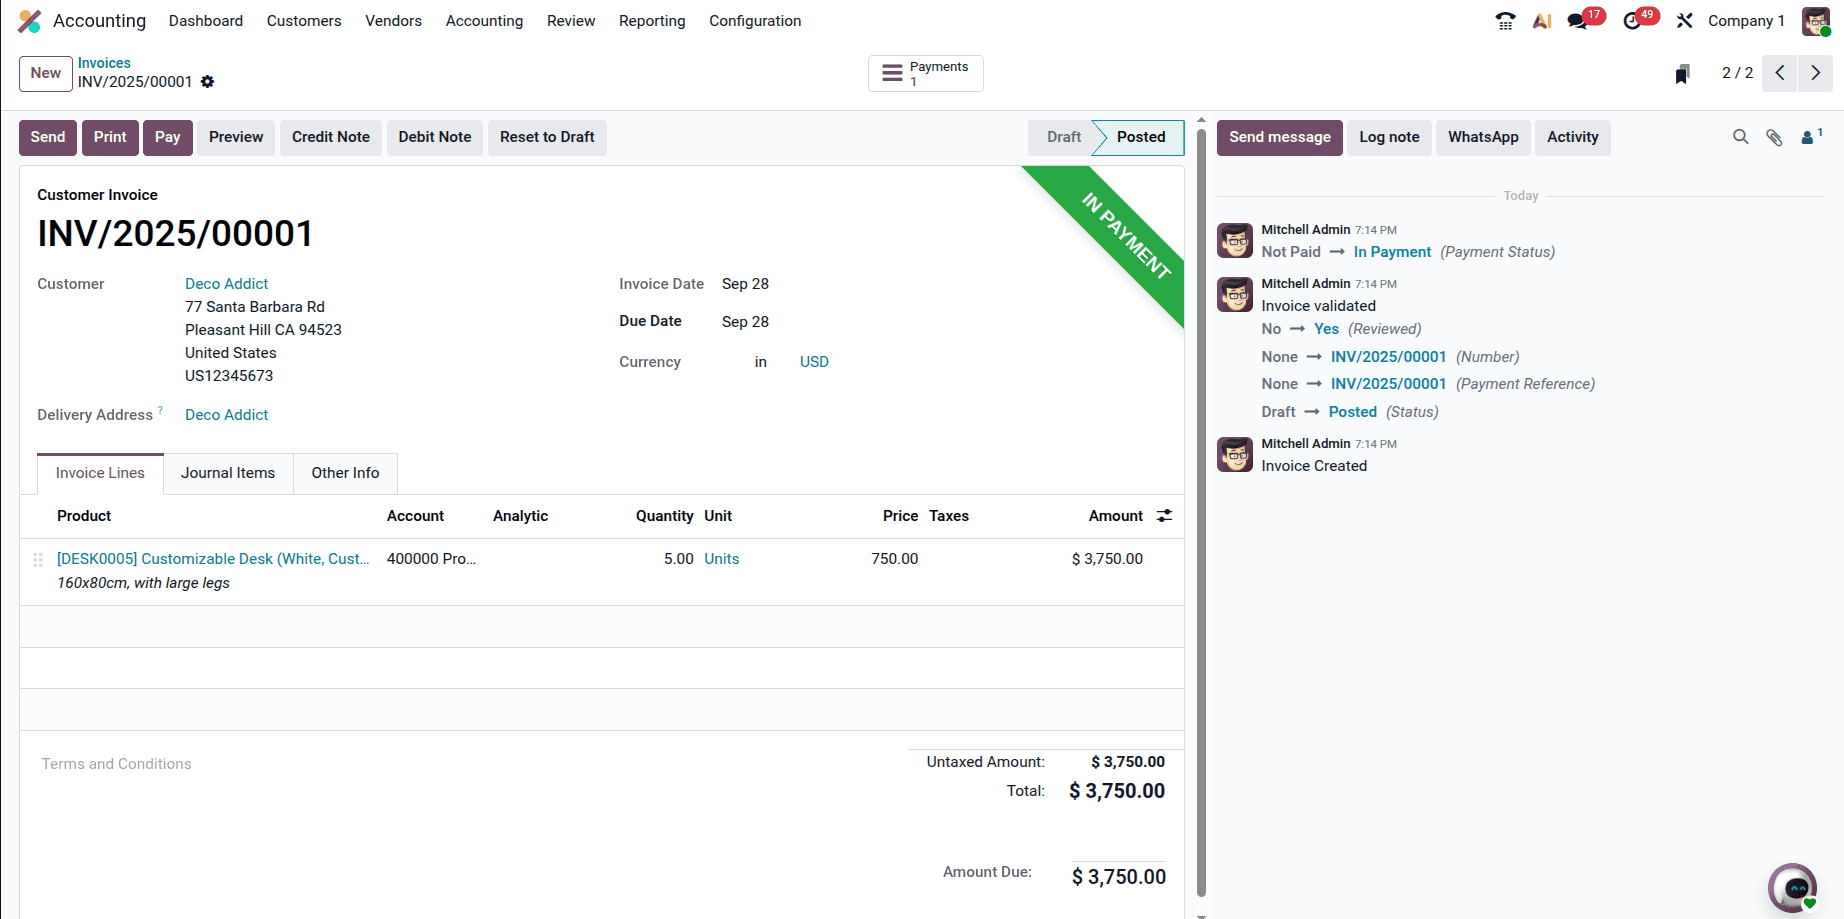
- Go to Accounting > Customers > Invoices.
- Create a new invoice for a customer, add a product line, and confirm it.
- For example, we created an invoice worth 3,750.
- Next, switch to Company 2, similar to Company 1, create an invoice and here we have created an invoice worth 3000.

Now both companies have their own records. These will appear separately when we generate financial reports.
Step 4: Viewing Multi-Company Reports
Now that both companies have their own invoices, we can generate reports to see how Odoo 19 manages multi-company data. Let’s see how Odoo 19 displays financial data across multiple entities.
- Go to Accounting > Reporting > Balance Sheet.
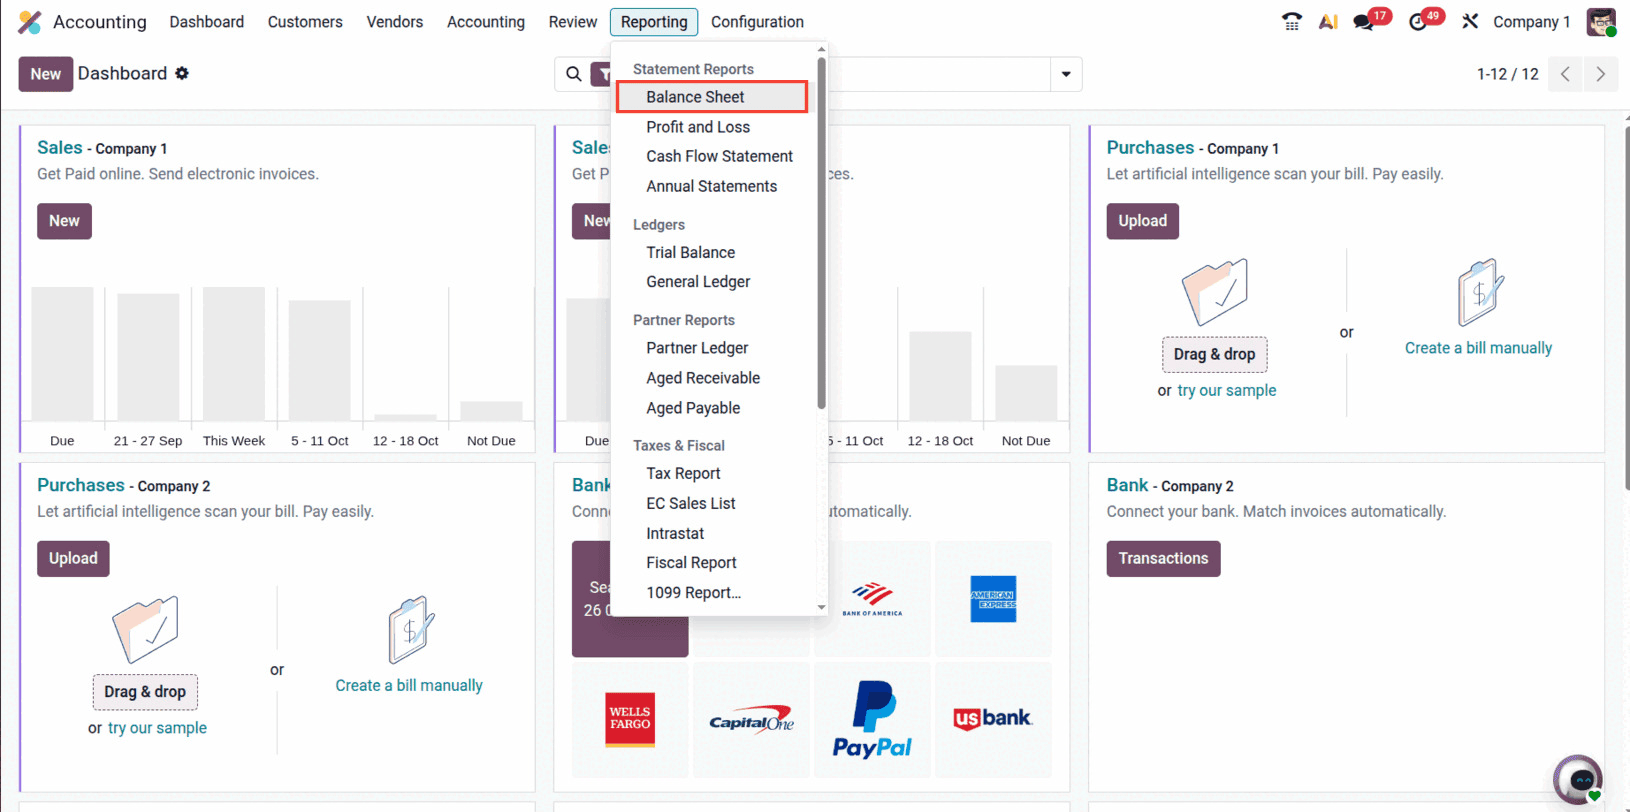
- At the top of the screen, enable both Company 1 and Company 2 in the company switcher.
- The report will now show balances for each company separately.
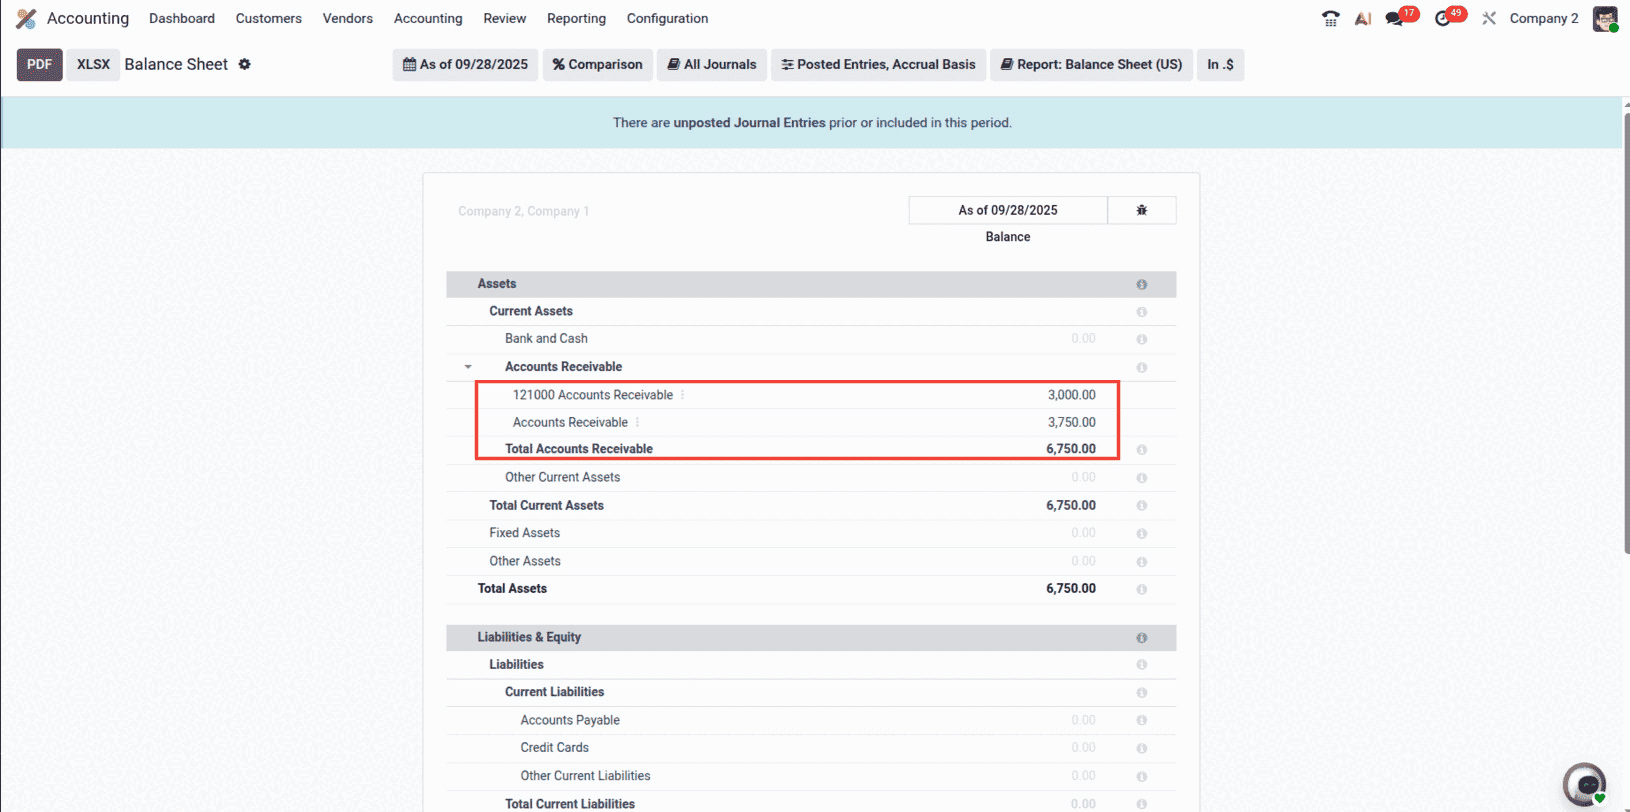
In our example, the Balance Sheet makes the difference between the two companies very clear. Company 1 shows an Accounts Receivable balance of 3,750, which comes directly from the customer invoice we created earlier. On the other hand, Company 2 displays an Accounts Receivable balance of 3,000, based on the invoice recorded under this company.
Both sets of data appear in the same Balance Sheet, but they remain strictly separated. This way, Odoo ensures that information is never mixed across entities.
Some key advantages of this design include:
- Each company’s financial data stays independent and accurate.
- You can review results for multiple companies at the same time, without needing to switch back and forth.
- A consolidated report is available where all companies are listed side by side, making comparisons simple.
Conclusion
Handling multiple companies in one system can seem complicated, but Odoo 19 makes it much easier. By creating separate companies, assigning user access, recording transactions, and then generating reports, you can clearly see each company’s data without confusion. Reports like the Balance Sheet keep figures separated by company while still letting you review them in one view.
This approach not only saves time but also improves accuracy and transparency. For businesses running in different regions or with multiple units, Odoo’s multi-company reporting gives a complete picture of performance, ensures compliance, and simplifies financial management — all within a single Odoo environment.
To read more about Odoo 18 Multi-Company Setup: Guidelines and Tips, refer to our blog Odoo 18 Multi-Company Setup: Guidelines and Tips