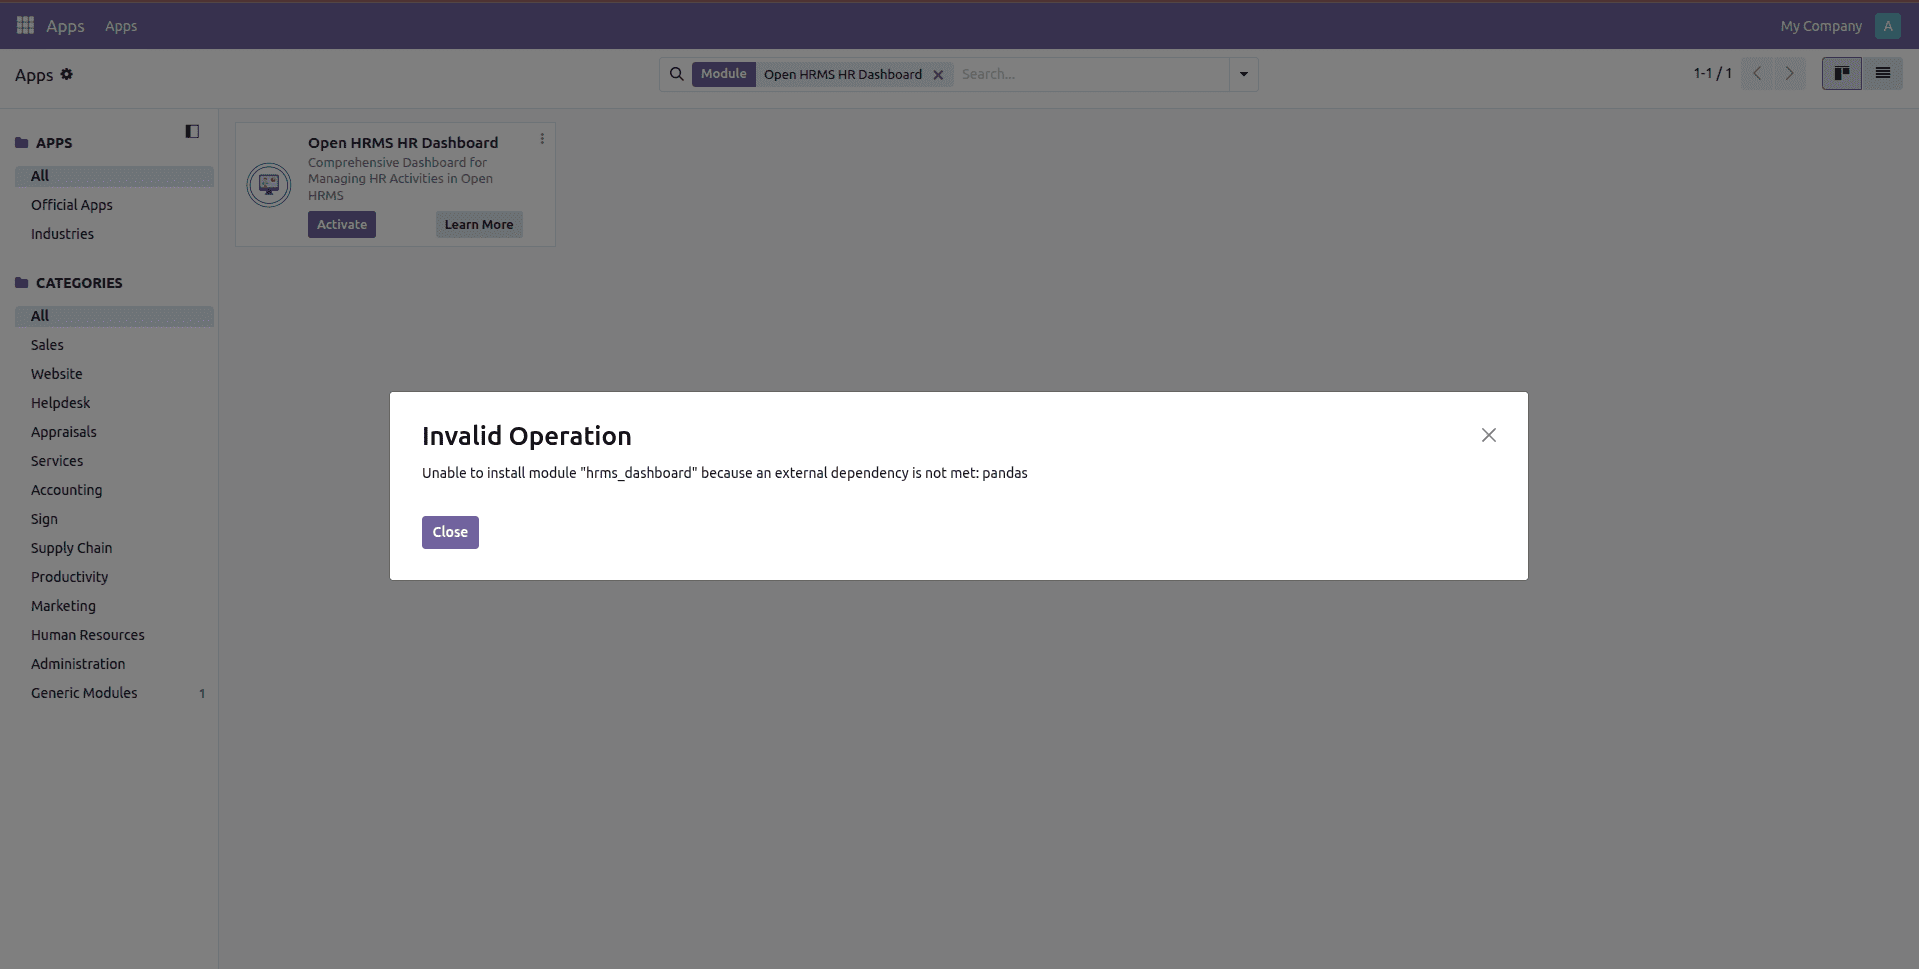
However, there are some Odoo modules that require Python packages/dependencies that are not installed by default in an Odoo instance, and this leads to failure in activating the module due to missing dependencies. Rather than going to the Odoo server terminal to install these dependencies manually, just add the dependency using the "Packages" tab in EasyInstance.
Step 1: One home for your instance's Python libraries
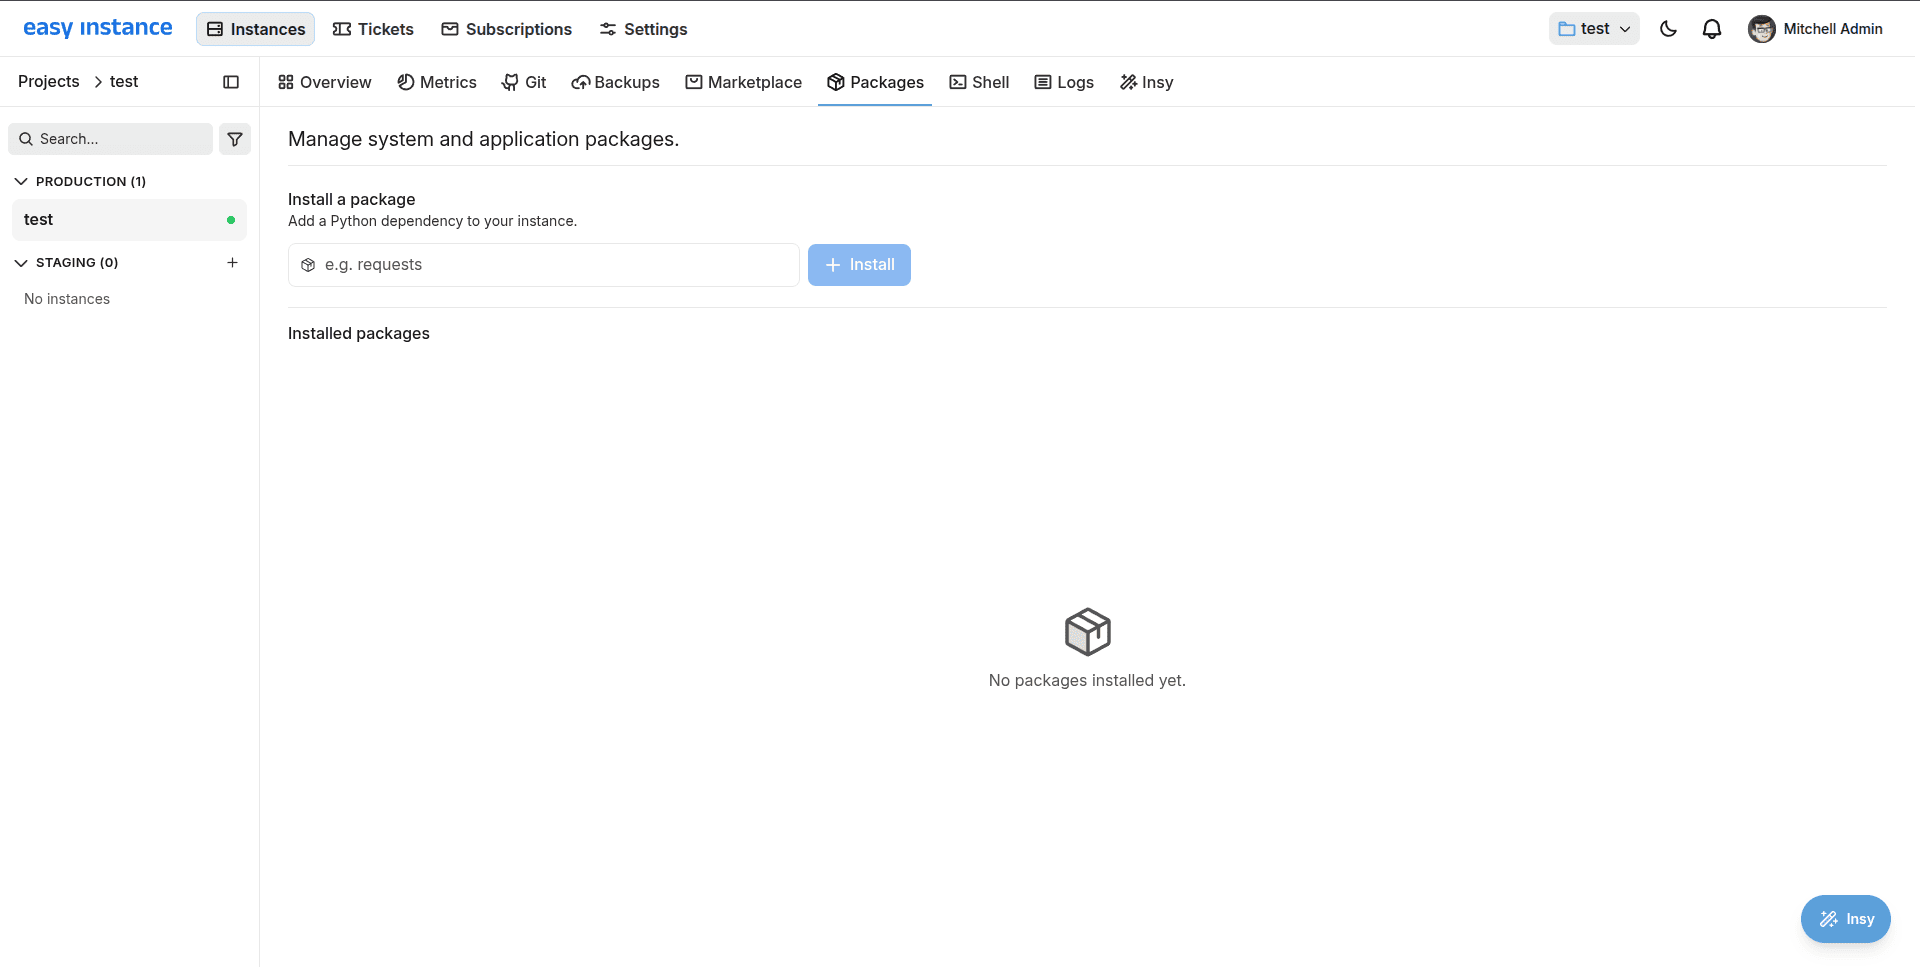
All projects have the Packages tab, which has the name Manage system and application packages. This tool is useful for installing and managing external packages needed for Odoo applications, including Python packages, via the browser interface. The page has just one text field on top together with an Install button, while the table below lists all the packages you have installed. When you set up a new environment, it is empty, displaying No packages installed yet.
- Install anything pip knows by name, with no SSH or server access required.
- Every package you add is reinstalled automatically on each restart or redeploy, so it survives rebuilds.
- The list is searchable, and any package can be removed with the trash icon beside it.
Step 2: Odoo blocks the module it can't satisfy
These modules perform certain functions behind the scenes, such as working with spreadsheet files, converting files to PDFs, or accessing data through external APIs. These functions require a library, which may not be present in the basic Odoo image file and which needs to be added separately. In Odoo, go to Open Apps and click on Activate to install a module.
Step 3: Search for the package in the Packages tab
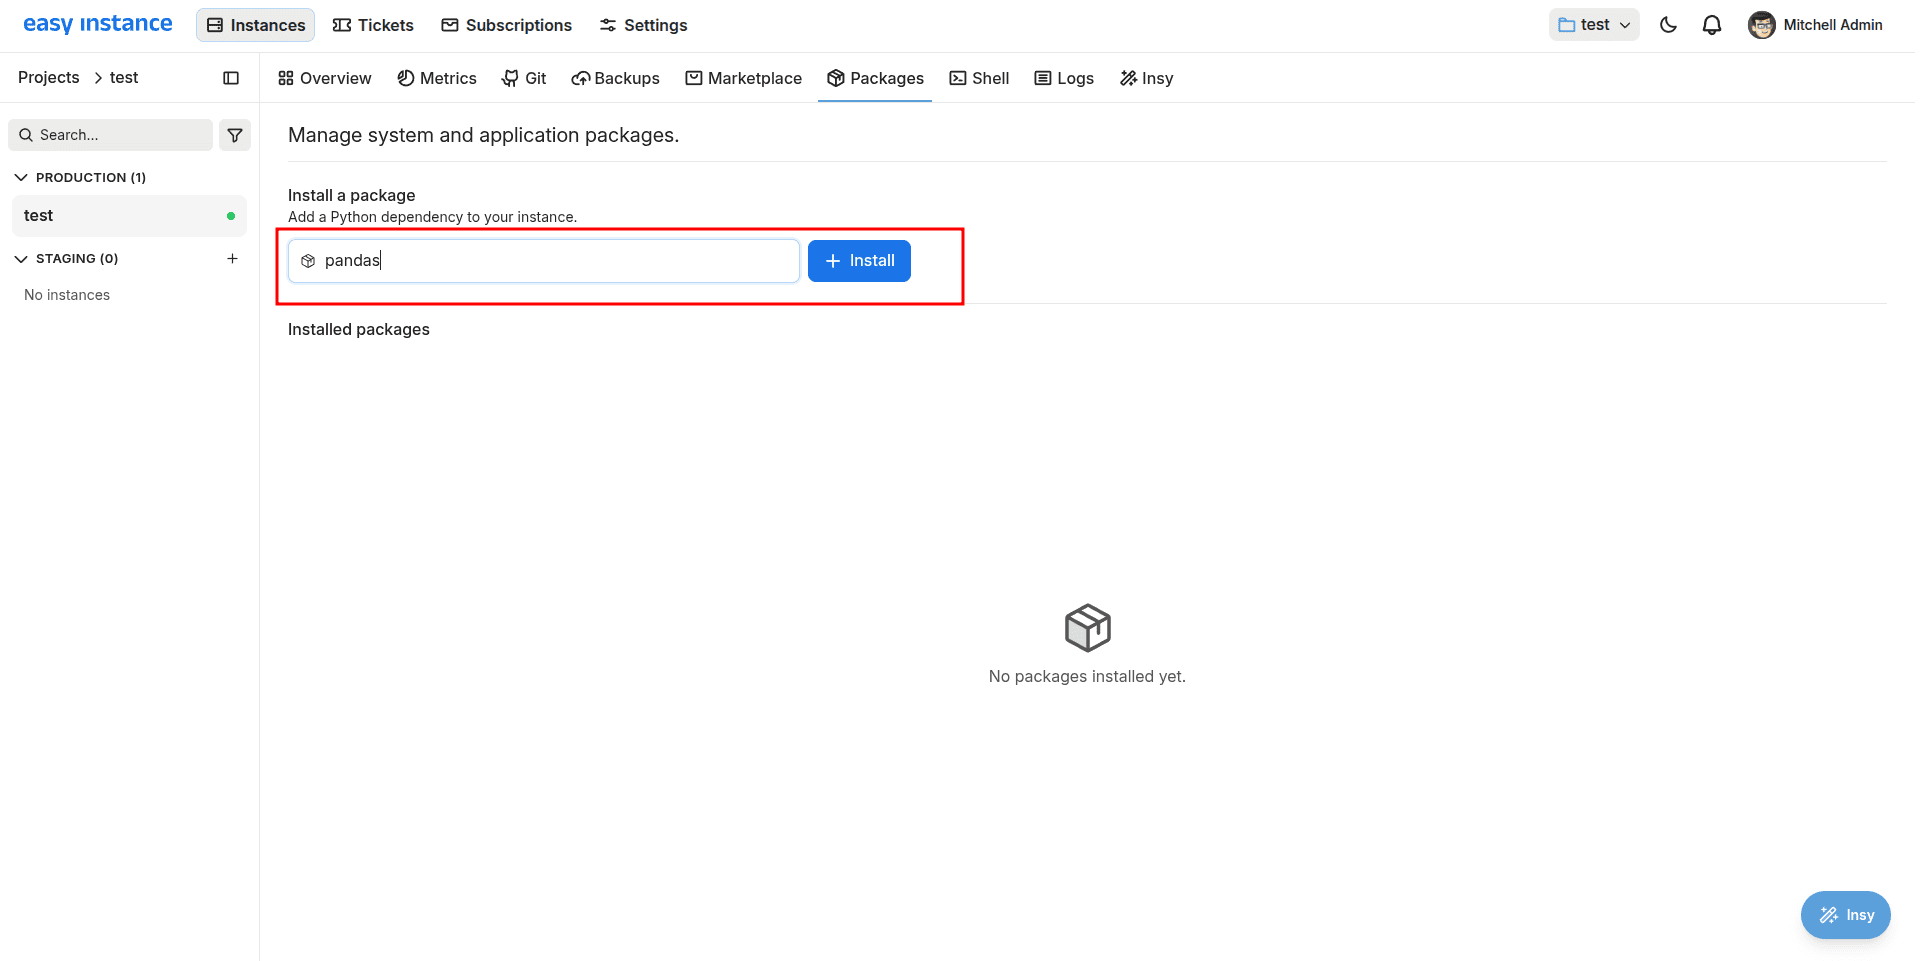
Click on the Packages tab once more and insert the package name that appears in the error message. The package name will be entered in the field Add a Python dependency to your instance, and the Install button will be activated as soon as you have a package to install.
Spelling does make a huge difference in this context. Pip will only be able to find something to install if it uses the exact spelling of the package as it is shown on PyPI, as opposed to the human-friendly name that may be used in the module's documentation.
- Use the exact name Odoo reported, since that's the name pip knows it by.
- One package per install; add more the same way once the first one finishes.
Step 4: Click Install and let it run
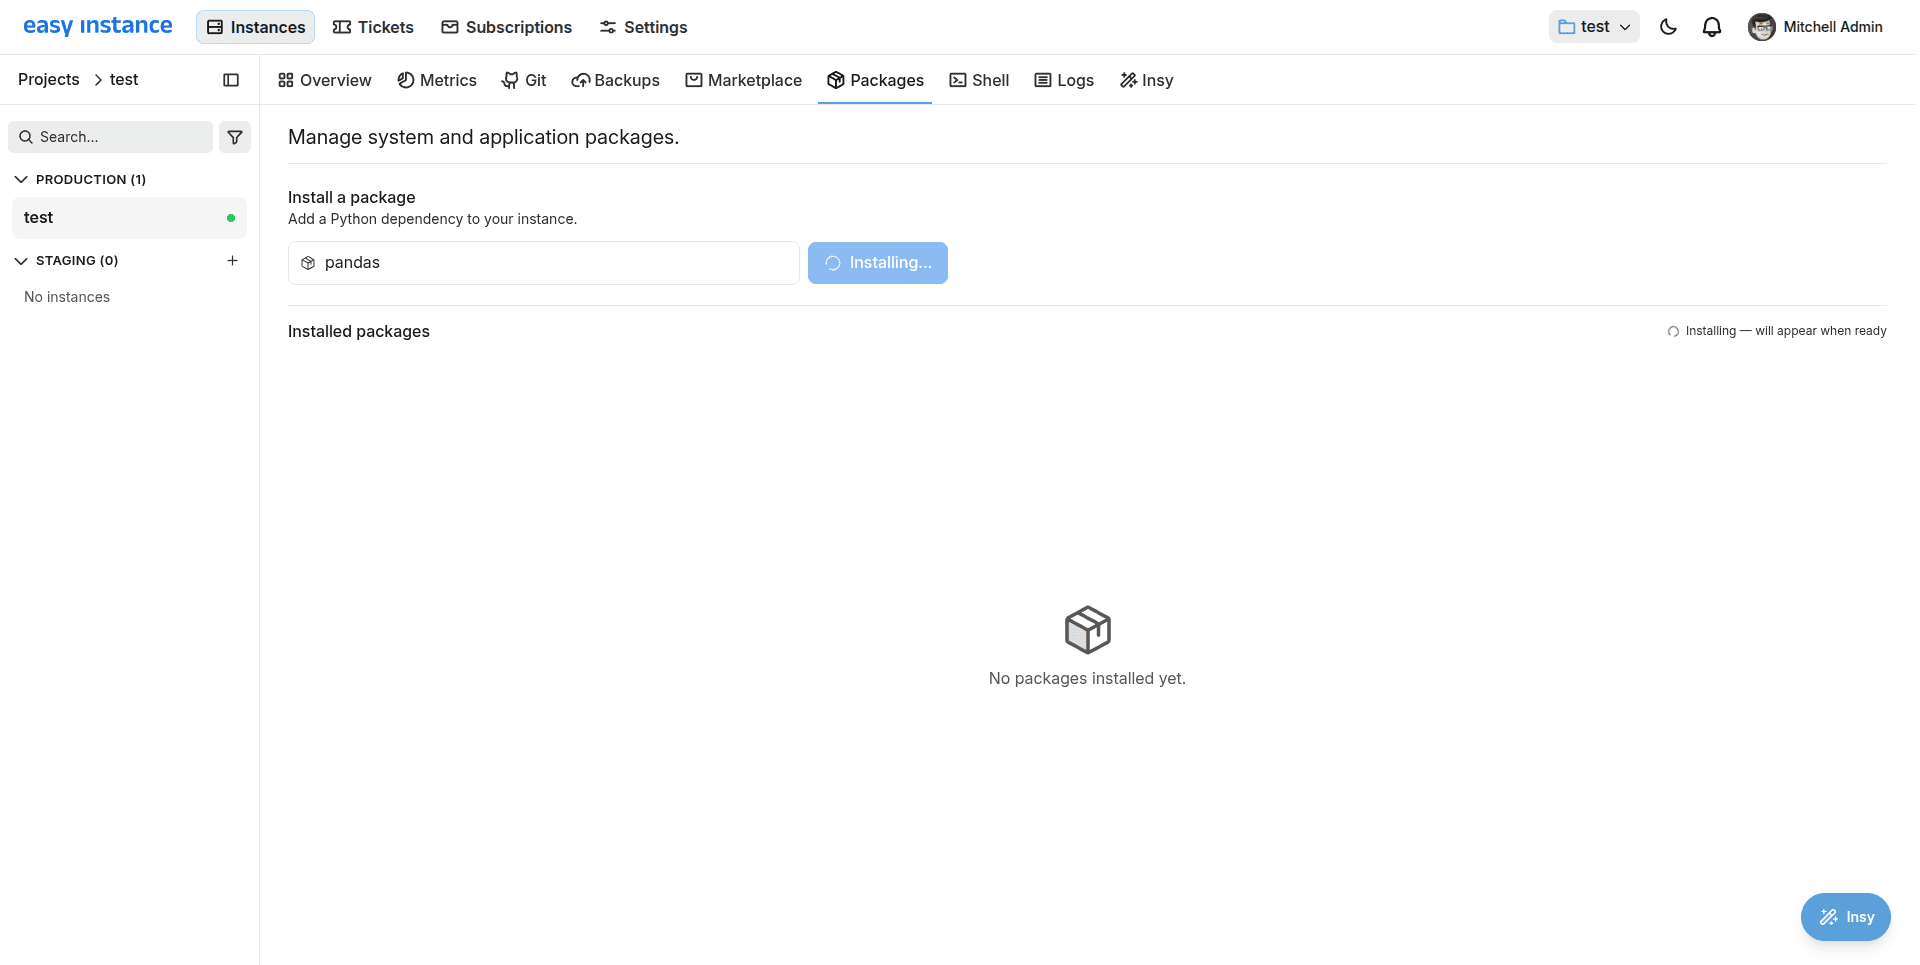
Click the Install button to install the chosen Python package in your instance. Installation takes place in the background as the package is downloaded and installed into the running environment, and the status will be indicated by the Packages list. You will get notifications at the start and end of the installation process, enabling you to do other work during that time.
- The package is installed inside the running instance using pip.
- The instance restarts automatically so Odoo can load the new Python dependency.
- The Packages list refreshes automatically once the installation is complete.
Step 5: The package joins your installed list
After the installation is complete, you'll see that the new dependency has been added to the Installed packages list. The number of packages installed is automatically updated. To search installed packages, you can make use of the Search installed packages box. There will be an option called "Remove" against each installed dependency.
- A success notification confirms that the Python dependency was installed successfully.
- The installed dependency remains available across future restarts and redeployments.
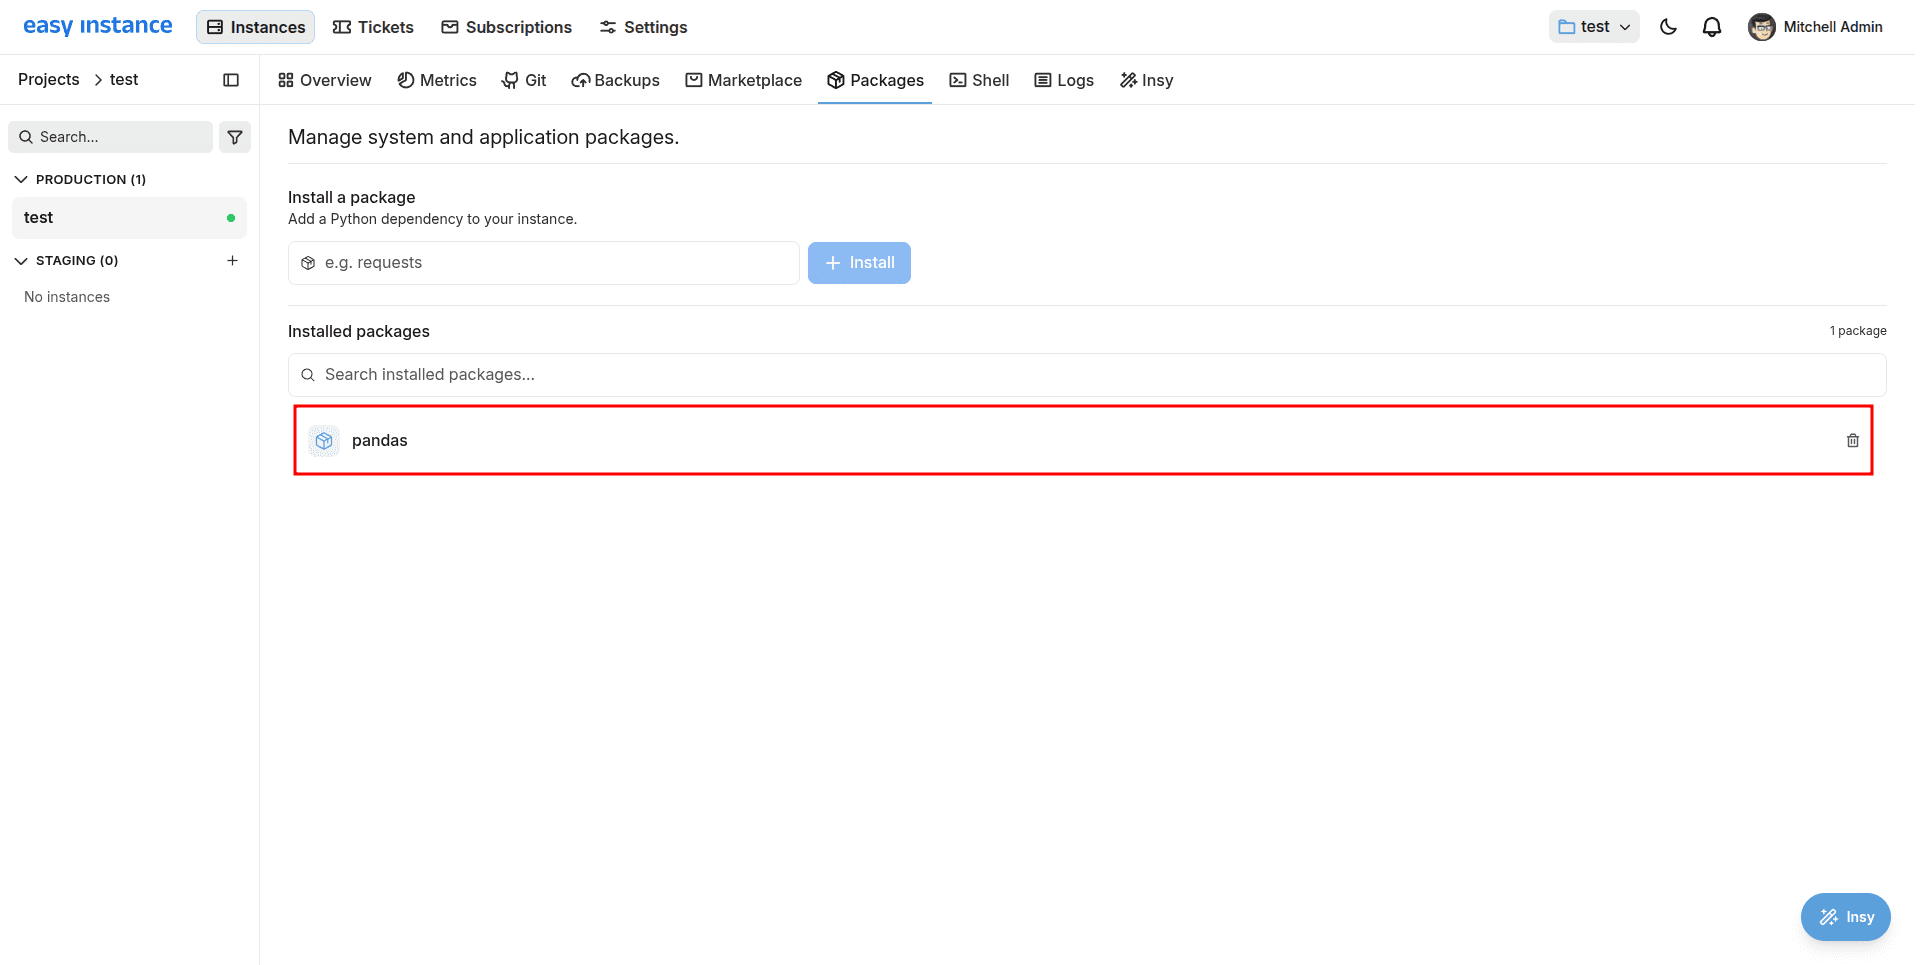
Step 6: Activate the module with the required dependency installed
Go back to the Odoo Apps page, close the error pop-up window if it remains open, and press the Activate button once more. As soon as the necessary Python module is installed, Odoo will be able to resolve the problem and install the module. If other Python modules or any other third-party dependencies should be required, Odoo will notify about them one by one so that you can install each module and try activating the module again until all dependencies are installed.
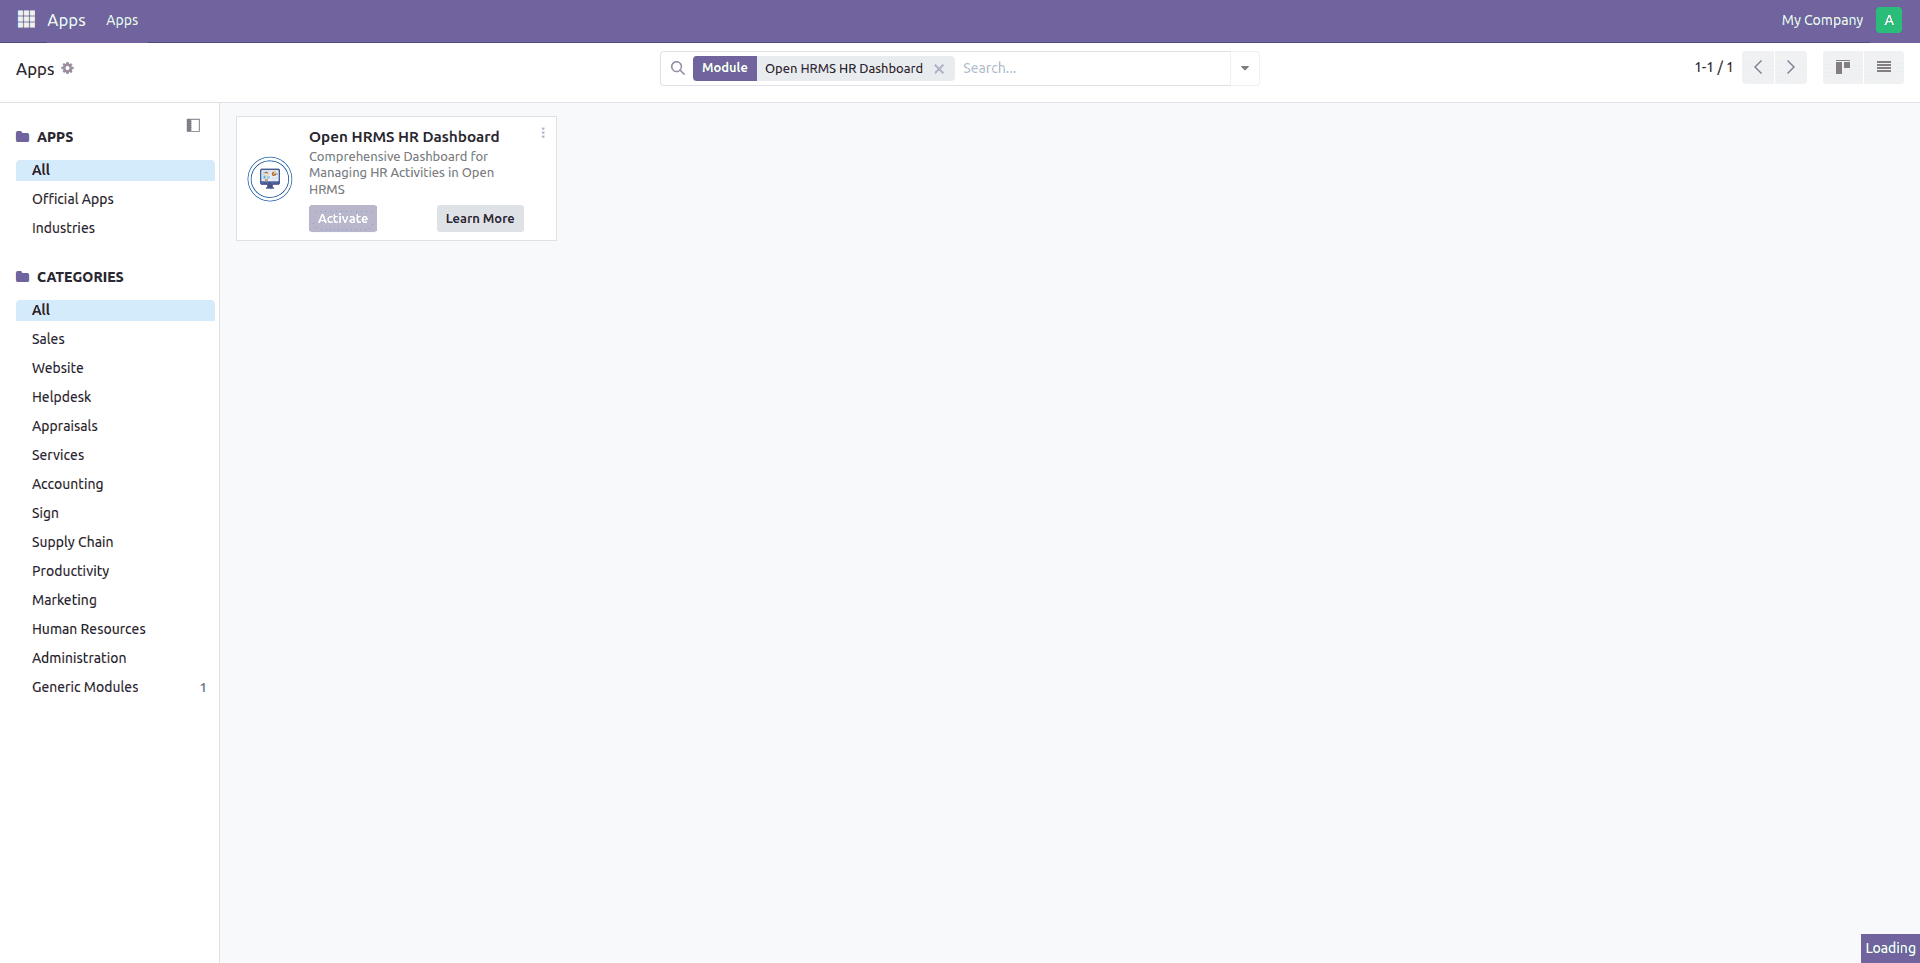
Before a module can be activated, Odoo checks that all required Python packages and external dependencies are available. If one is missing, simply note its name from the error message, install it from the Packages tab, and activate the module again. The entire dependency management workflow happens in your browser, with no need to access the server or run manual installation commands.
To read more about How to Add Custom Modules in Easy Instance, refer to our blog How to Add Custom Modules in Easy Instance.