One of the most useful features in Odoo’s business apps is Chatter, the handy panel on the right-hand side where you can see all conversations, notes, and system updates related to a record. It keeps everything organized, so your team always knows what’s going on without digging through emails or messages.
Now, there are times when you might want Odoo to post messages to the Chatter automatically, without anyone typing them in.
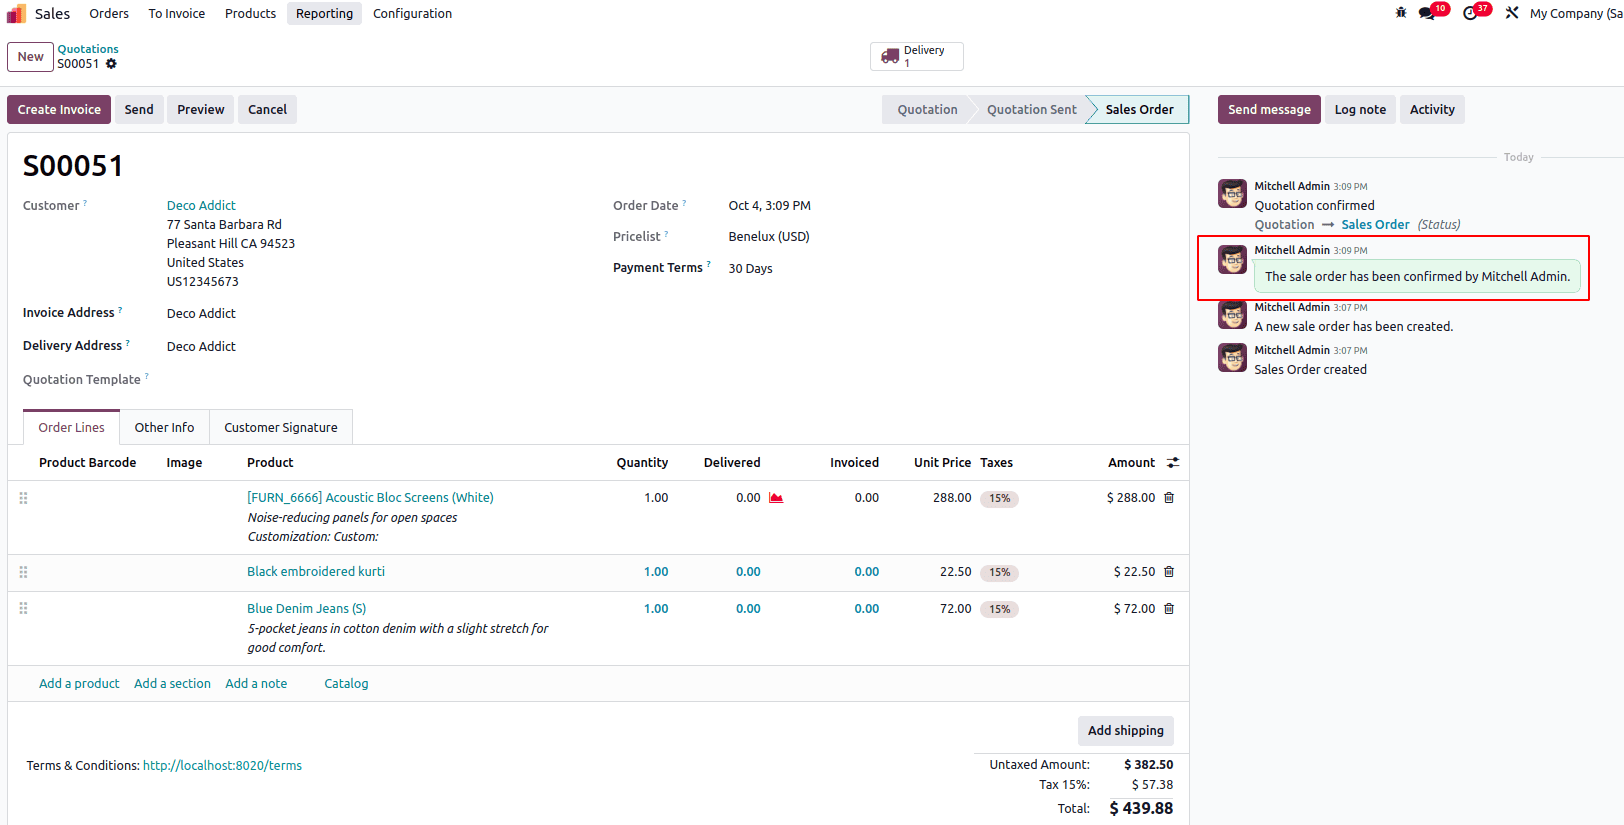
For example, when a sale order is confirmed, an invoice is validated, or a delivery is completed — it’s helpful if Odoo can post a quick update to keep everyone in the loop.
That’s exactly what the message_post() method is for. Using it, you can easily post messages to the Chatter programmatically whenever certain actions happen.
Let’s walk through how this works in Odoo 19.
Here’s a simple example of how to do it in Odoo 19:
from odoo import models, fields, api, _
class SaleOrder(models.Model):
   _inherit = 'sale.order'
   def action_confirm(self):
       res = super().action_confirm()
       for order in self:
           order.message_post(
               body=_("The sale order has been confirmed by %s.") % (
                   self.env.user.name),
               message_type="comment",
               subtype_xmlid="mail.mt_comment"
           )
       return res
The message_post() function is used to post a message to the Chatter of any record in Odoo, such as Sales Orders, Invoices, or Projects.
The message_post() method creates a new record in the mail.message model, linking it directly to the record’s Chatter.
Let’s break down the parameters of message_post method:
- body (str or Markup):
The actual message content. Odoo escapes HTML by default, but you can use Markup if you need HTML formatting.
- subject (str):
Optional title or subject for the message (mainly used for emails or notifications).
- message_type (str):
Defines what kind of message it is. Common options: "comment", "notification", "email".
- email_from (str):
The sender’s email. If not set, Odoo picks it up automatically.
- author_id (int):
The partner ID (res.partner) of the author.
- parent_id (int):
Used to reply to an existing message , useful for threaded conversations.
- subtype_xmlid (str)
Determines the type of message (like “note” or “comment”). Example: "mail.mt_comment".
- subtype_id (int):
The numeric ID of the subtype (used for follower notifications and categorizing messages).
- partner_ids (list[int]):
List of partner IDs to notify in addition to followers.
- outgoing_email_to (str):
Comma-separated list of extra email addresses to notify (new in Odoo 19, experimental).
- incoming_email_to (str):
Comma-separated list of email addresses that have already received the message (to avoid duplicates).
- incoming_email_cc (str):
Comma-separated list of email addresses that were CC’d in the incoming email.
- attachments (list[tuple]):
Add attachments in the format (name, content) or (name, content, info).
- attachment_ids (list[int]):
IDs of existing attachments you want to link.
- body_is_html (bool):
Set to True if you want Odoo to treat your message body as HTML.
This ensures that your team always has access to information directly within the Chatter timeline.
To use message_post() on your model, make sure your model inherits from mail.thread.
Without it, the Chatter panel won’t appear, and you won’t be able to post messages.
Example:
class CustomModel(models.Model):
    _inherit = ['mail.thread', 'mail.activity.mixin']
Posting messages to the Chatter in Odoo 19 is both simple and powerful. It helps you keep your team informed automatically, no extra clicks, no missed updates.
Whether it’s confirming a sale, updating a delivery, or notifying about a support response, adding automated Chatter messages makes your Odoo system more collaborative, transparent, and user-friendly.
So next time you want to keep your team updated without manual work, let Odoo’s Chatter do the talking.
To read more about How to Post a Message to Chatter in Odoo 18, refer to our blog How to Post a Message to Chatter in Odoo 18.