The Document Object Model (DOM) is the data representation of elements that form the structure and content of the web. In simple words, we can say that DOM is the interface between the scripting language and a web page’s structure. It defines the logical structure of documents and the way a document is accessed and manipulated.
DOM helps JavaScript to create HTML dynamically. Using DOM, we can access web documents and their elements.
The DOM was designed to be independent of any programming language. Even though most web developers use only JavaScript to access DOM elements, DOM implementation can be achieved through other programming languages as well.
Accessing DOM Elements
There are different methods to access HTML elements.
1)getElementById()
2) querySelector()
3) getElementsByClassName()
4)getElementsByTagName()
5) querySelectorAll()
1) getElementById()
The getElementById method is the most commonly used method. It returns the element with the mentioned id. If the element with id does not exist in the web content, the method returns a null value.
Syntax:
document.getElementById(‘element_id’);
2) querySelector()
The querySelector method returns the first element that matches the selector. If the selector does not exist, the method returns a null value. Using querySelector() we can get only the first element that matches the selector.
Syntax:
document.querySelector(‘tag_name’);
3) getElementsByClassName()
The getElementsByClassName method returns the list of all elements that match the class name. If there’s no match, then it returns a null value.
Syntax:
document.getElementsByClassName(‘elements_class’);
4) getElementsByTagName()
The getElementsByTagName method returns the list of all elements that match the argument we pass with the tag name. If there’s no match, then it returns a null value.
Syntax:
document.getElementsByTagName(‘tag_name’);
5) querySelectorAll()
The querySelectorAll method returns the list of all elements that match the selector. It works like the querySelector method, but the difference is that by using the querySelectorAll method, we can access all the elements with the selector.
Syntax:
document.querySelectorAll(‘tag_name’);
Accessing and Updating Content using DOM Elements
Now, let’s discuss accessing and updating content using DOM elements. We use two properties to achieve this.
1) innerHTML
2) textContent
1) innerHTML
Using the innerHTML property, we can set or return the inner HTML content of an element.
Eg:
<!DOCTYPE html>
<html>
<body>
<h1>This is an example of innerHTML</h1>
<div>
<p>Welcome</p>
<p>This is a test of inner html.</p>
</div>
<script>
var elt = document.querySelector('div');
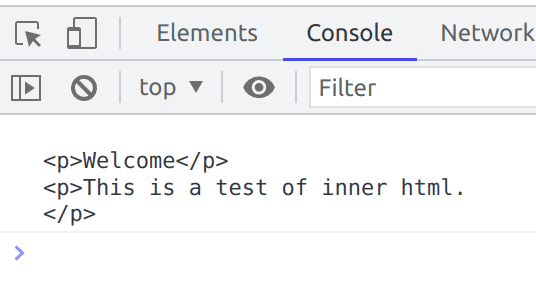
console.log(elt.innerHTML)
</script>
</body>
</html>
Output:
Now, when we console the page, we’ll get the innerHTML elements of the div:
2) textContent
Using the textContent property, we can set or return the text content of an element.
Eg:
<!DOCTYPE html>
<html>
<body>
<h1>This is an example of textContent</h1>
<div>
<p>Welcome</p>
<p>This is a test of text content.</p>
</div>
<script>
var elt = document.querySelector('div');
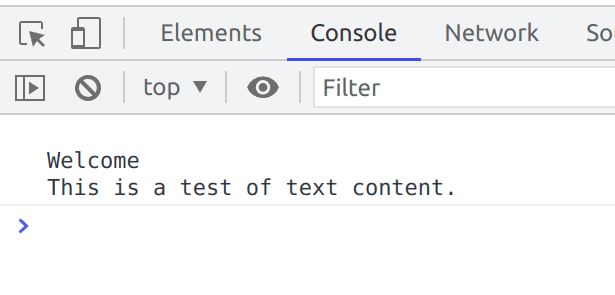
console.log(elt.textContent)
</script>
</body>
</html>
Output:
Now, when we console the page, we’ll get the text contents elements of the div:
Adding and Deleting Elements using DOM Elements.
Now, let’s discuss the methods that we can use for adding and deleting elements. There are various methods that help us to achieve this.
1)document.createElement()
2)document.removeChild()
3)document.appendChild()
4)document.replaceChild(new, old)
5)document.write()
1) document.createElement()
The first method that we will discuss here is the document.createElement() method. From the name itself, we can understand the function of this method. It is used to create an element. Let’s discuss it with the help of an example.
Eg:
<!DOCTYPE html>
<html>
<body>
<h1>Example of createElement Method</h1>
<script>
var element = document.createElement("p");
element.textContent = "This is a newly created p element.";
document.body.appendChild(element);
</script>
</body>
</html>
In the above example, we created a new ‘p’ element using the createElement() method, and added text using textContent property. Then, we appended the newly created element using the appendChild() method to the document body.
We get the output as:
2) document.removeChild()
The document.removeChild() method is used to remove an element’s child. Let’s discuss this method with an example.
Eg:
<!DOCTYPE html>
<html>
<body>
<h1>Example of removeChild() Method</h1>
<button onclick="myFunction()">Remove</button>
<div>
      <p>This</p>
      <p>Function</p>
      <p>Removes</p>
      <p>the</p>
      <p>child</p>
      <p>element</p>
</div>
<script>
function myFunction() {
  var element = document.querySelector("div");
  element.removeChild(element.firstElementChild);
}
</script>
</body>
</html>
The above is an example of removeChild() method. When we click on the button ‘Remove’, the function ‘myFunction()’ works. The element variable will have the ‘div’ elements, and removeChild will remove the child element of ‘div’. The ‘firstElementChild’ property is used to access only the first child element of the ‘div’.
This is the output on initial loading.
This is the output after the remove button is clicked the first time.
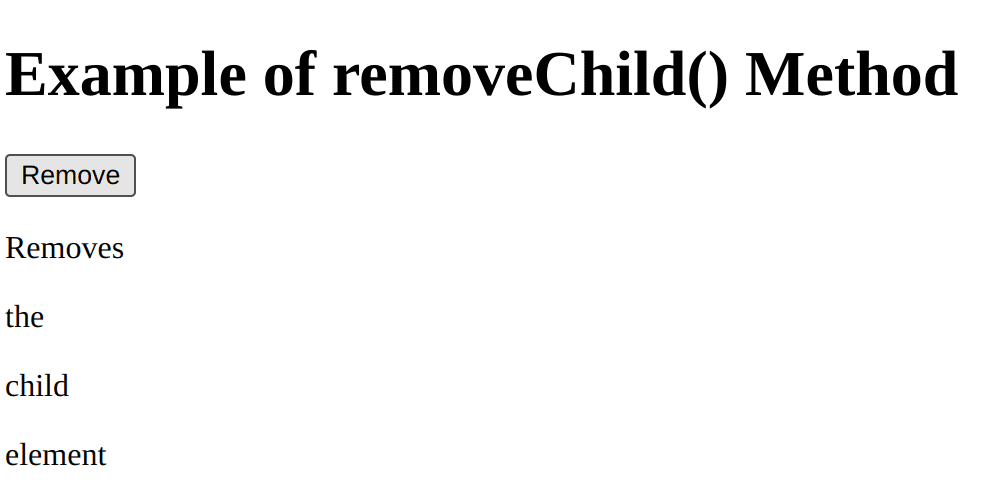
This is the output after we click the remove button a second time.
3) document.appendChild()
Next method we are going to discuss is the document.appendChild() method. This is the method that we use to append a child element to a parent element. We used this method in the first example to append the ‘p’ tag to the document body.
4) document.replaceChild(new, old)
The document.replaceChild method is used to replace the child element of a parent element. We pass arguments of the new tag in the position of ‘new’ and the existing element in the position of ‘old’.
Eg:
<!DOCTYPE html>
<html>
<body>
<h1>Example of replaceChild() Method</h1>
<div>
    <p>Existing Element</p>
</div>
<button onclick="myFunction()">"Replace"</button>
<script>
function myFunction() {
var element = document.querySelector("div");
var newElement = document.createElement("p");
newElement.textContent = "Element Replaced";
element.replaceChild(newElement, element.firstElementChild);
}
</script>
</body>
</html>
In the above example, when we click on the ‘Replace’ button, the text ‘Existing element’ will be replaced by ‘Element Replaced’.
The replace child method replaces the ‘<p>’ element.
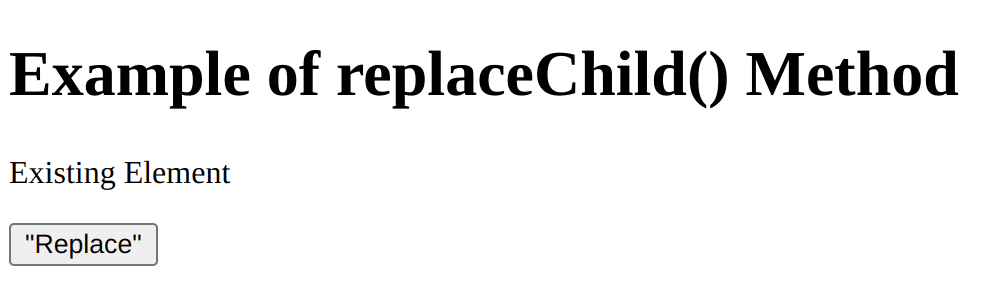
This is the output before clicking the Replace button.
This is the output after clicking the Replace button.
5) document.write()
The document.write() method is used to write something to the HTML document. We can write simple text or tags using document.write() method.
Eg:
<!DOCTYPE html>
<html>
<body>
<h1>Example of write() method</h1>
<script>
document.write("<h1>Hello World</h1>");
</script>
</body>
</html>
In the above example, we are writing ‘Hello World’ text in the ‘h1’ tag to the document.
Events in DOM.
There are various events in Javascript DOM that help us to trigger a function. Let’s discuss them in detail.
1)onclick
2)onkeydown
3)onkeyup
4)onfocus
5)onblur
6)onsubmit
7)onload
8)onresize
9)onscroll
1) onclick
The onclick event works when we click on an element. Using onclick, we can trigger a function when we click an element.
Eg:
<!DOCTYPE html>
<html>
<body>
<button onclick="myFunction()">Click</button>
<script>
function myFunction() {
  alert('clicked');
}
</script>
</body>
</html>
Here, when we click on the button, we get an alert.
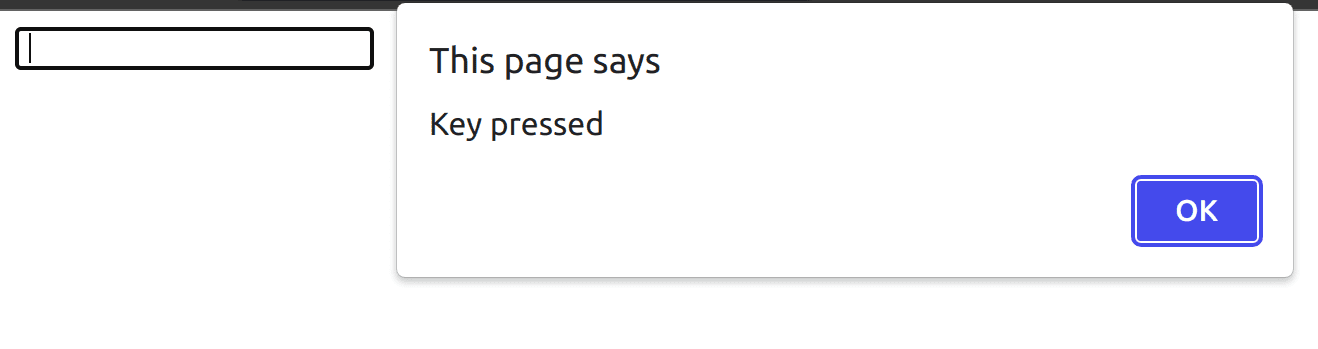
2) onkeydown
The onkeydown event occurs when a key in the keyboard is pressed. We can trigger a function when we press a key on the keyboard.
Eg:
<!DOCTYPE html>
<html>
<body>
<input type="text" onkeydown="myFunction()"/>
<script>
function myFunction() {
  alert("Key pressed");
}
</script>
</body>
</html>
Here, we get the alert when we press a key in the keyboard from the input box.
3) onkeyup
The onkeyup event occurs when a pressed key in the keyboard is released. We can trigger a function when we release a key on the keyboard. It works similar to the onkeydown function, the only difference is that onkeydown works when we press a key, and onkeyup works when we release a key on the keyboard.
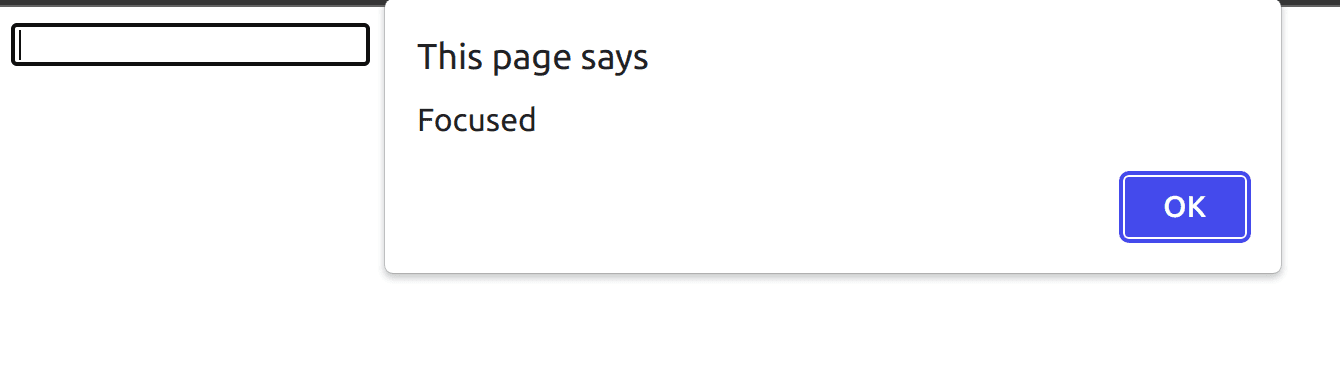
4) onfocus
The onfocus event occurs when an element is in focus. We can trigger a function when an element is in focus.
Eg:
<!DOCTYPE html>
<html>
<body>
<input type="text" onfocus="myFunction()"/>
<script>
function myFunction() {
  alert("Focused");
}
</script>
</body>
</html>
Here, the function works when the input box becomes in focus.
5) onblur
The onblur event is just the opposite of onfocus. The event occurs when an element loses its focus. We can trigger a function when an element loses its focus.
6) onsubmit
The onsubmit event occurs when we submit a form. If we want to trigger a function when on submit, we can use the onsubmit event.
Eg:
<!DOCTYPE html>
<html>
<body>
<form onsubmit="myFunction()">
  <input type="text">
  <input type="submit" value="Submit">
</form>
<script>
function myFunction() {
  alert("Submitted");
}
</script>
</body>
</html>
In the above page, the function works when we submit the form.
7) onload
The onload event triggers the function when the page has finished loading.
Eg:
<!DOCTYPE html>
<html>
<body onload="myFunction>
<h1>Onload Function</h1>
<script>
function myFunction() {
  alert("Loaded");
}
</script>
</body>
</html>
Here, we get an alert ‘Loaded’ when the page finishes loading.
8) onresize
The onresize event triggers the function when the browser window has been resized.
Eg:
<!DOCTYPE html>
<html>
<body onresize="myFunction()">
<script>
function myFunction() {
    alert('resized');
}
</script>
</body>
</html>
In the above example, we get an alert ‘resized’ when the browser window has been resized.
javascript-dom-document-object-model-cheatsheet
9) onscroll
The onscroll event triggers a function when scrolled.
Eg:
<!DOCTYPE html>
<html>
<div onscroll="myFunction()"
    style="height: 100px;
    width: 153px;
    overflow: scroll;">
  <h1>
    Testing onscroll Function
  </h1>
<script>
function myFunction() {
    alert('scrolled');
}
</script>
</div>
</html>
In the above example, we have reduced the size of the div, so that we get the scroll bar. And when we scroll, we get the alert ‘scrolled’ because the function is triggered.
So, that’s the basics about DOM elements, methods, attributes, and events. Hope everyone got a basic idea about the points discussed above.