In this blog, I am going to explain Onchange function creation from User Interface. The onchange function can be created easily with help of onchange () decorator in the code. Most people are not aware of how to add an onchange function from the user interface. This functionality is available in the community and enterprise editions of odoo. Let's check how to add an onchange function from the user interface.
First, we have to enable debug mode.
Then General Settings -> Technical -> Automated Actions
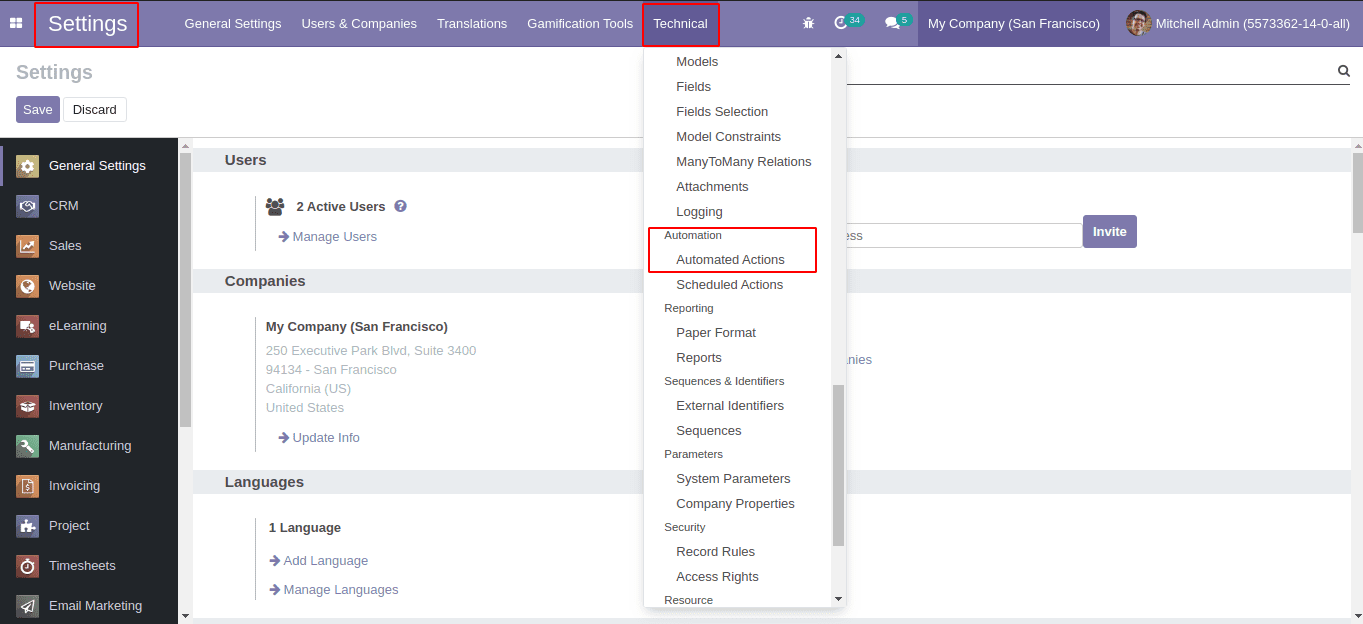
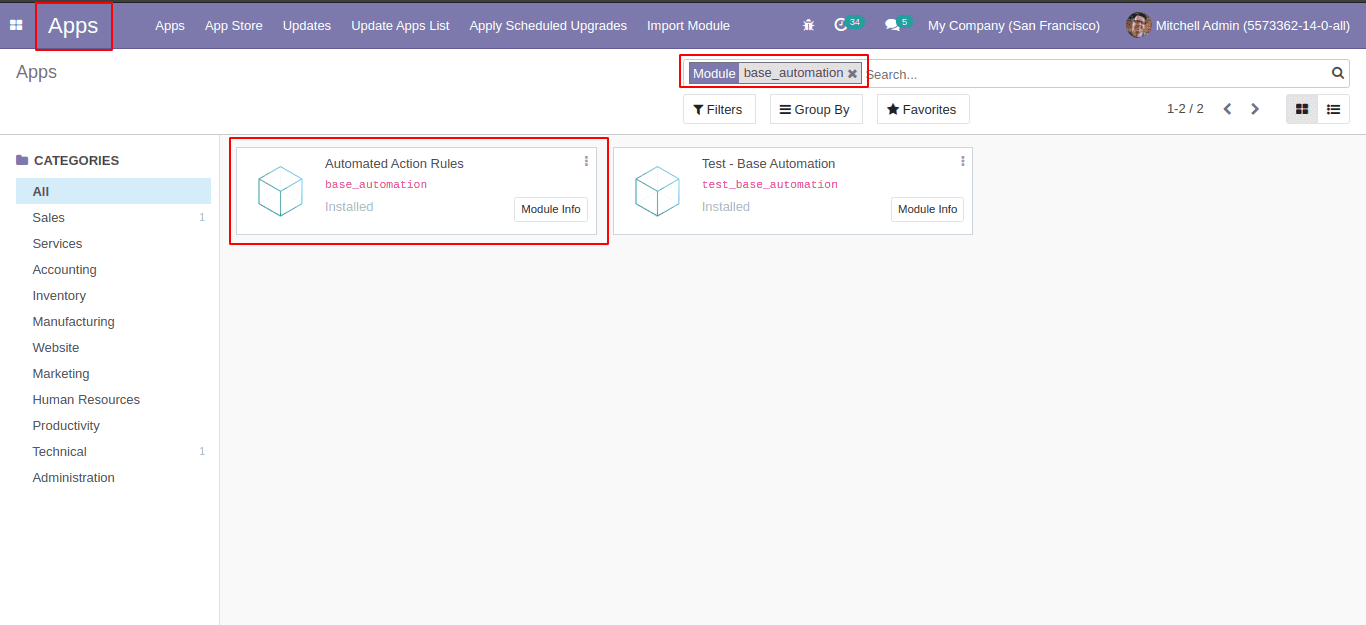
If this menu is not listed in your database install the module “base_automation”.
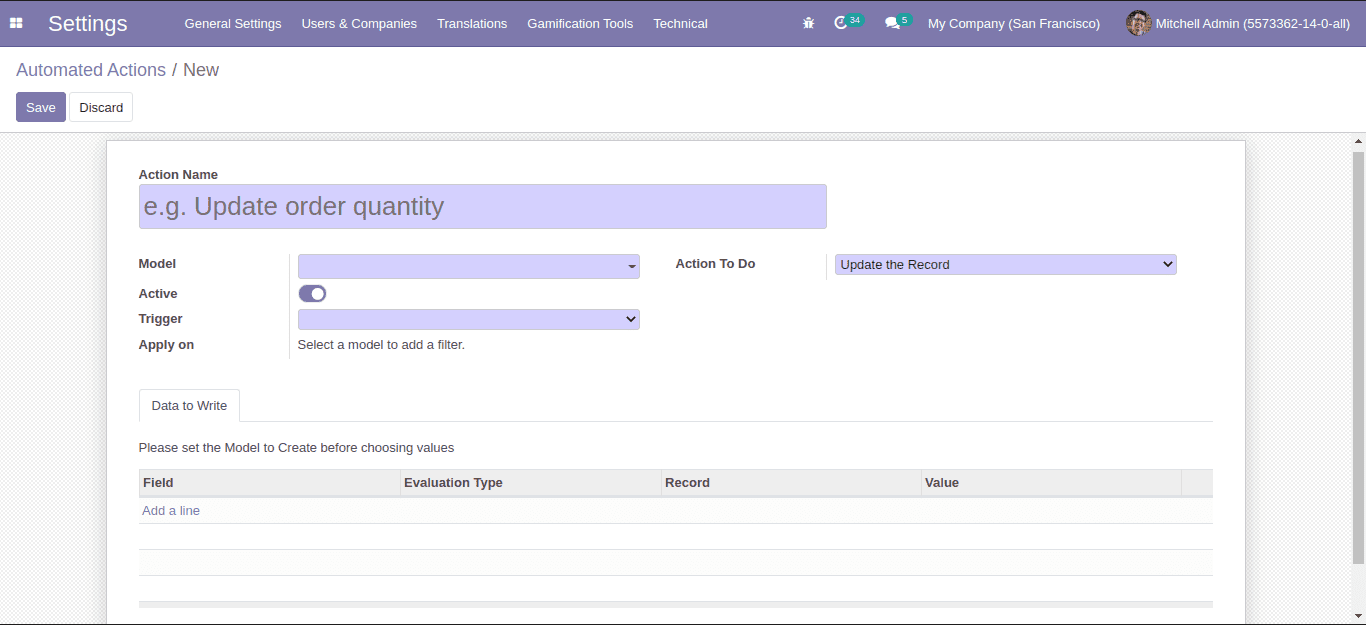
This is the interface of automating action creation.
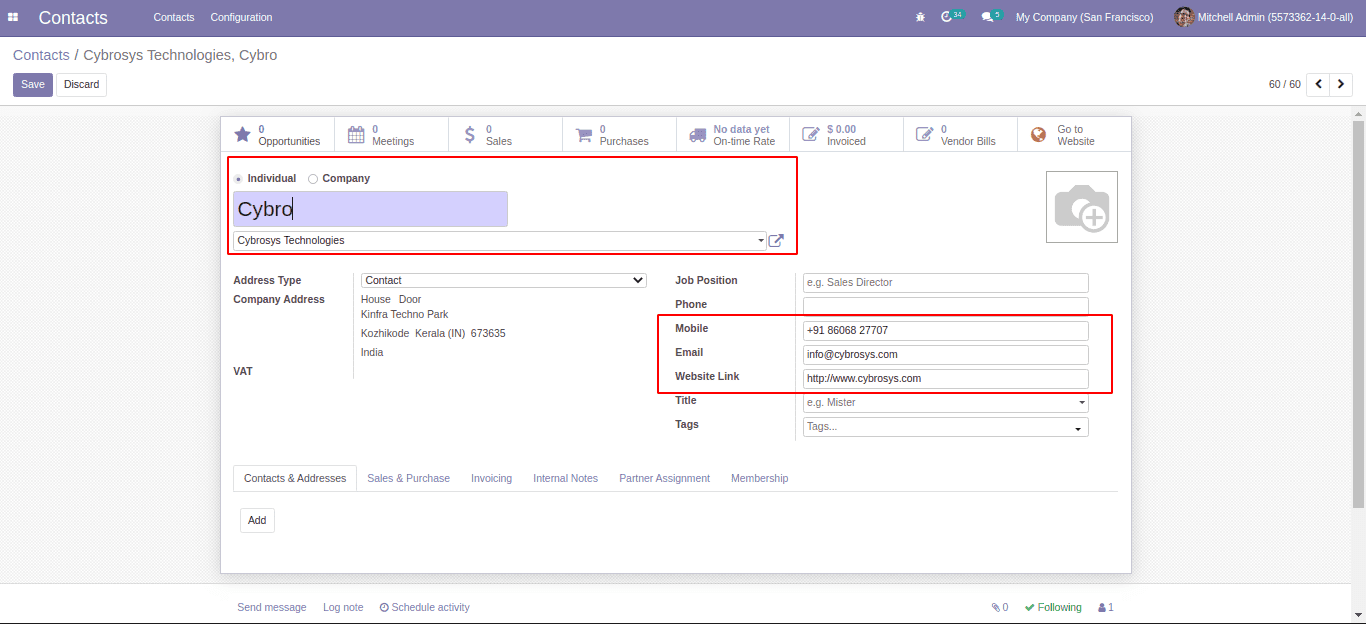
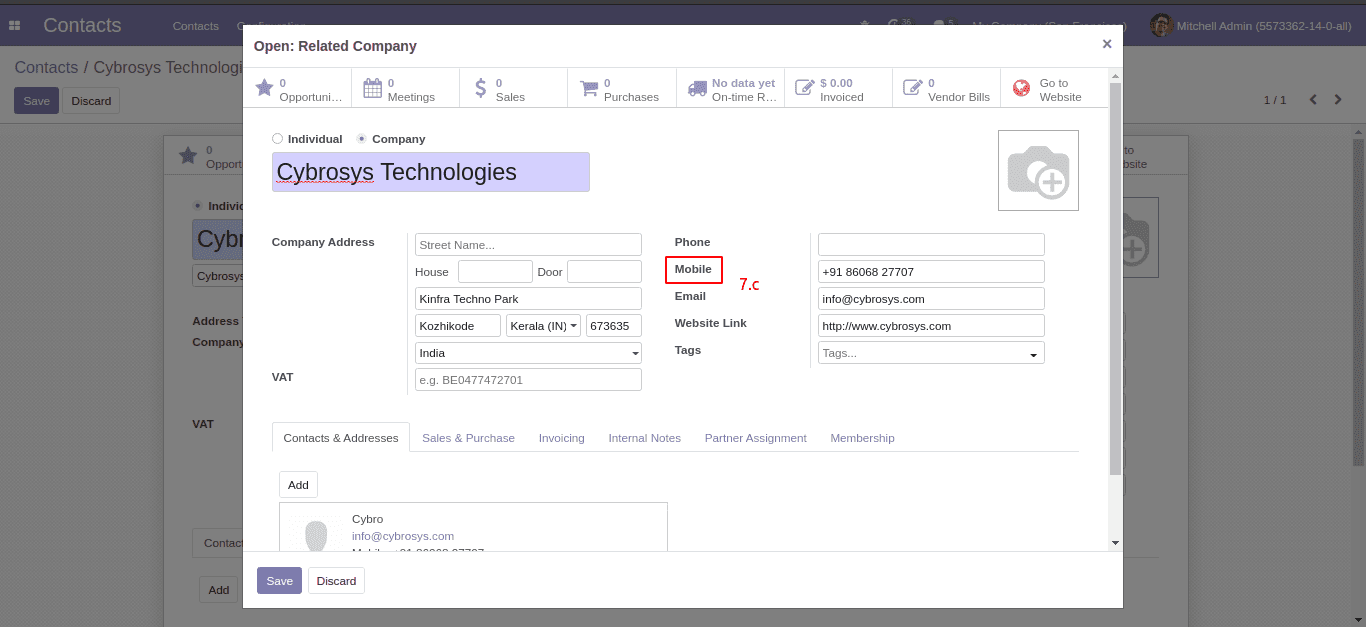
Now we can create an onchange function as in the below-given screenshot while creating a new individual contact. Based on the Related Company field we are creating an onchange function for updating the Company details such as Mobile, Email, and Website Link.
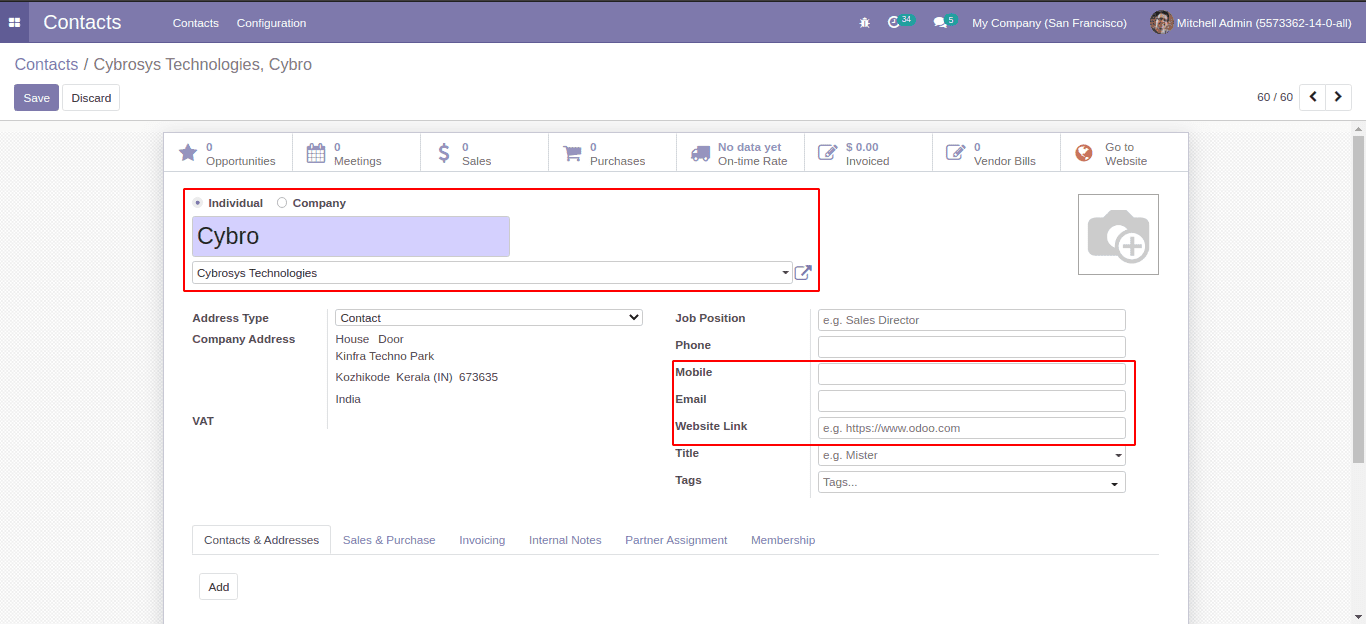
Here when we select the parent company, only the corresponding company address details are automatically shown.
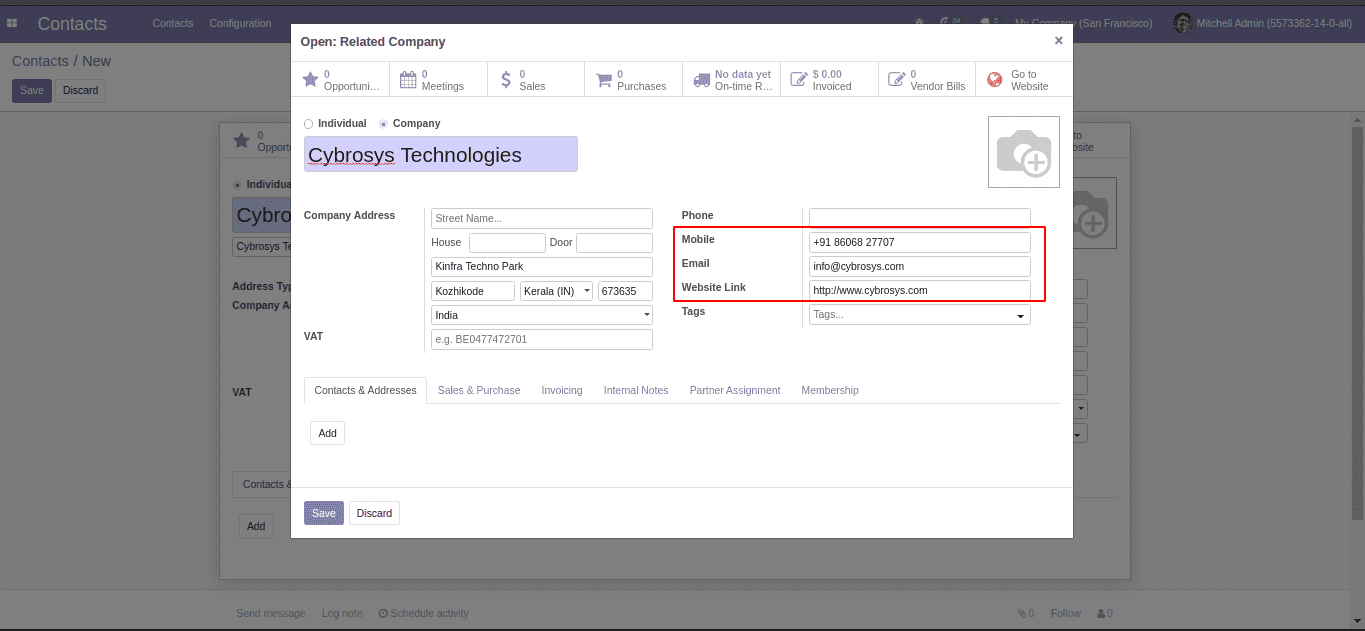
The parent company also has these details. Now we are going to create an onchange function for getting the details marked in the above screenshot.
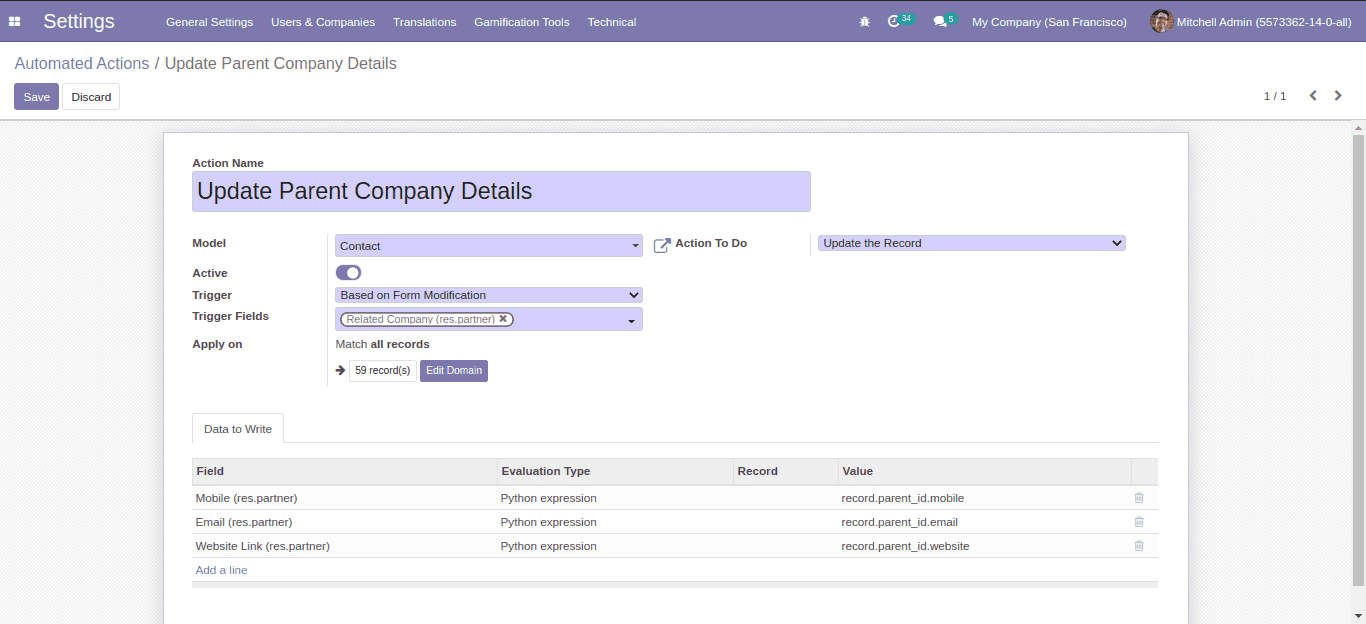
In the above screenshot, we have created an onchange function.
1. Action Name: Specify a name for the action.
2. Model: Choose the model inside which you need the onchange function.
3. Trigger: Set Based on Form Modification.
4. Trigger Fields: Select field for onchange.
5. Apply on: We can filter data with conditions. Onchange gets applied only on the filtered records.
6. Action To Do: Select Update the Record.
7. Data To Write:
a)Field: Select the field which is to be updated.
b)Evaluation Type: Select Python Expression
c)Value: Give field details, which value you need to set.
For example:
Record.Tigger_Field.Field_Name
record.Parent_id.mobile
For a reference, check the screenshot below
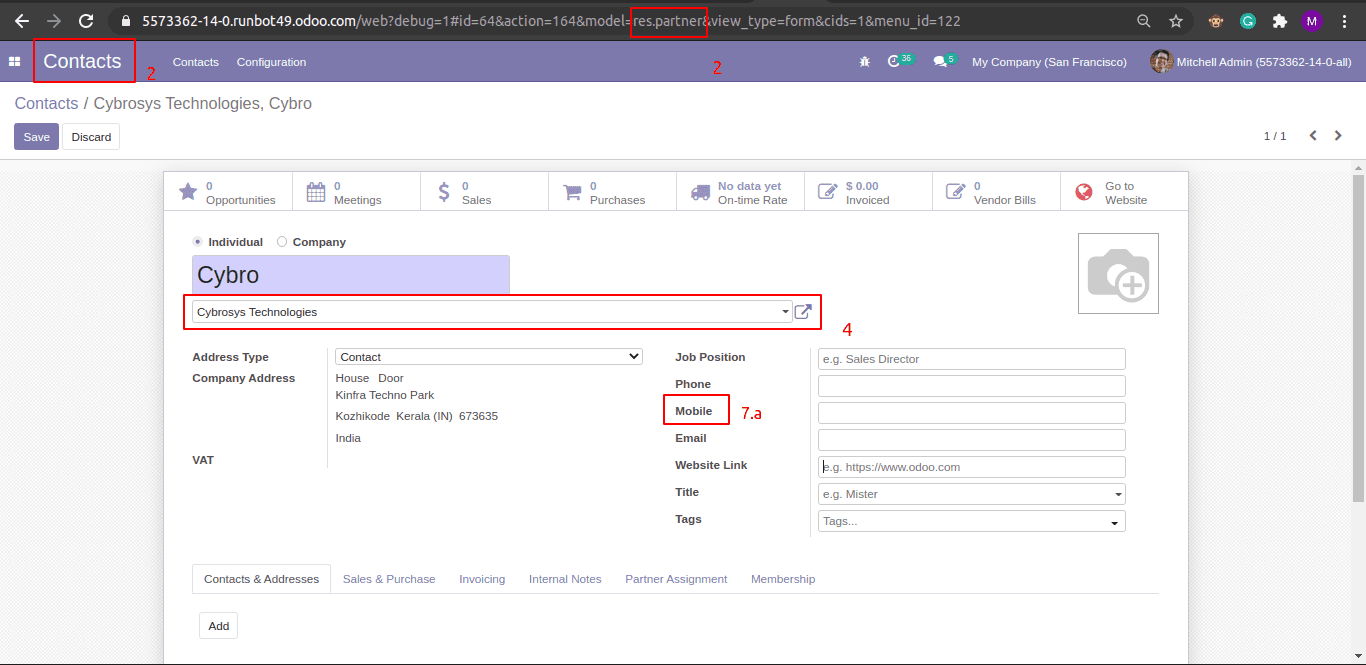
In the below screenshot, We got the values fetched using the onChange() function from the user interface.