Odoo 18’s Point of Sale (PoS) module gives businesses the flexibility to customize payment methods and integrate seamlessly with a variety of external payment processors. This enables customers to choose from a wide range of payment options, including cash, credit/debit cards, bank transfers, digital wallets, checks, online gateways, gift cards, vouchers, and loyalty points.
A key highlight is the support for split payments, allowing customers to combine different methods, like paying partly in cash and partly by card. This flexibility helps businesses adapt their payment process to suit their unique financial structure and operational needs.
The PoS interface in Odoo 18 is built for simplicity and efficiency. It supports several payment methods right at the checkout, including Cash, Bank Transfers, Customer Accounts, and integrated Payment Terminals. Each option can be configured to match different business requirements, making every transaction smooth and secure.
* Cash Payment: Cash remains one of the most widely accepted and straightforward forms of payment. When a customer chooses to pay in cash, they simply hand over the amount, and the transaction is completed instantly. In Odoo 18 PoS, this method is labeled as "Cash." Users can configure this method by setting up details such as the related journal, company, and intermediary account.
* Bank Payment: Bank transfers are another reliable method where customers pay directly from their bank accounts. In Odoo 18, this payment option is labeled "Bank." Businesses can configure this method by assigning the appropriate journal, outstanding account, intermediary account, and company details to ensure accurate financial tracking.
* Customer Account: This method allows regular customers to make purchases using their customer account, similar to a credit line. Payments made through this method are posted to the Receivable account. To enable this feature, the POS user must select a specific customer and activate the "Identify Customer" setting. Since these are receivable transactions, the journal field remains blank in the configuration.
* Payment Terminal: For card-based payments, Odoo 18 PoS supports integration with external payment terminals. Before using this option, terminals like Adyen, Vantiv, or Six must be properly set up in the Payment Terminal Settings under the Configuration menu. Once configured, new payment methods can be created and linked to these terminals. Users can define associated details such as the journal, intermediary account, outstanding account, and company.
This guide walks you through the steps to configure and manage different payment methods in the Odoo 18 Point of Sale module, ensuring a smooth and customizable checkout experience for your business.
Configuring Payment Methods in Odoo 18 PoS
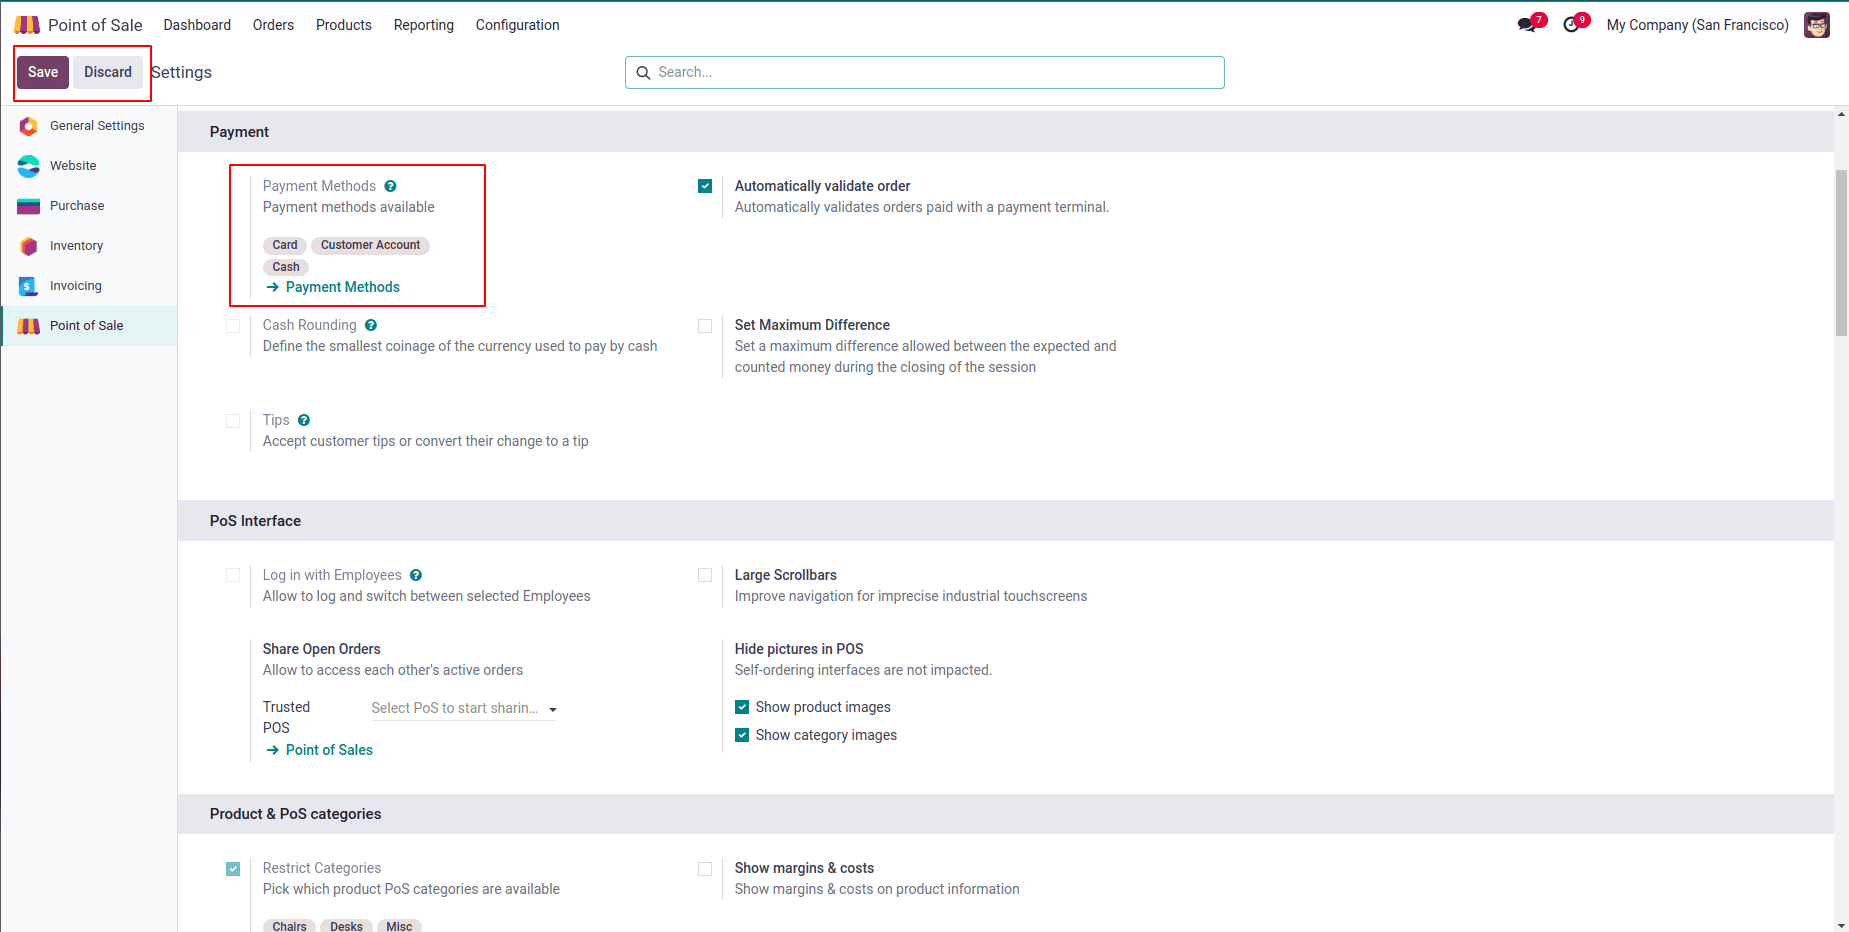
Odoo 18 makes it easy to manage and customize payment methods within the Point of Sale module. By heading to the ‘Configuration’ tab and selecting ‘Payment Methods’, users can access a list of existing options or create entirely new ones based on their business requirements. Whether you’re accepting cash, bank transfers, or card payments through terminals, everything can be set up right from this section.
Once a payment method is configured through the Settings window, it can be managed or newly created through the Payment Methods submenu under the Configuration menu. This section opens up a dashboard displaying all the payment methods available in your Point of Sale database. Here, you’ll see key details such as the Method Name, Journal, Company, and the associated Point of Sale—making it easy to review and manage your setup at a glance.
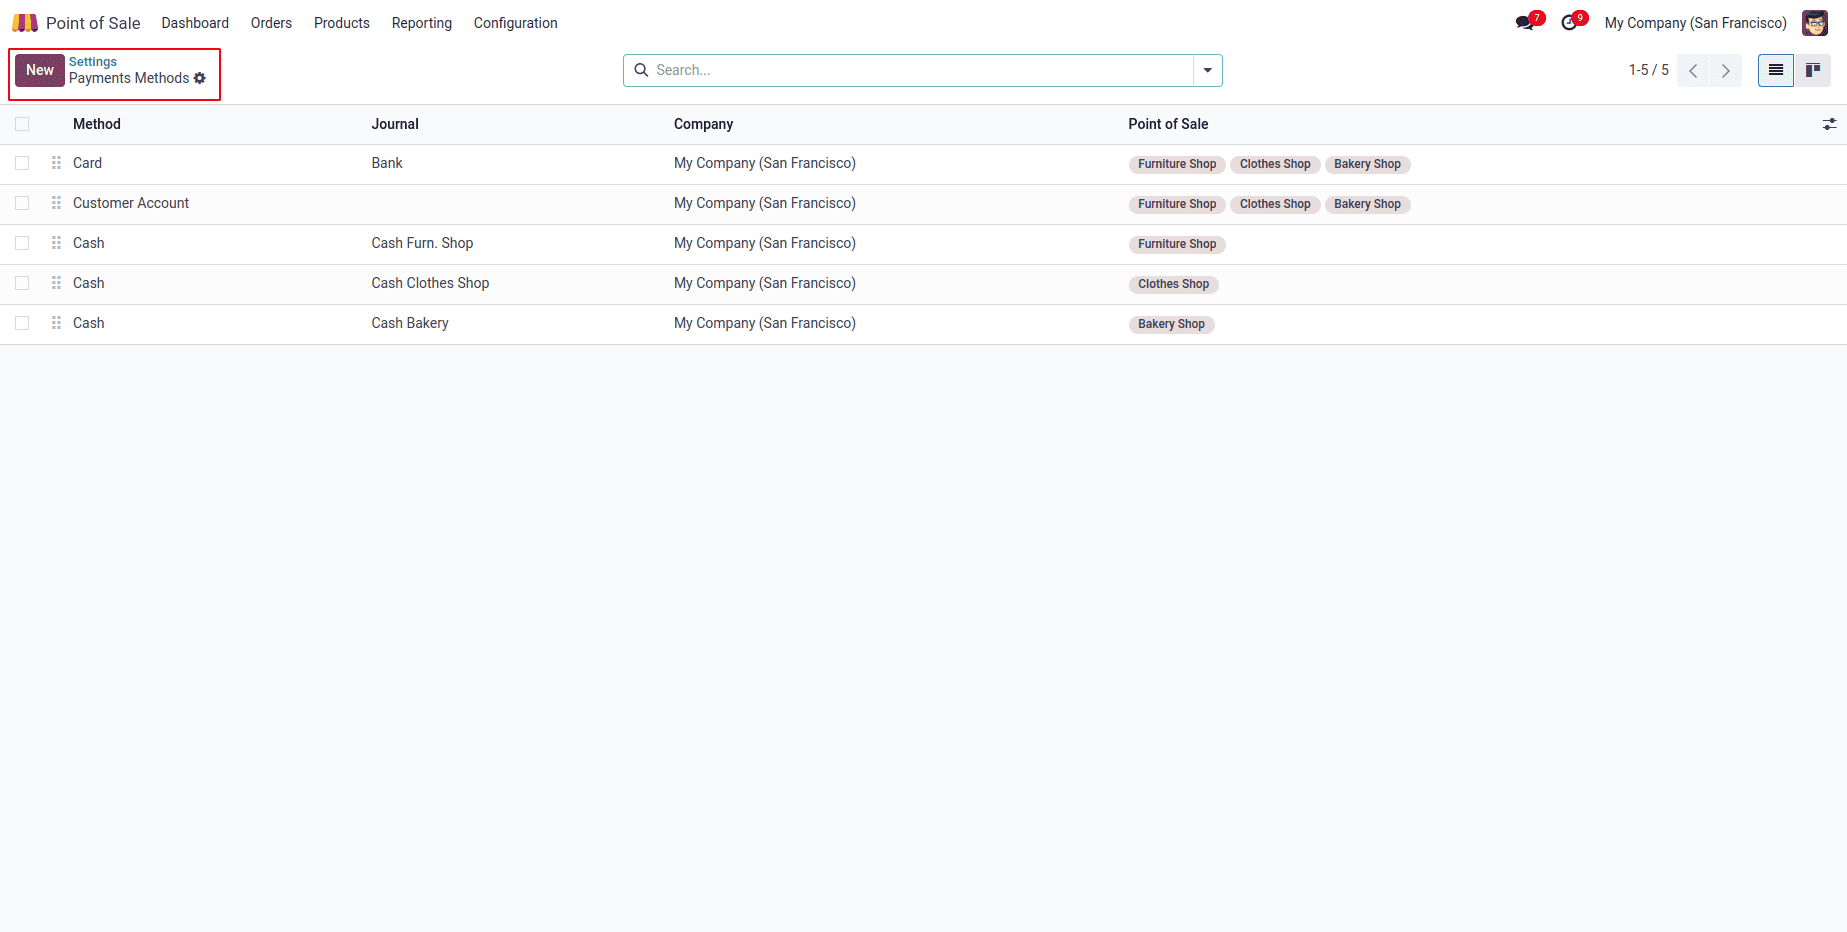
To create a new payment method, simply click on the "New" button. This will open the Payment Method form, where you’ll need to enter the following details:
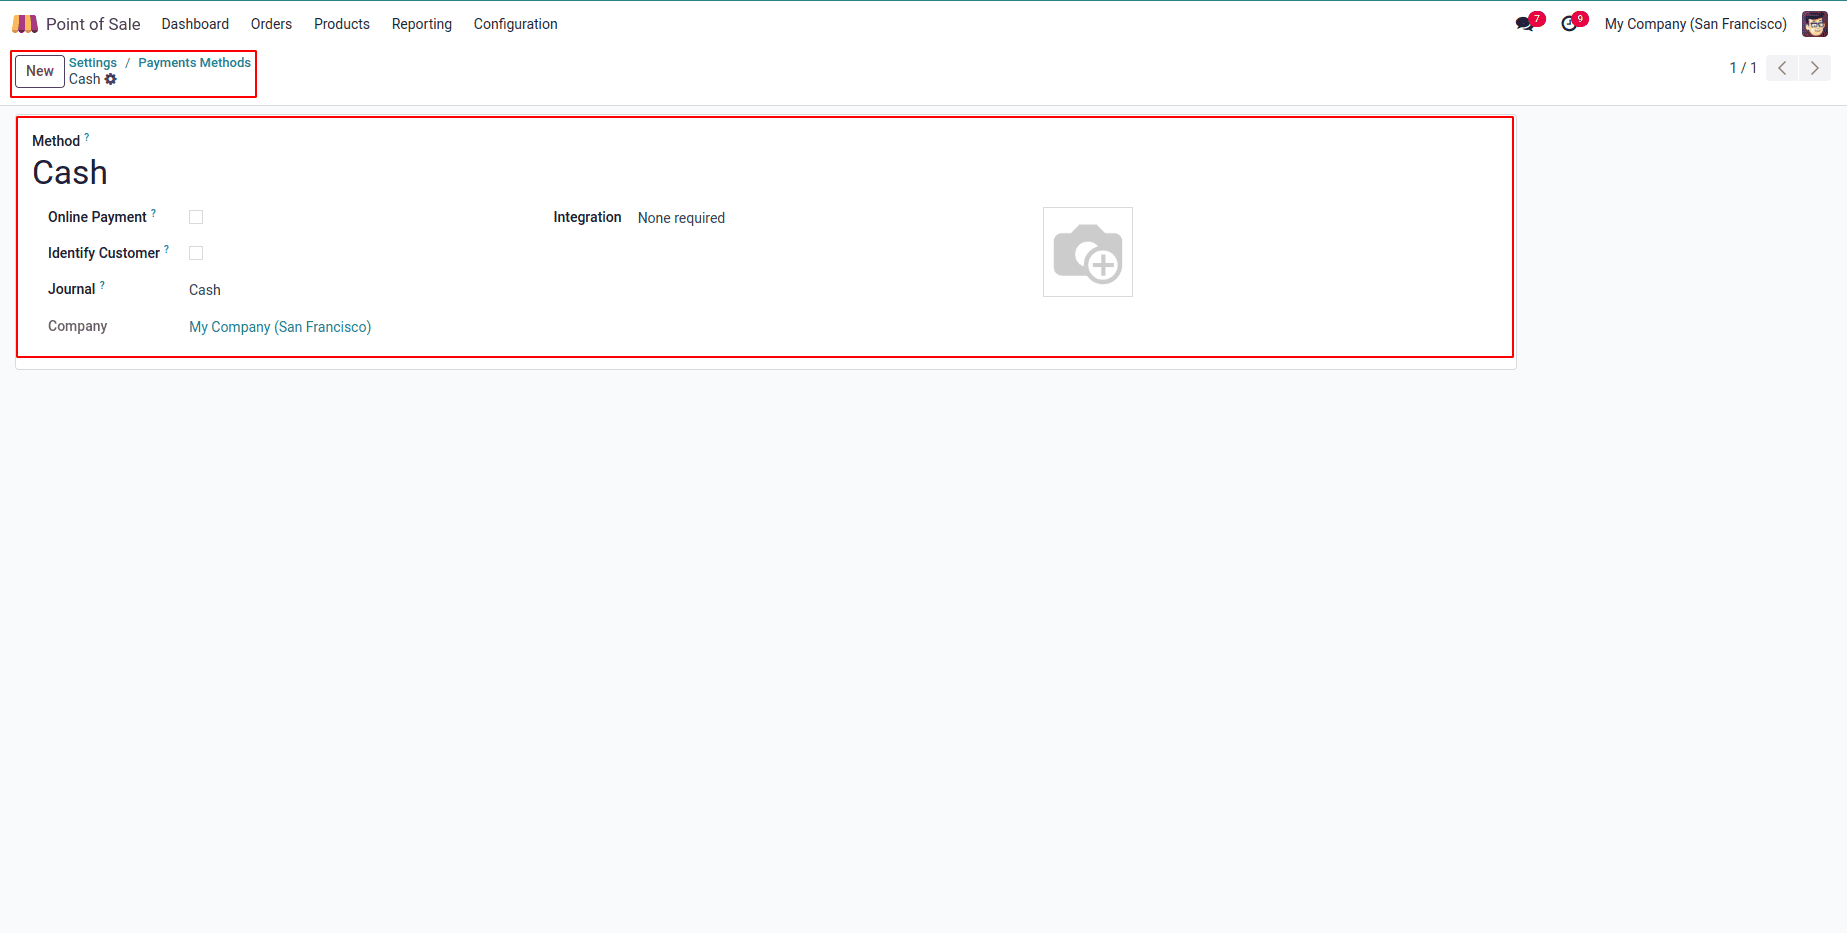
In the form that appears, you’ll need to fill in the following details:
* Payment Method: Enter a name for the payment method.
* Identify Customer: Enable this option if you want to require a customer to be set for every transaction using this method. This ensures journal entries are created separately for each customer.
* Journal: Specify the journal where payments will be recorded after a session is closed. If left blank, the system will use the customer’s receivable account.
* Intermediary Account: This account is used for POS transactions in journal entries. If you leave it blank, Odoo will fall back to the default receivable account set in the company settings.
After filling out all the required fields, click the Save button to apply your changes.
Testing Payment Methods in a PoS Session
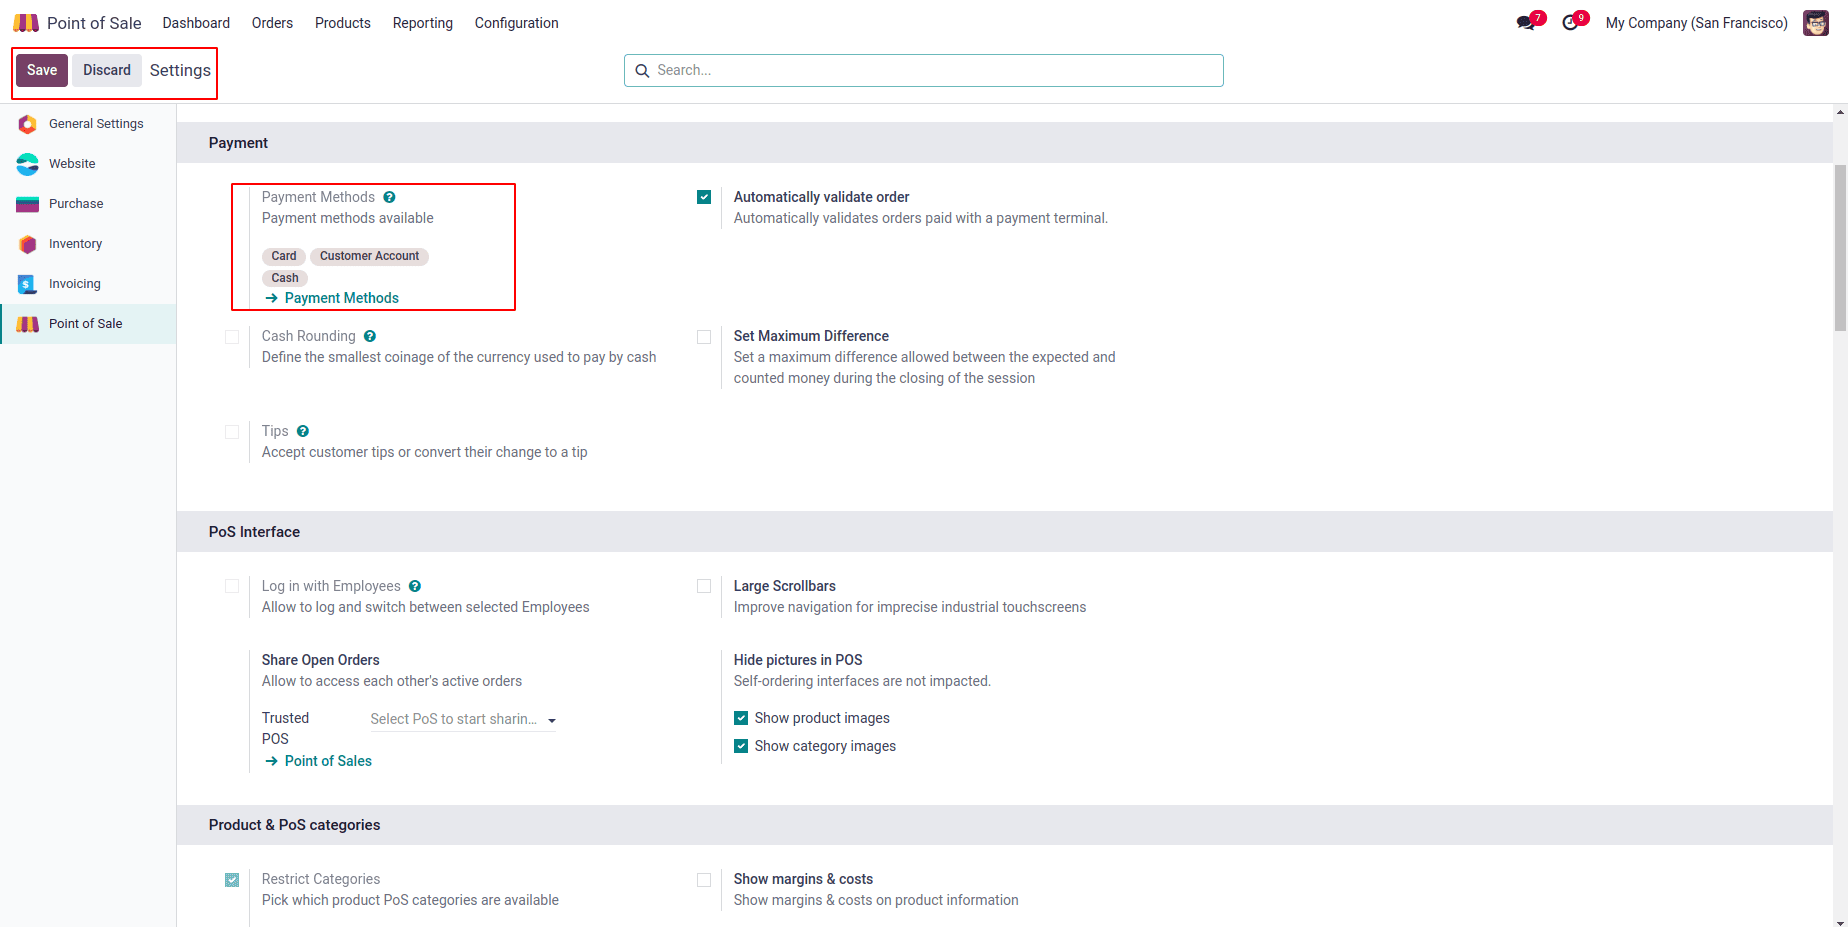
After setting up your payment methods, you can test how they function during a live PoS session. To do this, go to the Configuration tab, click on Settings, and select the active PoS session you want to configure. Under the Payment section, you’ll be able to add the desired payment methods for that session. This ensures that during sales transactions, customers are presented with the correct payment options, creating a smooth and flexible checkout experience.
With the payment methods now configured and ready, you can launch a sales session directly from the PoS Dashboard. Start by selecting your shop’s session, then choose the products your customer wants to purchase to proceed with the order, as shown below.

Next, click the Payment button to initiate the checkout process. This will take you to the payment window, where you can select the desired payment method to complete the transaction.
Choosing the Payment Method
In the Payments window, you’ll see a list of all the payment methods available for the current PoS session. Simply select the one that best suits the customer's preference. This makes the checkout process quick and flexible, as shown below.
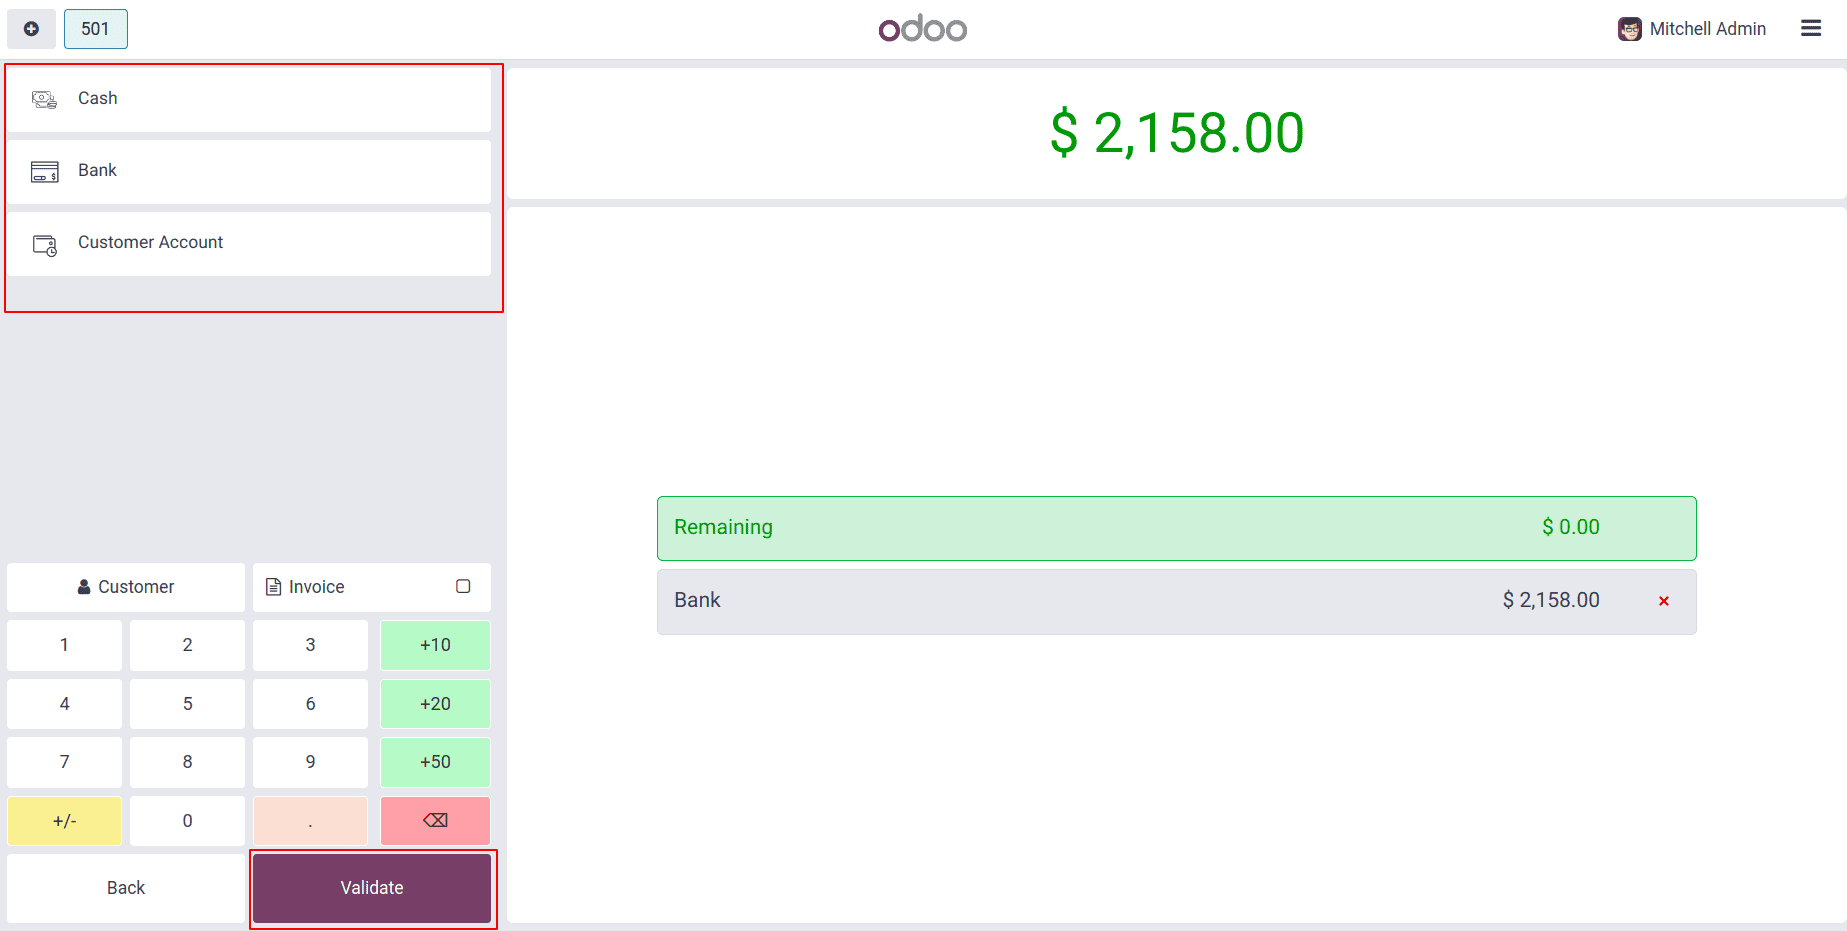
In this example, I’m selecting ‘Bank’ as the payment method. The payment will be processed and deducted directly from the bank account configured in your PoS system. After the transaction, you’ll be able to view the invoice along with the payment confirmation details, as shown below.
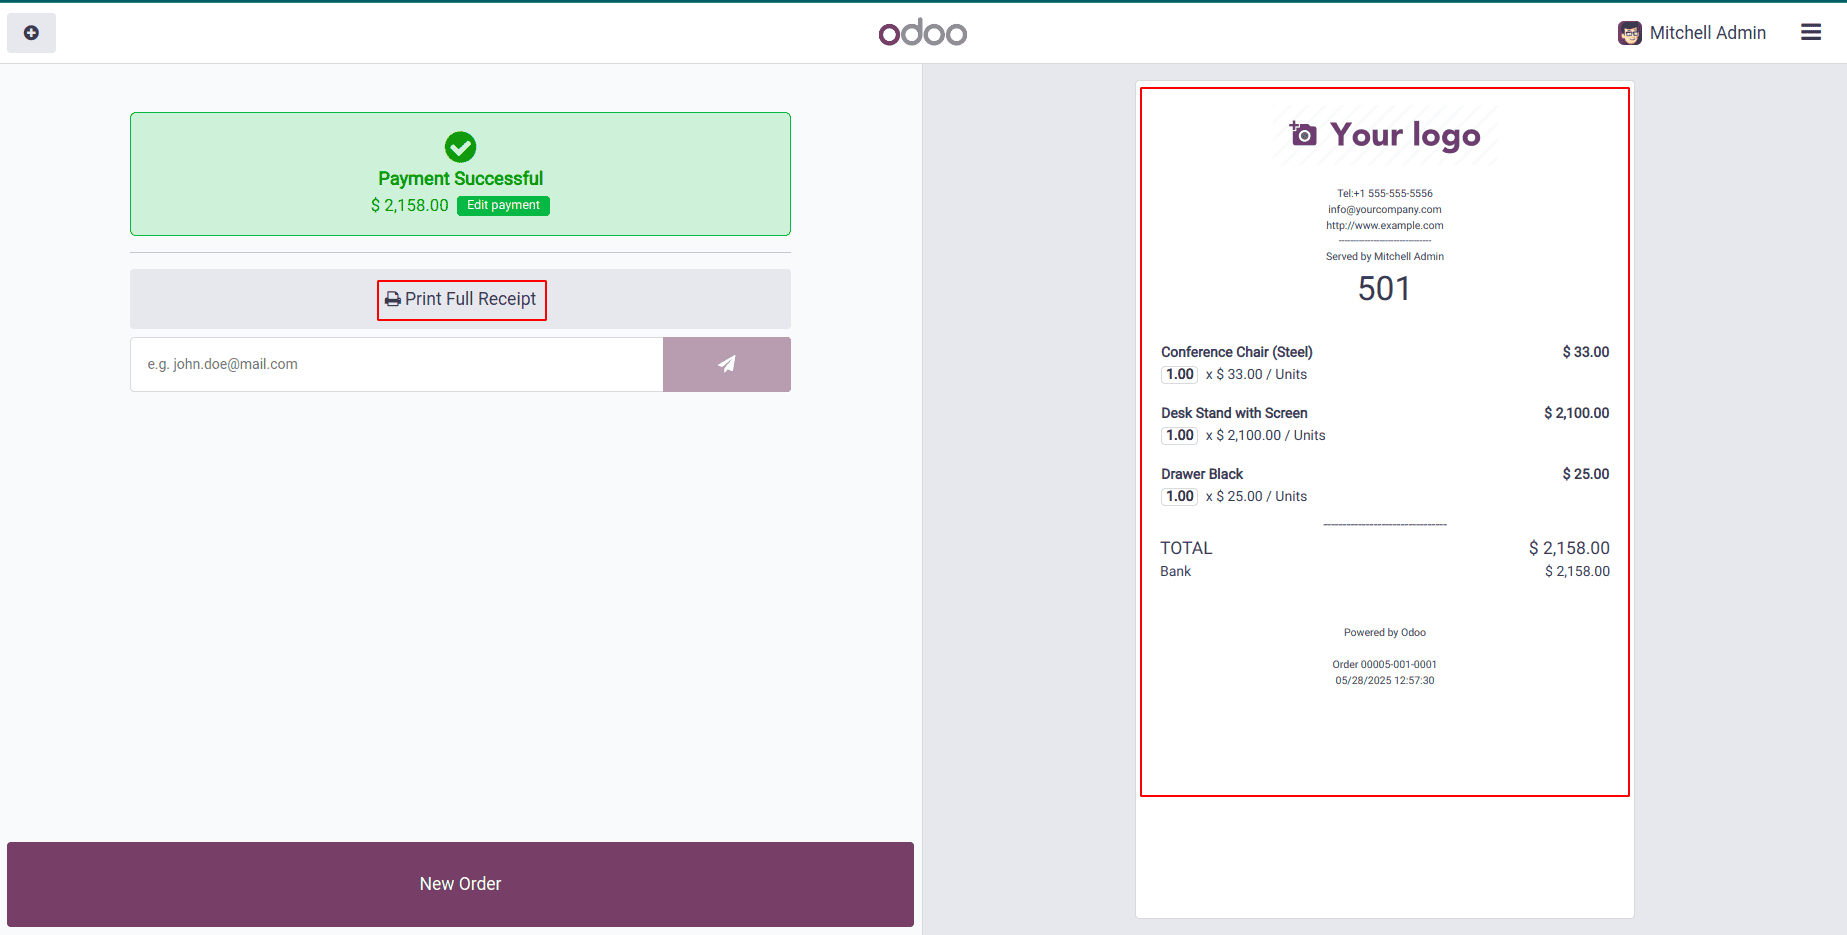
You can use the ‘Print Receipt’ button in this window to print customer receipts immediately. The detailed invoice is displayed on the right side of the screen for your reference. When you're ready to process a new transaction, simply click the ‘New Order’ button to start fresh.
Following these steps will help you effectively set up and manage payment methods in the Odoo 18 Point of Sale module. Remember to regularly review and update your payment configurations to ensure they continue to meet your company’s evolving needs.
To read more about How to Configure Payment Methods in Odoo 17 POS, refer to our blog How to Configure Payment Methods in Odoo 17 POS.