In Odoo, the Website module offers a Customer Portal that allows users to access various documents such as Quotations, Sales Orders, Invoices, and more, right from the website. While this is quite convenient, browsing through a large number of records can be overwhelming without the right tools in place.
One useful enhancement is the ability to add filters to custom menu entries in the portal. Filters help users refine the data they see and quickly find what they’re looking for. In this blog, we'll walk through how to add filtering capabilities to a custom menu—in our example, "My Time Off"—in the Odoo 18 website portal.
Step 1: Create a Custom Portal Menu
To begin, we need to define a custom menu inside the portal. Here's an XML snippet to add "My Time Off" as a new entry in the portal navigation:
<template id="portal_my_time_off_menu" name="my_timeoff"
inherit_id="portal.portal_breadcrumbs" priority="30">
<xpath expr="//ol[hasclass('o_portal_submenu')]" position="inside">
<li t-if="page_name == 'my_timeoff'"
t-attf-class="breadcrumb-item #{'active ' if my_timeoff else ''}">
<a t-if="my_timeoff"
t-attf-href="/my_timeoff?{{ keep_query() }}">My Time Off
</a>
<t t-else="">My Time Off</t>
</li>
</xpath>
</template>
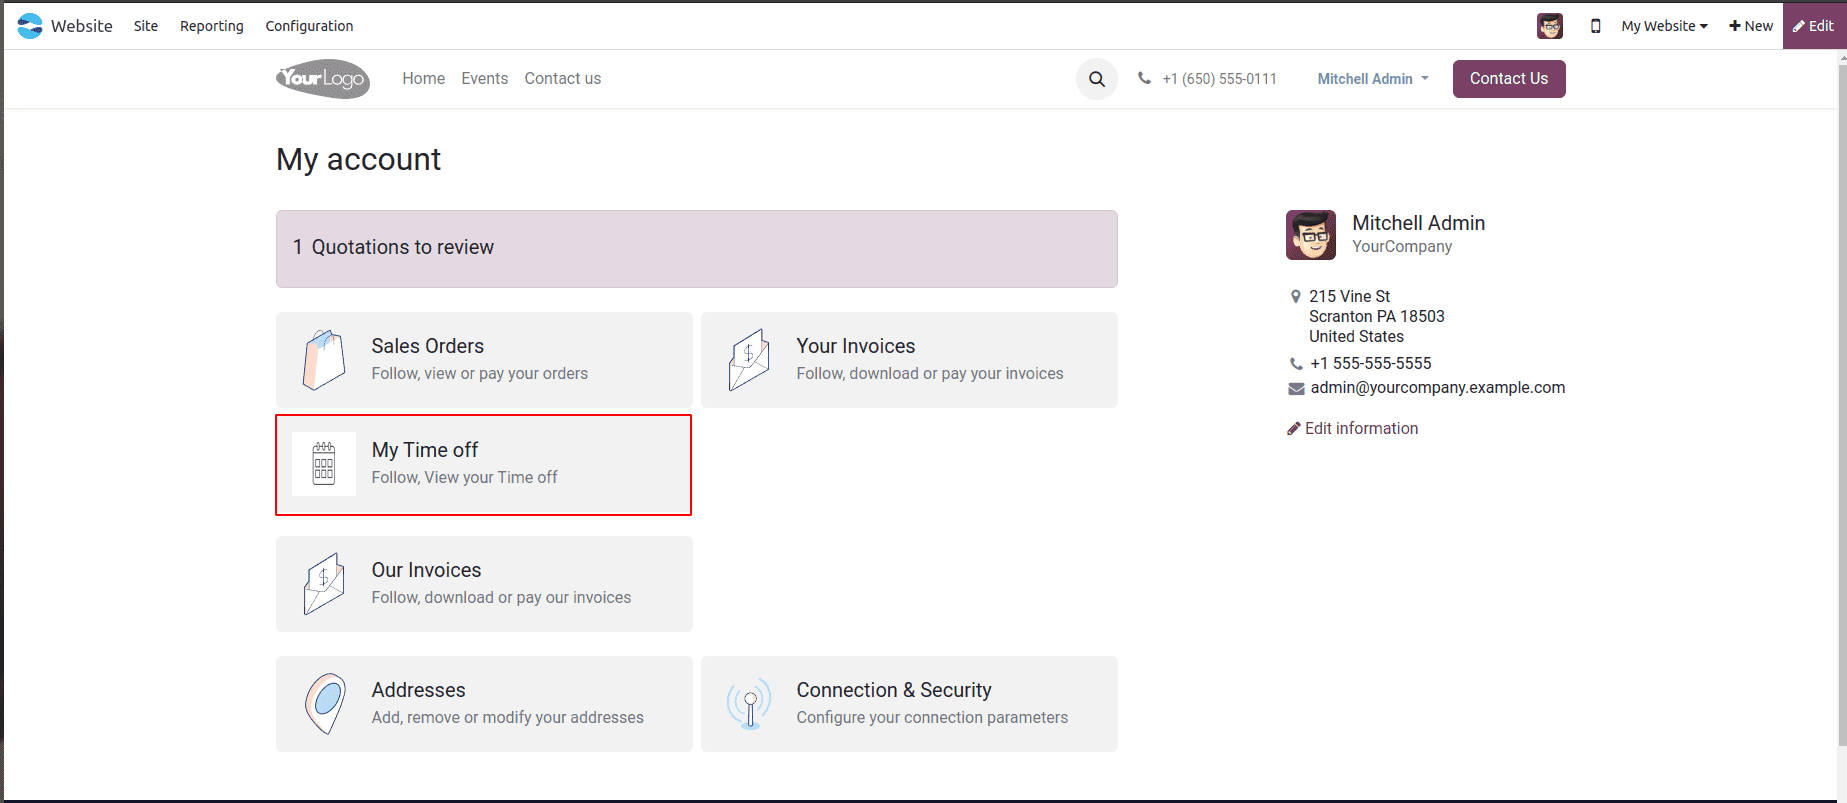
<template id="portal_my_home_menu_my_timeoff" name="My Timeoff"
inherit_id="portal.portal_my_home"
customize_show="True" priority="30">
<xpath expr="//div[hasclass('o_portal_docs')]" position="before">
<t t-set="portal_client_category_enable" t-value="True"/>
</xpath>
<div id="portal_client_category" position="inside">
<t t-call="portal.portal_docs_entry">
<t t-set="icon"
t-value="'/my_timeoff_portal/static/src/img/timeoff.png'"/>
<t t-set="title">My Time off</t>
<t t-set="url" t-value="'/my_timeoff'"/>
<t t-set="text">Follow, View your Time off</t>
<t t-set="placeholder_count" t-value="'timeoff_count'"/>
</t>
</div>
</template>
Explanation:
* This template adds a breadcrumb navigation item for "My Time Off".
* It checks if the current page is 'my_timeoff' and highlights it as active.
* keep_query() helps preserve any query parameters like filters or pagination.
* This XML adds the "My Time Off" block to the portal dashboard.
* The user can click it to access their time off records.
* A count placeholder is set for later dynamic display.
Step 2: Add Portal Counter in Python
To show a record count for the custom menu item, we override _prepare_home_portal_values() in the controller:
from odoo import http, _
from odoo.http import request
from collections import OrderedDict
from odoo.addons.portal.controllers.portal import CustomerPortal, pager as portal_pager

class PortalMyTimeoff(CustomerPortal):
    """To get the my time off in the website portal"""
    def _prepare_home_portal_values(self, counters):
        """To get the count of my time off in portal"""
        values = super()._prepare_home_portal_values(counters)
        if 'timeoff_count' in counters:
            values['timeoff_count'] = request.env[
                'hr.leave'].sudo().search_count(
                [('employee_id.user_id', '=', request.env.user.id)])
        return values
Explanation:
* This method adds the count of time off records specific to the logged-in user.
* 'hr.leave' is the model where time off requests are stored
* It uses the employee_id.user_id relation to get leaves for the current user.
Step 3: Create the Portal Controller with Filters
Now let’s define the main controller that handles displaying time off records along with filter functionality:
@http.route(['/my_timeoff', '/my_timeoff/page/<int:page>'], type='http', auth="user", website=True)
    def my_timeoff_portal(self, filterby=None):
        """To add filter for records in the website portal"""
        employee_id = request.env[
            'hr.employee'].sudo().search(
            [('user_id', '=', request.env.user.id)])
        domain = [('employee_id', '=', employee_id.id)]
        searchbar_filters = {
            'all': {'label': 'All', 'domain': []},
            'to_approval': {
                'label': 'To Approve',
                'domain': [('state', '=', 'confirm')]},
            'second_approval': {
                'label': 'Second Approval',
                'domain': [('state', '=', 'validate1')]},
            'approved_timeoff': {
                'label': 'Approved',
                'domain': [('state', '=', 'validate')]},
            'refused_timeoff': {
                'label': 'Refused',
                'domain': [('state', '=', 'refuse')]},
        }
        my_time_off = request.env['hr.leave'].search(domain)
        if not filterby:
            filterby = 'all'
        domain += searchbar_filters[filterby]['domain']
        filtered_time_off = my_time_off.search(domain)
        total_time_off = my_time_off.search_count(domain)
        page_detail = portal_pager(url='/my_timeoff',
                            total=total_time_off,
                            url_args={'filterby': filterby})
        return request.render(
            "portal_timeoff.portal_my_home_menu_my_timeoff_views",
            {
                'my_time_off': filtered_time_off,
                'page_name': 'my_timeoff',
                'pager': page_detail,
                'default_url': '/my_timeoff',
                'searchbar_filters': OrderedDict(
                    sorted(searchbar_filters.items())),
                'filterby': filterby,
            })
Explanation:
* This method creates a /my_timeoff route that shows filtered records.
* searchbar_filters defines the available filter types and their domains.
* The selected filter is applied to the domain before querying records.
* portal_pager handles pagination.
* The data is passed to the view for rendering.
Step 4: Define the Portal View with Filters
Here’s the view template that renders the filtered records:
<template id="portal_my_home_menu_my_timeoff_views" name="My Time Off">
        <t t-call="portal.portal_layout">
            <t t-set="breadcrumbs_searchbar" t-value="True"/>
            <t t-call="portal.portal_searchbar">
                <t t-set="title">My Time Off</t>
            </t>
            <t t-call="portal.portal_table">
                <thead>
                    <tr class="active">
                        <th class="text-left">Time off Type</th>
                        <th class="text-center">Start Date</th>
                        <th class="text-end">End Date</th>
                        <th class="text-end">Status</th>
                    </tr>
                </thead>
                <t t-foreach="my_time_off" t-as="time_off">
                    <tr>
                        <td class='text-left'>
                            <span t-field="time_off.holiday_status_id.name"/>
                        </td>
                        <td class='text-center'>
                            <span t-field="time_off.date_from"/>
                        </td>
                        <td class='text-end'>
                            <span t-field="time_off.date_to"/>
                        </td>
                        <td class='text-end'>
                            <span t-field="time_off.state"/>
                        </td>
                    </tr>
                </t>
            </t>
        </t>
    </template>
Explanation:
* This view renders a dynamic table of time off entries.
* It uses the portal_table and portal_searchbar from the default layout.
* Each record shows its type, start/end date, and current status.
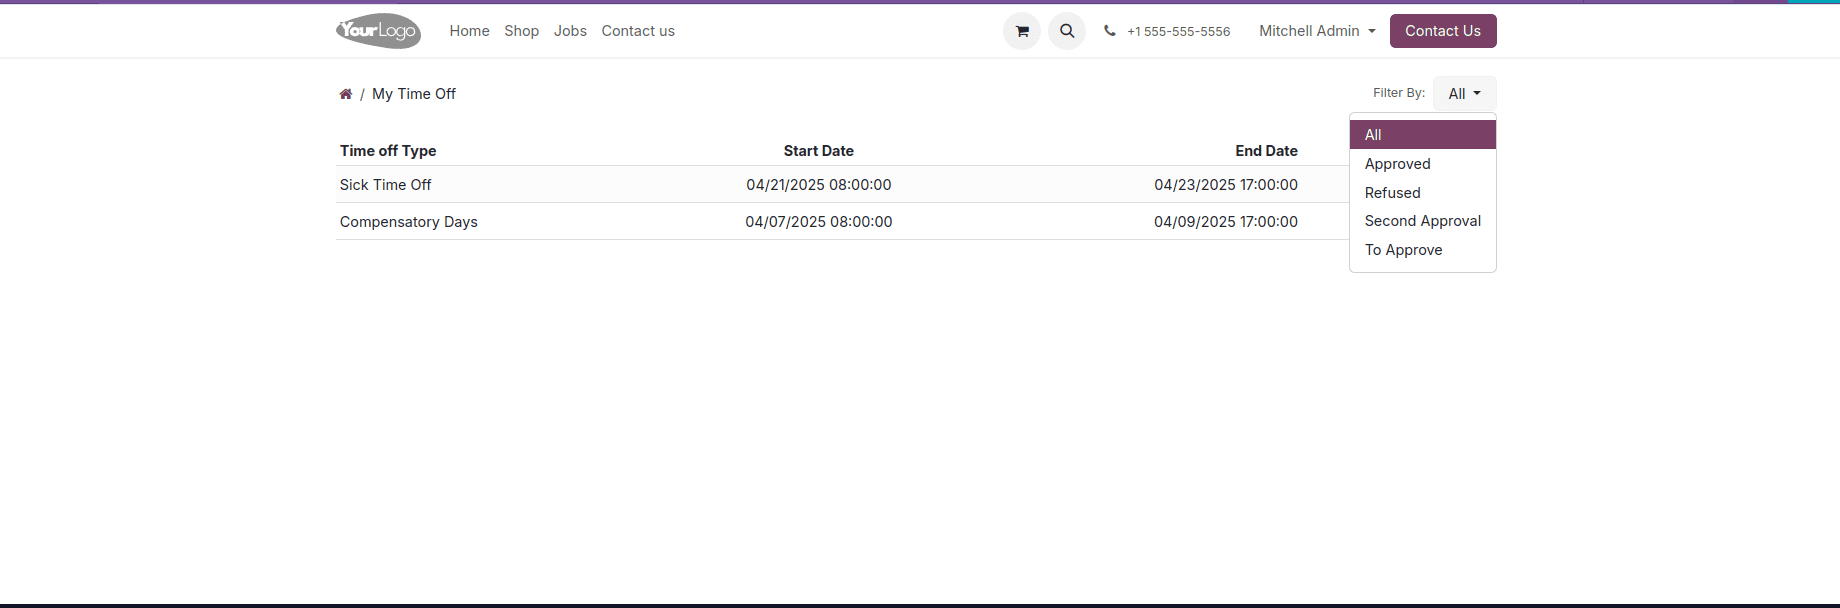
* Filters appear as a dropdown in the top right corner (in portal_searchbar).
Final Output
With everything in place, users visiting the "My Time Off" portal menu will now see a filter option in the top right corner of the page. By selecting from the filters—like To Approve, Approved, or Refused—users can narrow down the displayed records to meet their needs.
This functionality enhances usability and improves the overall customer experience on the Odoo 18 website portal.
Conclusion
Adding custom filters to portal views in Odoo 18 is an excellent way to provide users with more control over their data. By following the steps above, you can build a dynamic and user-friendly portal page that fits your specific business needs.
To read more about how to add the Filters Option in the Website Portal in Odoo 17, refer to our blog How to Add Filters Option in Website Portal in Odoo 17.