In this blog, we’ll discuss how to add status bars in the Odoo 19 Studio module. A status bar can be configured to represent different stages of a record’s workflow, helping users easily track and manage its progress. They provide a clear visual representation of a record’s current stage, making it easier to monitor the overall workflow.
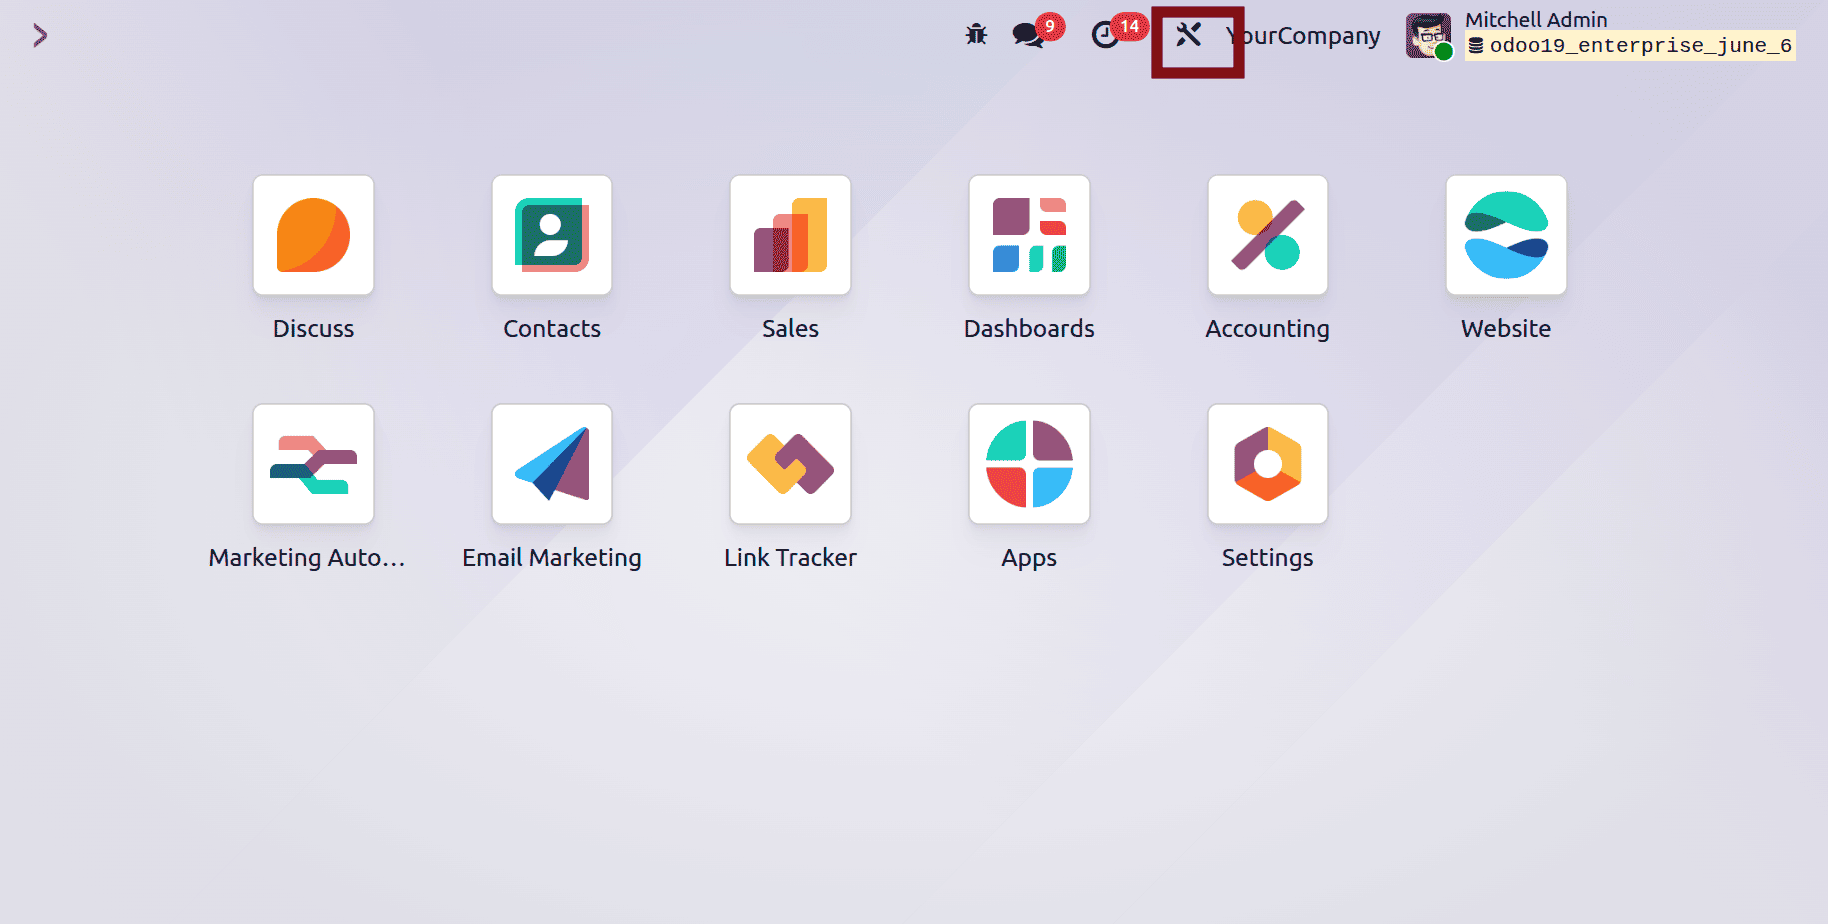
To get started, you can open Studio by clicking the icon shown below.
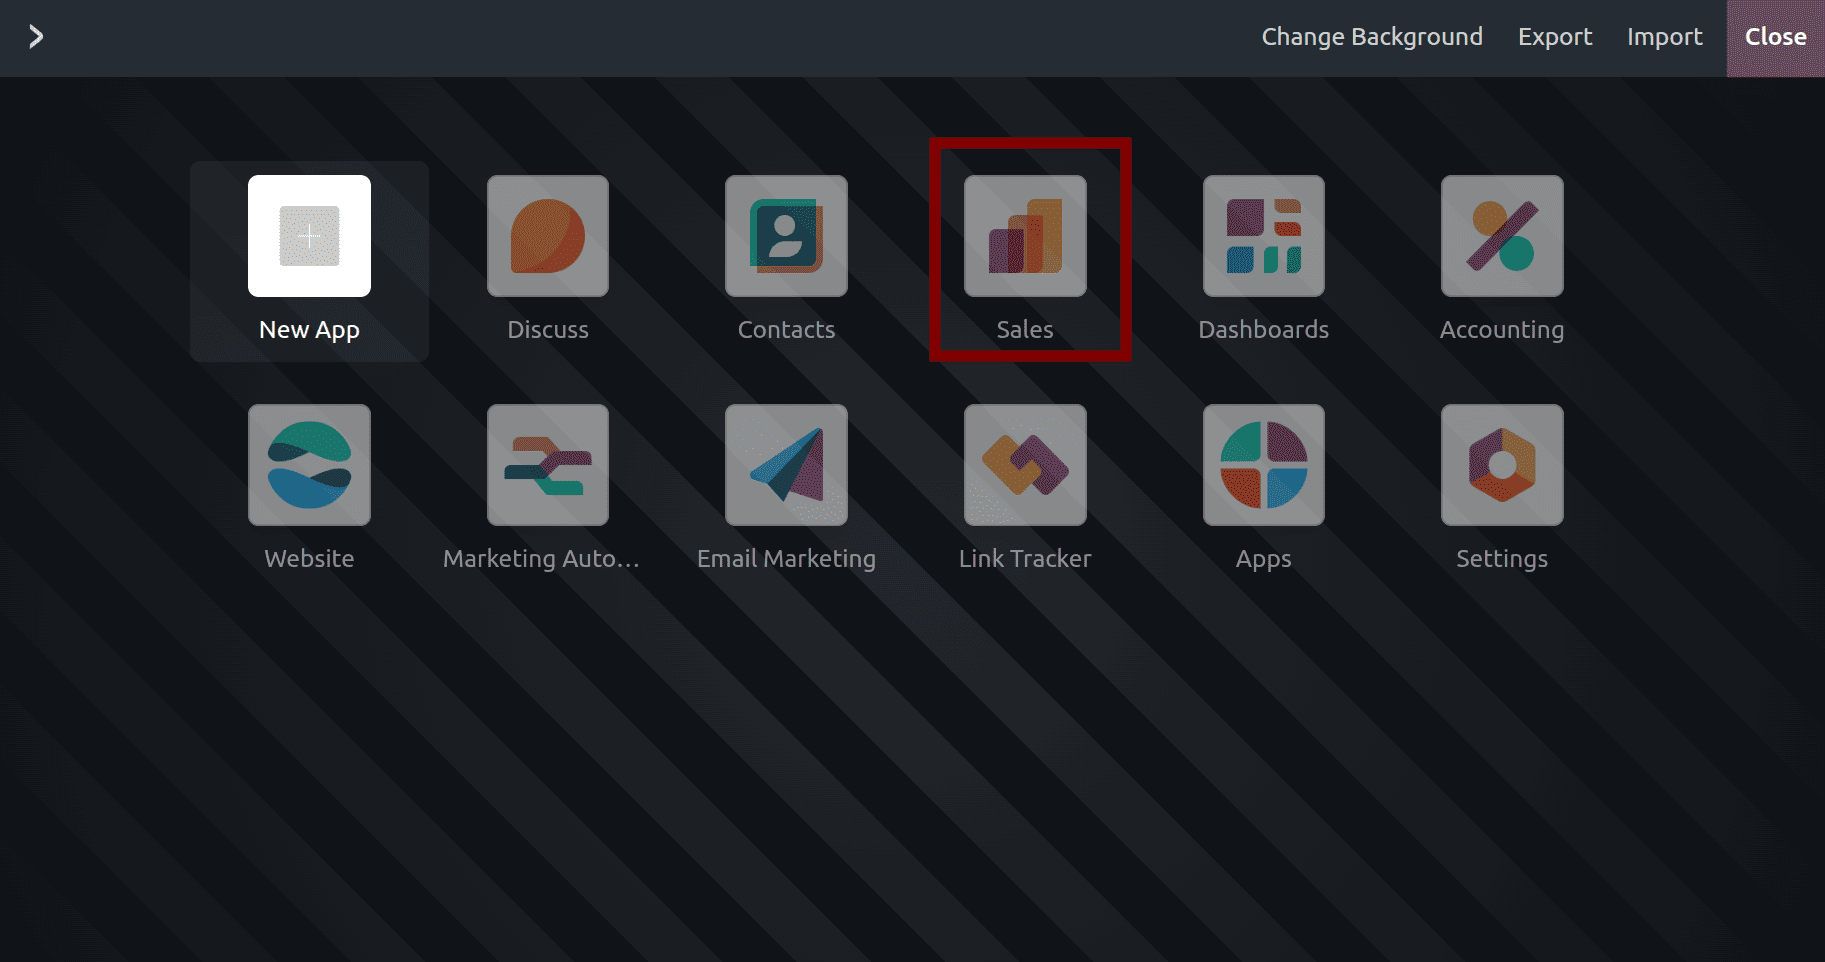
Now, we will get into the Studio module and open any module that we need to add to the status bar. Let us choose the sales module and open it.
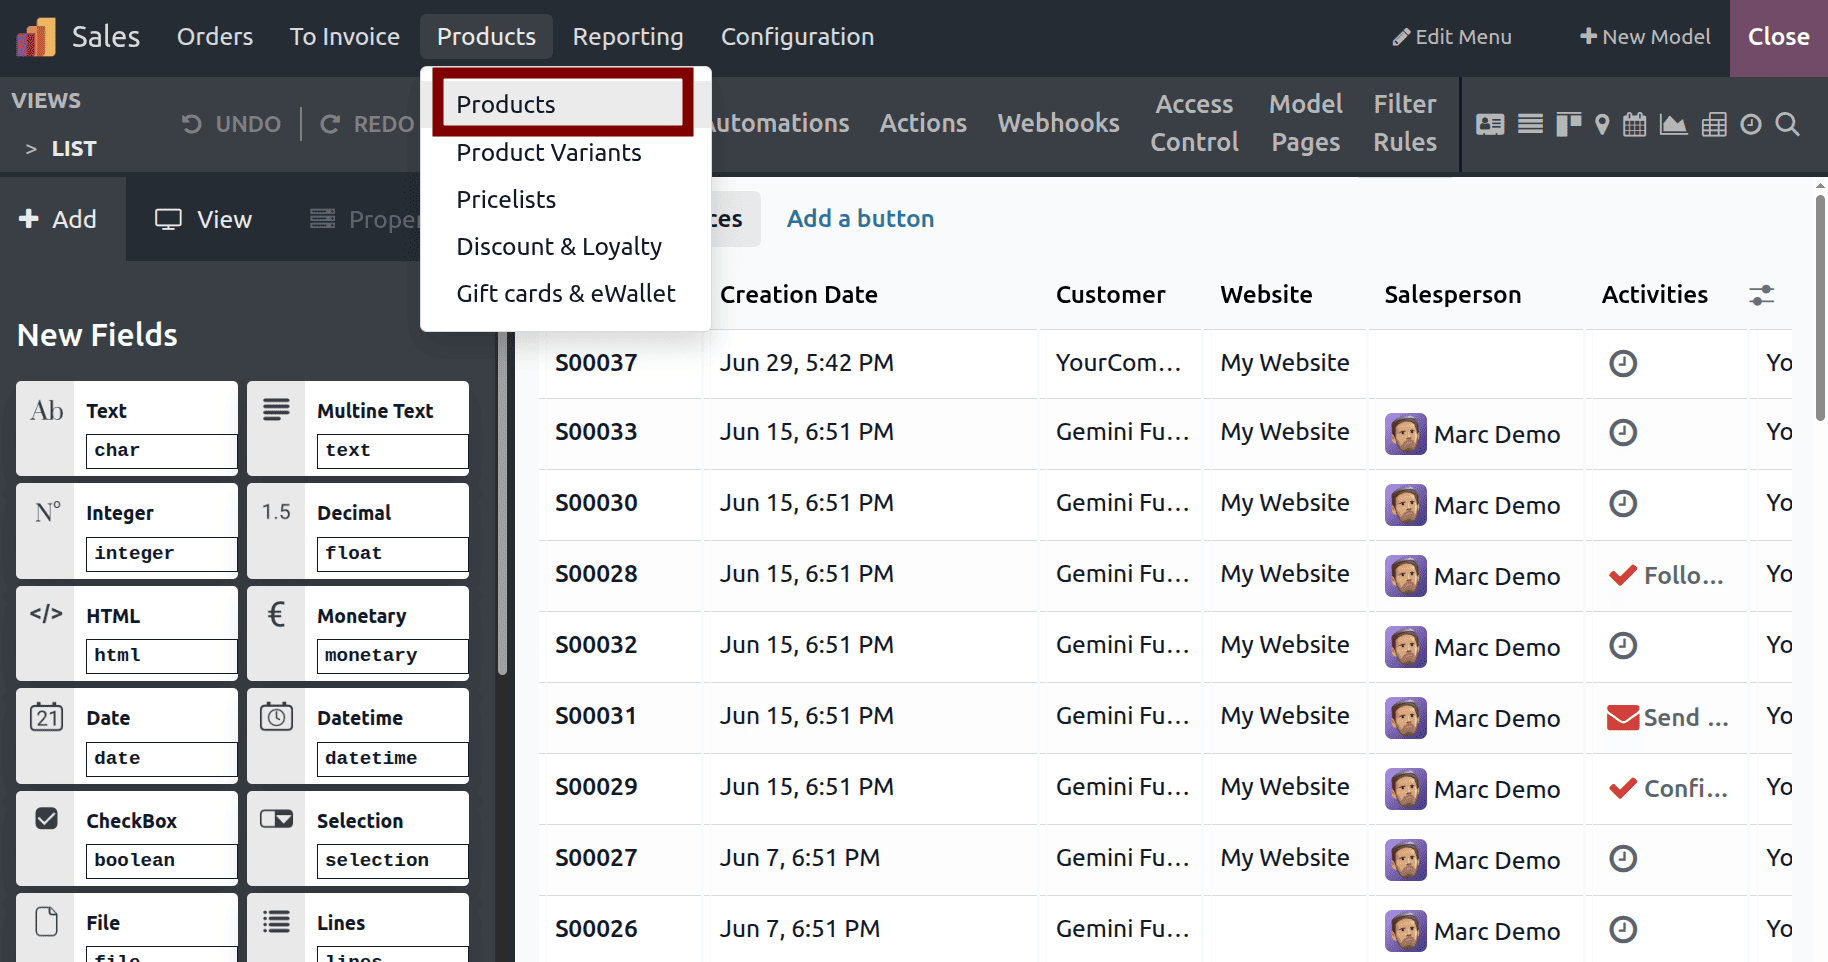
Next, open a product from the sales module where we need to add the status bar.
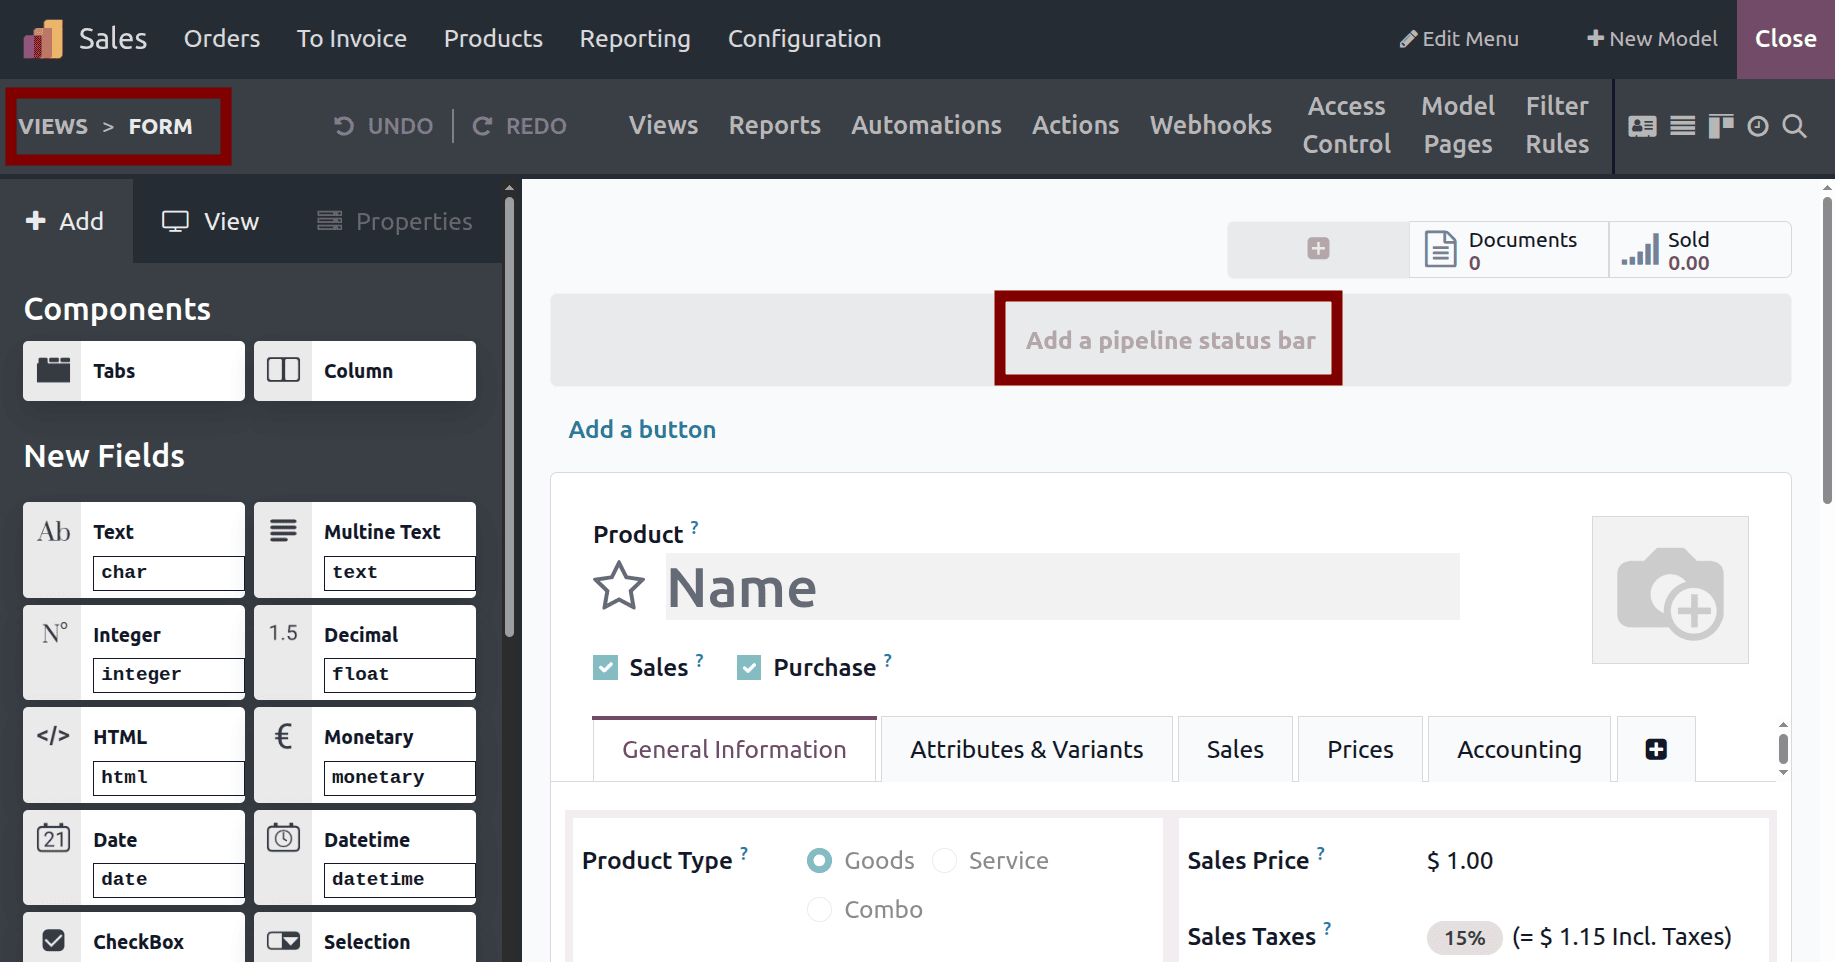
After choosing products, open a product in the form view. You can see the button named ‘Add a pipeline status bar’ in the form view in studio mode.
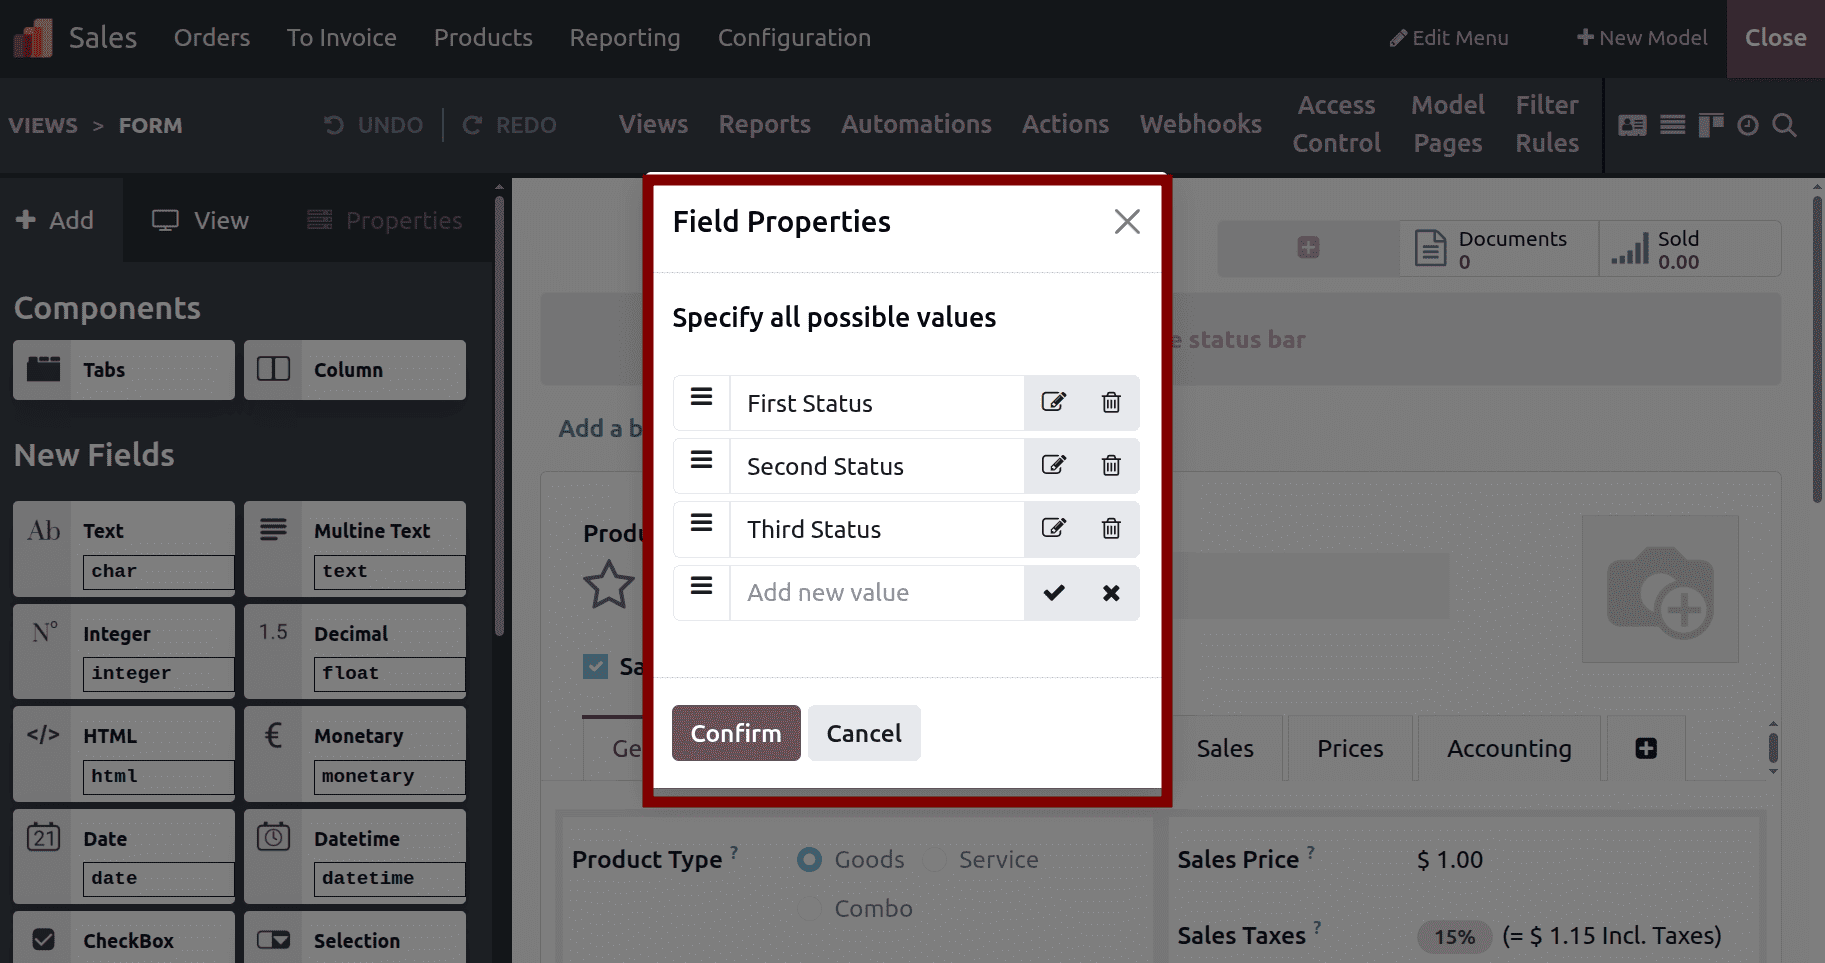
After adding the status bar, we can add all the possible values as shown below. Then, click the Confirm button.
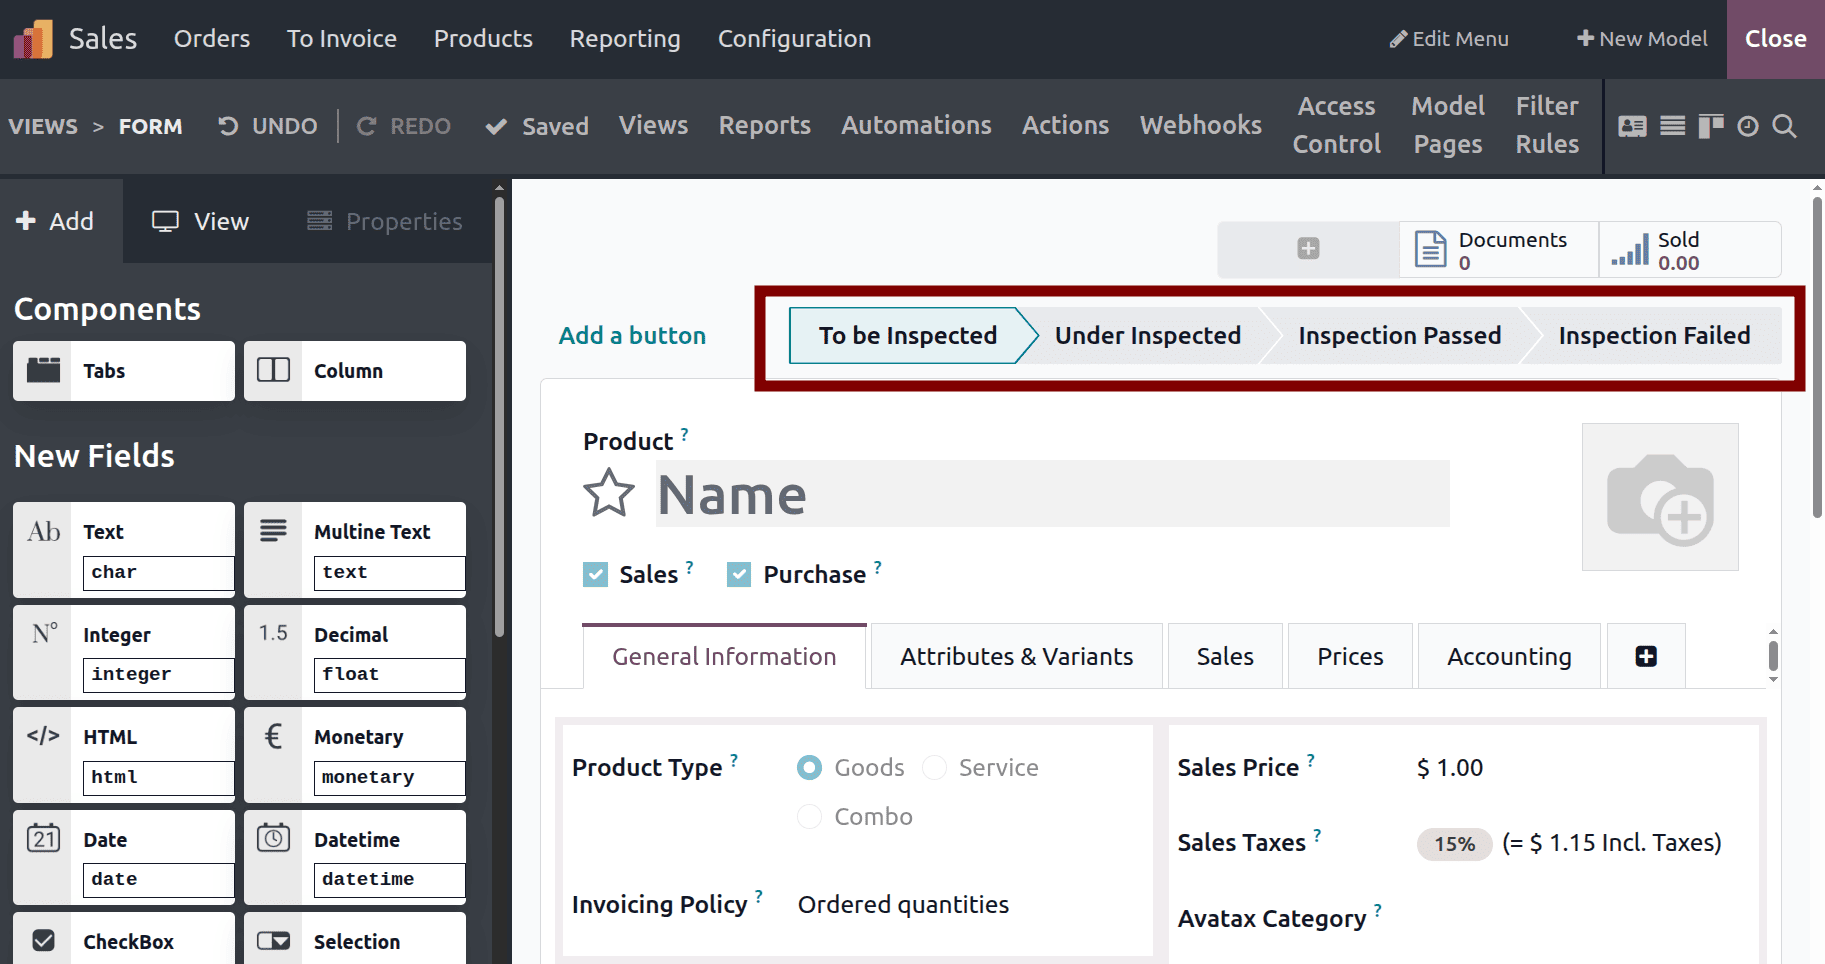
In Studio mode itself, we can see the status bar added with its labels.
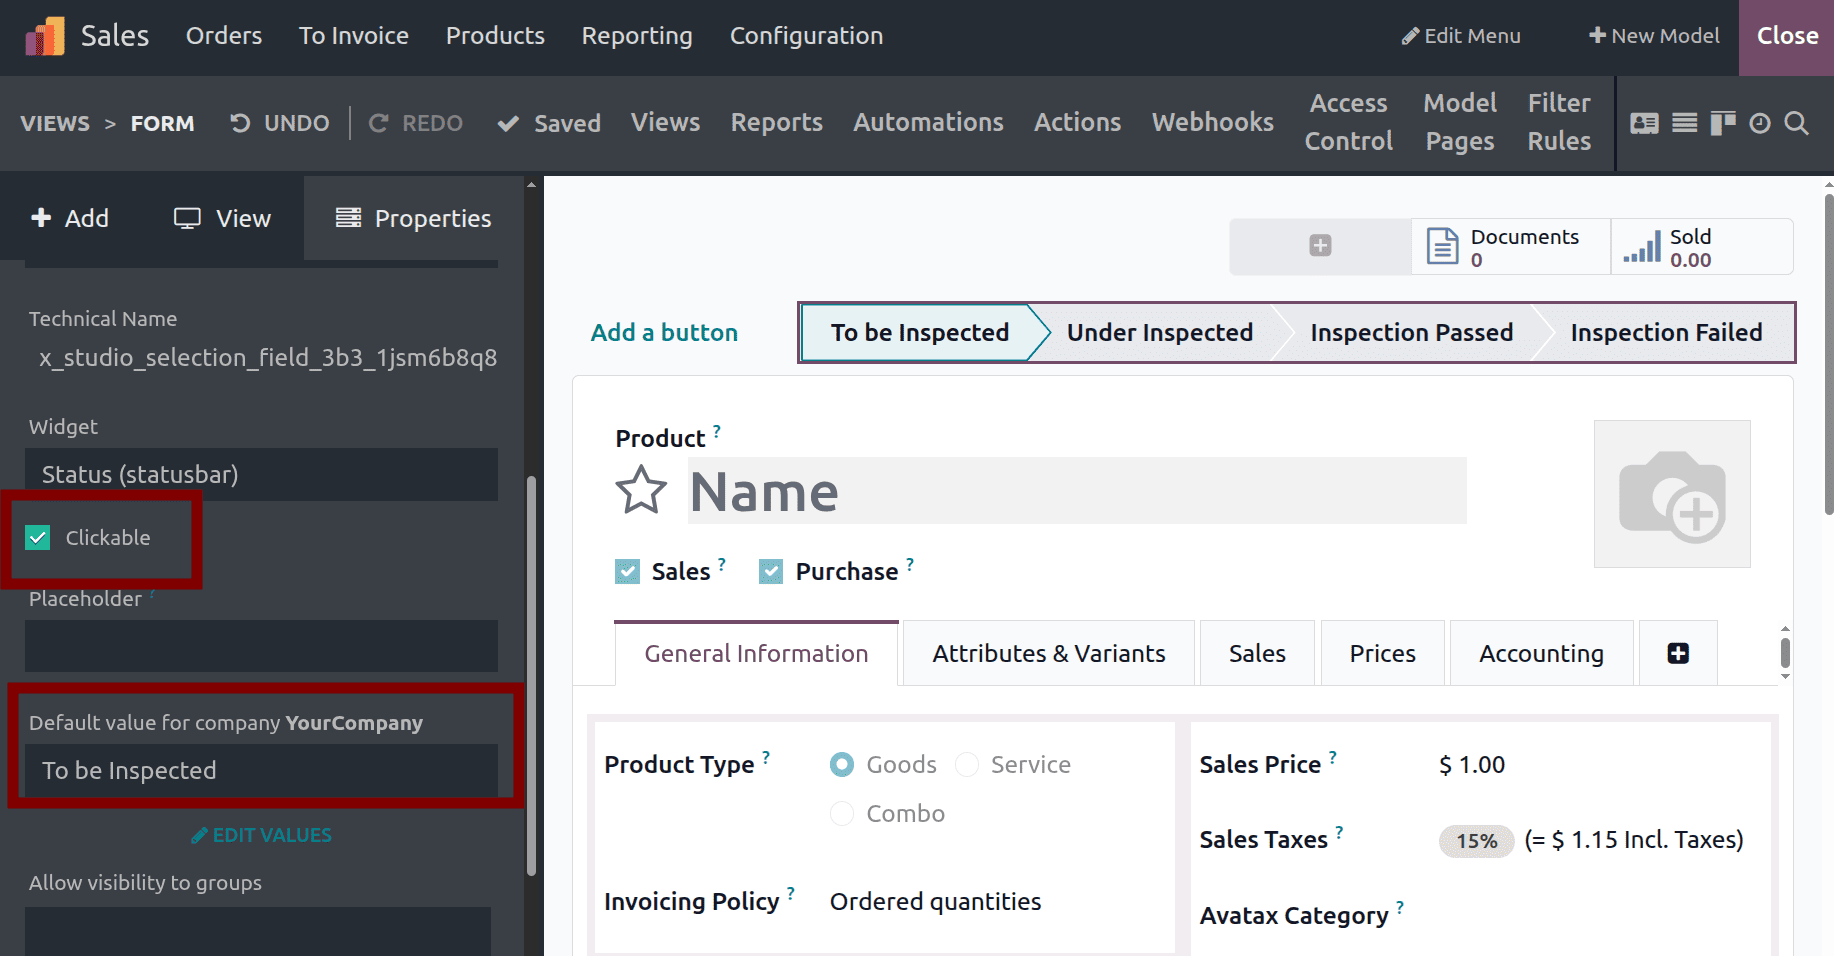
Next, we can configure whether users are allowed to click on the stages and change the record’s status manually. For example, for a record in the ‘To be Inspected’ stage, you can simply click on ‘Under Inspected’ to move it to the next stage directly from the status bar. You can also set default values for the company, so they automatically start with the default value for the new records.
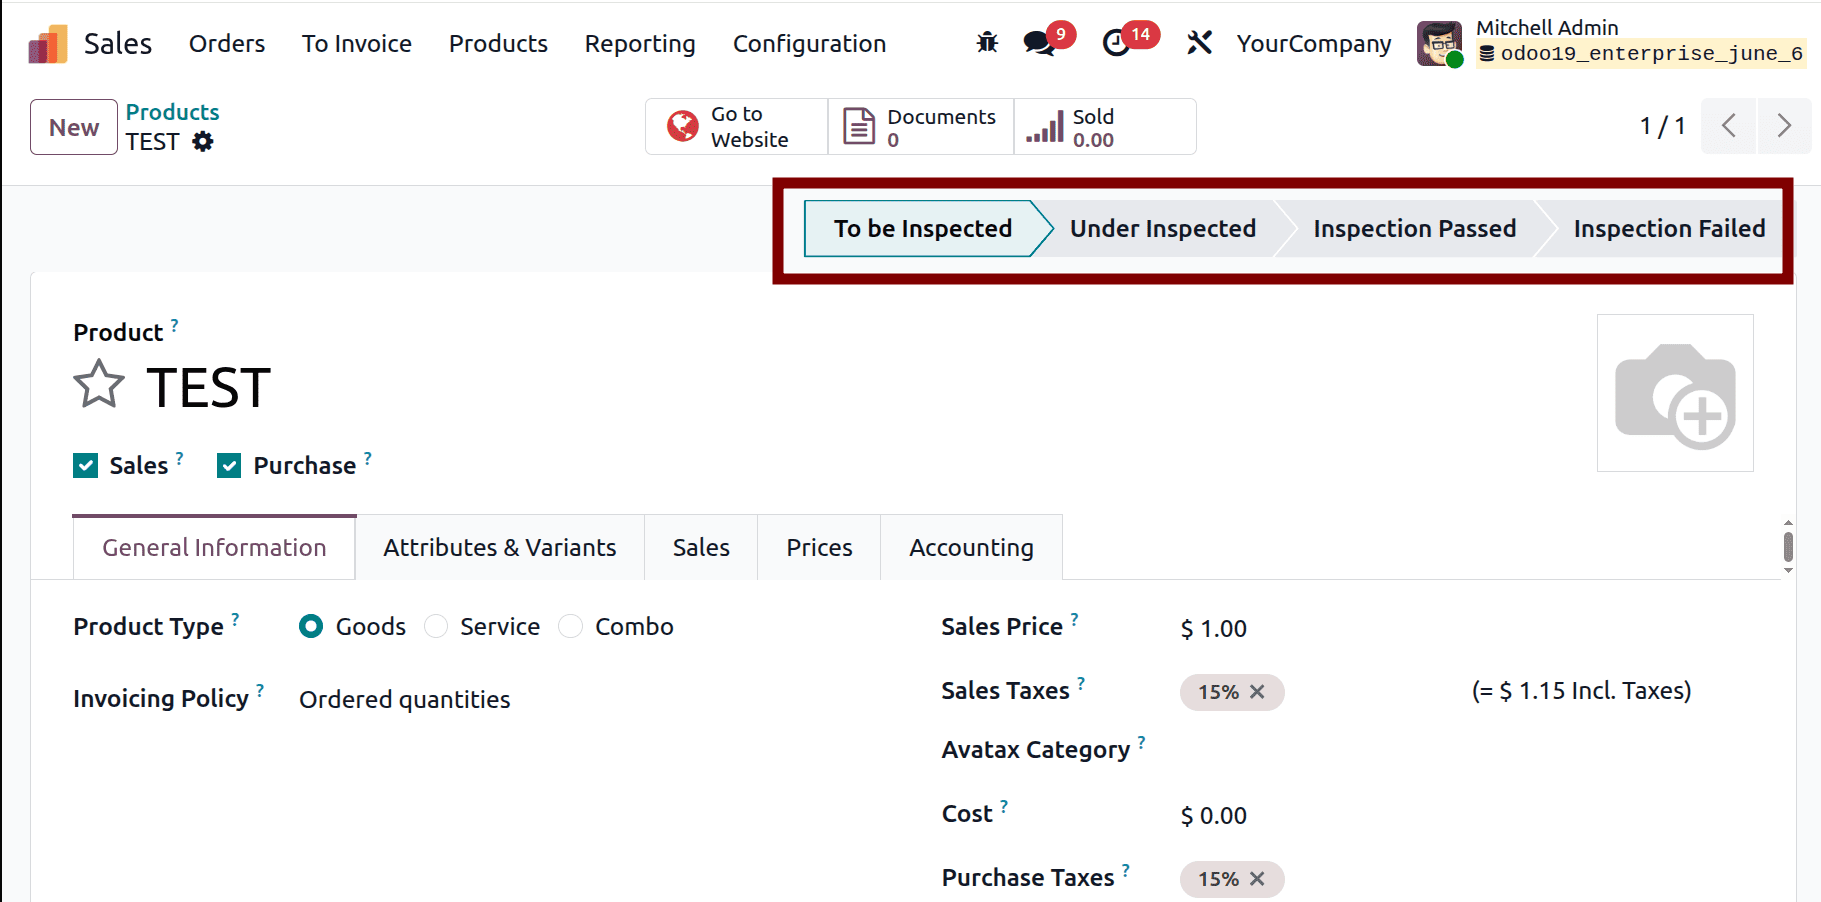
When you open the form view after exiting studio mode, you can see the status bar and confirm it works as required.
To make the status bar more useful, you can apply filters and use the Group By option in both list and kanban views to organize and analyze records more easily.
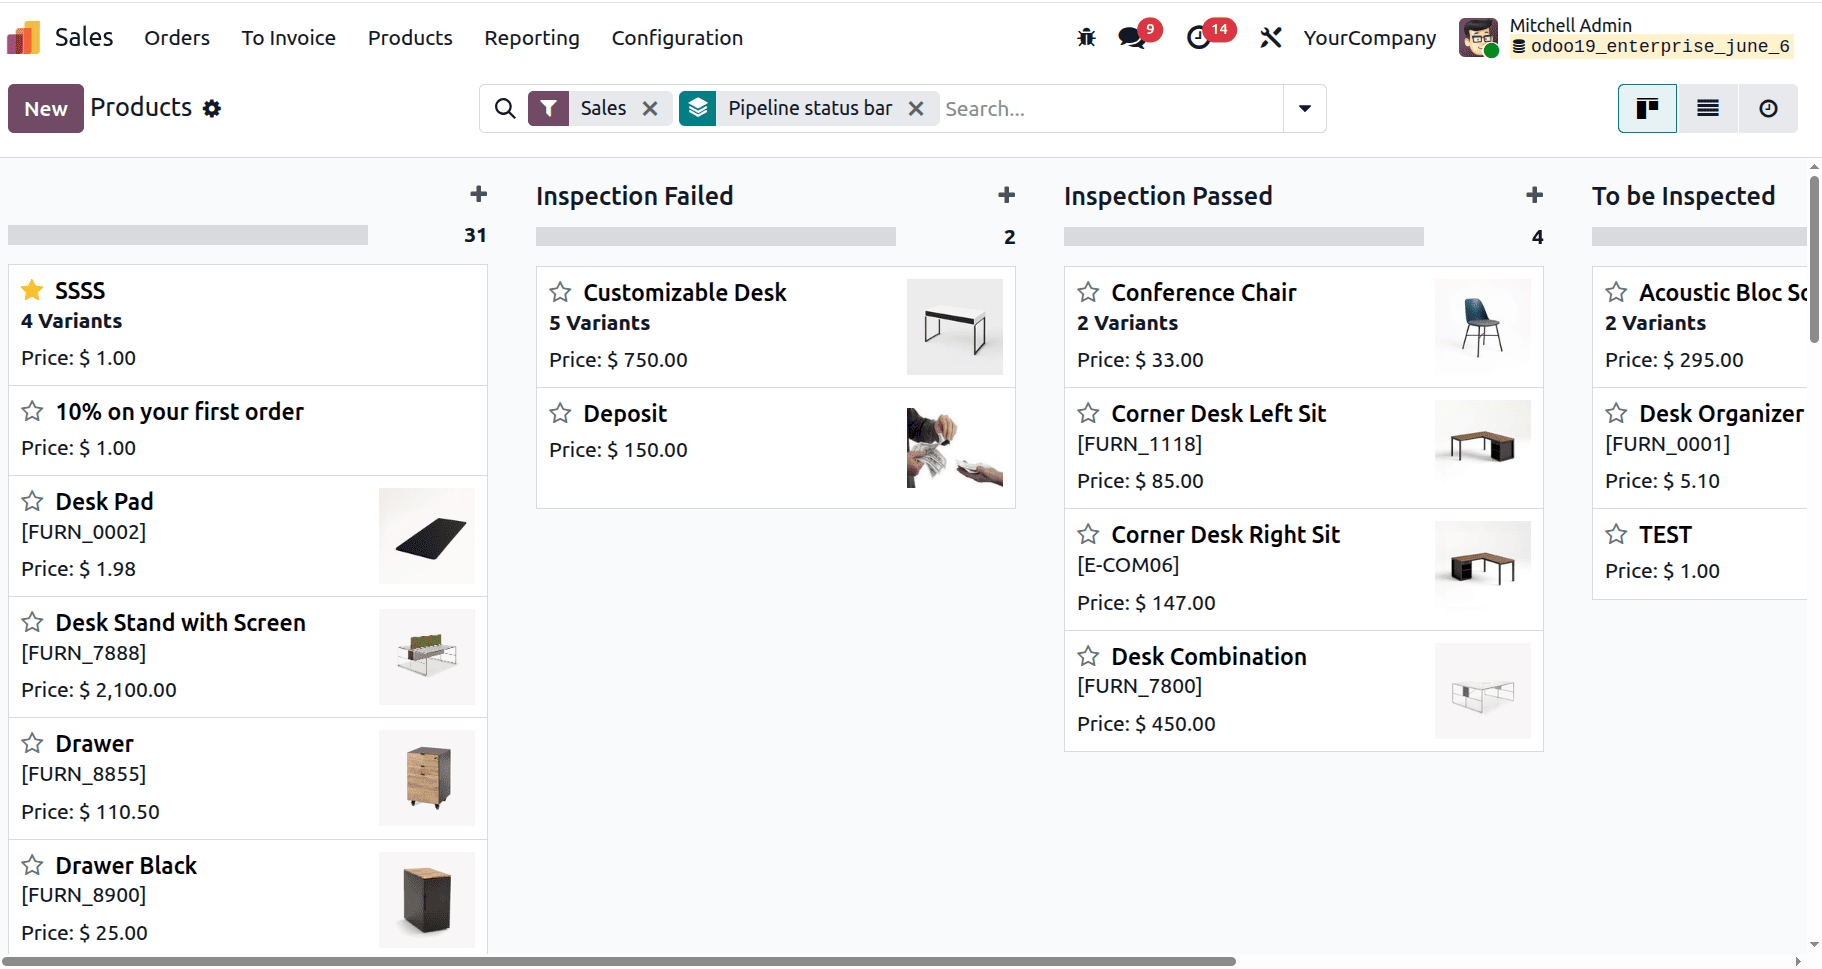
For example, there are stages named To be Inspected, Under Inspected, Inspection Passed, and Inspection Failed. To see the status of each product, you can group the records by these stages.
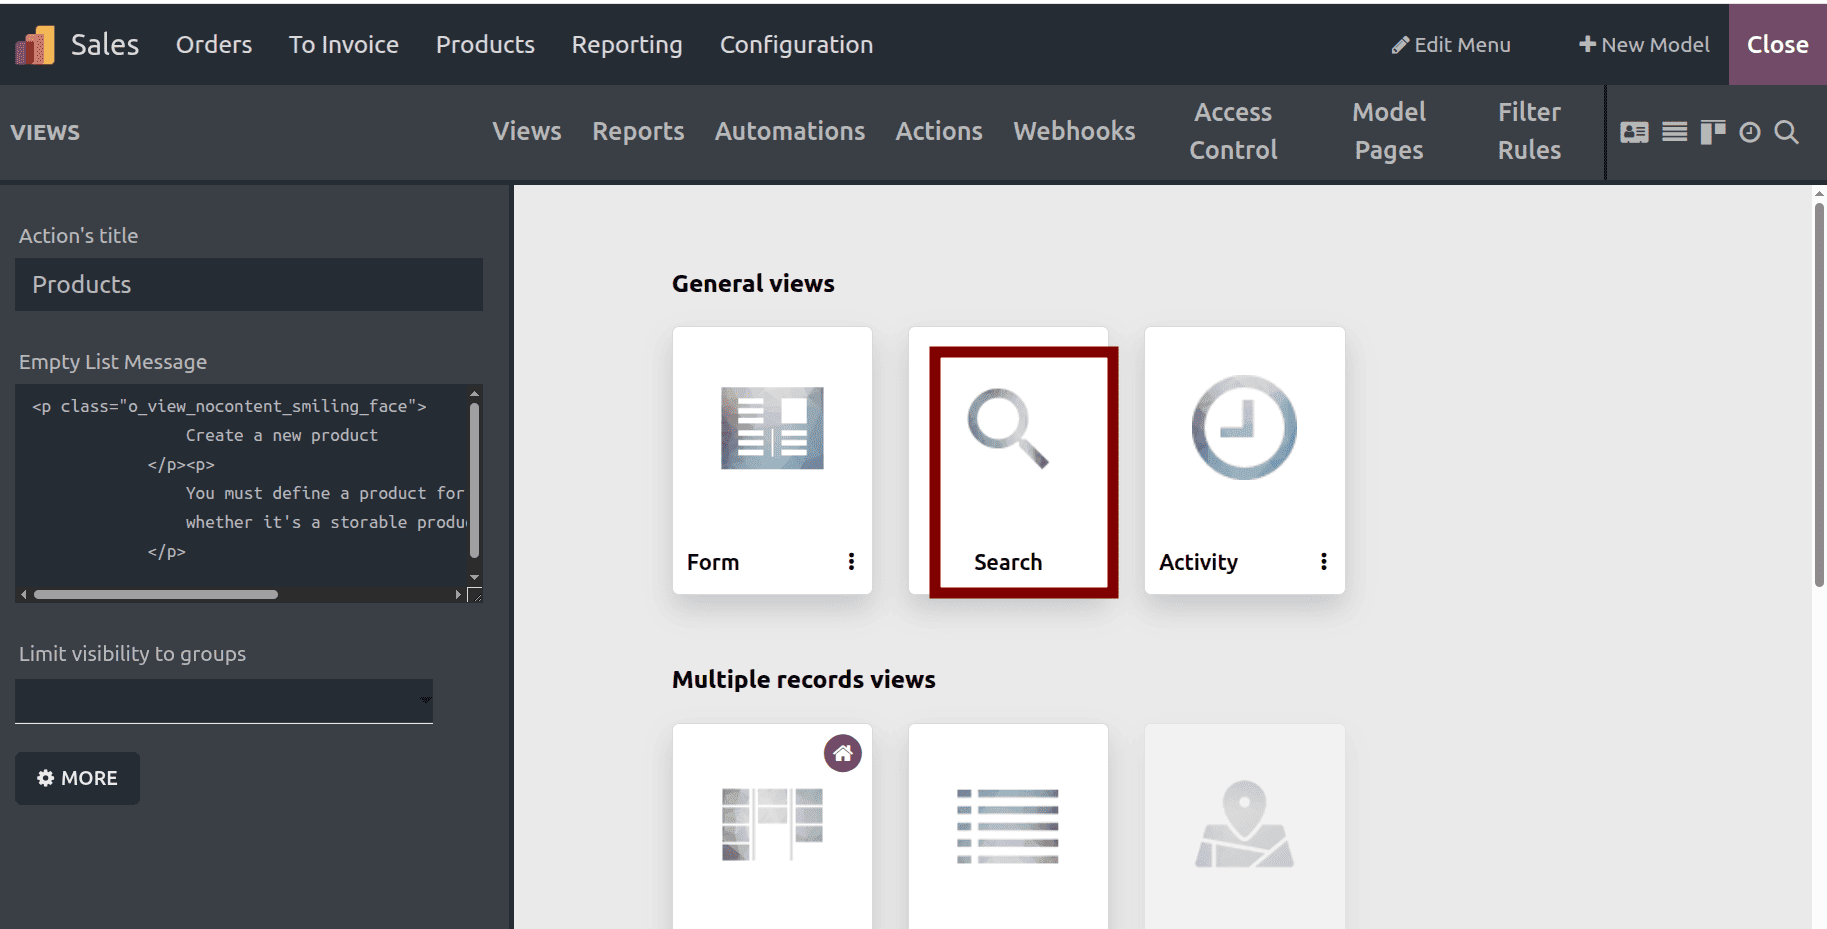
Next, we can see how the status bar can be included in the search views.
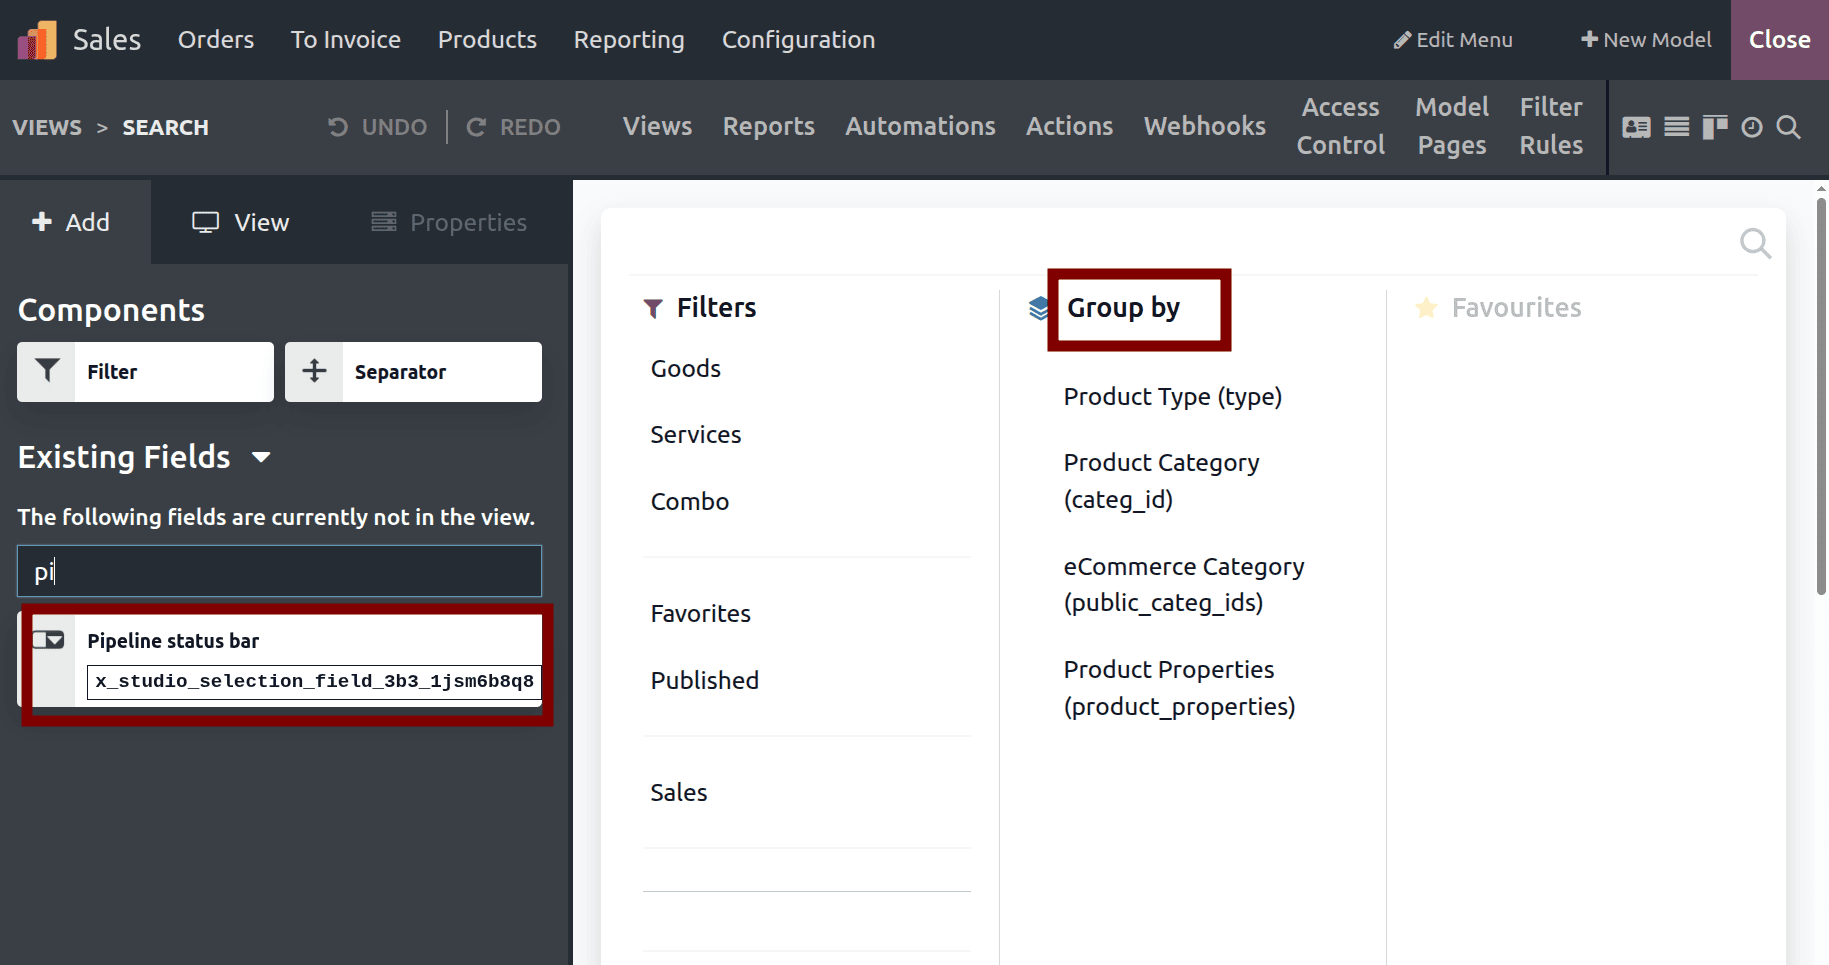
To add the pipeline status bar to the Group by section, you can drag and drop from the existing fields to the Group by section.
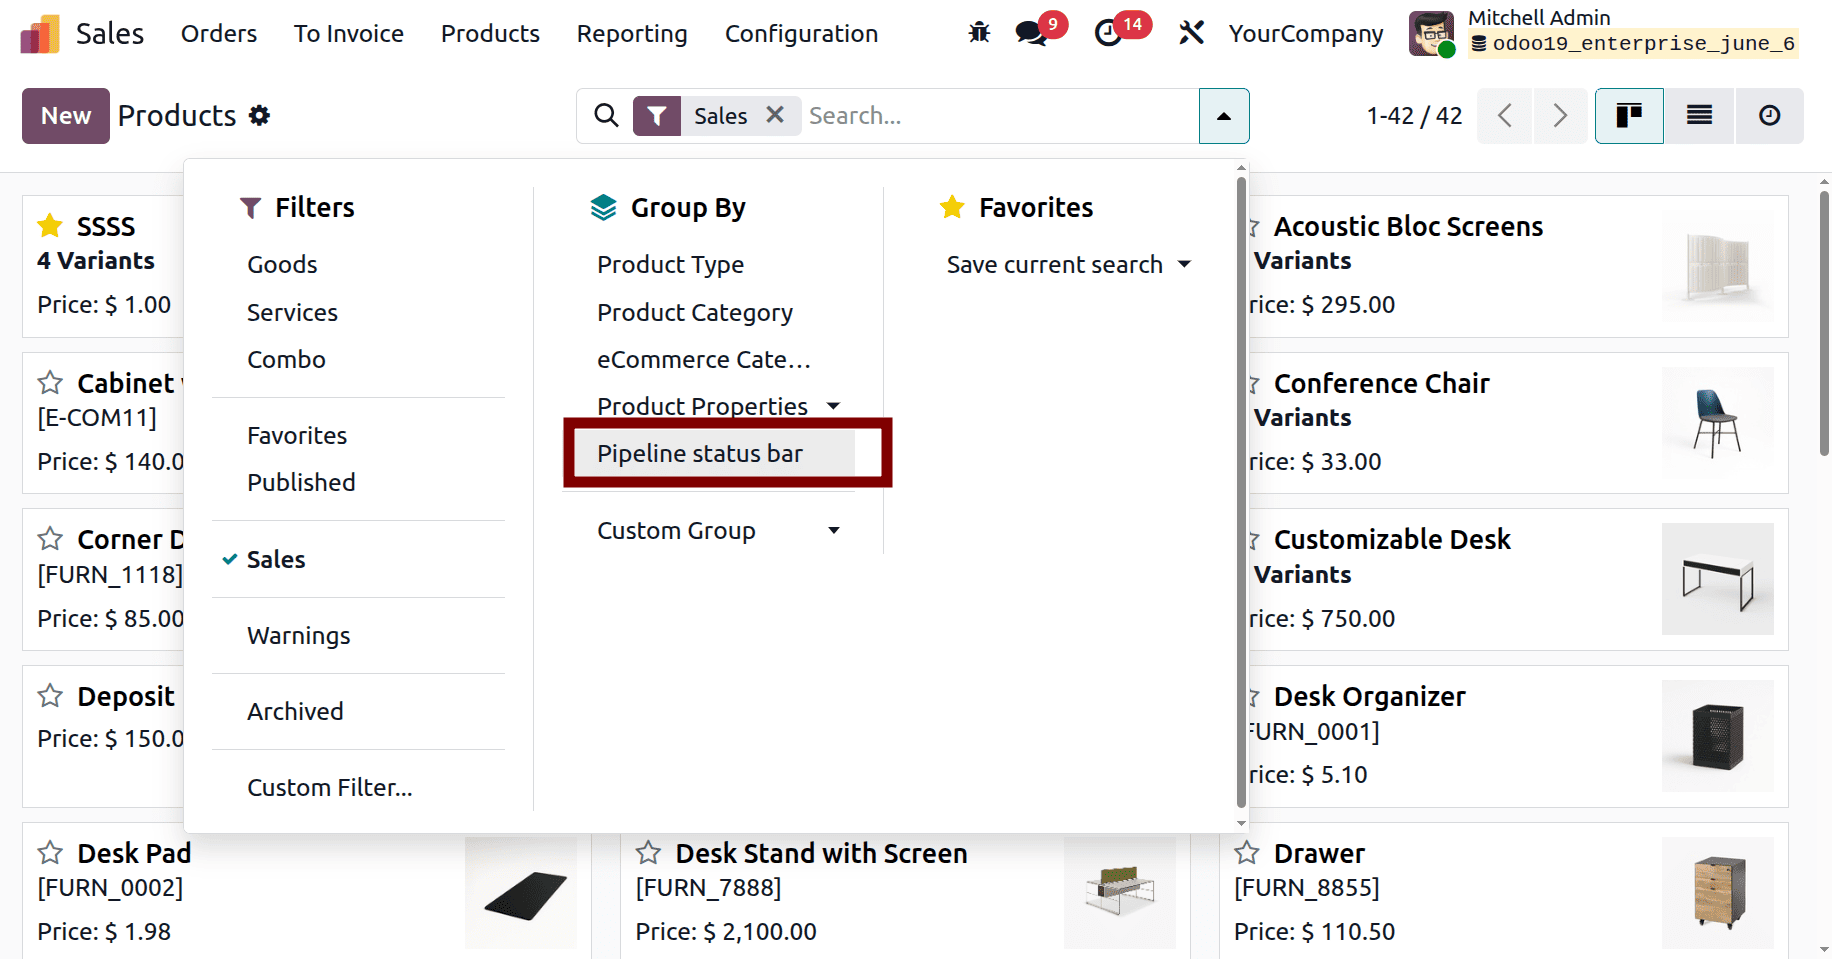
After closing Studio mode, in the search view, we can see the status bar under Group By and group the records based on the status bar.
The products are grouped based on the status bar.
This is how the status bar is added in Odoo 19 using the Studio module. Without requiring coding knowledge, you can easily add and configure a status bar. Its drag-and-drop interface makes it easy to customize the status bar by defining stages, colors, and other options according to your organization’s requirements.
To read more about How to Add a Status Bar in Form View Using Odoo 18 Studio, refer to our blog How to Add a Status Bar in Form View Using Odoo 18 Studio.