In Odoo, the systray icon is used to provide quick access to certain functionality or to display notifications to the user. The systray icon is shown in the notification bar, and it is located in the top right corner of the user interface. The systray displays notifications and alerts for various events, such as incoming messages, reminders, etc.
The default icons include a username and a drop-down list linked to the installed app launcher icon. The options available in the menu depend on the specific module or application being used.
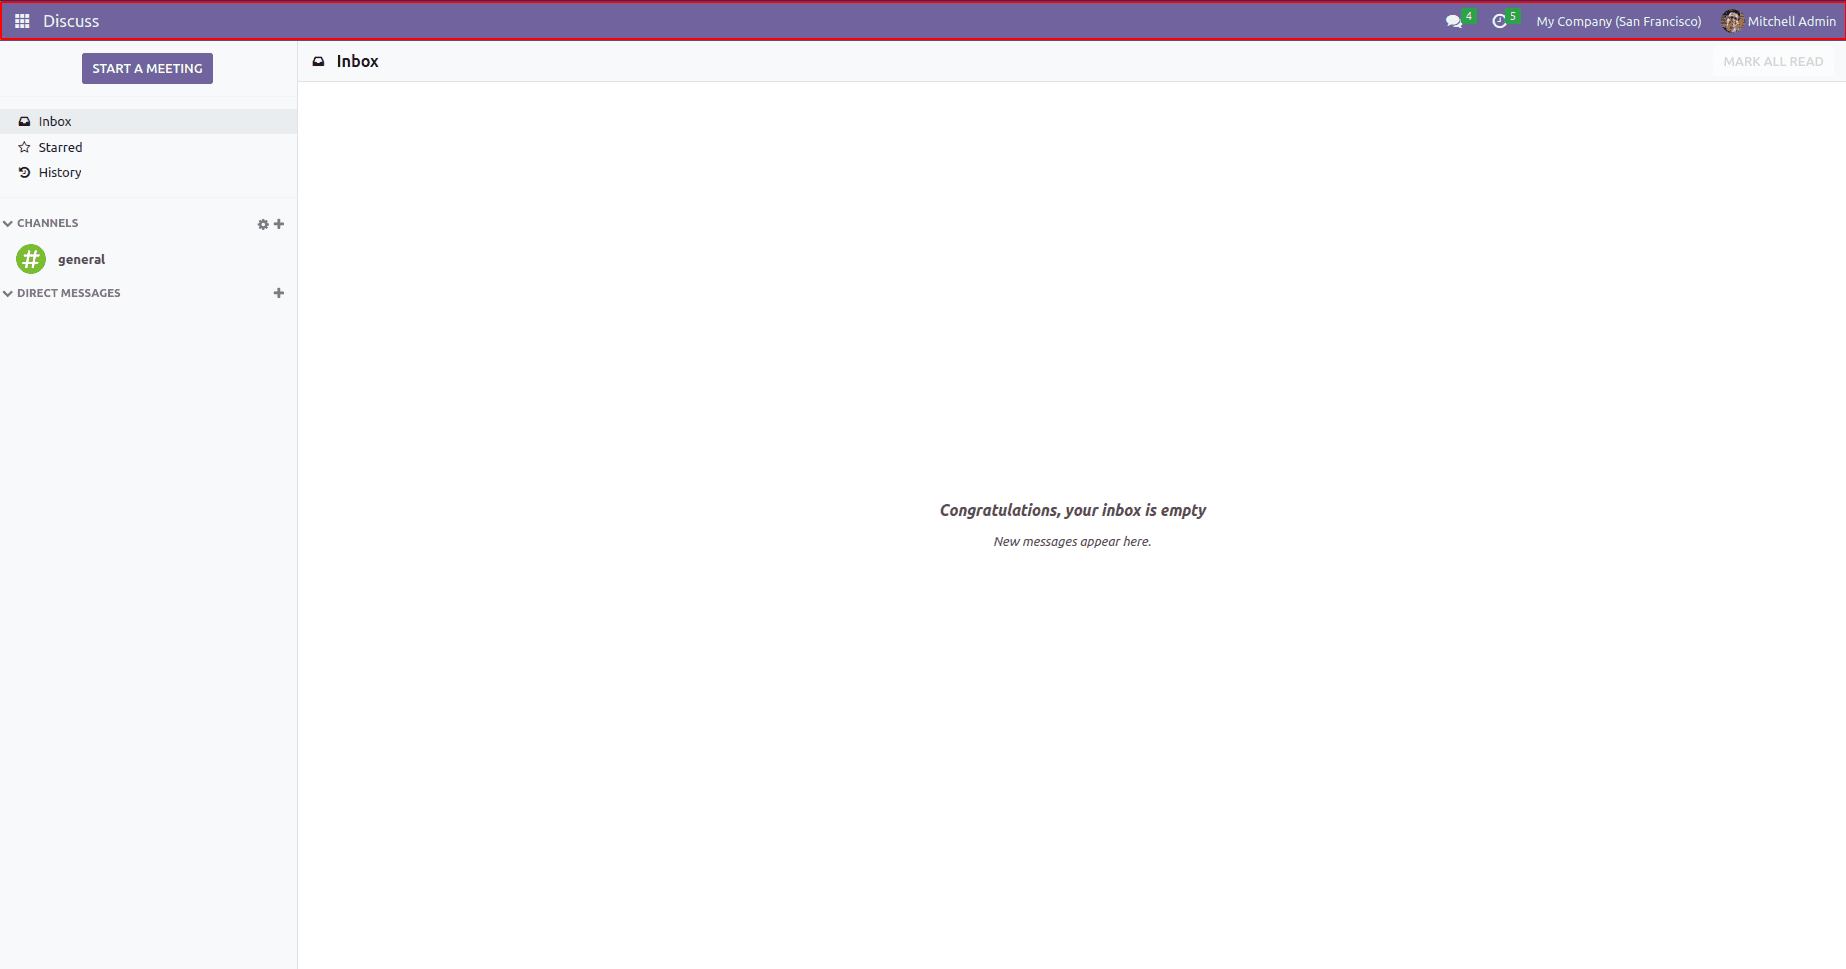
The below-marked area in the screenshot shows the systray icons in Odoo.
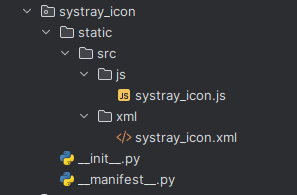
Now let’s check how to create a systray in the menu bar and set an action for it. Firstly we need to create a directory, and inside that, create a static folder and add a JS and XML folders in it.
Next, make the view for the systray icon in the notification bar. In the XML code, provide a template name. And in the <i> tag have a class with icon name as fa-shopping-cart and set style for this icon. This will display a shopping cart icon there.
<?xml version="1.0" encoding="UTF-8" ?>
<templates xml:space="preserve">
 <t t-name="systray_icon" owl="1">
     <div class="new_icon">
         <div class="icon_div">
             <div class="toggle-icon" role="button">
               <i id='create_order' t-on-click="_onClick"
                  class="fa fa-shopping-cart fa-1.5x"
                  style="color: white; margin-bottom:10px; padding:13px;"
                  role="img" aria-label="Purchase Order"/>
             </div>
         </div>
     </div>
 </t>
</templates>
The template will add a shopping cart image on the topbar of Odoo with white color, and set padding for it to align this icon in line with existing icons. The fa-1.5x specifies the size of the icon.
Next step is to add an action for that icon, for that need js code. Here adding a function for. While clicking on the button, it will pop up a wizard and open a new form for creating a purchase order.
/** @odoo-module **/
import { registry } from "@web/core/registry";
import { useService } from "@web/core/utils/hooks";
import { Component } from "@odoo/owl";
class SystrayIcon extends Component {
 setup() {
   super.setup(...arguments);
   this.action = useService("action");
 }
 _onClick() {
   this.action.doAction({
     type: "ir.actions.act_window",
     name: "Purchase Order",
     res_model: "purchase.order",
     view_mode: "form",
     views: [[false, "form"]],
     target: "new",
   });
 }
}
SystrayIcon.template = "systray_icon";
export const systrayItem = {
 Component: SystrayIcon,
};
registry.category("systray").add("SystrayIcon", systrayItem, { sequence: 1 });
Adding action for this icon, first, we want to import the registry, useService and owl component. In Odoo JavaScript, we can extend existing classes using the extend method. This method allows you to create a new class that inherits all the properties and methods of the original class, and can override or add new properties and methods.
Here extending the Component class by creating a new class called SystrayIcon. It adds a new component to our systray icon. Then specify the template name as our XML template name. The events mention a _onClick function to the owl component. In the click event function, we specified a doAction for opening a purchase order in a new form.
After creating the files, give it to the assets in the manifest file. Here mention the path of the files in web.assets_frontend.
'assets': {
'web.assets_backend': [
'systray_icon/static/src/js/systray_icon.js',
'systray_icon/static/src/xml/systray_icon.xml',
],
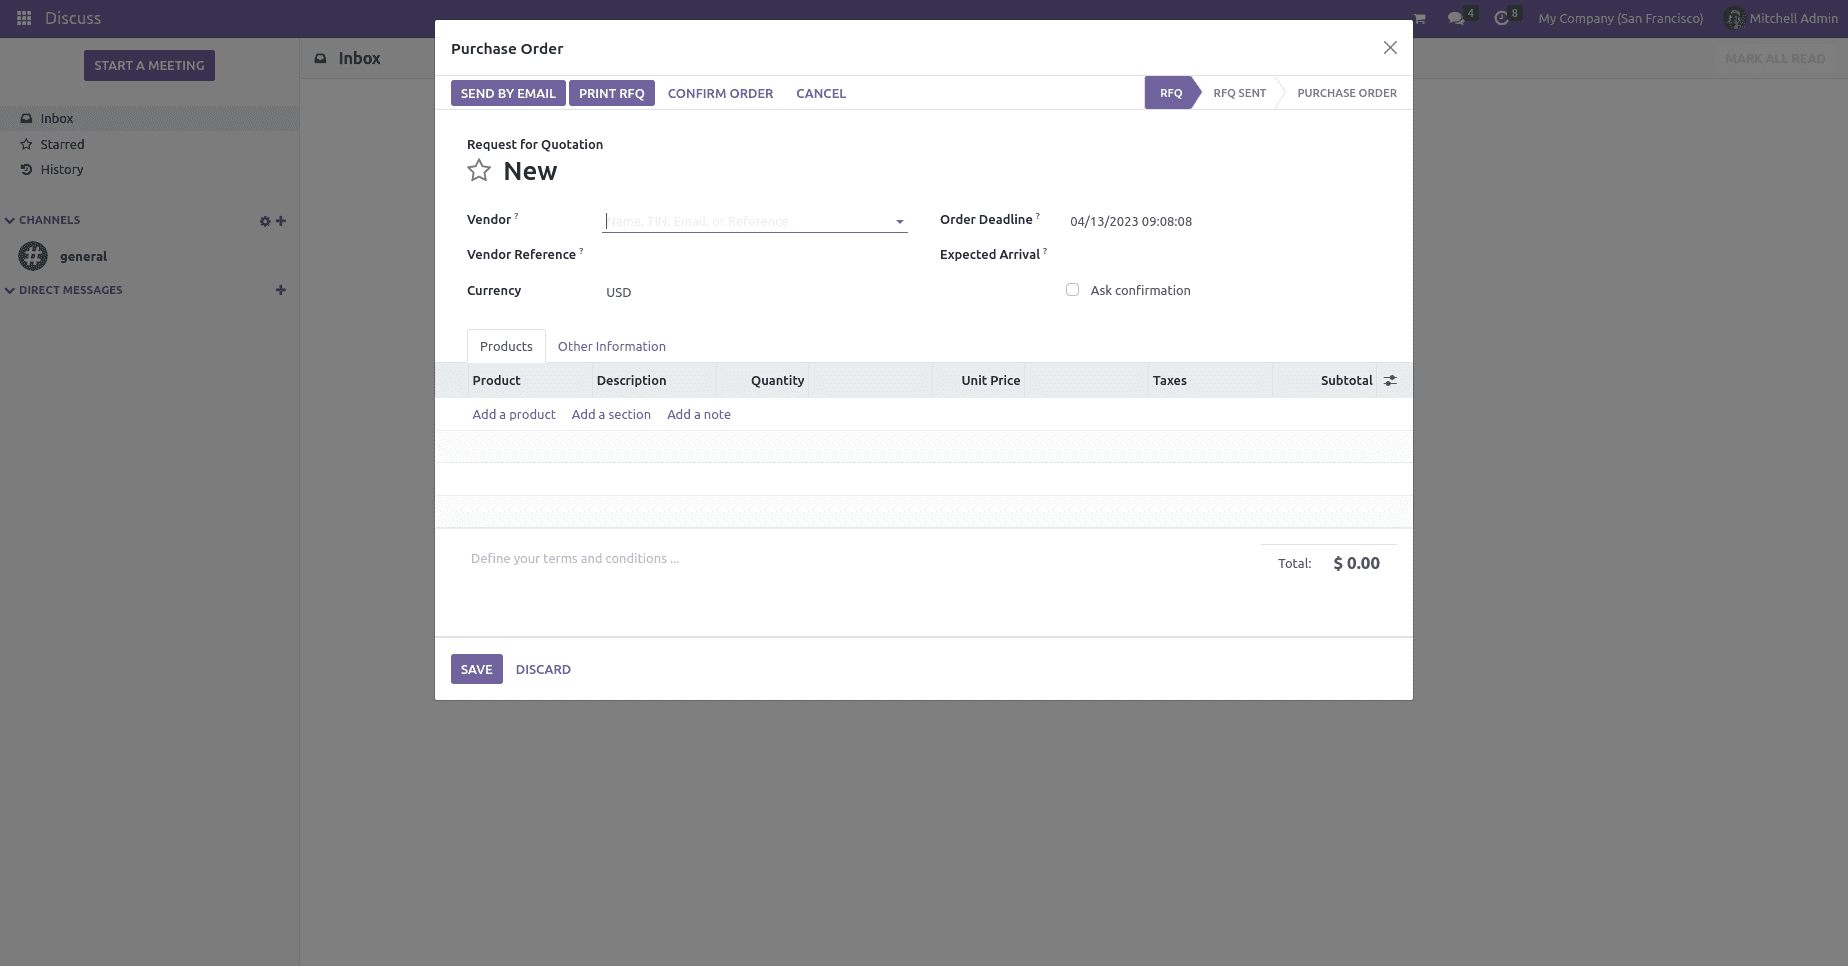
},And finally, let’s install the module and check the result.
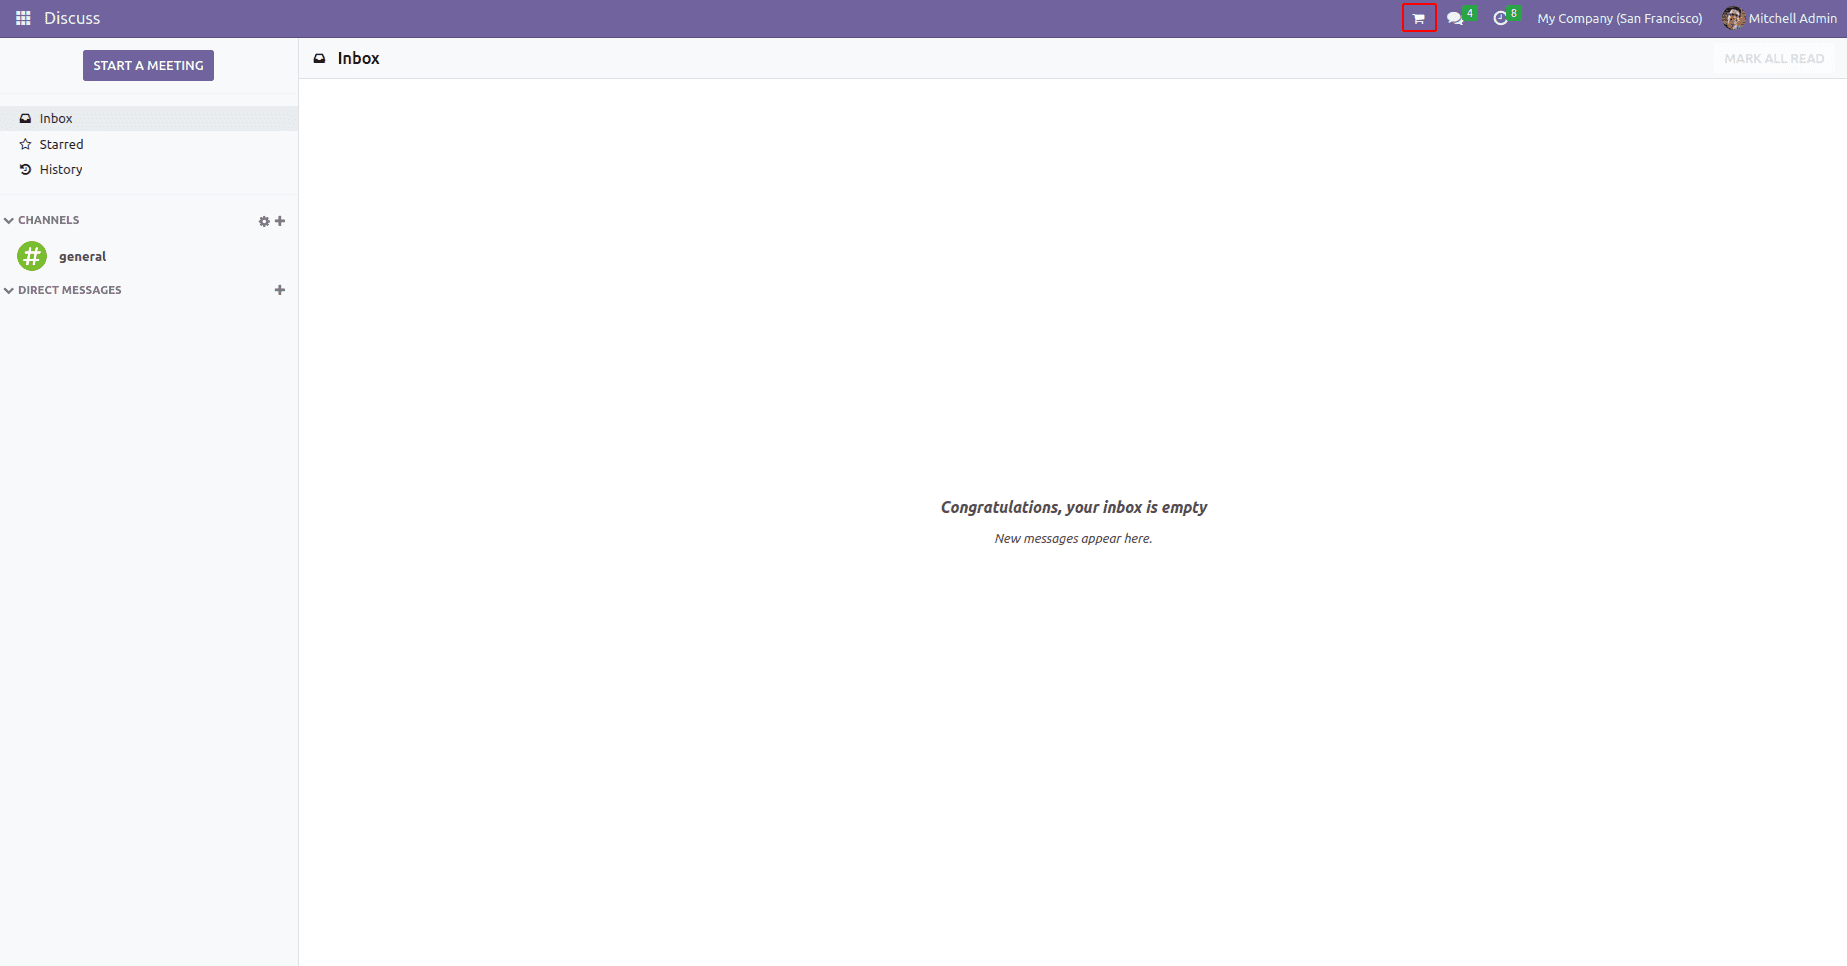
After installing the app, in the above image we can see the shopping cart button is added to the notification bar. If we click on that icon, a wizard will popup that shows a new form view of the purchase order.
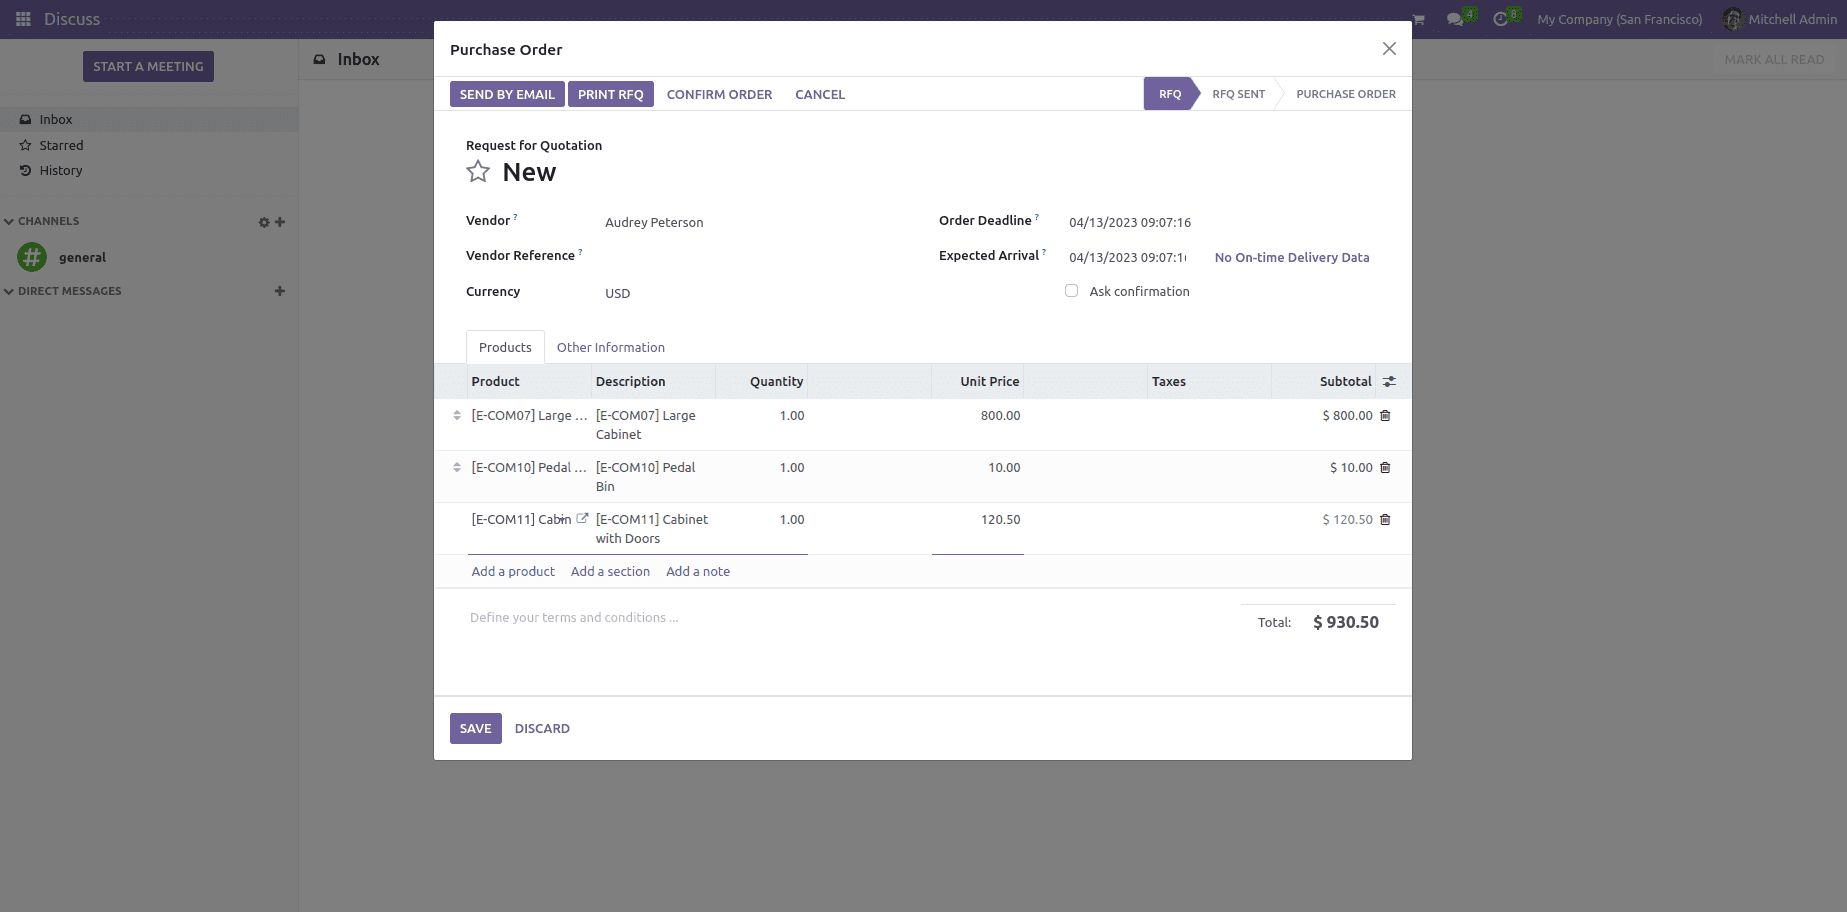
Next, we can just fill the form with the vendor name and add some products, then save the order.
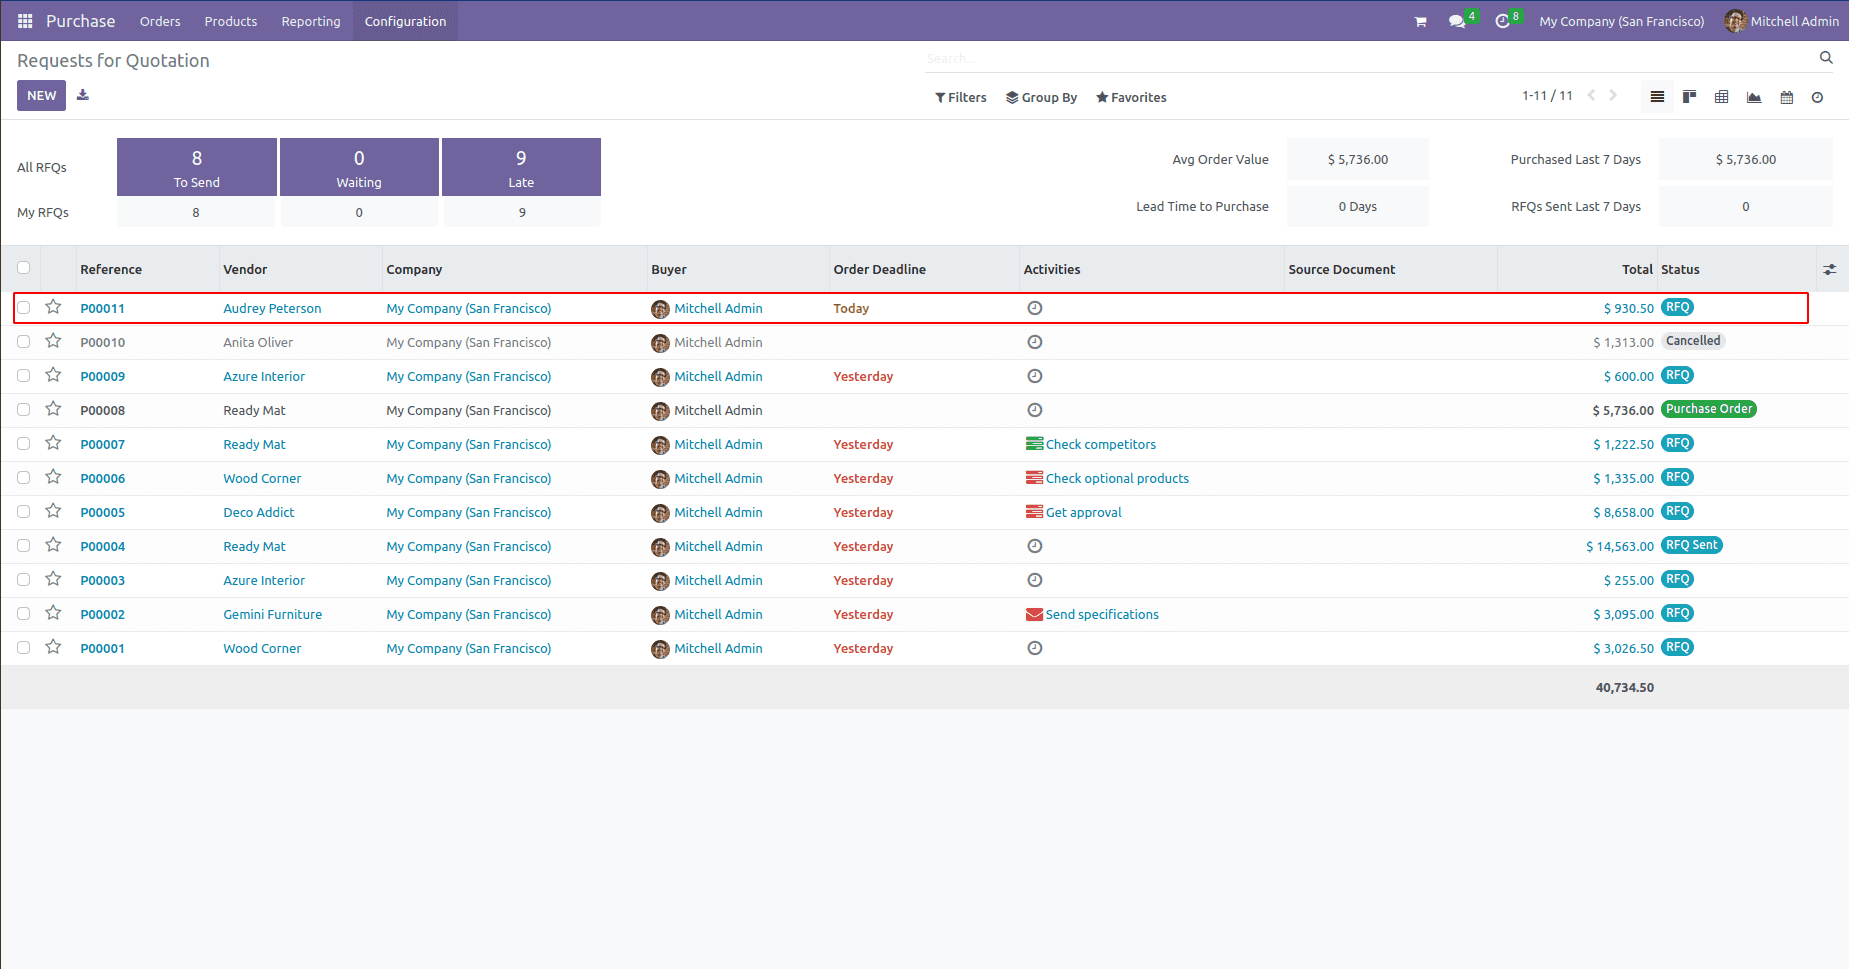
Check in the purchase module, and we can see a new record will be created there.