There may be cases of adding some onboarding panels which are to be shown for the first time or may be based on some conditions. Some of these existing onboarding panels are in Sales, Invoicing, etc. In this blog, we are going to discuss a case for adding such an onboarding panel to an existing list view.
Here in this blog, we are going to add an onboarding panel to the Employee department model (hr.department) tree view.
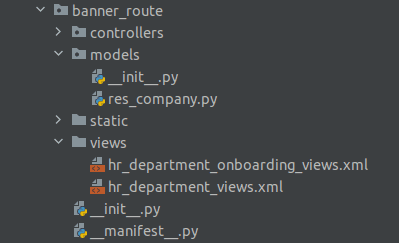
First of all, let us create a new module named banner_route which has subfolders such as controllers, models, views, etc.
In the models folder, add a new file for inheriting the company model to add some fields and functions. Do not forget to add this file to the init file inside the models' folder.
Let us add a new state field to set the onboarding panel to hide based on the state. And this field and function are to be added to the company model to show the panel company specific. So if one user sets all the things inside a company, no setup needs to be added further from the company side, and the panel needs to be hidden. In such cases, we can use the company model to set up the fields and functions.
onboarding_sample_department_state = fields.Selection(
        [('not_done', "Not done"), ('just_done', "Just done"),
         ('done', "Done")],
        string="State of the onboarding sample department step",
        default='not_done')
After setting the state, now we can add the functions to be done from our panel.
    @api.model
    def action_open_department_onboarding_sample_department(self):
        self.set_onboarding_step_done(
            'department_onboarding_sample_department_state')
        self.action_close_department_onboarding()
        action = self.env['ir.actions.actions']._for_xml_id(
            'hr.hr_department_tree_action')
        action.update({
            'views': [[self.env.ref('hr.view_department_form').id, 'form']],
            'view_mode': 'form',
            'target': 'main',
        })
        return action
    @api.model
    def action_close_department_onboarding(self):
        self.env.company.onboarding_sample_department_state = 'done'
    def get_and_update_department_onboarding_state(self):
        steps = [
            'base_onboarding_company_state',
            'onboarding_sample_department_state'
        ]
        return self._get_and_update_onboarding_state(
            'onboarding_sample_department_state', steps)
The first function ‘action_open_department_onboarding_sample_department’ is to open the department form view to set up a sample department while clicking the button to create a sample department. Second function, ‘action_close_department_onboarding’ to hide the onboarding panel forever. And the last function ‘get_and_update_department_onboarding_state’ is to update the needed states to hide and show the panel based on while loading the panel.
Now the next case is to define the onboarding panel. Let us move on to define the views of the panel. Create a file inside the views folder. Add the following code to the newly created file.
<?xml version="1.0" encoding="UTF-8" ?>
<odoo>
    <!--ONBOARDING STEPS -->
    <template id="banner_route_onboarding_sample_department_step">
        <t t-call="base.onboarding_step">
            <t t-set="title">Sample Department</t>
            <t t-set="description">Create a sample department</t>
            <t t-set="btn_text">Create</t>
            <t t-set="method" t-value="'action_open_department_onboarding_sample_department'"/>
            <t t-set="model" t-value="'res.company'"/>
            <t t-set="state" t-value="state.get('department_onboarding_sample_department_state')"/>
        </t>
    </template>
    <!-- ONBOARDING PANEL -->
    <template id="hr_department_onboarding_panel" name="hr.department.onboarding.panel">
        <t t-call="base.onboarding_container">
            <t t-set="classes" t-value="'o_onboarding_violet'"/>
            <t t-set="bg_image" t-value="'/banner_route/static/src/img/sale_quotation_onboarding_bg.jpg'"/>
            <t t-set="close_method" t-value="'action_close_department_onboarding'"/>
            <t t-set="close_model" t-value="'res.company'"/>
            <t t-call="base.onboarding_company_step" name="company_step"/>
            <t t-call="banner_route.banner_route_onboarding_sample_department_step" name="sample_department_step"/>
        </t>
    </template>
</odoo>
In the onboarding panel template, we define how the onboarding panel needs to be shown. And in the onboarding panel steps template, we can define the steps to be added to the panel.
<template id="hr_department_onboarding_panel" name="hr.department.onboarding.panel">
        <t t-call="base.onboarding_container">
            <t t-set="classes" t-value="'o_onboarding_violet'"/>
            <t t-set="bg_image" t-value="'/banner_route/static/src/img/sale_quotation_onboarding_bg.jpg'"/>
            <t t-set="close_method" t-value="'action_close_department_onboarding'"/>
            <t t-set="close_model" t-value="'res.company'"/>
            <t t-call="base.onboarding_company_step" name="company_step"/>
            <t t-call="banner_route.banner_route_onboarding_sample_department_step" name="sample_department_step"/>
        </t>
    </template>
In the above template, we are calling the onboarding container to set the size of the onboarding panel, which is a default template in Odoo. Inside this, we are setting some default variables and values for the template. In the different variables, we are setting the classes, background image, etc. The close_method specifies the closing function while clicking on the x button from the panel. close_model is to add the model where we defined all the functions and fields, and here it will be ‘res company’. On the next two lines, we call the template which is the steps to be shown on the onboarding panel. Here we call the default template to set up the company data, and the next one is our custom template to set up a sample department. Let us now discuss the custom step template of our onboarding panel.
    <template id="banner_route_onboarding_sample_department_step">
        <t t-call="base.onboarding_step">
            <t t-set="title">Sample Department</t>
            <t t-set="description">Create a sample department</t>
            <t t-set="btn_text">Create</t>
            <t t-set="method" t-value="'action_open_department_onboarding_sample_department'"/>
            <t t-set="model" t-value="'res.company'"/>
            <t t-set="state" t-value="state.get('department_onboarding_sample_department_state')"/>
        </t>
    </template>
In the above template, we called onboarding_step template, which is a default one to specify the characteristics of our custom step. And here also, we are passing some variables and values. The variable title, the title to be shown on the step, the description of the step, btn_text will be the name of the button to perform the step. The method will be the method to run while clicking on the button, and here the method will be 'action_open_department_onboarding_sample_department', which is added to the company model. Next, we are passing the state so as to hide or make visible of the onboarding panel based on the states passed.
And that’s it. We have been done with setting up our onboarding panel. Now is to add this panel to the tree view of the Department. For this, we have to inherit our existing tree view of the Department and add the panel. To add the onboarding panel, we can make use of the attribute banner_route to specify the controller URL to load the panel.
    <record id="hr_department_tree_inherit_banner_route" model="ir.ui.view">
        <field name="name">hr.department.tree.inherit.banner.route</field>
        <field name="model">hr.department</field>
        <field name="inherit_id" ref="hr.view_department_tree"/>
        <field name="arch" type="xml">
            <xpath expr="//tree" position="attributes">
                <attribute name="banner_route">/banner_route/department</attribute>
            </xpath>
        </field>
    </record>
In the above code, we have inherited the tree view of the Department and added the banner_route attribute to the tree tag, and specified the URL as /banner_route/department.
Now the next task is to add a controller to set up the above-mentioned URL to load the onboarding panel while loading the tree view. For this, we can make use of the following code sample.
from odoo import http
from odoo.http import request
    class OnboardingController(http.Controller):

@http.route('/banner_route/department', auth='user', type='json')
    def hr_department_onboarding(self):
        company = request.env.company
        if not request.env.is_admin() or \
                company.department_onboarding_sample_department_state == 'done':
            return {}
        return {
            'html': request.env['ir.qweb']._render(
                'banner_route.hr_department_onboarding_panel', {
                    'company': company,
                    'state': company.get_and_update_department_onboarding_state()
                })
        }
In the above code sample, we are checking at first the company and the state field on the company model in order to hide and show the onboarding panel on the Department. If the state is done, nothing will be shown. Otherwise the panel will be shown as we created it. If the state is not done, we are rendering the template of the onboarding panel along with some data like the state company, etc.
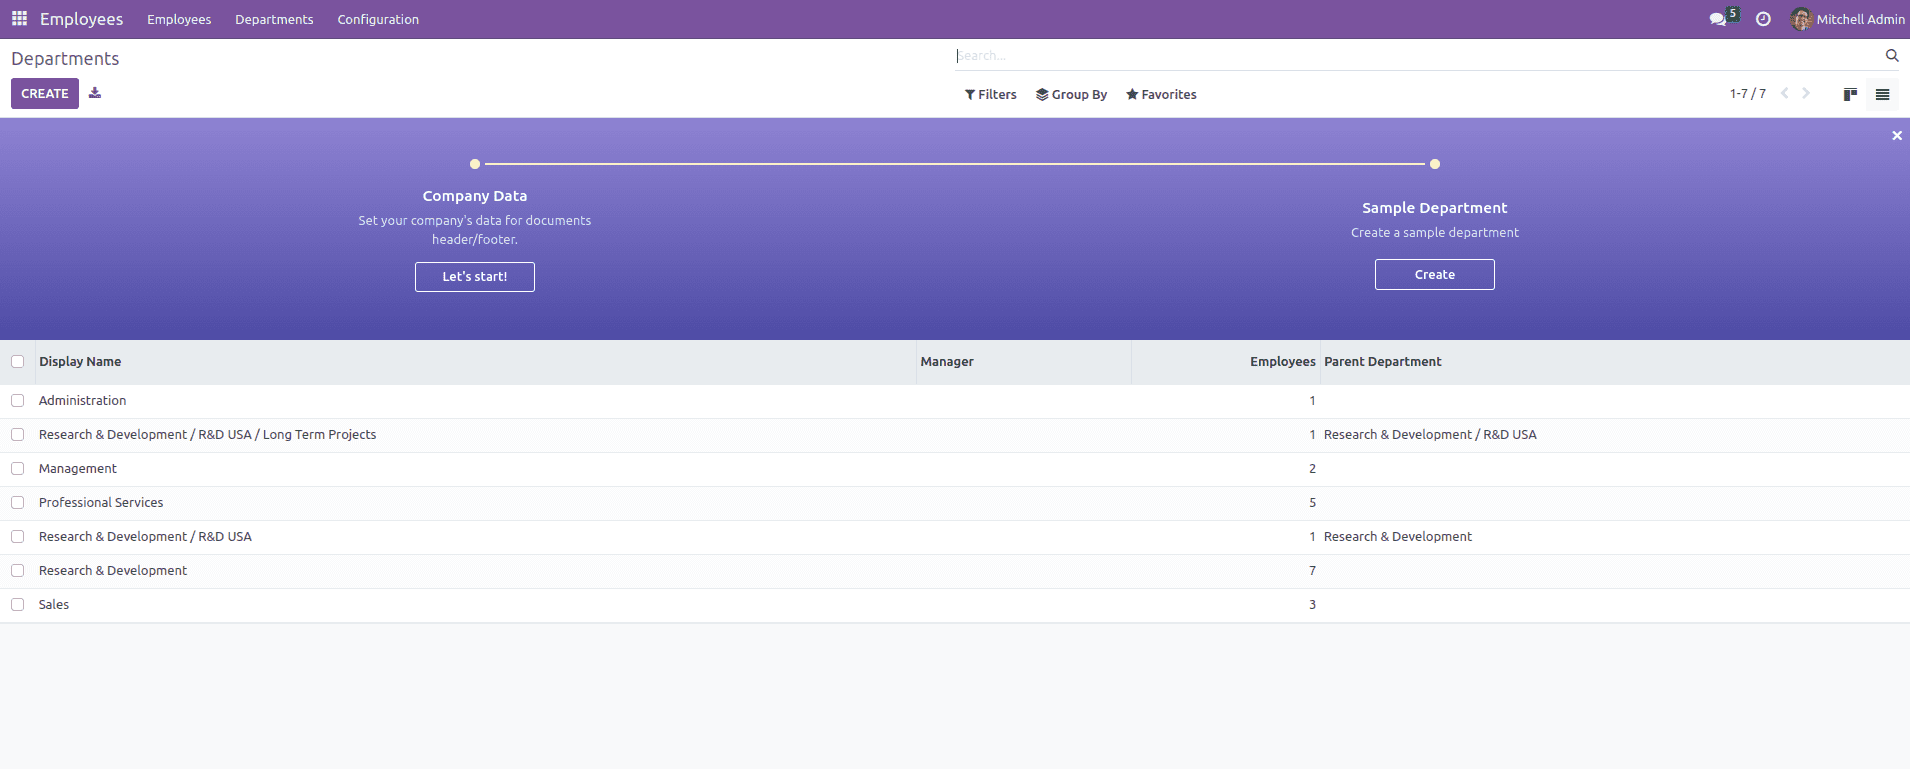
After all of this code is set up, we can see the Department tree view like this. If we go through the different steps, based on the functions we newly declared on the company model, and as per the change of state field we added to the company, the onboarding panel would be hidden.
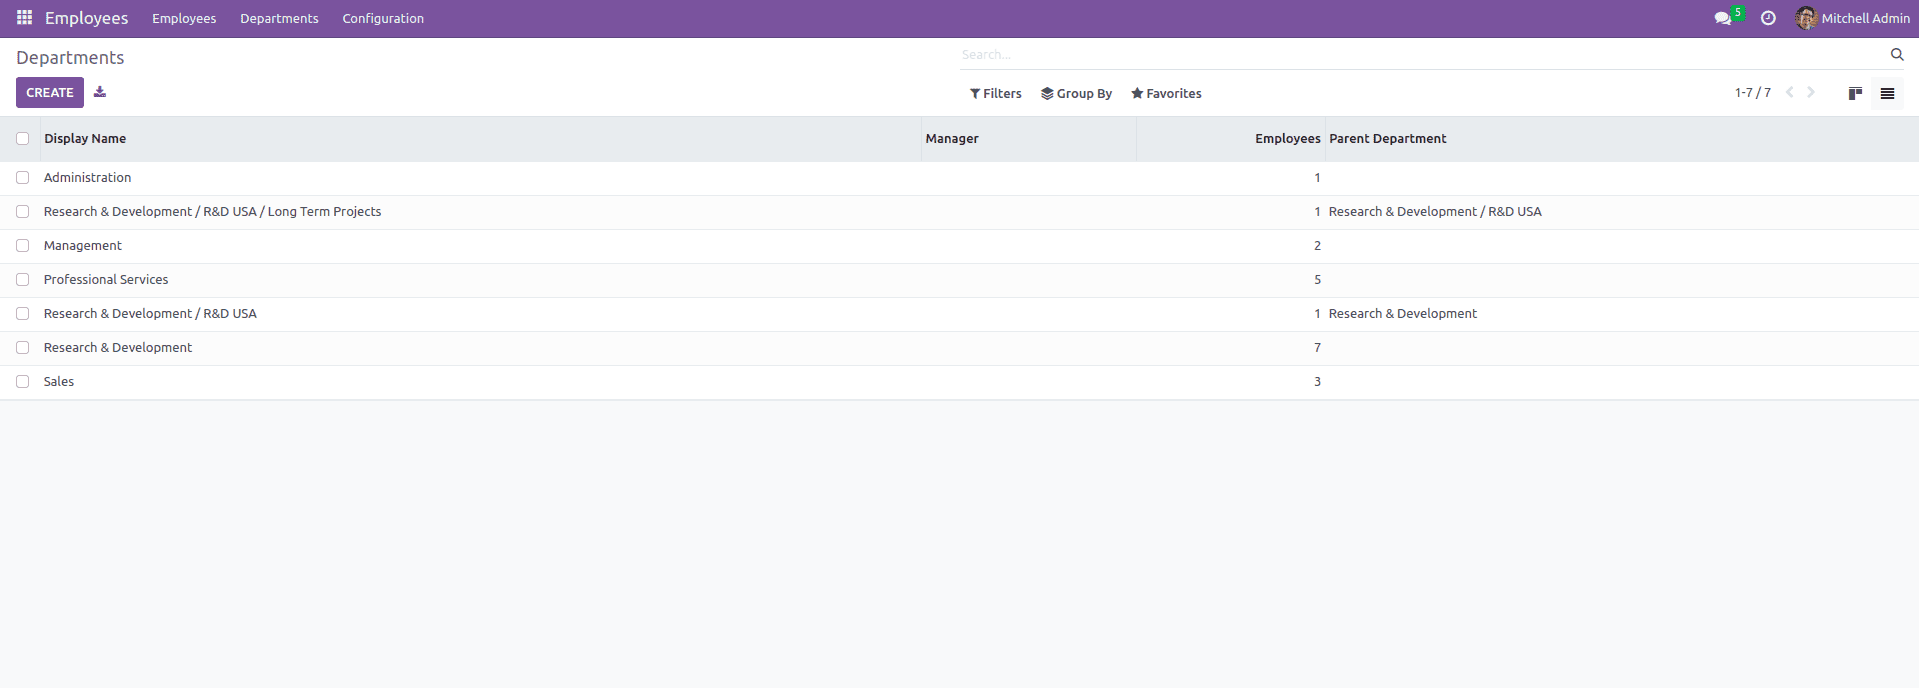
On removing (by clicking the x button on the onboarding panel) or if the state changes to done, the onboarding panel will not be shown, and the view will look like the above one.
And that’s how we add a new onboarding panel with our own new steps for our custom or existing views.