Odoo 18 has taken a significant leap in enhancing frontend development with its modern OWL (Odoo Web Library) framework. It allows developers to create custom views using reusable components and state management. In this blog, we will walk you through the process of adding a many2one field to a new view, using a practical example that integrates the res.partner model. We’ll utilize the Many2XAutocomplete component to create a lightweight yet dynamic client action. This is particularly useful for dashboards, quick data selectors, or interfaces that don’t require full form views.
Creating the Custom Module
To begin, we create a custom module named many2one_field_test. The objective of this module is to build a new client action containing a partner selection field. Once a user selects a partner, the name of the partner will be displayed on the screen. Our module uses OWL’s component system and includes the use of the Many2XAutocomplete widget for rendering the many2one relationship field.
Defining the Module Structure
Your folder structure should look like this:
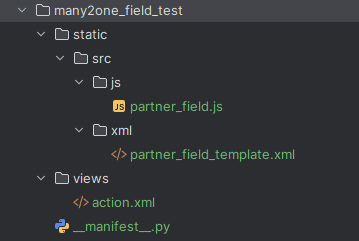
The __manifest__.py file registers the module and assets:
{
    'name': 'Many2one Field Test',
    'version': '1.0',
    'category': 'Tools',
    'depends': ['base', 'web'],
    'assets': {
        'web.assets_backend': [
            'many2one_field_test/static/src/js/partner_field.js',
            'many2one_field_test/static/src/xml/partner_field_template.xml',
        ],
    },
    'data': [
        'views/action.xml',
    ],
    'installable': True,
    'application': True,
}
Creating the Menu and Action
Inside views/action.xml, we define a client action and link it to a menu item:
<record id="action_partner_field_window" model="ir.actions.client">
    <field name="name">Partner Field</field>
    <field name="tag">many2one_field_test.partner_field_action</field>
</record>
<menuitem id="menu_partner_field_root" name="Partner Field Test" sequence="10"/>
<menuitem id="menu_partner_field_test"
          name="Test Many2one Field"
          parent="menu_partner_field_root"
          action="action_partner_field_window"/>
This configuration adds a menu under the main menu, providing easy access to the new view.
Designing the OWL Template
The UI layout is defined using an OWL template in XML format. This is where the Many2XAutocomplete component is rendered:
<templates xml:space="preserve">
    <t t-name="many2one_field_test.Template" owl="1">
        <div class="o_action_manager" style="height: 100%; padding: 2rem;">
            <h2>Select a Partner</h2>
            <Many2XAutocomplete
                placeholder="'Choose Partner'"
                value="model.modelTarget.display_name"
                fieldString="'Partner'"
                activeActions="{}"
                resModel="'res.partner'"
                getDomain.bind="getDomainTarget"
                update.bind="onUpdateTarget"
            />
            <t t-if="model.modelTarget.display_name">
                <p style="margin-top: 1rem;">Selected Partner: <strong><t t-esc="model.modelTarget.display_name"/></strong></p>
            </t>
        </div>
    </t>
</templates>
Here, we define a user-friendly interface with a heading and an input field that dynamically fetches partner data. When a partner is selected, their name is shown below.
Implementing the Component Logic in JavaScript
In partner_field.js, we write the logic for fetching partner details and updating the interface reactively:
/** @odoo-module **/
import { Component, useState } from "@odoo/owl";
import { registry } from "@web/core/registry";
import { useService } from "@web/core/utils/hooks";
import { Many2XAutocomplete } from "@web/views/fields/relational_utils";
class PartnerFieldComponent extends Component {
    setup() {
        this.orm = useService("orm");
        this.model = useState({
            modelTarget: {}
        });
    }
    getDomainTarget() {
        return []; // Customize domain if needed
    }
    async onUpdateTarget(ev) {
        if (ev && ev.length > 0) {
            const partner = await this.orm.read("res.partner", [ev[0].id], ["name"]);
            if (partner.length) {
                this.model.modelTarget = {
                    id: partner[0].id,
                    display_name: partner[0].name
                };
            }
        } else {
            this.model.modelTarget = {};
        }
    }
}
PartnerFieldComponent.template = "many2one_field_test.Template";
PartnerFieldComponent.components = { Many2XAutocomplete };
registry.category("actions").add("many2one_field_test.partner_field_action", PartnerFieldComponent);
This JavaScript file imports the necessary services, initializes state, and defines the domain and update behavior for the field. When a user selects a partner, a read call is made to fetch the display name, which is then shown in the UI.
Final Output and Use Case
After installing the module, go to "Partner Field Test > Test Many2one Field" from the main menu. You’ll be presented with a page showing a dropdown input where you can search and select partners from the res.partner model. Upon selection, the chosen partner's name will appear below the input field.
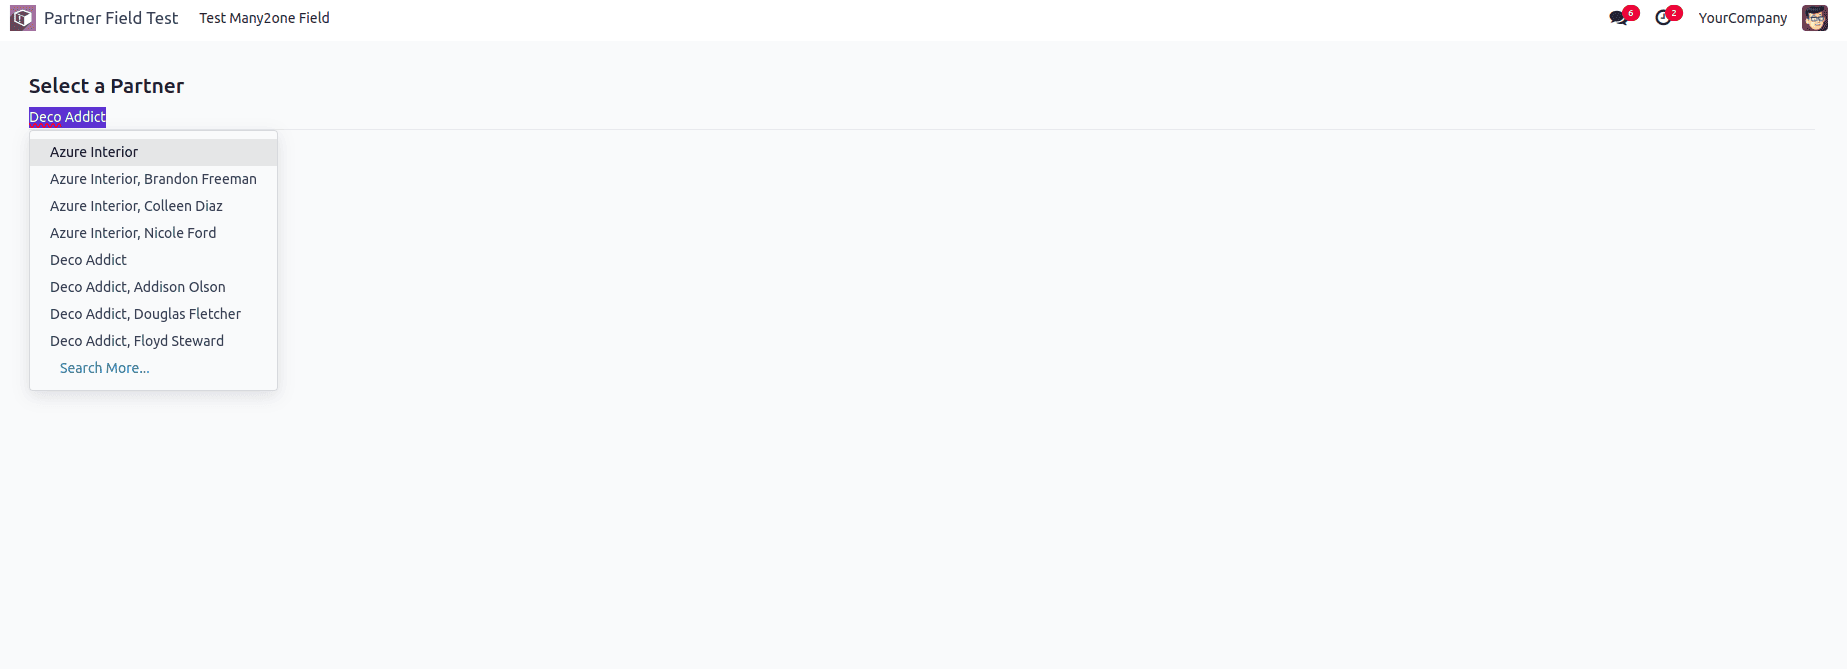
This lightweight integration allows you to use fields in isolated views or widgets without relying on full form views. It’s ideal for dashboards, selectors, and interactive tools.
Conclusion
Adding a many2one field to a new view in Odoo 18 is simple and efficient thanks to OWL's component-driven architecture. Using components like Many2XAutocomplete, developers can build highly responsive, modular UI blocks that enhance user experience. This tutorial demonstrates the flexibility you have to build tailored UIs that connect seamlessly with your backend data. You can now extend this further to include multiple fields, validation, or even embed it within larger dashboards.
Odoo 18’s frontend capabilities are designed with modern development in mind, giving you all the tools you need to craft polished, intuitive applications for business workflows.
To read more about how to Add Fields to a New View in Odoo 17, refer to our blog How to Add Fields to a New View in Odoo 17.