Odoo stands out as a top-tier open-source ERP solution, packed with a wide range of built-in tools and capabilities. But what truly sets it apart is how flexible and customizable it is. Developers can extend their features by building custom modules and widgets to suit unique business requirements.
In this guide, we’ll walk through the process of creating custom widgets in Odoo 18, from the initial setup to integrating them smoothly into your Odoo environment.
Building a custom widget in Odoo 18 involves a few key steps, each one playing an important role in how the widget works and fits into the bigger system. Let’s break it down step by step and see how to bring your own widget ideas to life.
Example: Order Line Count Widget
To better understand how to create a custom widget in Odoo 18, let’s walk through a real-world example. Imagine we want to build a widget for the Sales Order form that shows the number of order lines and the total quantity of products in the order. This widget would update dynamically as products are added or removed, giving users a quick summary at a glance.
Python:
# -*- coding: utf-8 -*-
from odoo import fields, models

class SaleOrder(models.Model):
   _inherit = 'sale.order'
   order_line_count = fields.Integer(string='Order Line Count',
                                     compute='compute_line_count', store=True)
   num_qty = fields.Integer(string='Number Of Quantity',
                            compute='compute_line_count', store=True)
   def compute_line_count(self):
       for rec in self:
           rec.order_line_count = len(rec.order_line.mapped('id'))
           rec.num_qty = sum(rec.order_line.mapped('product_uom_qty'))
We extend the sale.order model by adding two computed fields: order_line_count and num_qty. A method compute_line_count calculates these based on the related order lines.
Implementation of JS:
/** @odoo-module **/
import { registry } from "@web/core/registry";
import { useService } from "@web/core/utils/hooks";
import { usePopover } from "@web/core/popover/popover_hook";
import { Component } from "@odoo/owl";
export class orderLineCountPopover extends Component {
   setup() {
       this.actionService = useService("action");
   }
}
orderLineCountPopover.template = "your_module.OrderLineCountPopOver";
export class orderLineCountWidget extends Component {
   setup() {
       this.popover = usePopover(this.constructor.components.Popover, { position: "top" });
       this.calcData = {};
   }
   showPopup(ev) {
       this.popover.open(ev.currentTarget, {
           record: this.props.record,
           calcData: this.calcData,
       });
   }
}
orderLineCountWidget.components = { Popover: orderLineCountPopover };
orderLineCountWidget.template = "your_module.orderLineCount";
export const OrderLineCountWidget = {
   component: orderLineCountWidget,
};
registry.category("view_widgets").add("order_line_count_widget", OrderLineCountWidget);
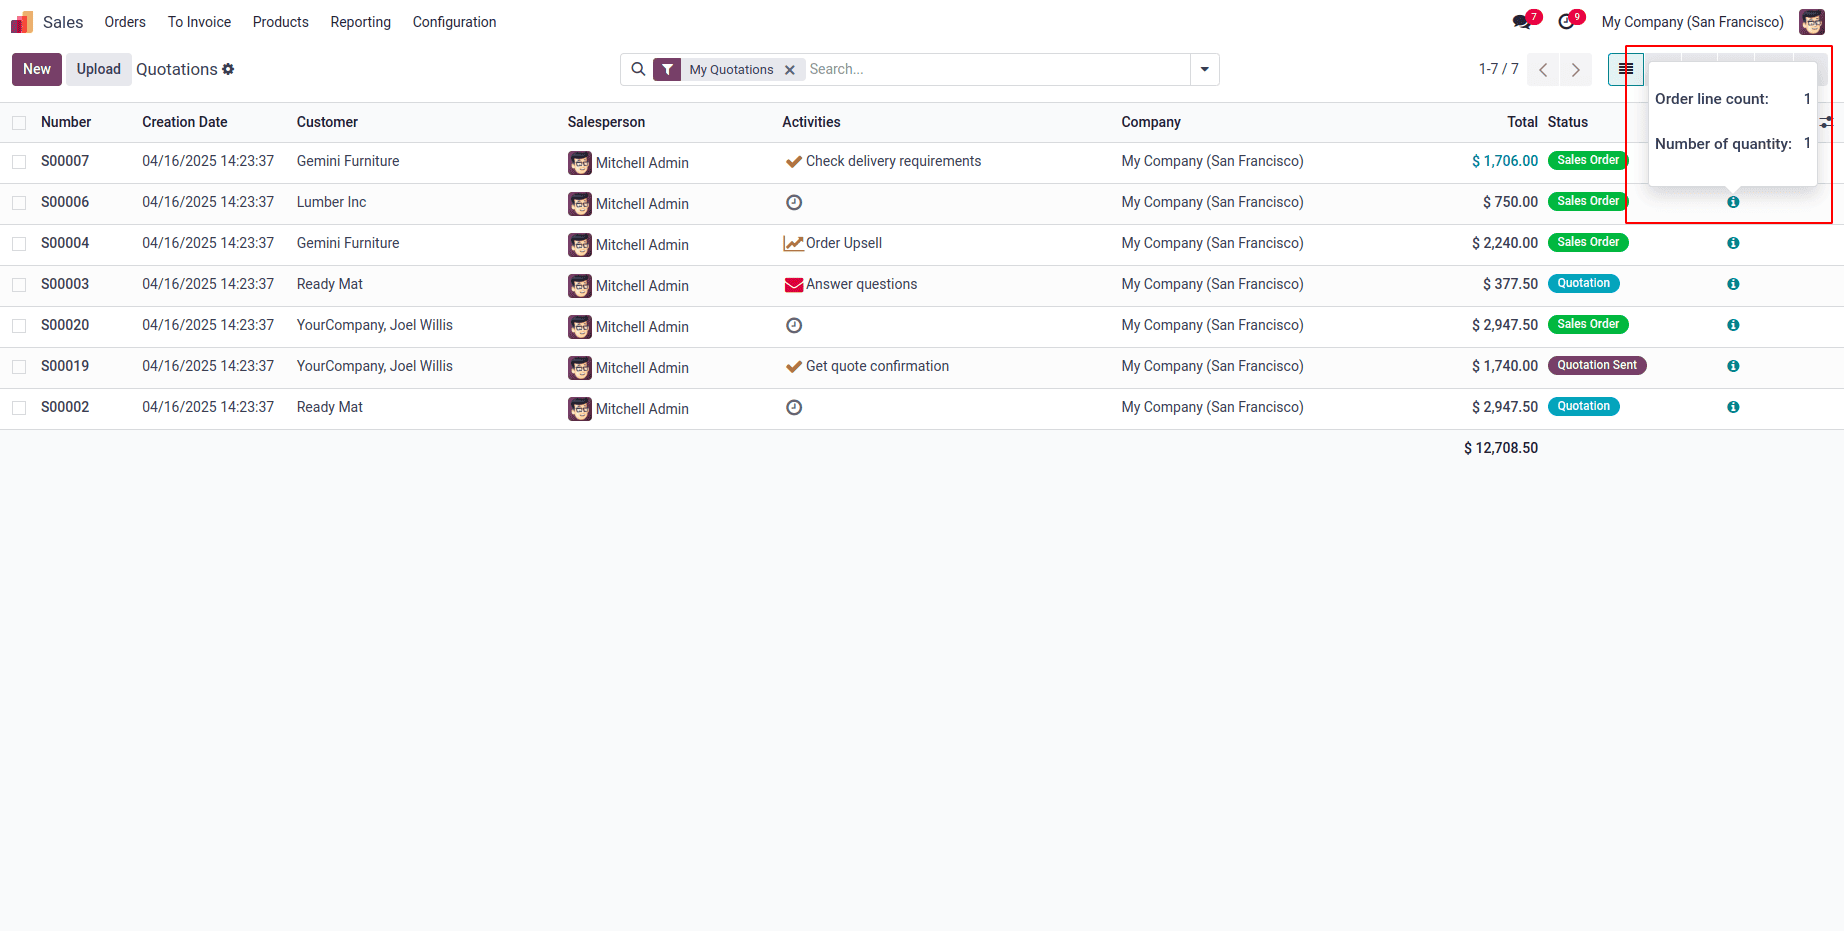
In the JS file, we create two components: OrderLineCountWidget and OrderLineCountPopover. The widget shows an icon, and when clicked, it triggers a popover. The popover, handled by OrderLineCountPopover, displays the number of order lines and the total quantity.
XML:
<?xml version="1.0" encoding="UTF-8" ?>
<template id="template" xml:space="preserve">
   <t t-name="your_module.orderLineCount">
       <a t-on-click="showPopup" t-attf-class="fa fa-info-circle"/>
   </t>
   <t t-name="your_module.OrderLineCountPopOver">
       <div>
           <table class="table table-borderless table-sm">
               <br/>
               <tr>
                   <td><h5>Order line count:</h5></td>
                   <td>
                       <h6><span t-out='props.record.data.order_line_count'/></h6>
                   </td>
               </tr>
               <tr>
                   <td><h5>Number of quantity:</h5></td>
                   <td>
                       <h6><span t-out='props.record.data.num_qty'/></h6>
                   </td>
               </tr>
           </table>
       </div>
   </t>
</template>
Widget into Views:
To integrate the order line count widget, we update the XML view of the Sale Order. Specifically, we modify the form or tree view layout to include our widget, placing it near the order lines for better visibility.
<?xml version="1.0" encoding="UTF-8" ?>
<odoo>
   <record id="view_quotation_tree_custom" model="ir.ui.view">
       <field name="name">sale.order.tree.custom</field>
       <field name="model">sale.order</field>
       <field name="inherit_id" ref="sale.view_quotation_tree"/>
       <field name="arch" type="xml">
           <xpath expr="//list" position="inside">
               <field name="order_line_count" column_invisible="True"/>
               <field name="num_qty" column_invisible="True"/>
               <widget name="order_line_count_widget"/>
           </xpath>
       </field>
   </record>
</odoo>
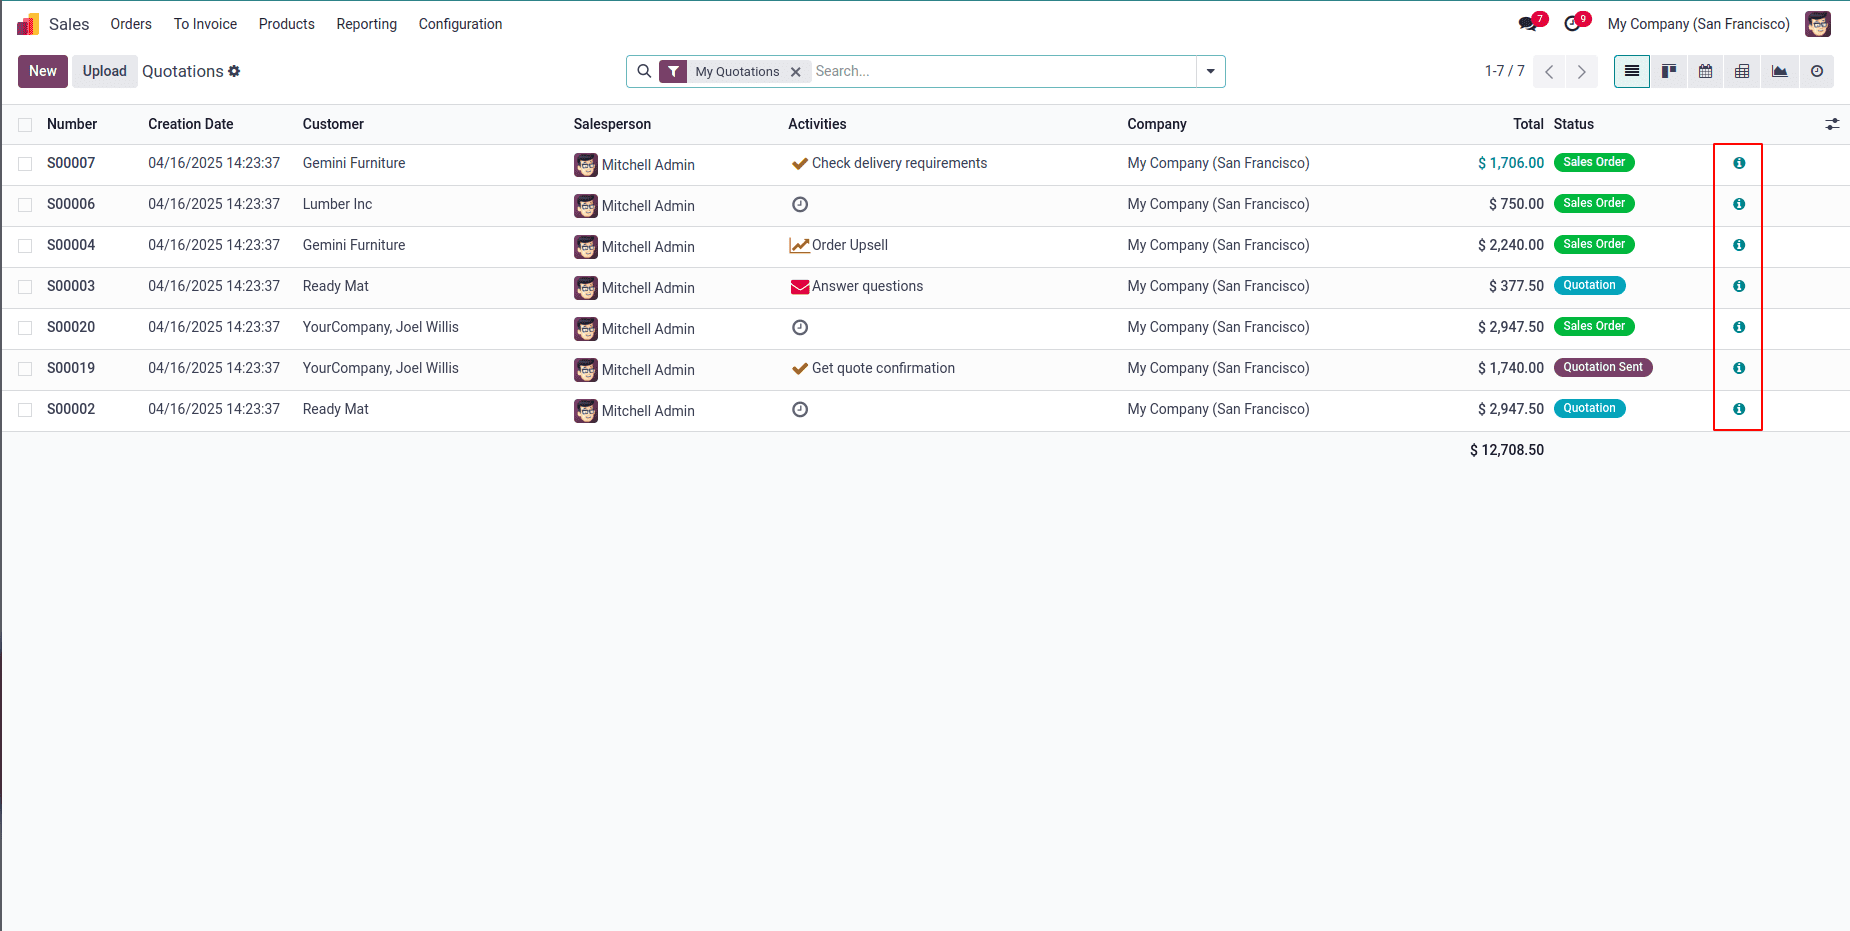
We create a new view that inherits from sale.view_quotation_tree and use the <xpath> tag to insert the order_line_count and num_qty fields as invisible columns, along with our custom order_line_count_widget inside the tree view.
When we click on the icon,
By following these steps, developers can build custom widgets that match specific business needs, adding both functionality and a better user experience to Odoo 18.
Using Python for backend logic and JavaScript for frontend interaction, it’s possible to create dynamic, user-friendly components that go beyond default behavior. In this guide, we covered the core concepts, walked through the development process, and built a practical example: the order line count widget.
As Odoo evolves, the need for tailored solutions like custom widgets will only grow. Developers who master this skill will be well-equipped to build smarter, more efficient tools that help businesses thrive.
To read more about how to create a Widget in Odoo 17, refer to our blog How to Create a Widget in Odoo 17.