The website module in Odoo comes with a default theme, which is automatically selected if no other theme options are available. However, developers can always create new themes and add them, which can be later applied to the website. In this blog, we will learn how to create a theme module and use it on the Odoo 16 website.
As a first step, let's install the website module.

After clicking on the “Activate” button, the user will be redirected to a new page where the theme can be applied or updated.
You can click on the “Use this theme” option to apply the theme. This will redirect the user to the website editor view, from where different snippet blocks, styles, and themes can be selected.
Since we have learned how to install and apply a theme on the Odoo 16 website, let's now learn how to create a custom theme module in Odoo.
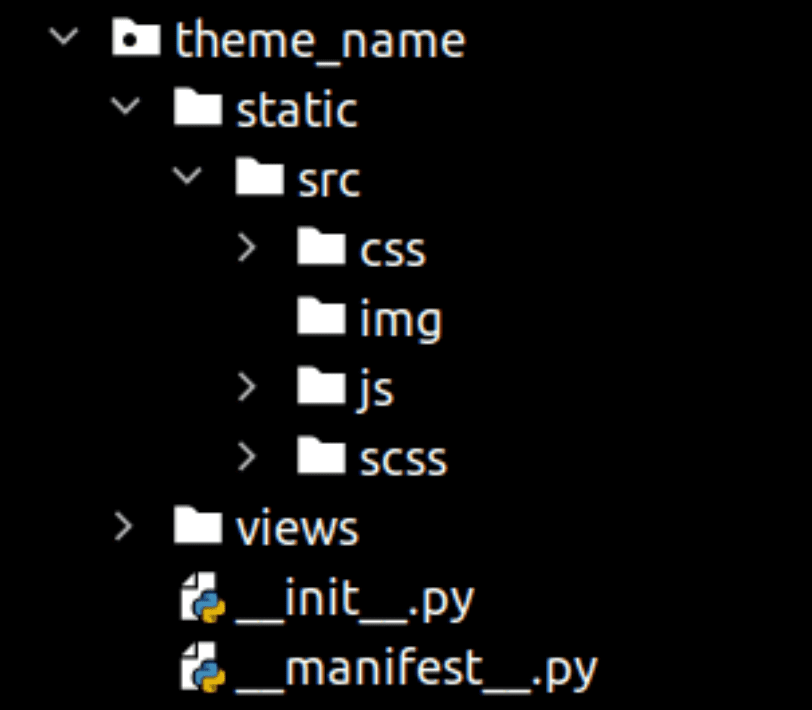
The above image shows the essential files required for building a custom theme. Inside the theme’s primary folder denoted by its name, there are two folders ‘__init__.py’ and ‘__manifest__’. The init file is not necessary unless there are python files inside the module. However, the manifest file is always mandatory. Further, the theme’s technical name should start with ‘theme_’ followed by a unique theme name.
The following codes indicate the contents of the manifest file:
{
   'name': 'My Theme',
   'version': '16.0.1.0.0',
   'category': 'Theme/sub_category',
   'summary': 'Theme summary',
   'description': 'Detailed theme description',
   'depends': ['website'],
   'data': ['views/test_page.xml'],
   'assets': {
   		'web.assets_frontend': [],
     },
}
'version': Defines the version of the theme,
'category': The category must be ‘Theme’ followed by a slash, and its sub category such as ‘e-commerce’,
'summary': 'Theme summary',
'description': 'Detailed theme description',
'depends': Other modules that the theme depends on,
‘data’: Specifies the data file(s) associated with the theme.
'assets': Specifies the assets for the theme.
Folders:
Static: The static folder hosts the src folder, which includes the css, img, js, and scss files.
Views: The folder contains the views for the website. These can be templates for snippets and options etc.
Web page structure:
The web page structure of Odoo contains a header, body, and footer. The default header and footer of Odoo are used if the customized header and footer are not used by inheriting ‘website.layout’. Both header and footer can be updated or styled according to custom needs by inheriting ‘website.layout’.
Creating page layout:
In order to create a page layout, we have to create an xml file under the views folder.
<?xml version="1.0" encoding="utf-8"?>
<odoo>
   <data>
       <record id="test_page" model="website.page">
           <field name="name">Test page</field>
           <field name="website_published">True</field>
           <field name="url">/test</field>
           <field name="type">qweb</field>
           <field name="key">theme_name.test_page</field>
           <field name="arch" type="xml">
               <t t-name="theme_name.test_page_template">
                   <t t-call="website.layout">
                       <div id="wrap">
                           <div class="container oe_structure">
                               <h1 class="test-heading"> TestPage </h1>
                               <ul class="test">
                                   <li>Feature 1</li>
                                   <li>Feature 2</li>
                                   <li>Feature 3</li>
                               </ul>
                           </div>
                       </div>
                   </t>
               </t>
           </field>
       </record>
   </data>
</odoo>
Here, we can see that a call to ‘website.layout has been made using t-call.
"Website.layout" is the default layout of odoo, and we can utilize it to design our own web page contents.
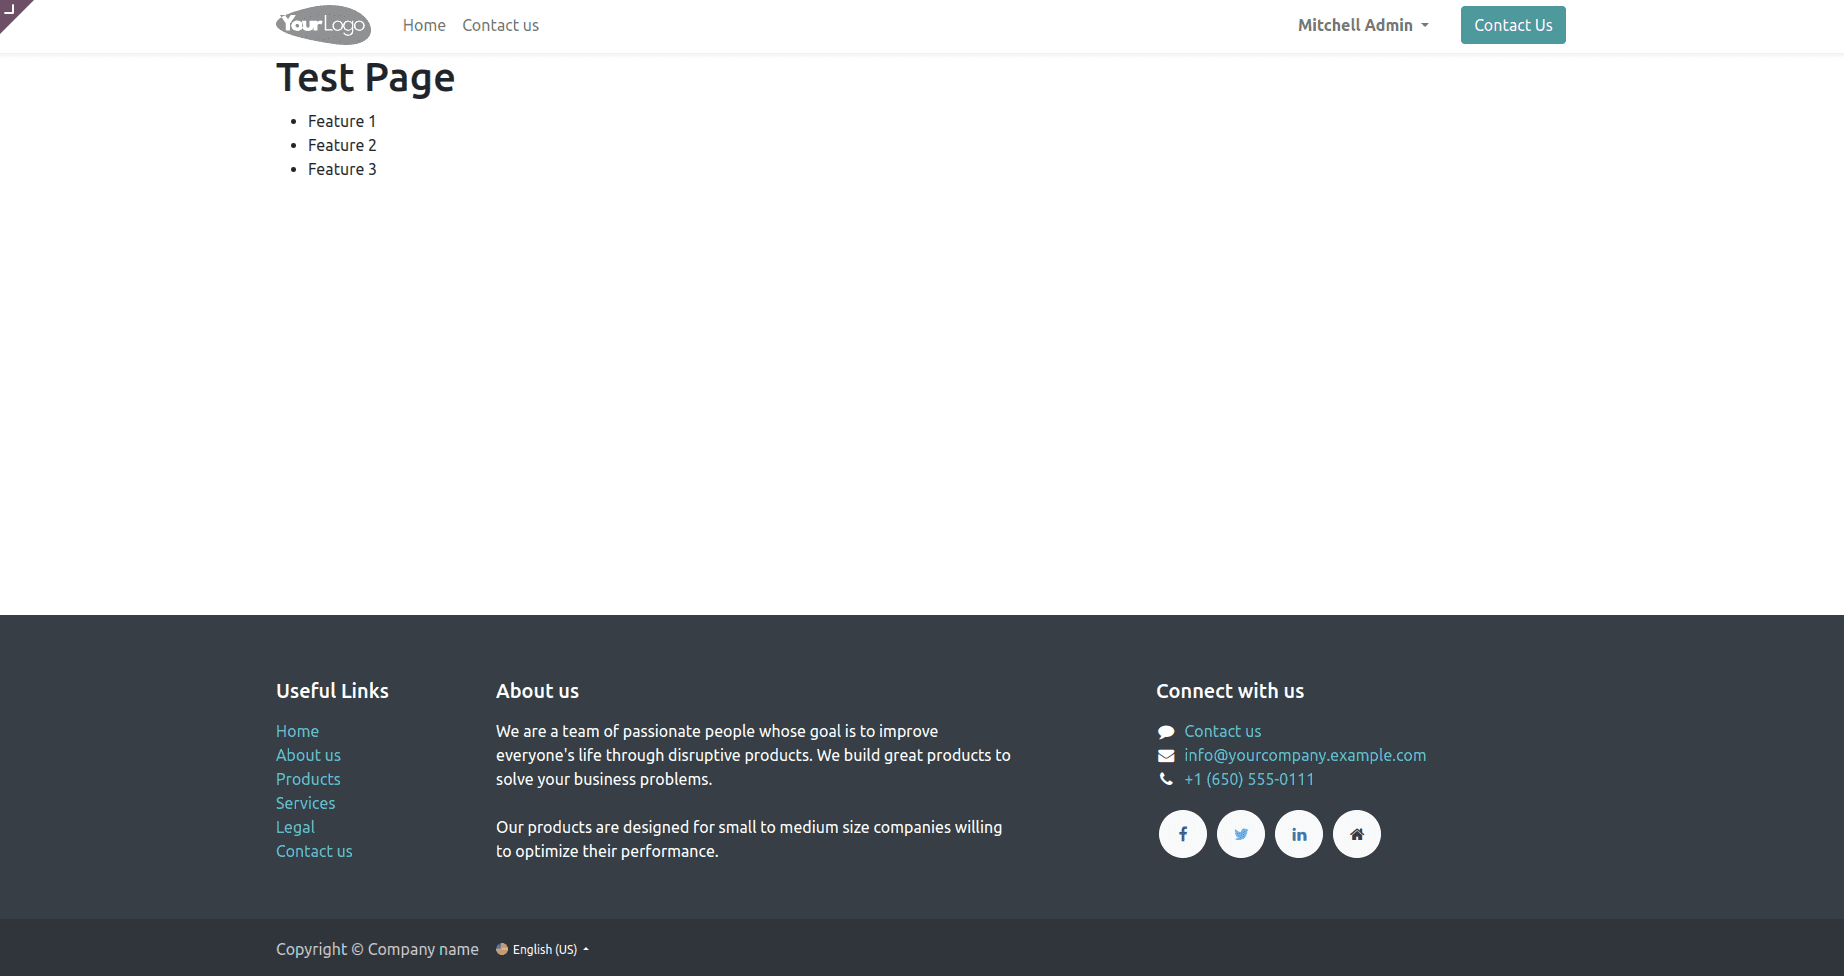
The image below shows the test page after making the above changes:
Now we need to have a menu to access the link for the test page. Using the below code under the test page record, we can add the required menu.
<record id="test_page_menu" model="website.menu">
   <field name="name">Test</field>
   <field name="page_id" ref="test_page"/>
   <field name="parent_id" ref="website.main_menu"/>
   <field name="sequence" type="int">99</field>
</record>
Now that we have added both the view and the menu to access it, css or scss files can be added to style the test page further.
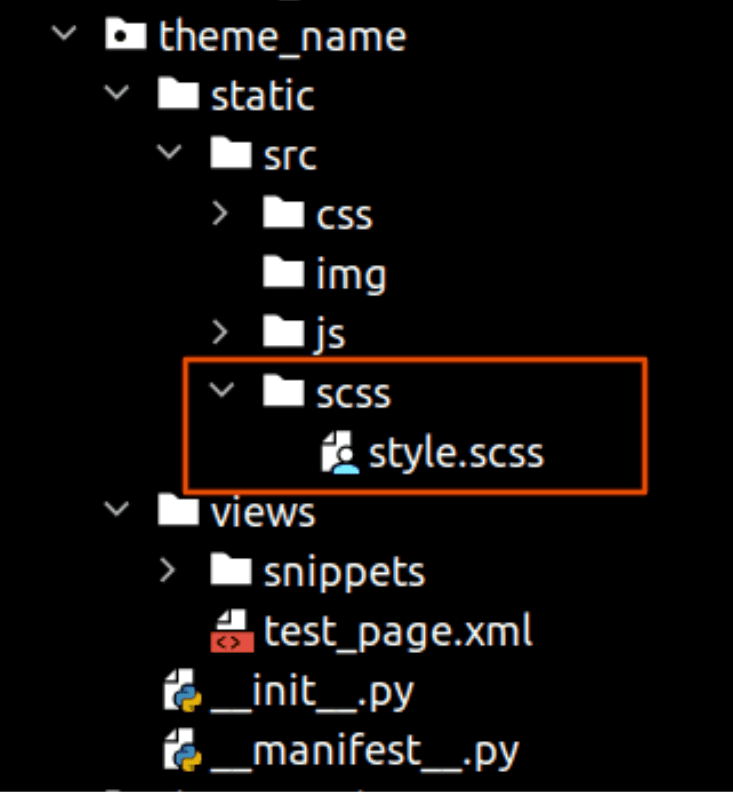
The style.scss file is shown below:
.test-heading {
   color: black;
}
.test {
   background: bisque;
   border-radius: 8px;
   padding: 0.8em;
   margin: 2em 0 3em;
   li {
       display: block;
       position: relative;
       padding: 2em;
       color: #FFF;
       text-align: center;
       margin-bottom: 1em;
       background-color: cadetblue;
       font-size: 1.0em;
   }
}
In order to apply the style.scss file to the new page, we need to add it in the manifest as shown below:
'assets': {
     'web.assets_frontend': [
         '/theme_new/static/src/scss/style.scss'
   ],
},
After making the required changes we need to upgrade the theme, so that the changes reflect on the website. For that, go to website ‘Edit’ options, and then select ‘Theme’ option, scroll down and find the option ‘Switch Theme’ and click ‘ok’. In the new page showing all the available themes, find your theme and click on ‘Update Theme’ option.
After a successful update, the theme would look as shown below.
Another important aspect of odoo’s website is the option for adding snippets. Using snippets, we can drag and drop the required views or functionalities inside a web page according to our preferences. No, let's see the steps and process invoiced in creating a basic snippet in Odoo.
1. Create an XML template:
<template id="test_snippet" name="Test Snippet">
 <section class="container oe_structure">
   <h1 class="test-heading">Test Snippet</h1>
   <ul class="test">
     <li>Snippet Feature 1</li>
     <li>Snippet Feature 2</li>
     <li>Snippet Feature 3</li>
   </ul>
 </section>
</template>
2. Register the created snippet to the building blocks:
<template id="test_snippet_register" inherit_id="website.snippets"
         		name="Test Snippet Register">
<xpath expr = "//div[@id='snippet_structure']/div[hasclass('o_panel_body')]"
      		position="inside">
  		 <t t-snippet="theme_name.test_snippet"
                                   t-thumbnail="/theme_name/static/src/img/test_thumbnail.png"/>
</xpath>
</template>
Here, the t-snippet attribute is used to mention the theme_name.snippet_id. Which will link the add the snippet template to the block. Similarly, the t-template attribute is used to add a template to the snippet inside the block.
3. Add the style files (css or scss) as stated earlier.
4. Add the test_snippet to the manifest file
'data': [
     'views/test_page.xml',
     'views/snippets/test_snippet.xml'
],
5. Upgrade the theme as mentioned earlier.
6. Go to the ‘Edit’ option on the website and then to the ‘Blocks’ section. You can find the newly added test_snippet inside the ‘Structure’ section.