An organization runs smoothly by managing appointments and meetings. Most companies conduct meetings for business-related matters, and an efficient ERP system boosts the management of all activities in a firm. The customer relationship improves through the time organizing and scheduling of the appointments. One of the best solutions to manage all appointment concerns is the Odoo 15 Calendar module. It is easy to maintain online appointments and meetings with this application from any place. The operation process becomes easy using the Odoo 15 Calendar module.
This blog ensures you create Online Appointments with the Odoo 15 Calendar module.
We can generate Online Appointments in Odoo 15 Calendar module based on the clients' and employees' availability. The Online Appointment feature easily avoids the difficulties of scheduling meetings with other clients. Let's look at generating Online Appointments in the Odoo 15 Calendar module.
Online Appointments
An individual can book online reservations and appointments with an online scheduling system. It is easy to reschedule, book, and cancel appointments with a web-based system. Odoo 15 Calendar module ensures you develop a new online appointment with your client, employees, or individuals. Click on the Online Appointments tab in the Calendar dashboard, and you can view the created list of Online Appointments. Here, we can view the appointment name, timezone, and a number of scheduled appointments, published or not, as depicted in the screenshot below.
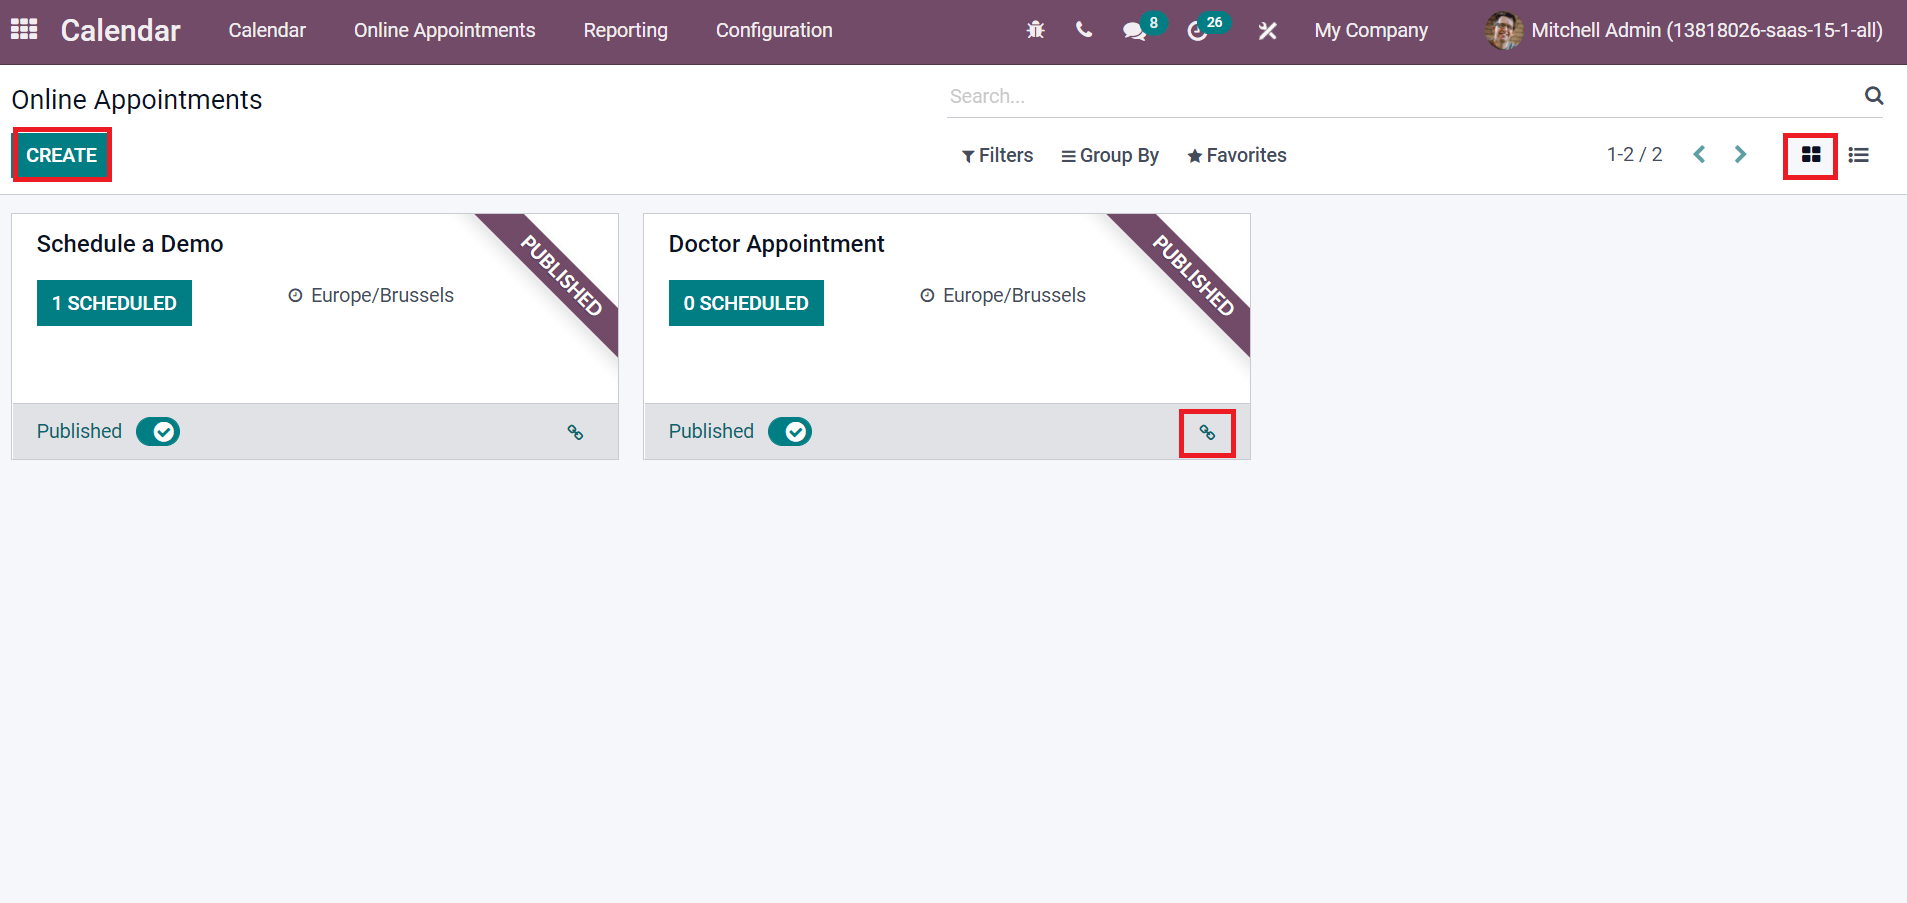
Users can share the link of specific appointments using the Share link in the Kanban view. We can develop a new online appointment using the Create icon displayed in the screenshot above. Let's look at the steps to create an online appointment named 'Schedule a Demo'. A new online appointment window opens before you after clicking on the Create icon.
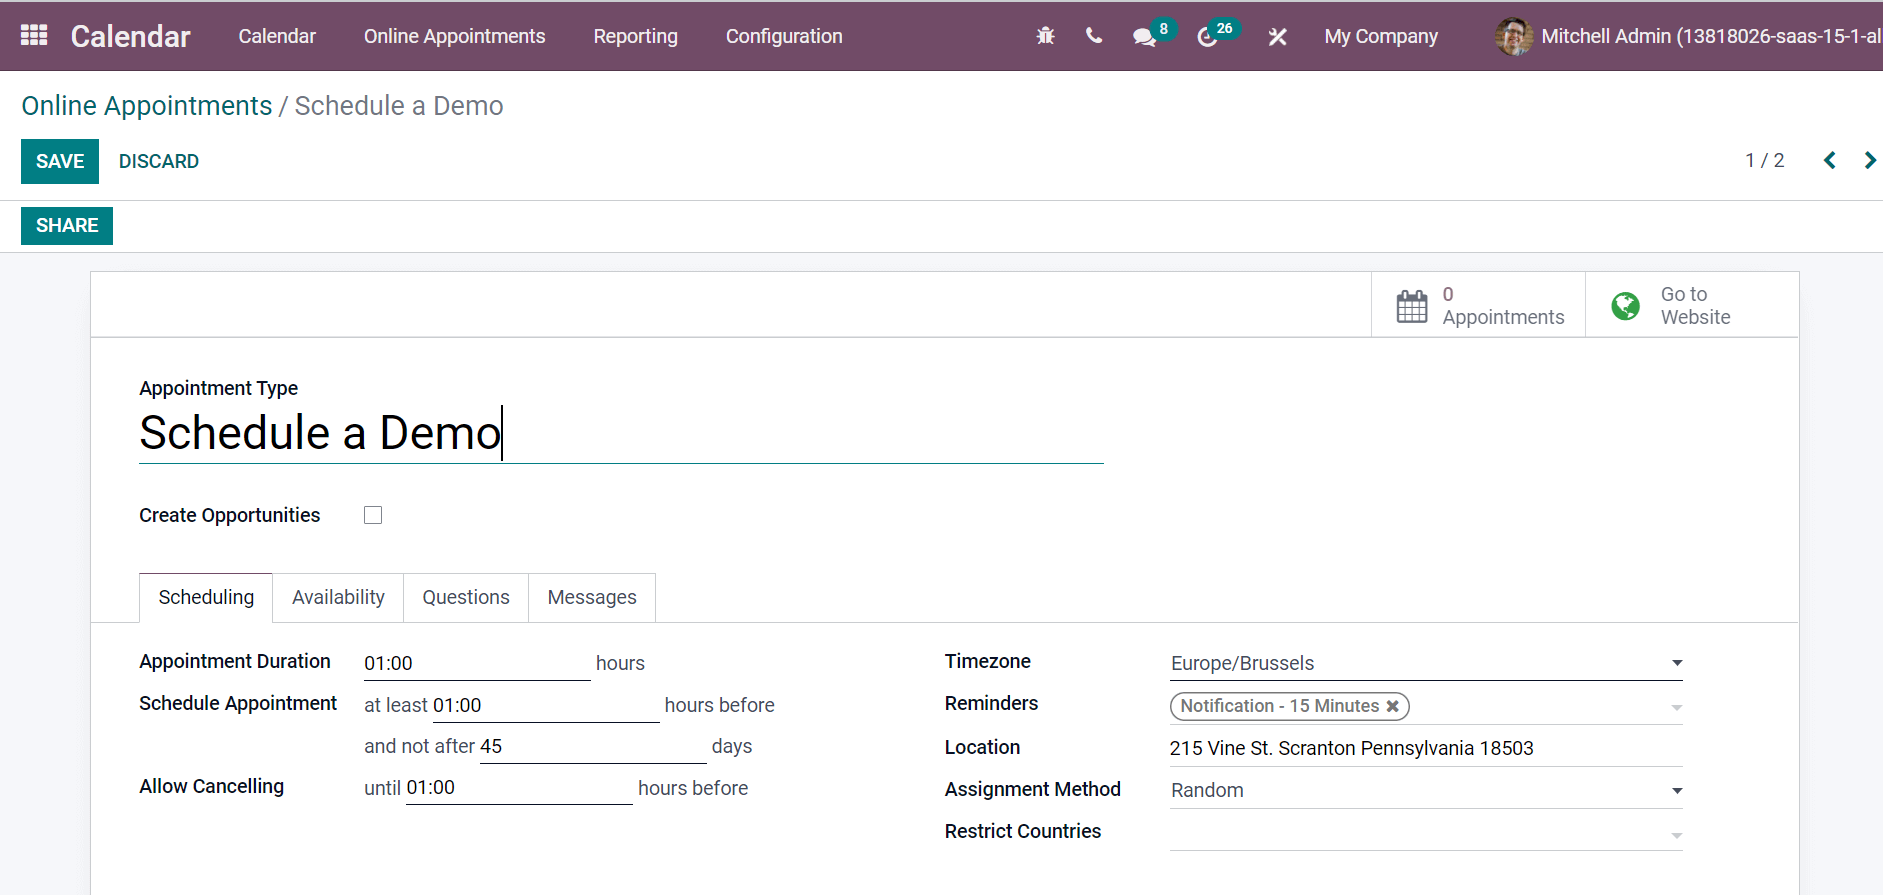
Mention the appointment name inside the Appointment Type field. You can assign new opportunities for responsive employees by enabling the Create Opportunities button. Inside the Scheduling tab, you can enter the total time for an appointment in the Appointment Duration field. The minimum schedule hours added inside the Schedule Appointment section are at least some hours before/not after some days. Users can add minimum cancellation hours in the Allow Canceling field shows until some hours before. You can add the timezone and set Reminders in the form of Notification/SMS Text message/Email. Later, set the place of appointment inside the Location field. The employees can be assigned to meet customers on your website with the Assignment Method. We can choose the Assignment Method as chosen by the customer and randomly assign it to the calendar. You can select the countries you want to restrict inside the Restrict Countries field and allow visitors from any country by keeping the field empty.
It is possible to set available employees inside the Available Employees section. You can add the users by clicking on Add a line option and selecting them from the Employees window. After the selection, you can view employees' working hours with the name below the Available Employees section as depicted in the screenshot below.

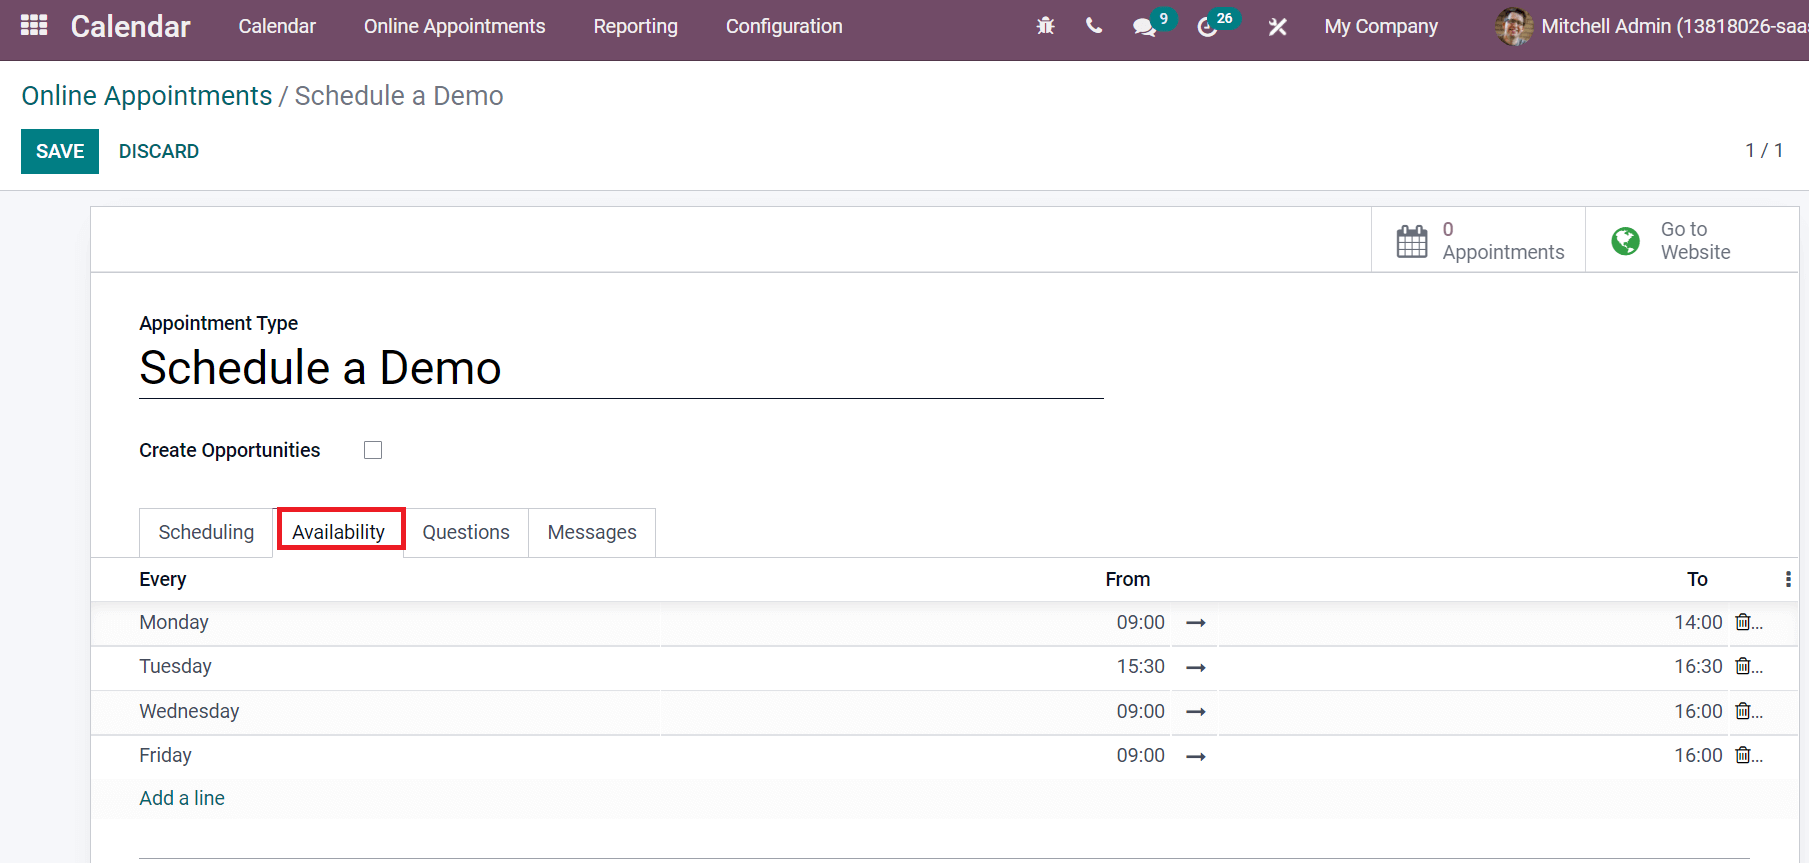
Below the Availability tab, you can add appointment availability in a week. By clicking on Add a line option, add the day and start/end hours in the To and From option. An individual can schedule the meeting based on the availability mentioned in the calendar.
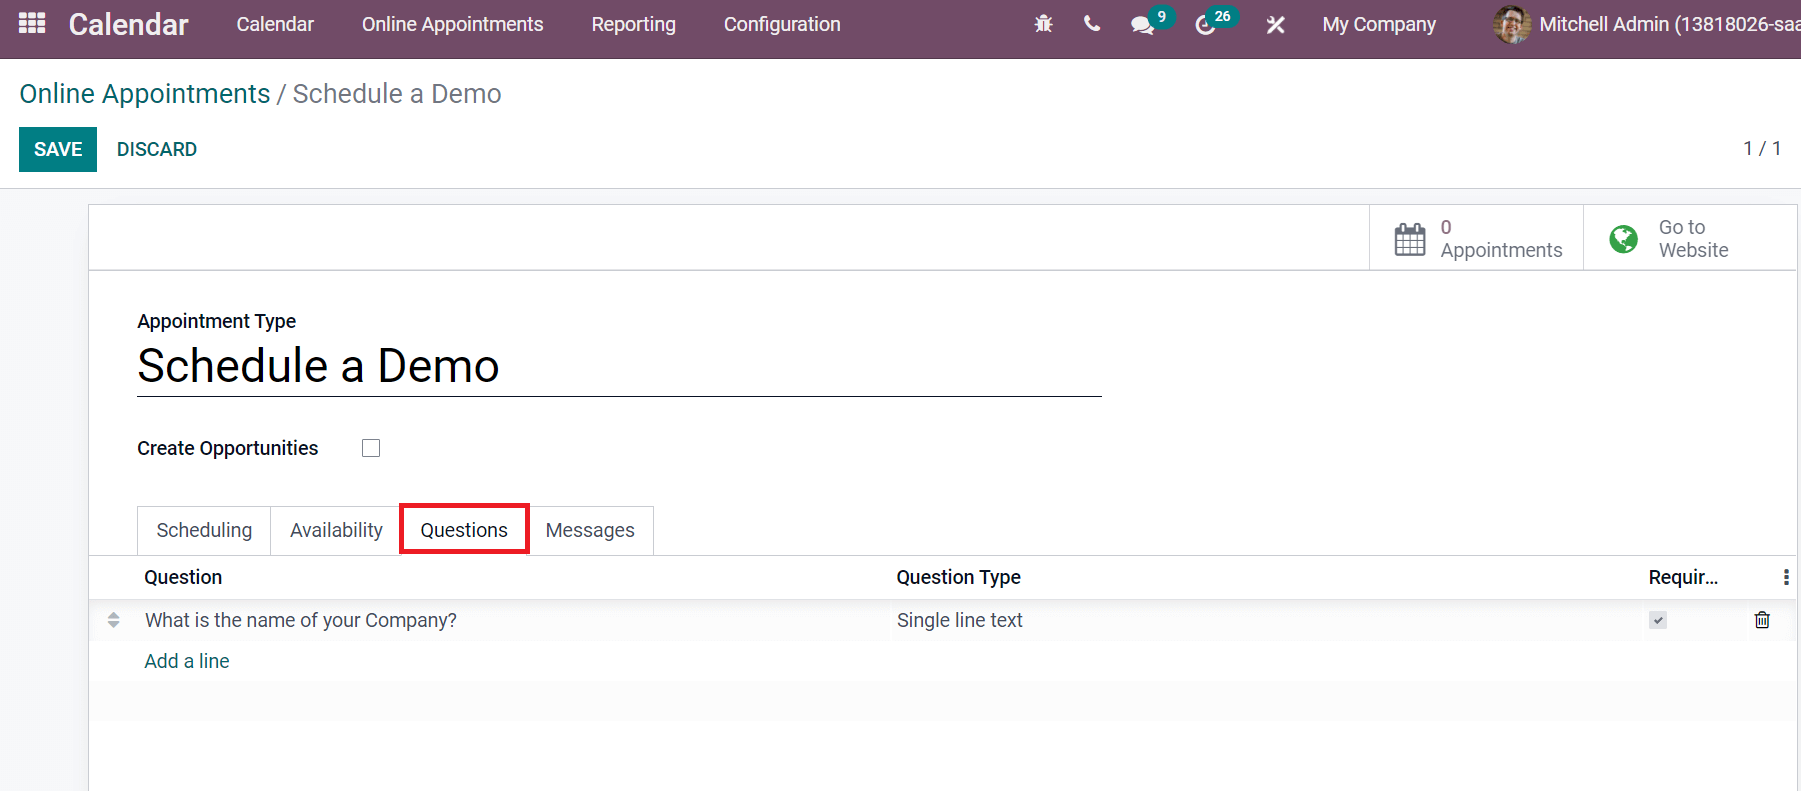
We can add several questions for a client visiting for your appointment using the Questions tab. For that, click on Add a line option, and a new Questions window opens before you. Here, add the question and choose your Question Type. The Question Type is classified into different categories such as Single-line Text, Multi-line Text for little more information about the question, Dropdown to select from various solutions/choose available answers, Radio and Checkboxes for multiple answers. Later, you can enable the Required Answer or not and specify the Placeholder as displayed in the screenshot below.

The information about the created question is viewable under the Questions tab.
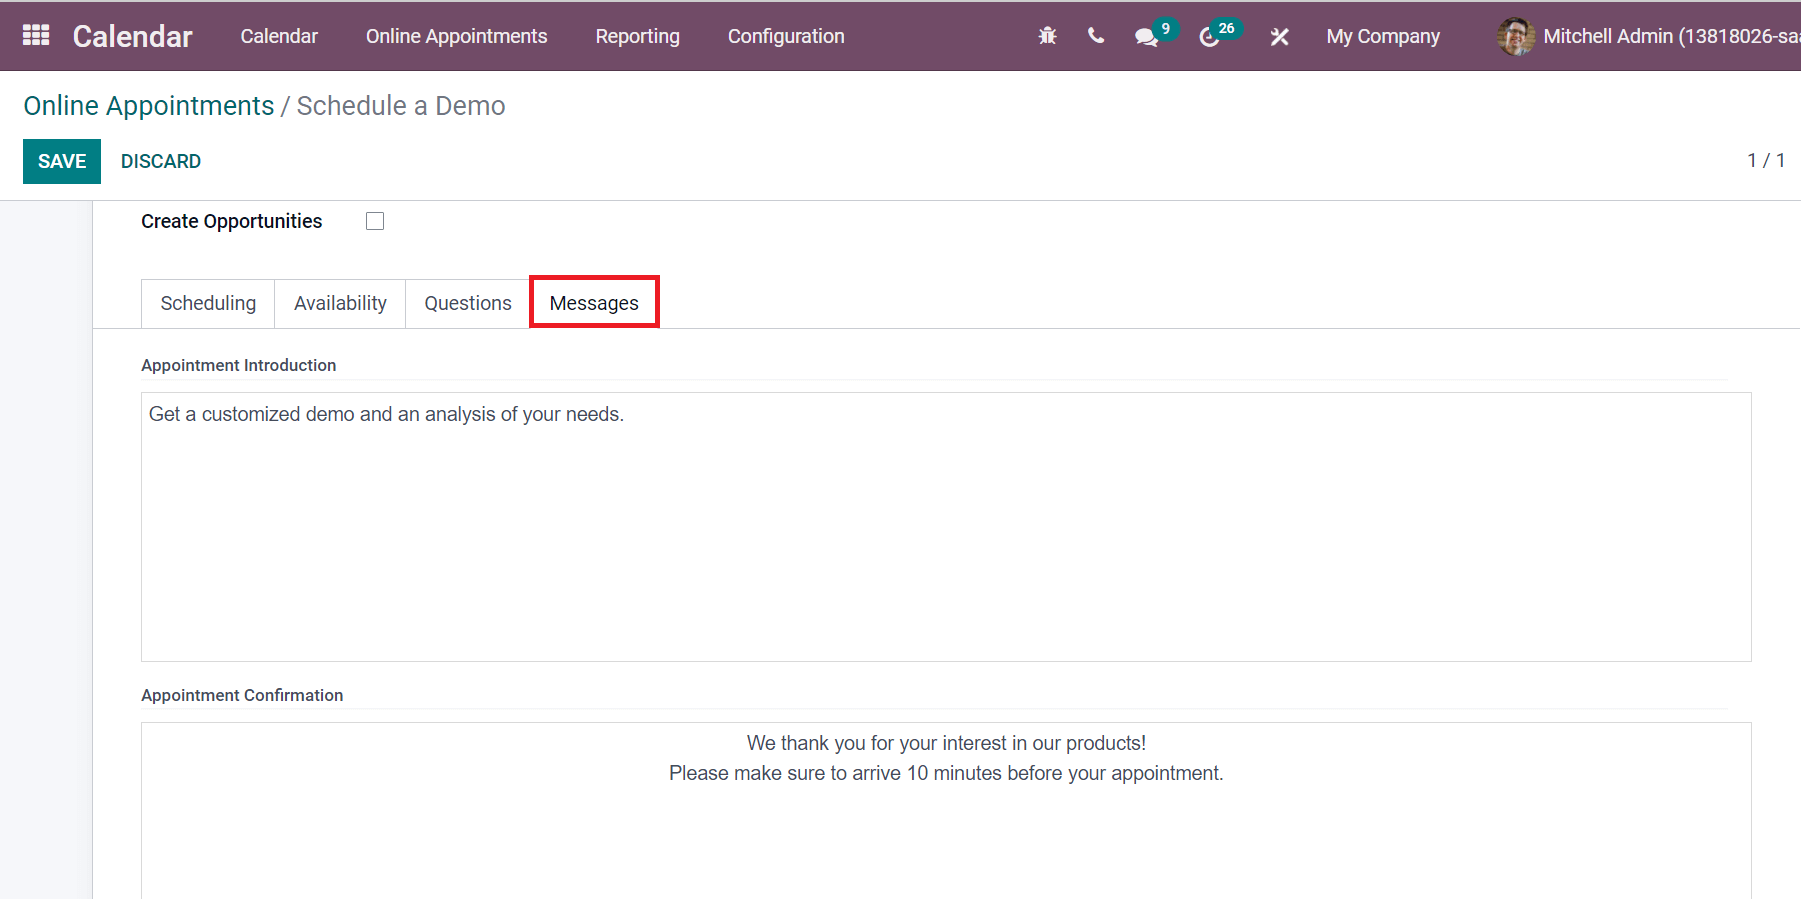
Users can add the message for Appointment introduction and confirmation below the Messages tab.
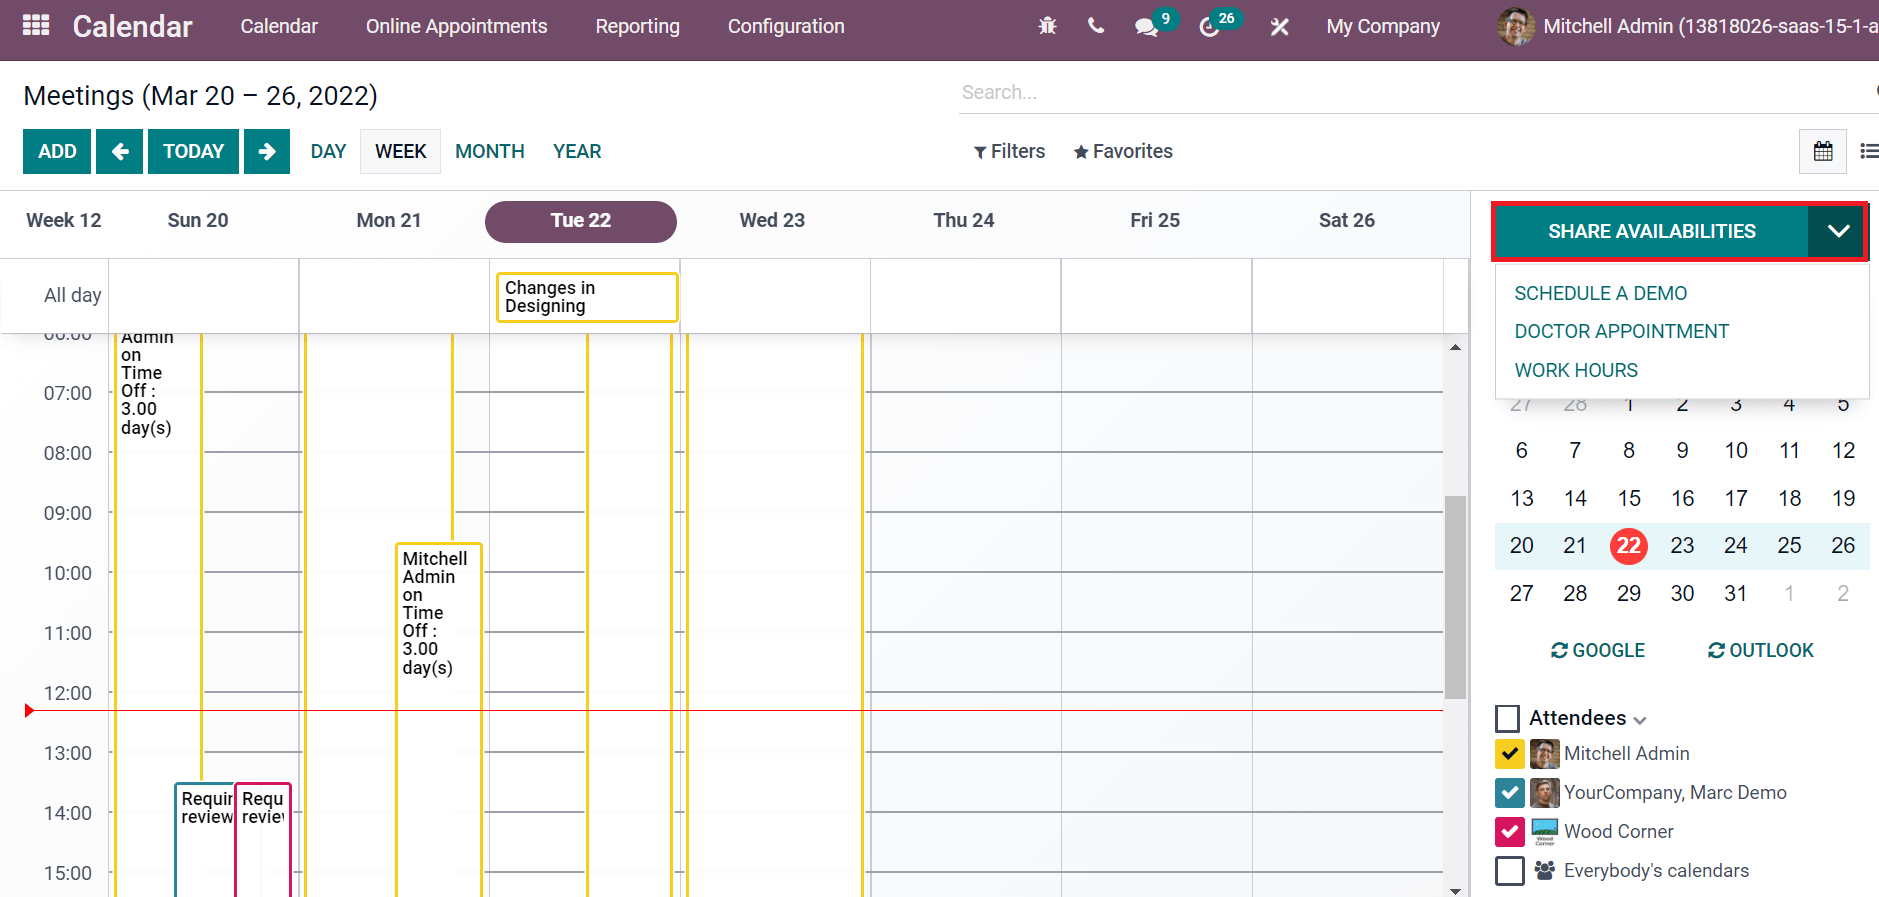
After adding information on scheduling, availability, messages, and questions about Online Appointment 'Schedule a Demo', click on the SAVE icon. You can get the link to ‘Schedule a Demo’ online appointment from the Meeting window. Click on the Share Availabilities option at the top of the calendar on the right end. All the created appointments are viewable here, as depicted in the screenshot below.
Let's now see what it would be like for customers when they visit your website. In the Website window, click on the Appointments tab, and you can view the all created appointments as displayed in the screenshot below
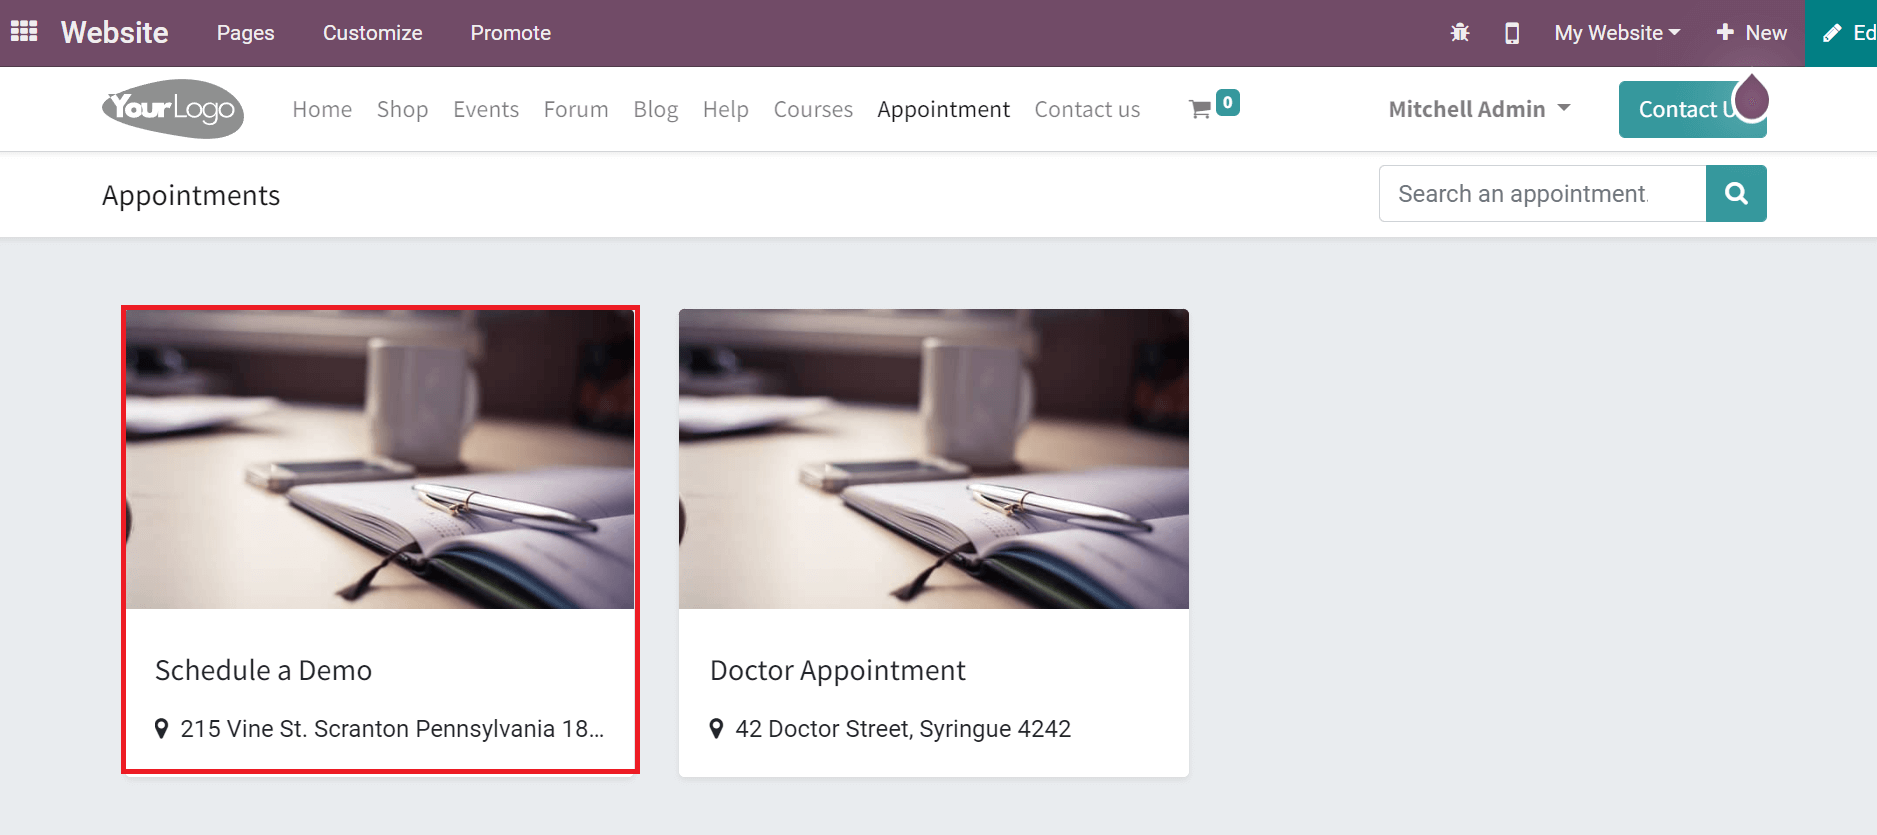
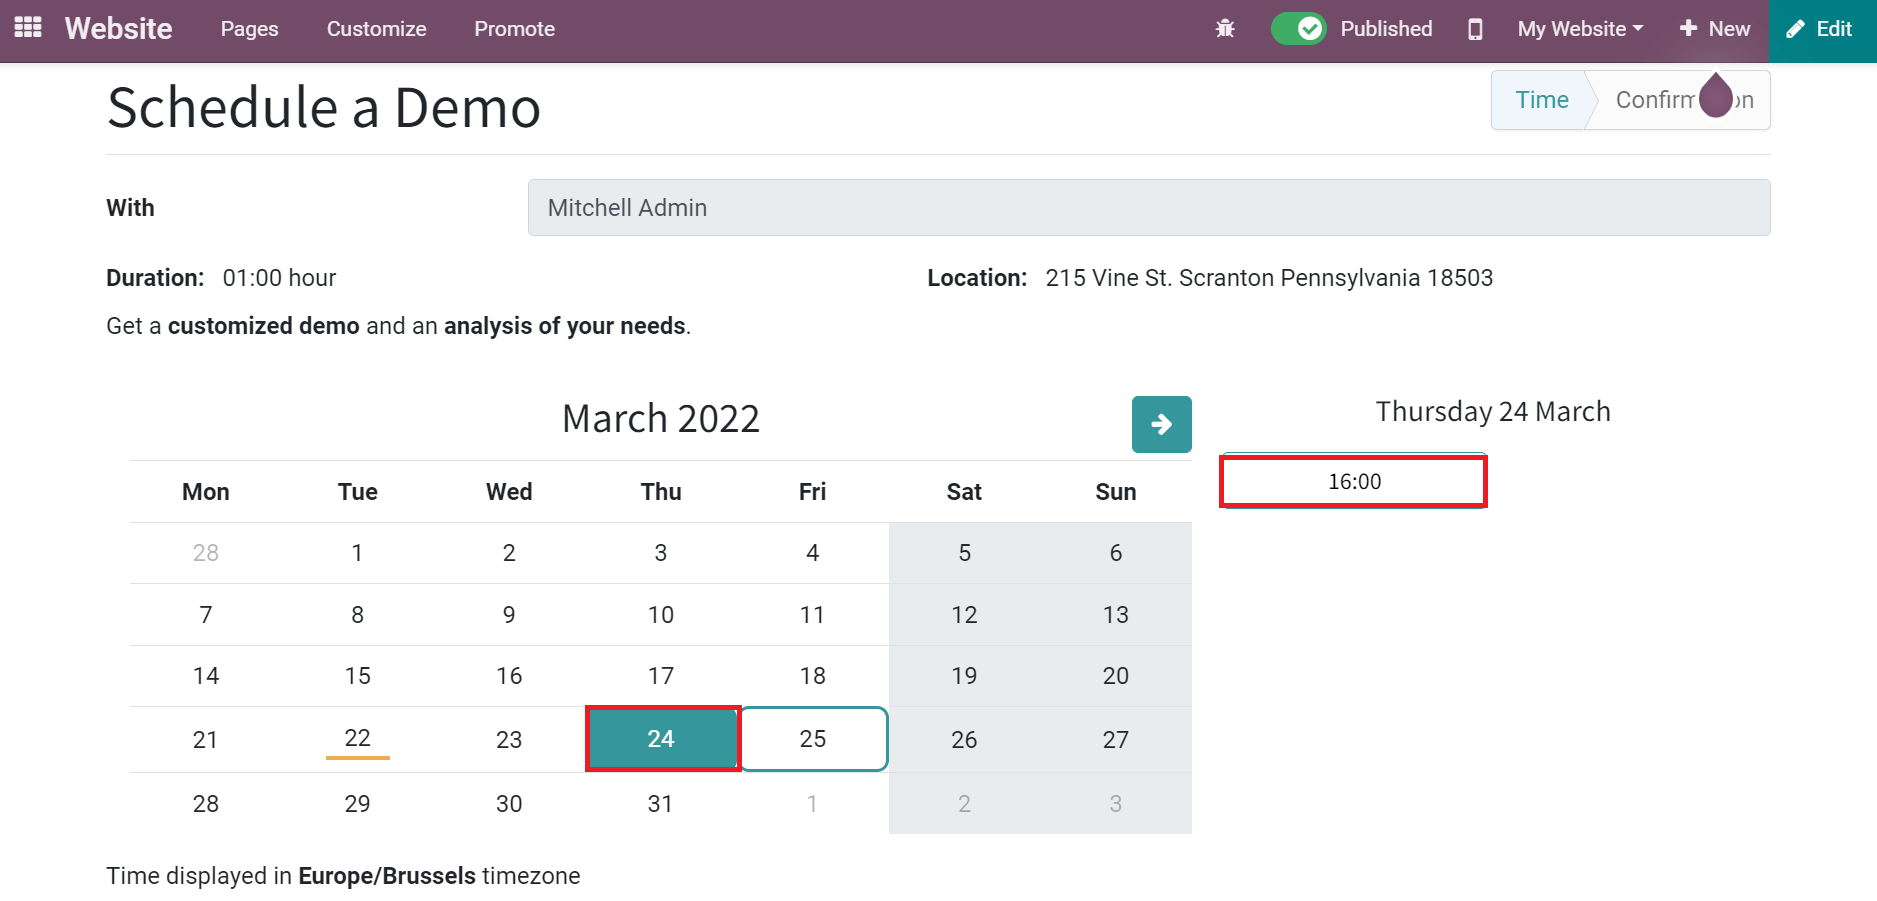
Here, we can see the created online appointment 'Schedule a Demo'. Click on the Schedule a Demo appointment, and you can see all available times for users that we created before. Choose your date from the calendar, and the available times are visible on the right side.
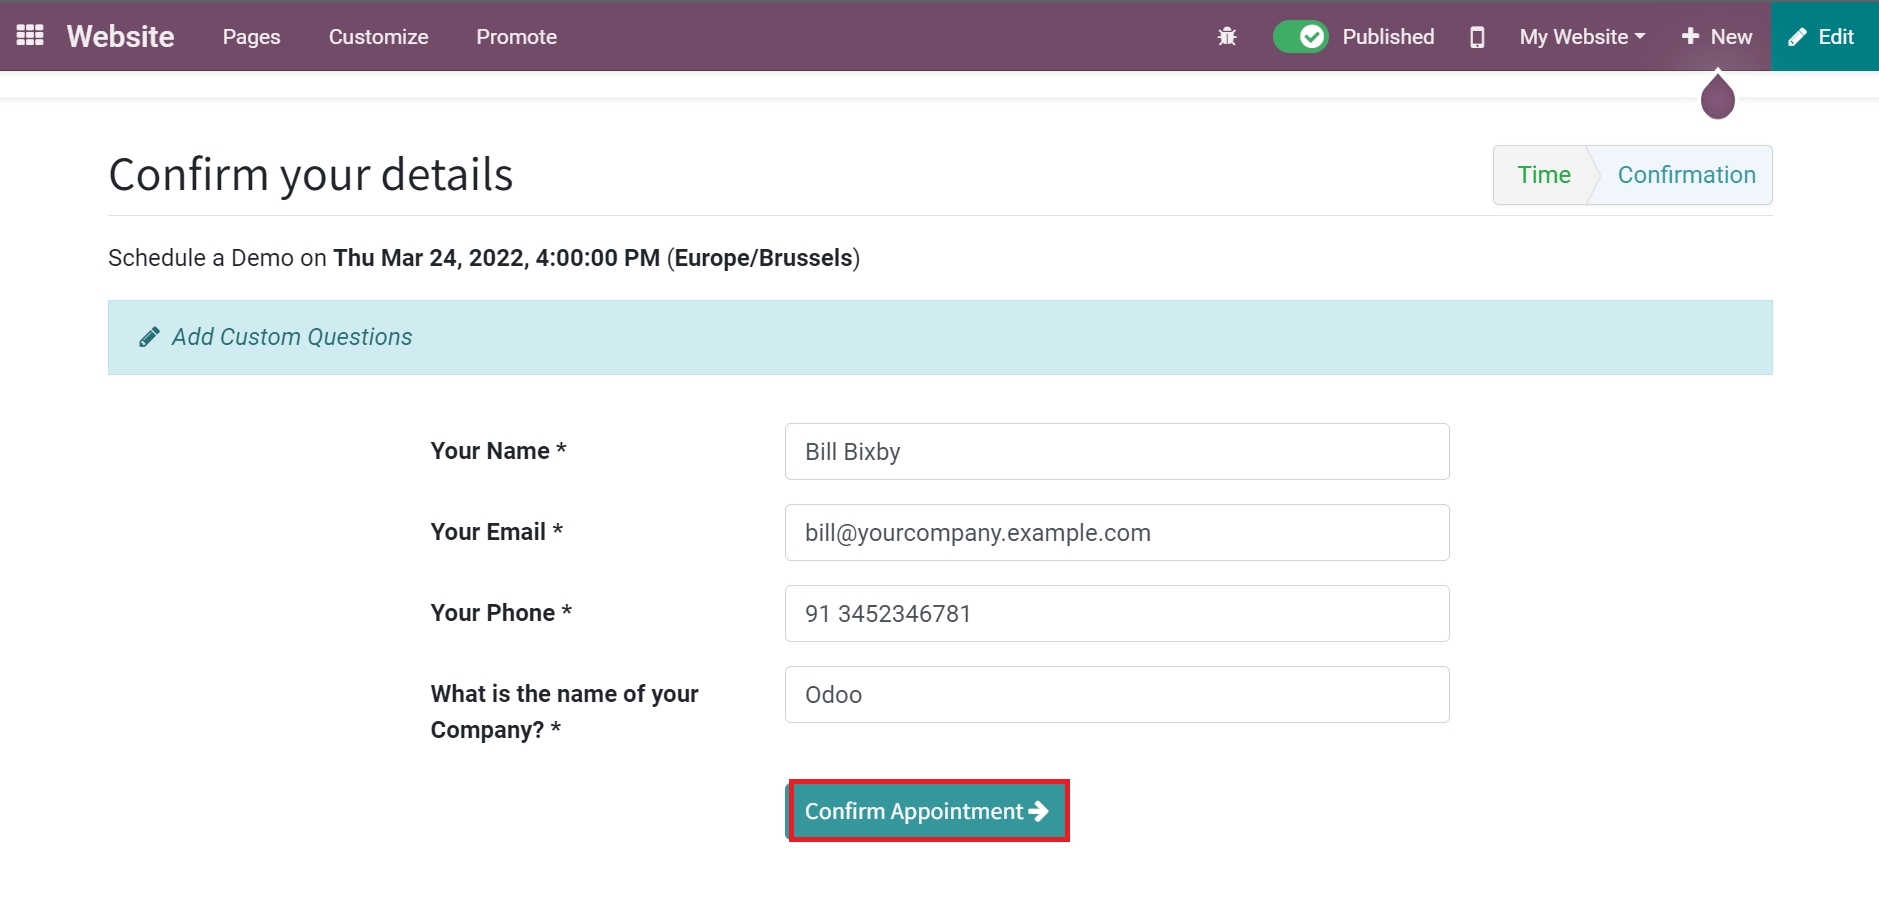
After selecting the time, a new page appears before you to confirm the details. Let's look at how an appointment made by 'Bill Bixby' takes place on a website. Here, add the Name, Phone, Email and answer the question. The user creates the Questions seen here at the time of appointment. At last, click on the Confirm Appointment button as displayed in the screenshot below.
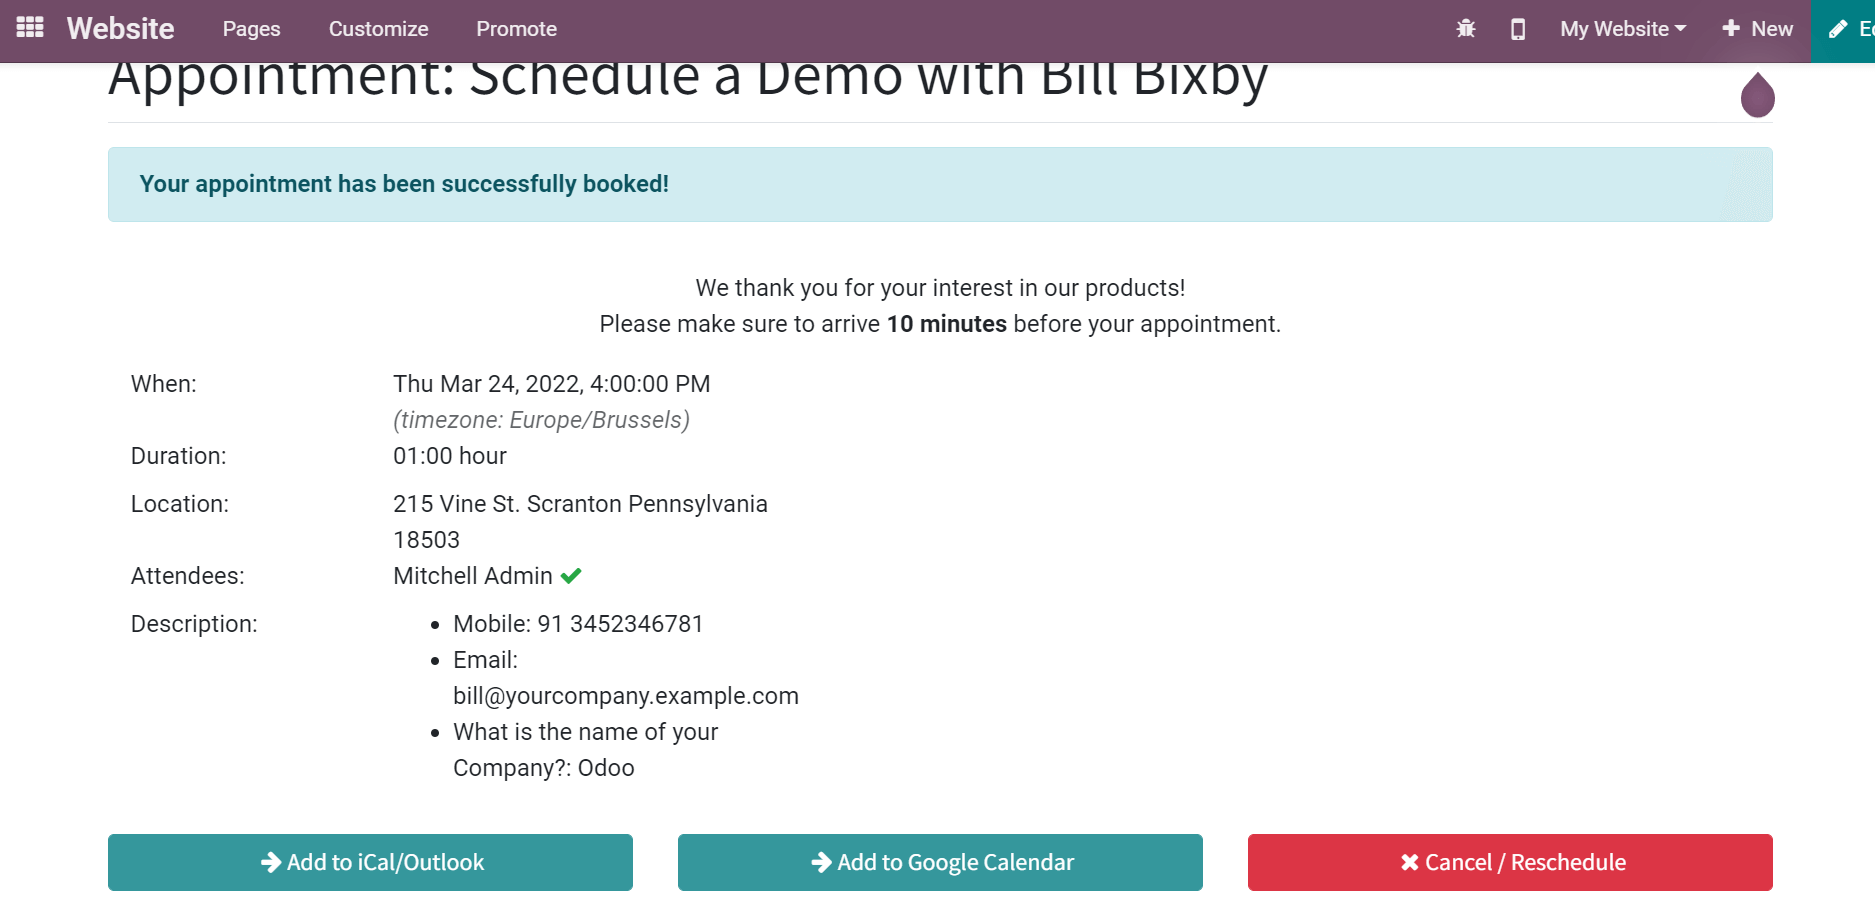
Bill Bixby makes the appointment, and you can see that the appointment has been successfully booked. On the new page, we can view the Duration, Location, Time, Description and Attendees information with an appointment message at the top. You can push it to Google Calendar or Outlook to get reminders using the Add to Google Calendar/Outlook icon at the end. It is possible to cancel the appointment by selecting the Cancel/Reschedule icon.
Now, let's look at what happens after an appointment is made at the back end. Go back to the Odoo 15 Calendar dashboard, and you can see the appointment' Schedule a Demo with Bill Bixby' in the calendar.
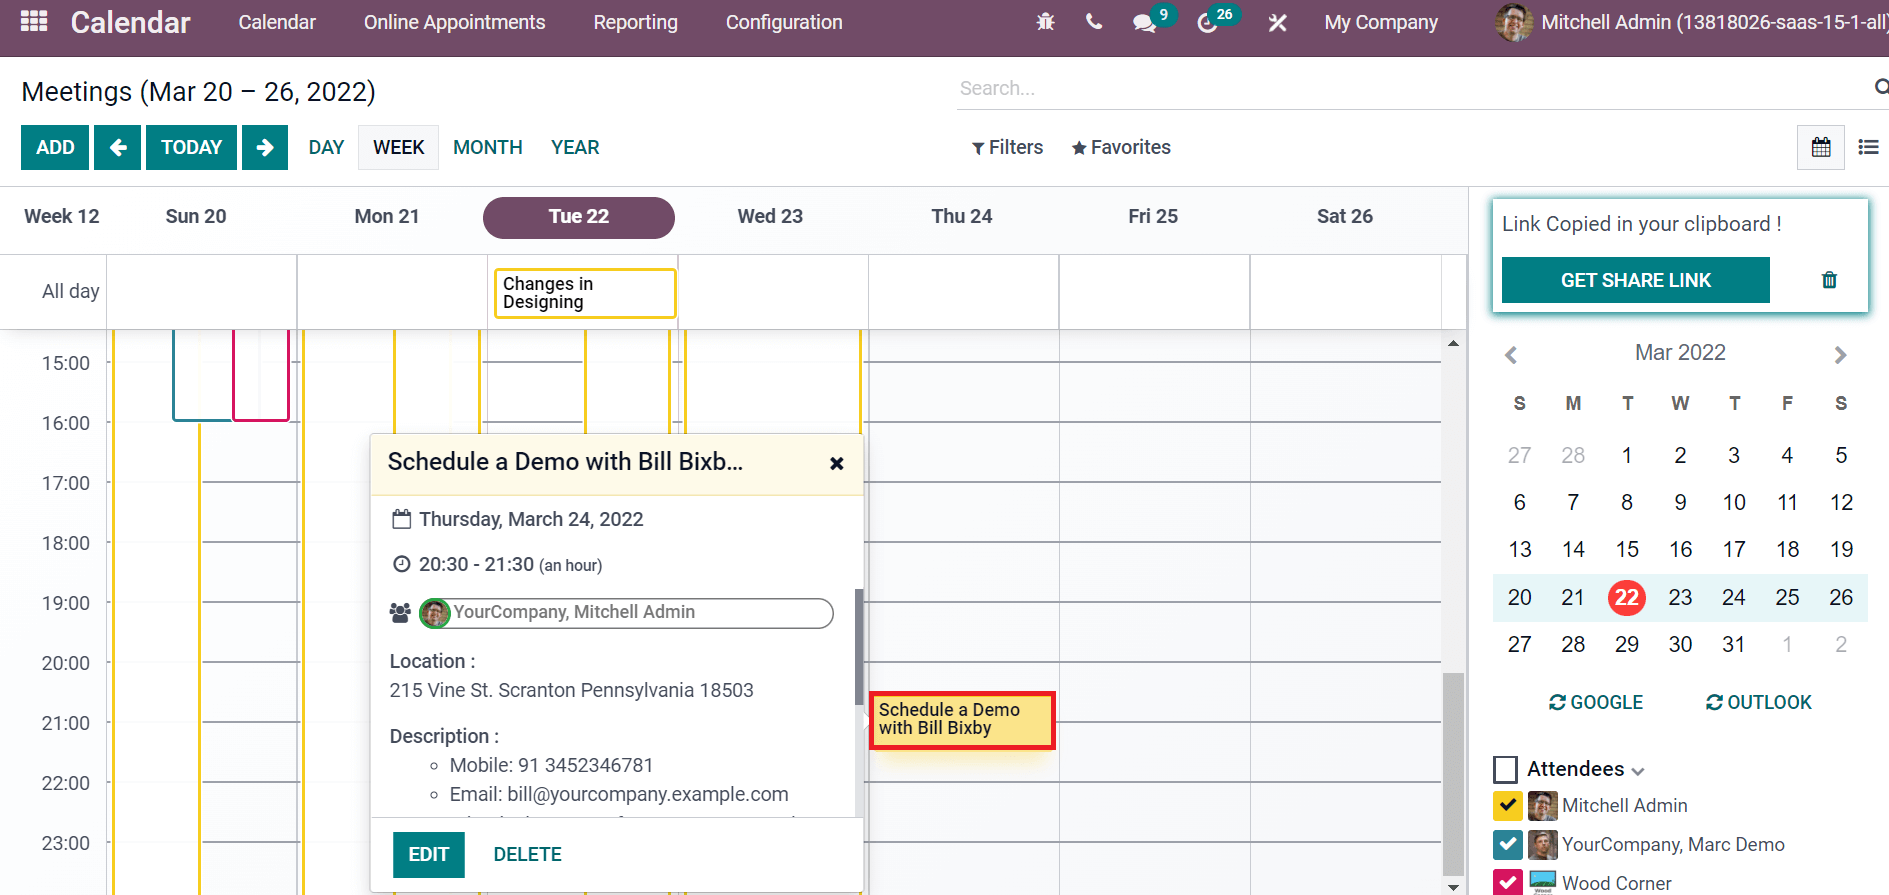
One appointment is scheduled inside the Schedule a Demo from the Online Appointments window, as depicted in the screenshot below.

Odoo 15 Calendar module helps manage and create online appointments for business purposes. Users can access the participating attendees for every online appointment and provide their availability to the audience with the Odoo 15 Calendar module.