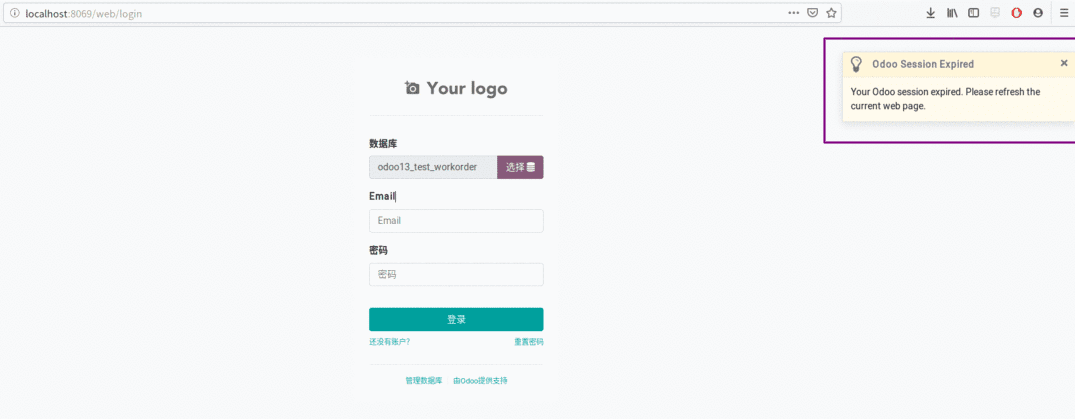
In this blog, we can discuss how we can create user notifications in odoo. In odoo, we can notify the status of the specific actions by using different types of Exceptions and by changing the states of the required documents/records.
In some cases, odoo uses sticky notifications, the rainbow man effect, and alerts for informing the user.
The actions are notified by
1. Sticky Notification
2. Rainbow man
3. Alerts
5. Raising Exceptions in Odoo
Sticky Notifications
We can return sticky notifications in our function based on the conditions that we need.
By default, odoo has some sticky notifications.

We can create this type of notification to our custom modules using both python and JavaScript functions.
By using the python code
def your_custom_function(self):
   notification = {
       'type': 'ir.actions.client',
       'tag': 'display_notification',
       'params': {
           'title': _('Your Custom Title'),
           'message': 'Your Custom Message',
           'sticky': (True/False),
       }
   }
   return notification
For example
def create_notification(self):
   message = {
       'type': 'ir.actions.client',
       'tag': 'display_notification',
       'params': {
           'title': _('Warning!'),
           'message': 'You cannot do this action now',
           'sticky': False,
       }
   }
   return message
The above code will generate a notification like below
By using javascript function
We have two options in the case of javascript. The first one is the usual notification (do_notify) like the above one and the other is a warning (do_warning).
your_custom_function:function(){
  this.do_notify("title","message","sticky","className");
}
title: Title of notification.
message: Message to display.
sticky: Boolean value (optional) if the true user must dismiss the notification.
className : CSS class (optional).
onclick_myicon:function(){
  this.do_notify("Error","Please Check the values before save");
}
The above code will return
onclick_myicon:function(){
  this.do_warning("Error","Please check the values before save",false);
}
The above code will return the following
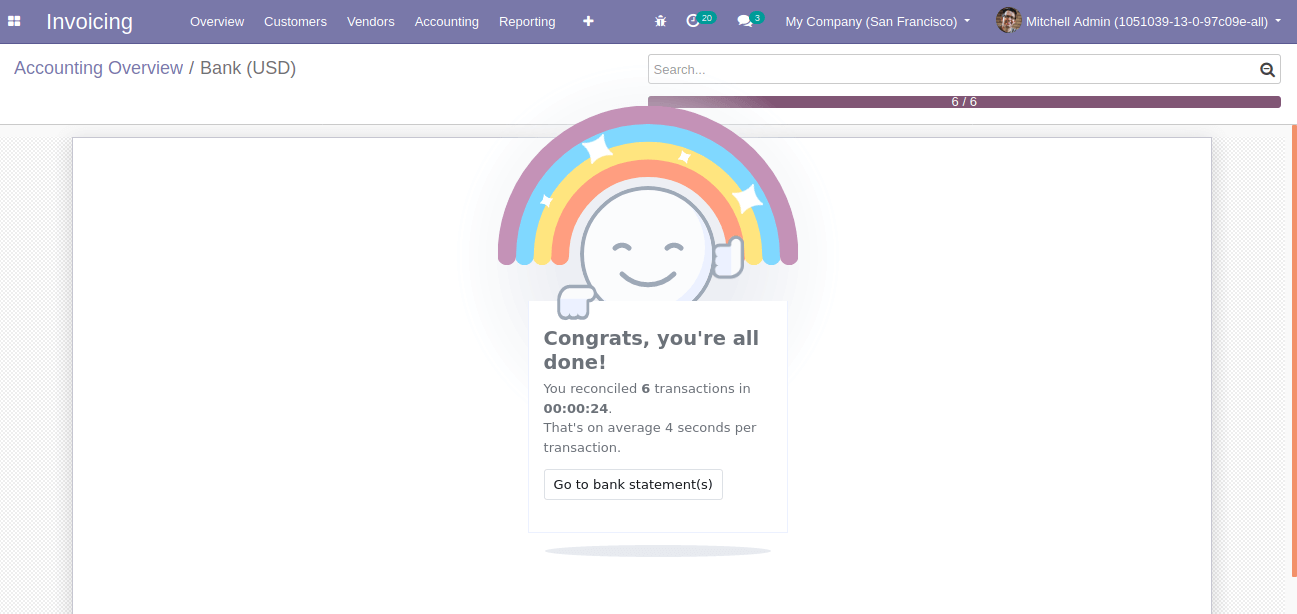
The next one is the rainbow man effect. We can see a rainbow man effect in default odoo while doing reconciliation.

You can add this feature to your function by simply adding the following code
def action_approve(self):
   """This is the approve function which changes the state to running"""
   self.sudo().write({
       'state': 'running'
   })
   return {
       'effect': {
           'fadeout': 'slow',
           'message': 'Enter your custom message here',
           'type': 'rainbow_man',
       }
   }
The above function will return a rainbow man with a custom message. fadeout can be slow, fast, and no.
The next one is Alerts we can create different alerts for our specific conditions and actions in our form view.
For example
This is from the invoice which appears when there are outstanding payments.
We can send these types of notifications to our custom modules for particular conditions.
Example:
<xpath expr="//sheet" position="before">
   <div class="alert alert-danger" role="alert" style="margin-bottom:0px;"
        attrs="{'invisible': [('state', '!=', 'sale')]}">
       This is from the sales team
       <bold>
           <a class="alert-link" role="button">
               <field name="team_id" readonly="True"/>
           </a>
       </bold>
   </div>
</xpath>
We can either add to the existing models or the custom models which we created. The above code indicates the addition of the notification to an existing model(sale. order).
In that case, we have to use XPath for adding the notification.
Actually, this notification contains a div. If we want to redirect to any other forms we can include it in that div with a tag with the field related to the required form. In the above example, we can redirect to the sales team of the corresponding sales order. We can assign different classes to the div for changing its look and appearance (alert alert-info, alert alert-warning, alert alert-danger, etc..)