In the world of Enterprise Resource Planning (ERP), Odoo stands out as a versatile and powerful open-source platform that allows businesses to streamline their operations, manage resources, and enhance productivity. Custom modules play a crucial role in tailoring Odoo to specific business needs, and one common requirement is the integration of demo data. Demo data provides a practical way to showcase how the system functions and is often used during the testing and training phases.
In this blog, we'll explore how to add demo data to your custom Odoo modules using two popular methods: XML and CSV files. Whether you're a seasoned Odoo developer or just starting with custom module development, this guide will walk you through the process step by step. By the end of this article, you'll have a clear understanding of how to include demo data within your modules, making your ERP implementation more efficient and user-friendly.
Create Demo data using an XML file
In the realm of Odoo module development, XML files serve as a powerful tool for adding demo data, allowing developers to define and load sample records effortlessly.
For that, We need to create a directory named demo, in which we add an XML file that contains demo data.
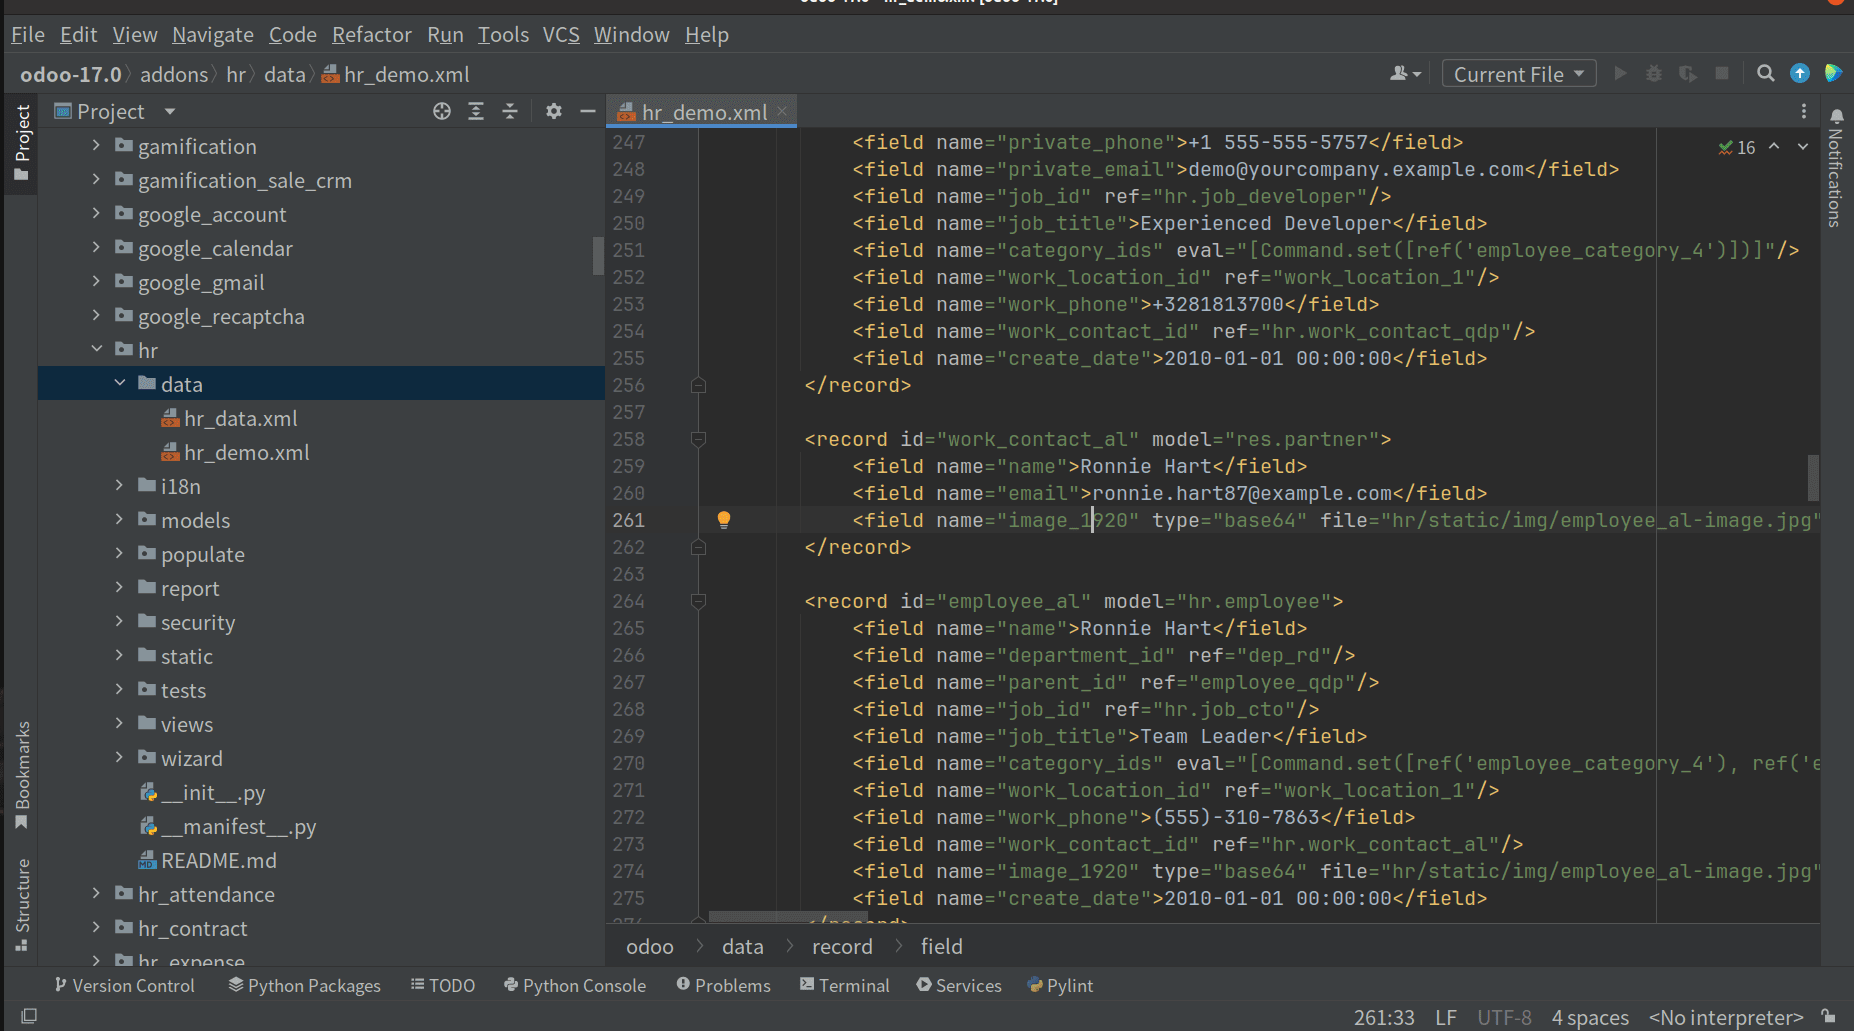
Create a file named hr_demo.xml in that directory. The code in the XML file is as follows:
<?xml version="1.0" encoding="utf-8"?>
<odoo>
    <data noupdate="1">
        <!--Department-->
        <record id="dep_management" model="hr.department">
            <field name="name">Management</field>
            <field name="color" eval="5"/>
        </record>
    </data>
</odoo>
Here, I am trying to create a demo department named Management. Before we get there, you'll notice a new attribute in the data tag called noupdate.
<data noupdate="1">
If we add demo data, we must specify noupdate=1 because the contents of this data file should only be used once when we install the module.
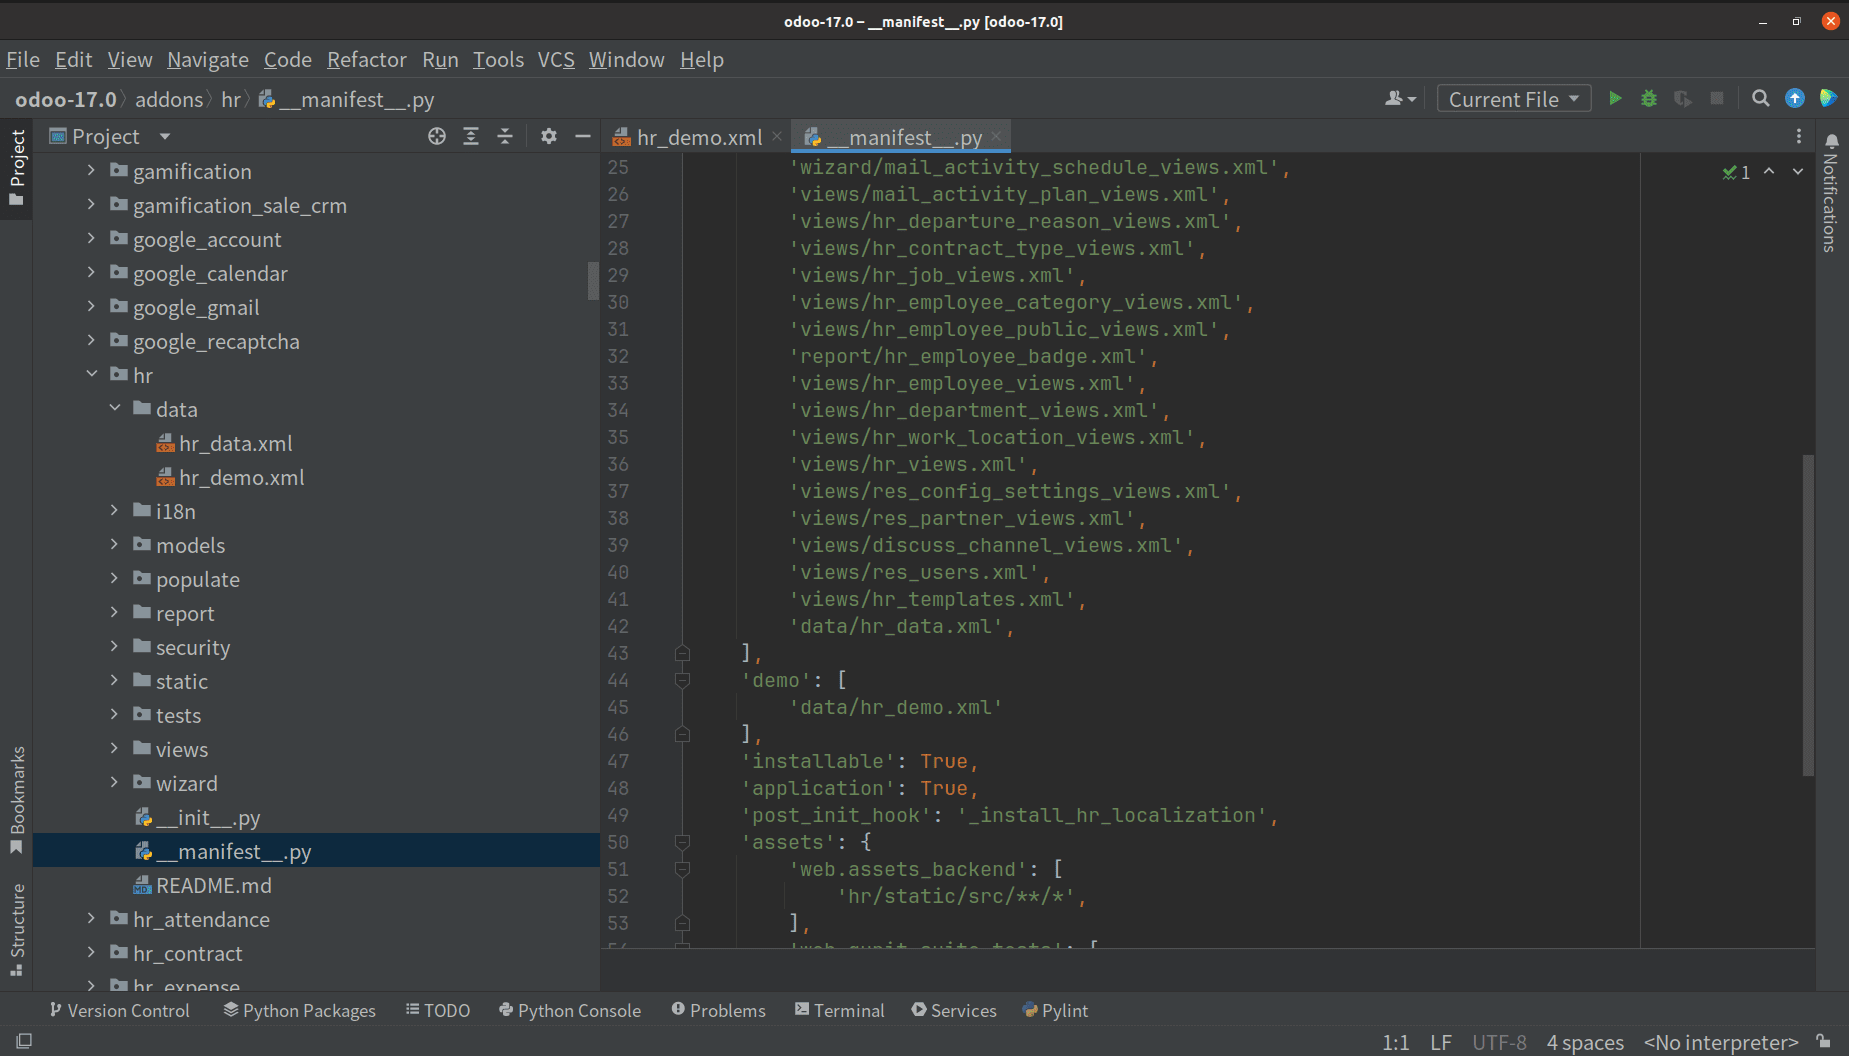
The path to this demo data file must then be included in the manifest, which is the next step. We can include it as follows:
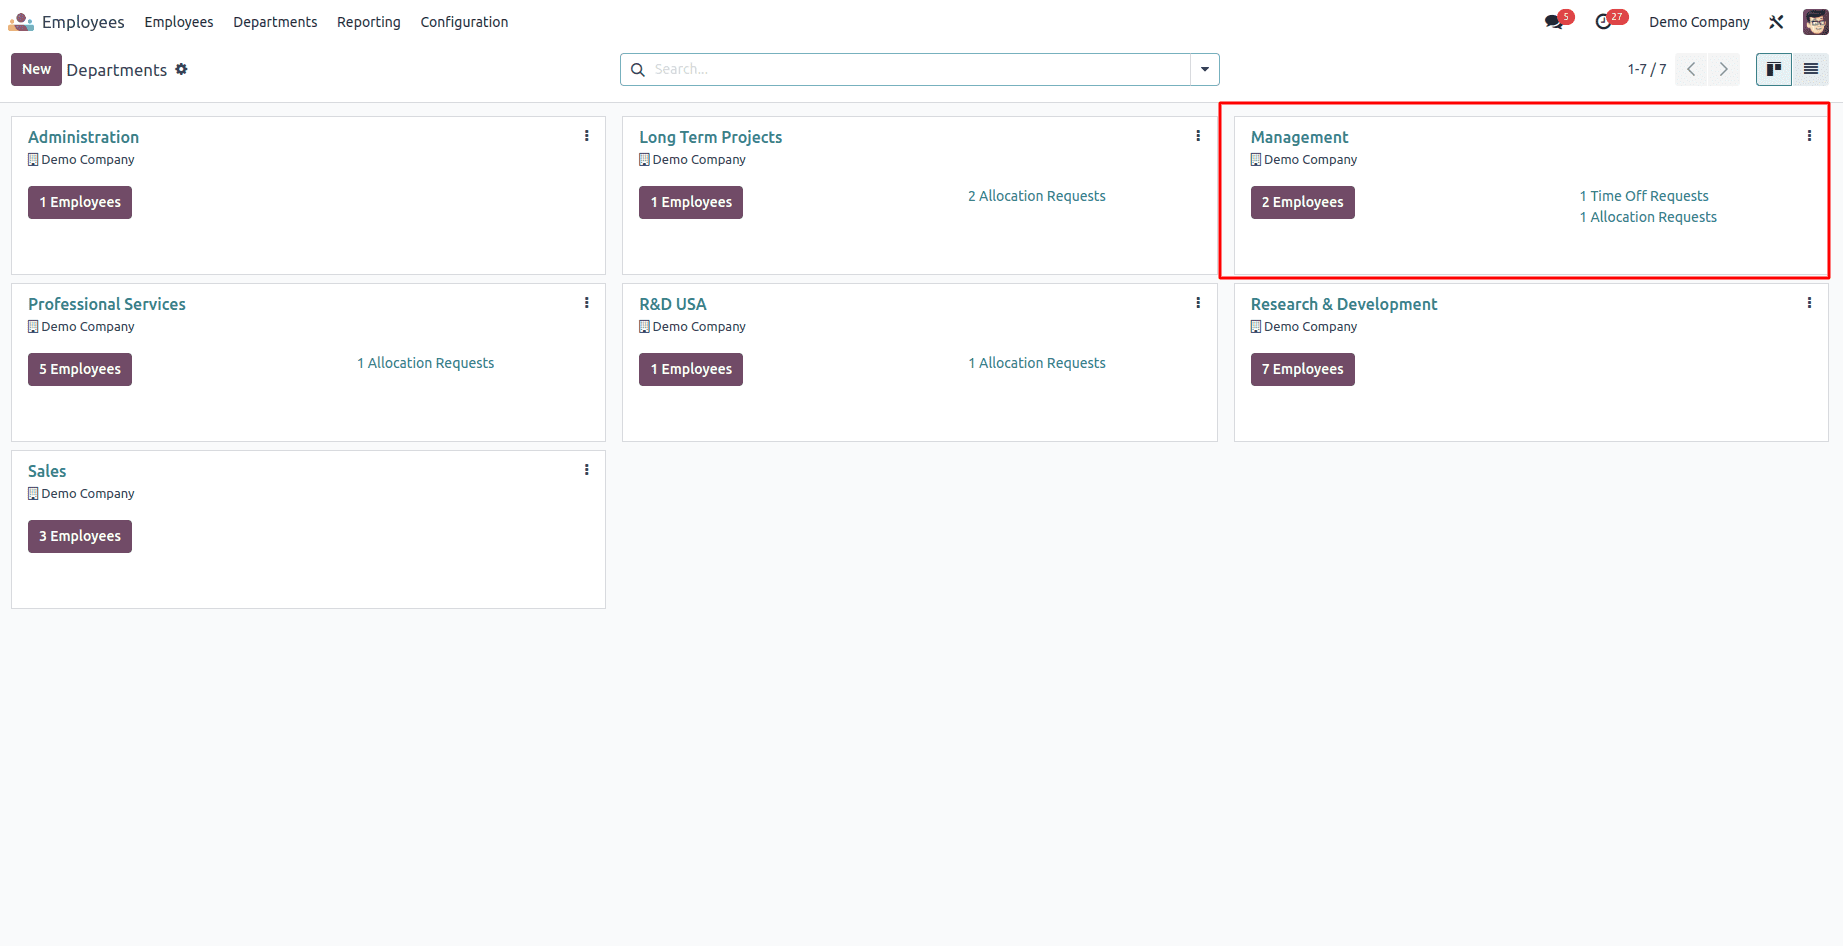
After creating a database with Load demo data enabled, install the module. Automatically, the data will be loaded. If Load demo data is not enabled, it will not get loaded, and the records will not be created. In the following image, we can see the Management Department in Employee.
Create Demo data using a CSV file
While XML files are known for their self-descriptive and flexible nature, they can become quite verbose when you need to generate numerous simple records for a single model. In such scenarios, using CSV (Comma-Separated Values) formatted data files is a more practical option. CSV files are concise and well-suited for handling large amounts of data efficiently.
However, it's essential to note that when opting for CSV to create demo data, a crucial point to consider is that you must prepare separate CSV files for each distinct model you intend to load data into. In other words, for every different entity or record type you want to include as demo data in your Odoo module, you'll need a dedicated CSV file. This separation helps maintain data organization and makes the process smoother when working with multiple models.
In the following sections, we'll explore how to utilize CSV files effectively to import and manage demo data in Odoo, streamlining the process of populating your ERP system with sample records.
Here, I am going to show how to create demo data for currency. For this, create a CSV file named res.currency.csv in the data directory. You can add the following data to that file.
Id,l10n_cl_currency_code,l10n_cl_short_name
base.AED,139,DIRHAM
base.ARS,1,PESO
base.AUD,36,DOLAR AUST
base.BOB,4,BOLIVIANO
base.BRL,5,CRUZEIRO REAL
base.CAD,6,DOLAR CAN
In this blog, we explored two popular methods for adding demo data to your custom Odoo modules: XML and CSV files. Both methods offer flexibility and efficiency, allowing you to create sample records and improve your ERP system's user-friendliness. Whether you are an experienced Odoo developer or just beginning your journey in custom module development, this guide provides a step-by-step process to include demo data within your modules.
By following the XML method, you can define and load sample records using XML files, ensuring that the data is only loaded once when you install the module. On the other hand, the CSV method offers a concise and efficient way to import and manage demo data, particularly useful when dealing with a large volume of records for various models.
Adding demo data to your Odoo modules is a practical way to demonstrate the system's capabilities and make your ERP implementation more efficient. Whether you choose XML or CSV, both methods empower you to tailor Odoo to your business's specific requirements, helping you streamline operations and manage resources effectively.