Developers can use the ‘http’ library for making HTTP requests for your Flutter application. There, you can do all the operations like GET, POST, PUT, DELETE, etc. A collection of high-level classes and functions that make it simple to consume HTTP resources are included in this package. It is cross-platform and works with browsers, desktops, and mobile devices.
Features
* Can make any kind of API request to the server.
Initial setup
To create a Flutter app to check all the features of the ‘http’ package, you'll first need to add the package to your ‘pubspec.yaml’ file of the flutter app:
dependencies:
  flutter:
	sdk: flutter
  http: ^0.13.3 // you can use the latest one
Just go to the command line and run ‘flutter pub get’ that fetches all the packages defined.
flutter pub get
This will add the http package to our project, so you can use those in the dart code.
Now, you can use ‘http’ package in the Dart code.
import 'package:http/http.dart' as http;
Next, in Android, if you want to request internet permissions for your app, you need to include the <uses-permission> element in the AndroidManifest.xml file.
For that, follow the below steps.
1. Navigate to the android/app/src/main/AndroidManifest.xml file.
2. Then add the following permission within the <manifest> element:
<manifest xmlns:android="http://schemas.android.com/apk/res/android"
	package="com.example.myapp">
	<uses-permission android:name="android.permission.INTERNET" />
	<application>
    	<!-- ... -->
	</application>
</manifest>
Flutter App
Next, you can create a Flutter app that can run various features of the ‘http’ package.
So, for example, you can create a simple Flutter application using the code below.
import 'package:flutter/material.dart';
import 'package:http/http.dart' as http;
void main() {
  runApp(MyApp());
}
class MyApp extends StatelessWidget {
  @override
  Widget build(BuildContext context) {
	return MaterialApp(
  	title: 'HTTP',
  	theme: ThemeData.dark(),
  	home: HomePage(),
	);
  }
}
class HomePage extends StatefulWidget {
  @override
  _HomePageState createState() => _HomePageState();
}
class _HomePageState extends State<HomePage> {
  String _response = '';
  Future<void> _fetchData() async {
	try {
  	final response = await http.get(Uri.parse('https://jsonplaceholder.typicode.com/posts/15'));
  	setState(() {
    	_response = 'GET Response: ${response.body}';
  	});
	} catch (e) {
  	setState(() {
    	_response = 'Error: $e';
  	});
	}
  }
  Future<void> _postData() async {
	try {
  	final response = await http.post(
    	Uri.parse('https://jsonplaceholder.typicode.com/posts'),
    	body: {'title': 'foo', 'body': 'bar', 'userId': '1'},
  	);
  	setState(() {
    	_response = 'POST Response: ${response.body}';
  	});
	} catch (e) {
  	setState(() {
    	_response = 'Error: $e';
  	});
	}
  }
  Future<void> _putData() async {
	try {
  	final response = await http.put(
    	Uri.parse('https://jsonplaceholder.typicode.com/posts/15'),
    	body: {'id': '1', 'title': 'foo', 'body': 'bar', 'userId': '1'},
  	);
  	setState(() {
    	_response = 'PUT Response: ${response.body}';
  	});
	} catch (e) {
  	setState(() {
    	_response = 'Error: $e';
  	});
	}
  }
  Future<void> _deleteData() async {
	try {
  	final response = await http.delete(Uri.parse('https://jsonplaceholder.typicode.com/posts/15'));
  	setState(() {
    	_response = 'DELETE Response: ${response.body}';
  	});
	} catch (e) {
  	setState(() {
    	_response = 'Error: $e';
  	});
	}
  }
  @override
  Widget build(BuildContext context) {
	return Scaffold(
  	appBar: AppBar(
    	title: Text('HTTP'),
  	),
  	body: Center(
    	child: Column(
      	mainAxisAlignment: MainAxisAlignment.center,
      	children: <Widget>[
        	ElevatedButton(
          	onPressed: _fetchData,
          	child: Text('GET Request'),
        	),
        	ElevatedButton(
          	onPressed: _postData,
          	child: Text('POST Request'),
        	),
        	ElevatedButton(
          	onPressed: _putData,
          	child: Text('PUT Request'),
        	),
        	ElevatedButton(
          	onPressed: _deleteData,
          	child: Text('DELETE Request'),
        	),
        	SizedBox(height: 20),
        	Text(_response),
      	],
    	),
  	),
	);
  }
}
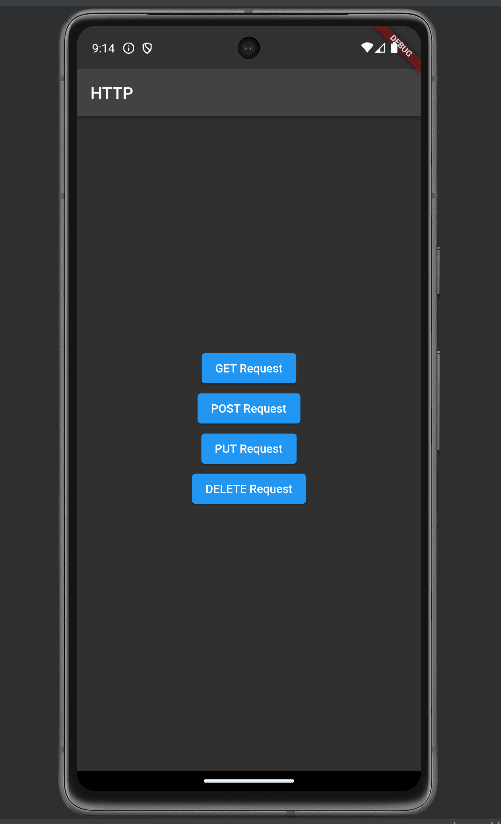
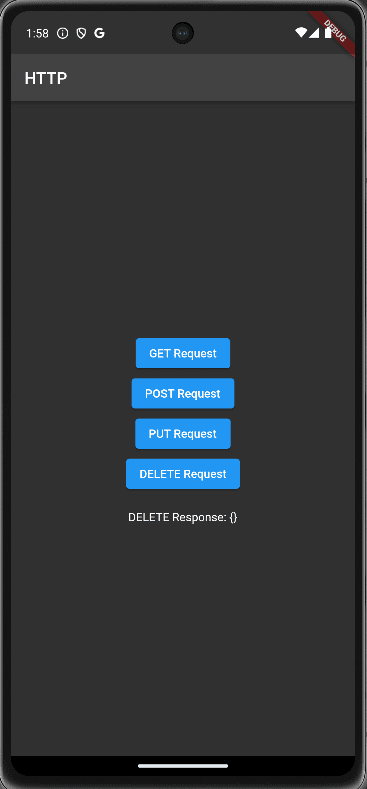
Here you can see a simple application having four buttons.
1. GET Request
2. POST Request
3. PUT Request
4. DELETE Request
Below is the sample view of the Application.
Let's go through the code step by step:
1. Imports:
import 'package:flutter/material.dart';
import 'package:http/http.dart' as http;
First of all, we are importing the flutter/material.dart, which is the core Flutter framework for building Flutter applications or for building Flutter UIs. And ‘http’ is for making HTTP requests.
2. Main Function:
void main() {
  runApp(MyApp());
}
This is where the Flutter application starts. It uses a MyApp object and calls runApp.
3. MyApp Class:
class MyApp extends StatelessWidget {
  @override
  Widget build(BuildContext context) {
    return MaterialApp(
      title: 'HTTP Package Example',
      home: HomePage(),
    );
  }
}
‘HomePage’ is a ‘StatefulWidget‘ that returns a ‘MaterialApp’ with a title and sets the home page to ‘HomePage’
4. HomePage Class:
class HomePage extends StatefulWidget {
  @override
  _HomePageState createState() => _HomePageState();
}
‘HomePage’ is a ‘StatefulWidget‘ which means it can hold a mutable state. It creates an instance of ‘_HomePageState’.
5. _HomePageState Class:
class _HomePageState extends State<HomePage> {
}
‘_HomePageState’ is where the actual functionality of the app is implemented. It extends ‘State’ and is associated with ‘HomePage’.
6. Variables:
String _response = '';
‘_response’ is a variable that will hold the response from the HTTP requests.
7. GET Request:
Future<void> _fetchData() async {
try {
final response = await http.get(Uri.parse('https://jsonplaceholder.typicode.com/posts/1'));
setState(() {
_response = 'GET Response: ${response.body}';
});
} catch (e) {
setState(() {
_response = 'Error: $e';
});
}
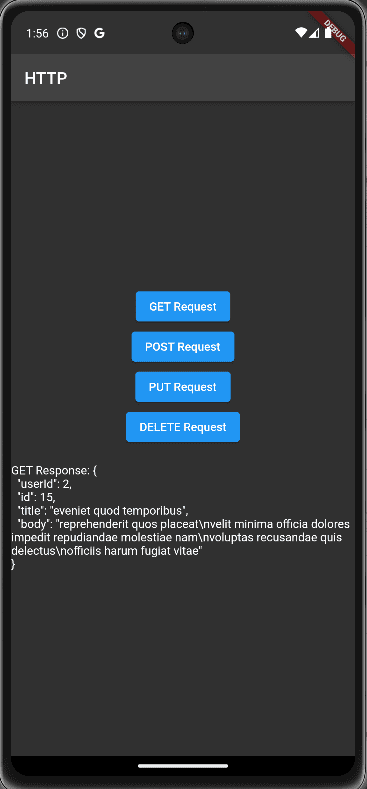
}* ‘_fetchData’ is an asynchronous function that makes a GET request to the specifies URL.
* If the request is successful, it updates the ‘_response’ variable with the response body.
* If there is an error, it catches the exceptions and updates ‘_response’ with an error message.
Sample output
8. POST Request:
Future<void> _postData() async {
try {
final response = await http.post(
Uri.parse('https://jsonplaceholder.typicode.com/posts'),
body: {'title': 'foo', 'body': 'bar', 'userId': '1'},
);
setState(() {
_response = 'POST Response: ${response.body}';
});
} catch (e) {
setState(() {
_response = 'Error: $e';
});
}
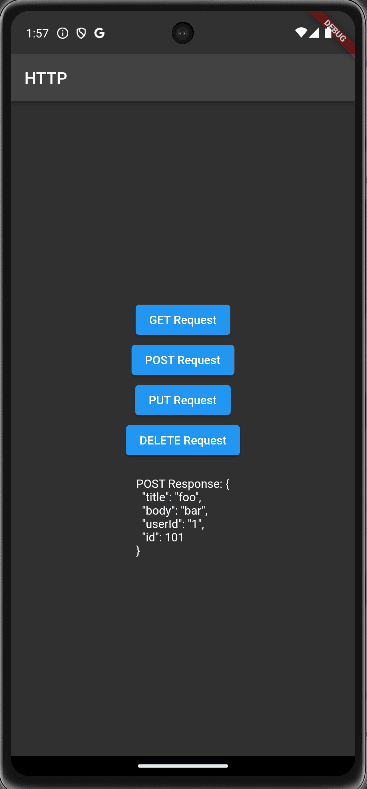
}* ‘_postDate’ is also an asynchronous function that makes a POST request to the specified URL with JSON body.
* If the request is successful, it updates the ‘-response’ variable with the response body
* If there is an error, it catches the exception and updates ‘_reponse’ with an error message
Sample output
9. PUT Request:
Future<void> _putData() async {
try {
final response = await http.put(
Uri.parse('https://jsonplaceholder.typicode.com/posts/1'),
body: {'id': '1', 'title': 'foo', 'body': 'bar', 'userId': '1'},
);
setState(() {
_response = 'PUT Response: ${response.body}';
});
} catch (e) {
setState(() {
_response = 'Error: $e';
});
}
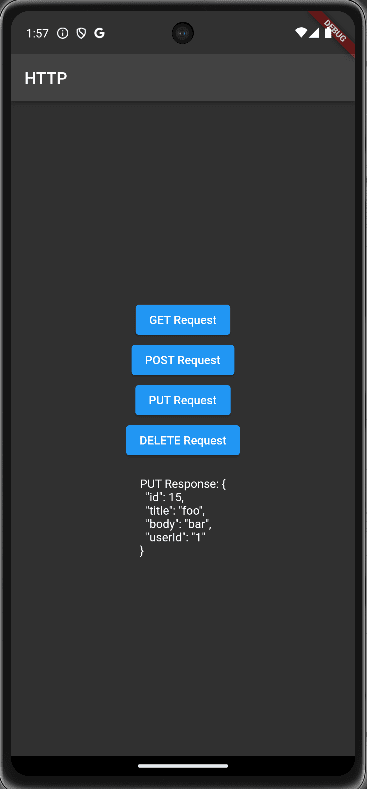
}* ‘_putData’ is an asynchronous function that makes a PUT request to the specified URL with a JSON body.
* If the request is successful, it updates the ‘_reponse’ variable with the response body.
* If there is an error, it catches the exception and updates ‘_response’ with an error message.
Sample output
10. DELETE Request:
Future<void> _deleteData() async {
  try {
	final response = await http.delete(Uri.parse('https://jsonplaceholder.typicode.com/posts/1'));
	setState(() {
  	_response = 'DELETE Response: ${response.body}';
	});
  } catch (e) {
	setState(() {
  	_response = 'Error: $e';
	});
  }
}
* ‘_deleteData’ is an asynchronous function that makes a DELETE request to the specified URL.
If the request is successful, it updates the ‘_response’ variable with the response body.
If there is an error, it catches the exception and updaters ‘_response’ with an error message.
Sample output
11. Build Method:
@override
Widget build(BuildContext context) {
  return Scaffold(
	appBar: AppBar(
  	title: Text('HTTP Package Example'),
	),
	body: Center(
  	child: Column(
    	mainAxisAlignment: MainAxisAlignment.center,
    	children: <Widget>[
      	ElevatedButton(
        	onPressed: _fetchData,
        	child: Text('GET Request'),
      	),
      	ElevatedButton(
        	onPressed: _postData,
        	child: Text('POST Request'),
      	),
      	ElevatedButton(
        	onPressed: _putData,
        	child: Text('PUT Request'),
      	),
      	ElevatedButton(
        	onPressed: _deleteData,
        	child: Text('DELETE Request'),
      	),
      	SizedBox(height: 20),
      	Text(_response),
    	],
  	),
	),
  );
}
* The App UI is builds using this method.
* It returns a ‘Scaffold’ with an ‘AppBar’ and a ‘body’ containing a column if ‘ElevatedButton’ widgets for each type of request.
* When a button is pressed, it calls the corresponding request method.
* The ‘_response’ test is displayed below the buttons.
The app provides a visual interface for users to trigger each type of request, and it dynamically updates the UI with the server's response or any encountered errors. This example serves as a foundation for understanding how to integrate HTTP requests into a Flutter application using the http package.
To read more about integrating Flutter Application with Odoo Backend, refer to our blog How to Integrate Flutter Application with Odoo Backend