As applications grow more distributed and dynamic, safeguarding sensitive data becomes more critical than ever. Tools like HashiCorp Vault empower teams to manage secrets like API keys and credentials securely, ensuring that access is both controlled and auditable in cloud-native environments.
This guide will walk you through setting up HashiCorp Vault on an Ubuntu system from scratch. Whether you're testing in a local environment or preparing for production, this step-by-step tutorial will help you get Vault up and running in no time.
Prerequisites
Before getting started, ensure you have the following:
* A system running Ubuntu 20.04 or later
* Access to a terminal with sudo privileges
1. Check Vault Status
Ensure that Vault is installed and available on your system.
vault status
If installed, you’ll see output indicating whether the Vault is sealed or unsealed. If the command isn’t found, install Vault using the official package:
wget https://releases.hashicorp.com/vault/1.15.0/vault_1.15.0_amd64.deb
sudo dpkg -i vault_1.15.0_amd64.deb
2. Create Directories and Configuration File
Set up the necessary directories and the configuration file for Vault.
a) Create a Directory for Vault Data
First, create a directory to store Vault’s data. This directory will be used for Vault’s storage backend.
mkdir -p ./vault/data
This command creates a data directory inside the vault directory, where Vault will store its data.
b) Create and Edit Configuration File
Next, create a configuration file called config.hcl. This file will define the Vault server's settings and storage backend.
touch config.hcl
vi config.hcl
In the config.hcl file, add the following configuration settings:
# Set up the storage backend
storage "raft" {
  path    = "./vault/data"
  node_id = "node1"
}
# Set up listener for Vault API communication
listener "tcp" {
  address     = "0.0.0.0:8200"
  tls_disable = "true"
}
# Set the Vault API and cluster addresses
api_addr = "http://127.0.0.1:8200"
cluster_addr = "https://127.0.0.1:8201"
# Enable the UI
ui = true
# Disable mlock (for development purposes)
disable_mlock = true
Explanation of Configuration Settings:
* storage "raft": This configures Vault to use the Raft storage backend and sets the storage path to ./vault/data.
* listener "tcp": Vault listens on all IP addresses (0.0.0.0) and port 8200. TLS is disabled for development purposes.
* api_addr: The address where the Vault API will be exposed (set to http://127.0.0.1:8200).
* cluster_addr: The address used for cluster communication between Vault nodes (set to https://127.0.0.1:8201).
* ui: Enables the Vault UI to access Vault via a web interface.
* disable_mlock: Disables memory locking to allow Vault to run in development mode.
c) Save the Configuration File
Once you have entered the configuration, save and close the file:
* In vi, press Esc and type :wq to write and quit.
3. Start the Vault Server
With the configuration file in place, start the Vault server using the following command:
vault server -config=config.hcl
This will start the Vault server with the configuration settings specified in config.hcl.
4. Set the Vault Address
To interact with the Vault server, set the VAULT_ADDR environment variable to the Vault server address.
export VAULT_ADDR='http://127.0.0.1:8200'
This allows you to interact with the Vault API and run Vault commands.
5. Initialize Vault
The first time Vault is started, it needs to be initialized. The initialization process generates the encryption keys and the root token.
vault operator init
This will output several unseal keys and a root token. Keep these values in a secure location because they are necessary to unseal and authenticate with Vault.
6. Unseal Vault
The vault starts in a sealed state, and before it can be used, it needs to be unsealed. The vault operator unseal command requires the unseal keys generated during initialization.
Run the following command and provide the unseal key (one of the keys from the vault operator init output):
vault operator unseal
Repeat this step with the remaining unseal keys until the Vault is unsealed. Typically, Vault requires three unseal keys to unseal, but this step can also be done using the front end. You can do this while accessing the URL 'http://127.0.0.1:8200'; the UI will look like the image below.
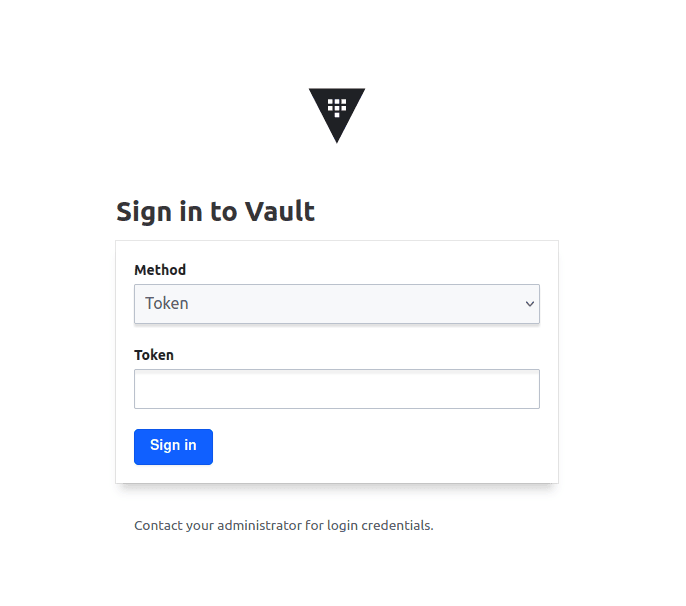
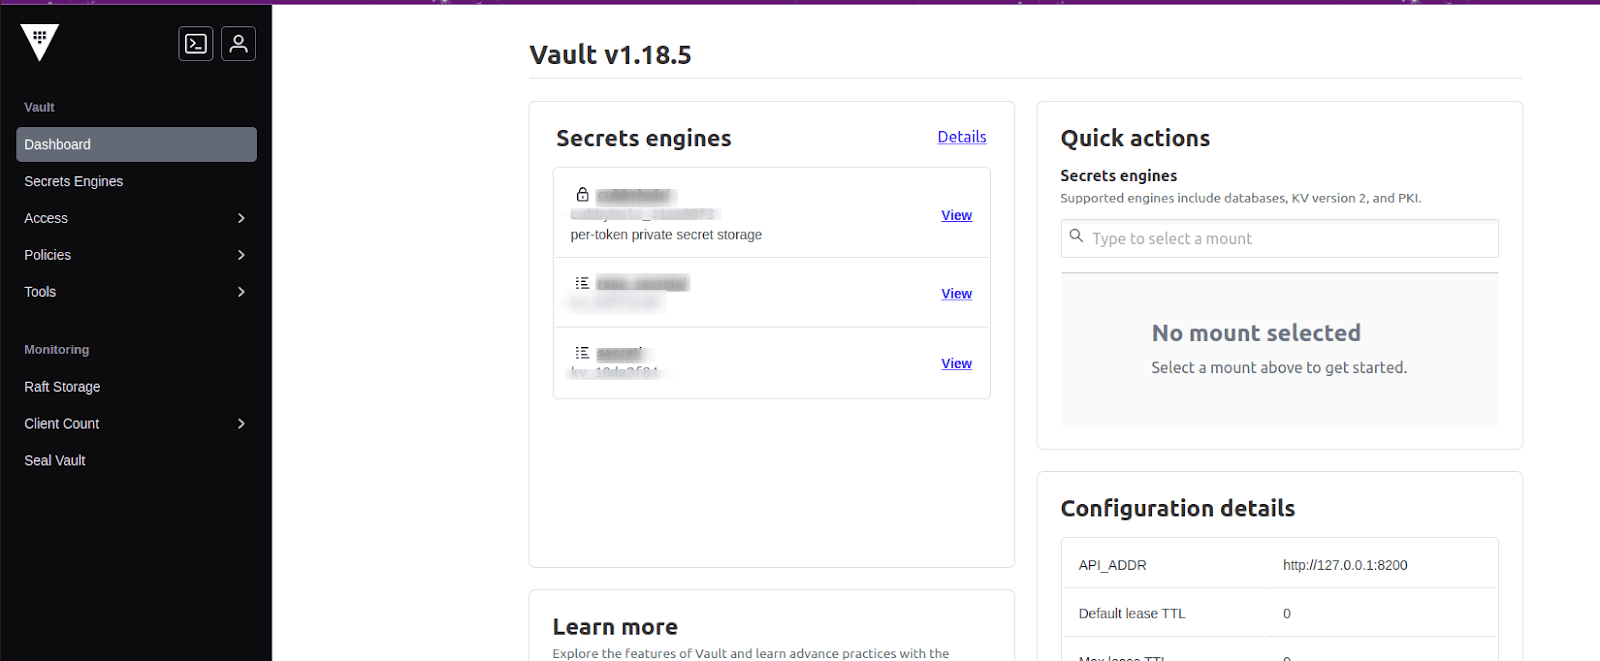
7. Access Vault UI
If you want to use the Vault UI, open your browser and navigate to http://127.0.0.1:8200. The Vault UI allows you to interact with Vault via a web interface.
8. Next Steps
After setting up Vault, you can begin using it for various use cases, including:
* Storing Secrets: Use Vault to store and manage sensitive data like passwords, API keys, and certificates.
* Authentication: Configure Vault to authenticate users via methods such as tokens, LDAP, or cloud services.
* Access Control: Set up policies to control who can access specific secrets and operations within Vault.
You’ve just completed a full setup of HashiCorp Vault on Ubuntu using the Raft backend!. Whether you're experimenting in dev mode or moving toward production, this setup forms the foundation of a secure, scalable secrets management solution.
To read more about How to Install Odoo 18 on Ubuntu 24.04 LTS Server, refer to our blog How to Install Odoo 18 on Ubuntu 24.04 LTS Server.