Transferring data between two Odoo instances using XML-RPC is a common and reliable approach when full database migration isn't feasible or desired. XML-RPC (XML Remote Procedure Call) is a protocol that enables communication between systems by sending requests and receiving responses over HTTP, with data formatted in XML. It allows external programs to remotely access Odoo models and execute methods as if they were running within the system.
In the context of Odoo, XML-RPC acts as a web service API that enables users to authenticate, read records, create new entries, update existing ones, and even trigger custom business logic. This makes it especially useful when migrating specific datasets—such as partners, products, or orders- from one Odoo environment (e.g., Odoo 17) to another (e.g., Odoo 18), without affecting unrelated data or modules.
By leveraging XML-RPC, developers can build custom scripts or connectors to perform secure, structured, and controlled data transfers between live or test environments. This method is ideal for selective migrations, integrations with third-party tools, or data synchronization between distributed Odoo deployments.
In this example, we will demonstrate how to transfer customer records (res.partner) from Odoo 17 to Odoo 18 using the XML-RPC protocol. We'll create a standalone Python script that connects to both Odoo instances and moves customer data.
There are different steps to follow.
Install Required Python Libraries:
Ensure you have Python 3 installed (with xmlrpc.client included by default). You only need to import it like this:
import xmlrpc.client
Configure Server Connections:
Set up the connection details for both Odoo 17 (source) and Odoo 18 (destination) instances.
# Odoo 17 - Source
url_db1 = "http://localhost:8077"
db_1 = "odoo17_demo"
username_db_1 = "admin"
password_db_1 = "admin"
common_1 = xmlrpc.client.ServerProxy(f'{url_db1}/xmlrpc/2/common')
models_1 = xmlrpc.client.ServerProxy(f'{url_db1}/xmlrpc/2/object')
version_db1 = common_1.version()
# Odoo 18 - Destination
url_db2 = "http://localhost:8088"
db_2 = "odoo18_demo"
username_db_2 = "admin"
password_db_2 = "admin"
common_2 = xmlrpc.client.ServerProxy(f'{url_db2}/xmlrpc/2/common')
models_2 = xmlrpc.client.ServerProxy(f'{url_db2}/xmlrpc/2/object')
version_db2 = common_2.version()
After the connection variables are defined, two types of XML-RPC proxies are created for each Odoo instance:
* common_1 and common_2 are used to interact with the common endpoint of the XML-RPC API. These are primarily responsible for user authentication and retrieving basic information like the server version.
* models_1 and models_2 are connected to the object endpoint, which allows us to perform actual operations on Odoo models. Through these, we can execute actions like searching for records, reading fields, creating new entries, and updating existing ones.
In this setup, common_1 and models_1 are for the source (Odoo 17), and common_2 and models_2 are for the destination (Odoo 18).
Full Python Script: Transfer Customers from Odoo 17 to Odoo 18 using XML-RPC:
import xmlrpc.client
# --- Odoo 17 Source ---
url_db1 = "http://localhost:8077"
db_1 = "community17"
username_db_1 = "admin"
password_db_1 = "admin"
common_1 = xmlrpc.client.ServerProxy(f'{url_db1}/xmlrpc/2/common')
uid_db1 = common_1.authenticate(db_1, username_db_1, password_db_1, {})
models_1 = xmlrpc.client.ServerProxy(f'{url_db1}/xmlrpc/2/object')
# --- Odoo 18 Destination ---
url_db2 = "http://localhost:8088"
db_2 = "community18"
username_db_2 = "admin"
password_db_2 = "admin"
common_2 = xmlrpc.client.ServerProxy(f'{url_db2}/xmlrpc/2/common')
uid_db2 = common_2.authenticate(db_2, username_db_2, password_db_2, {})
models_2 = xmlrpc.client.ServerProxy(f'{url_db2}/xmlrpc/2/object')
# --- Fetch Customers from Odoo 17 ---
customers = models_1.execute_kw(
    db_1, uid_db1, password_db_1,
    'res.partner', 'search_read',
    [[]],
    {'fields': ['name', 'email', 'phone', 'mobile', 'street', 'city', 'zip', 'country_id', 'company_type', 'is_company']}
)
# --- Insert Customers into Odoo 18 (skip duplicates by email) ---
for rec in customers:
    email = rec.get('email')
    if email:
        # Check if customer with this email already exists in Odoo 18
        existing = models_2.execute_kw(
            db_2, uid_db2, password_db_2,
            'res.partner', 'search',
            [[('email', '=', email)]],
            {'limit': 1}
        )
        if existing:
            print(f"Skipped (duplicate email): {email}")
            continue
    new_customer = {
        'name': rec['name'],
        'email': email,
        'phone': rec.get('phone'),
        'mobile': rec.get('mobile'),
        'street': rec.get('street'),
        'city': rec.get('city'),
        'zip': rec.get('zip'),
        'company_type': rec.get('company_type'),
        'is_company': rec.get('is_company'),
    }
    models_2.execute_kw(
        db_2, uid_db2, password_db_2,
        'res.partner', 'create',
        [new_customer]
    )
    print(f"Created: {new_customer['name']}")
print("Customer transfer complete!")
Code Explanation (Step-by-Step)
1. Connect to Odoo Instances
* Use xmlrpc.client.ServerProxy to connect to both Odoo 17 and Odoo 18 servers.
* Create connections to both the /common and /object endpoints.
2. Authenticate and Get User IDs
* Authenticate each database using common.authenticate(...).
* Store the returned user ID as uid_db1 for Odoo 17 and uid_db2 for Odoo 18.
3. Fetch Customer Records from Odoo 17
* Use search_read on the res.partner model to fetch all customer records.
* Only selected fields are read: name, email, phone, mobile, address fields, etc.
4. Loop Through Each Customer
For every customer retrieved:
* Check if a customer with the same email already exists in Odoo 18.
* If found, skip to avoid duplicate entries.
* If not, prepare a dictionary of customer fields and create the new customer using the create method.
5. Output Messages
* Print a message when a customer is created or skipped.
* Display a final message: "Customer transfer complete!" once the loop is finished.
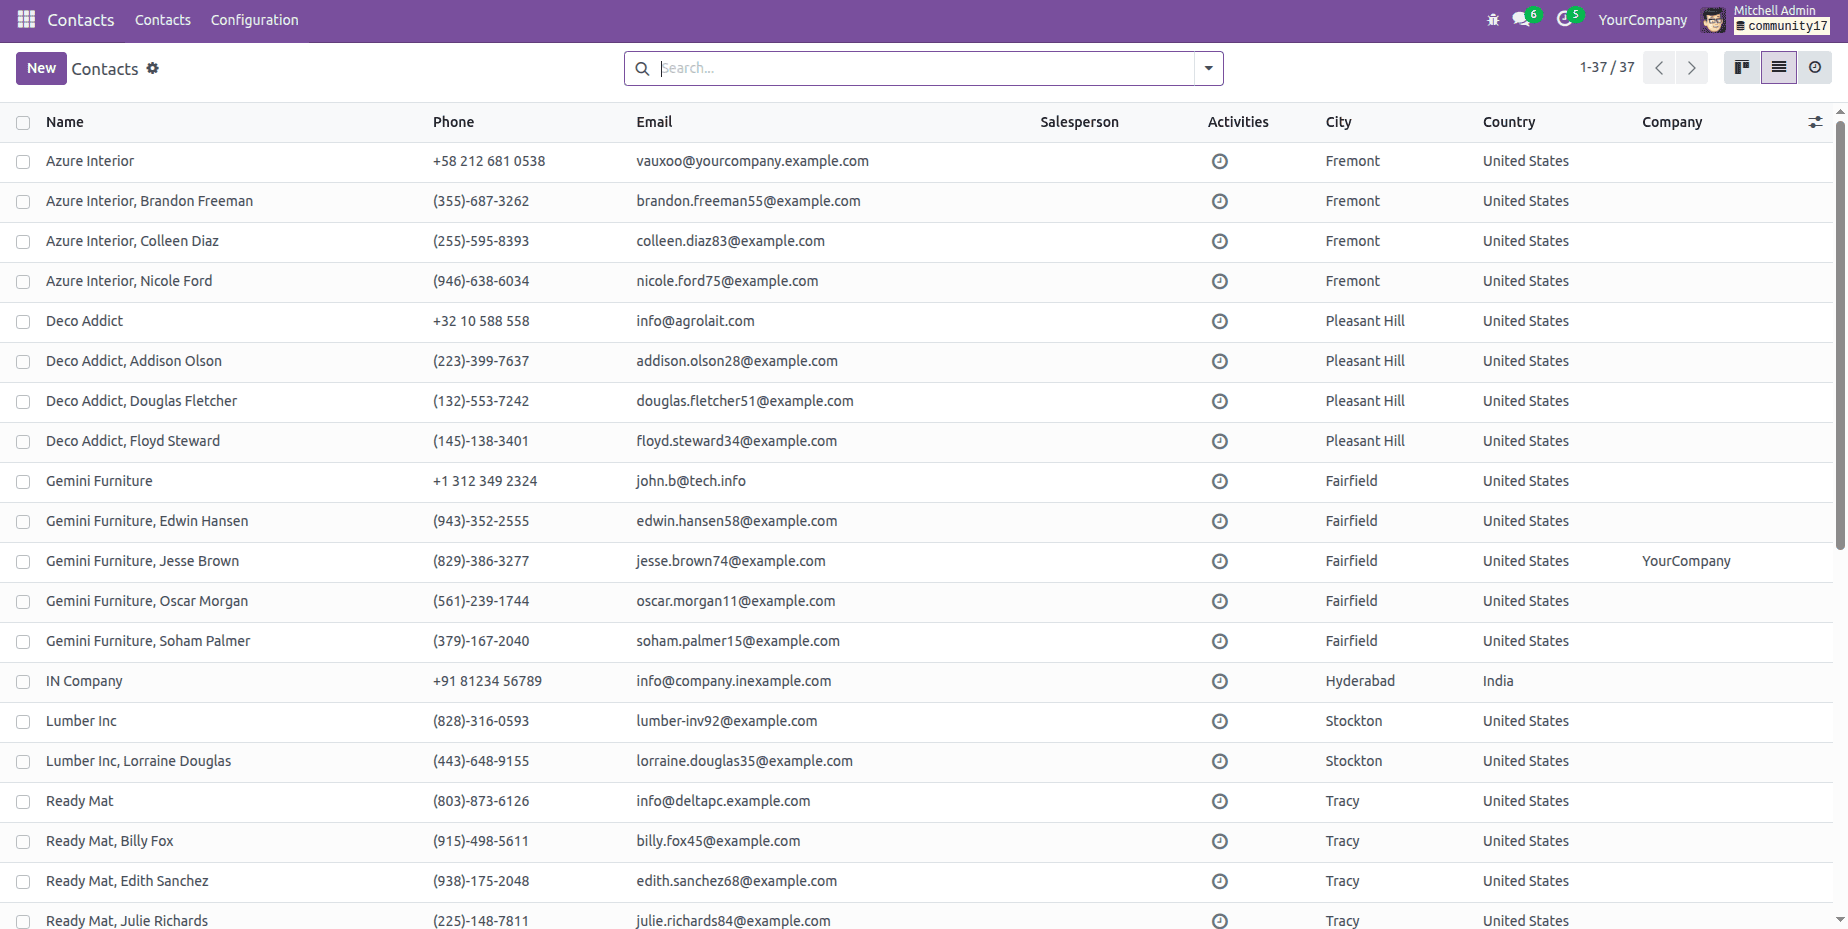
The following image shows the contract list view in Odoo 17, displaying the list of customers.
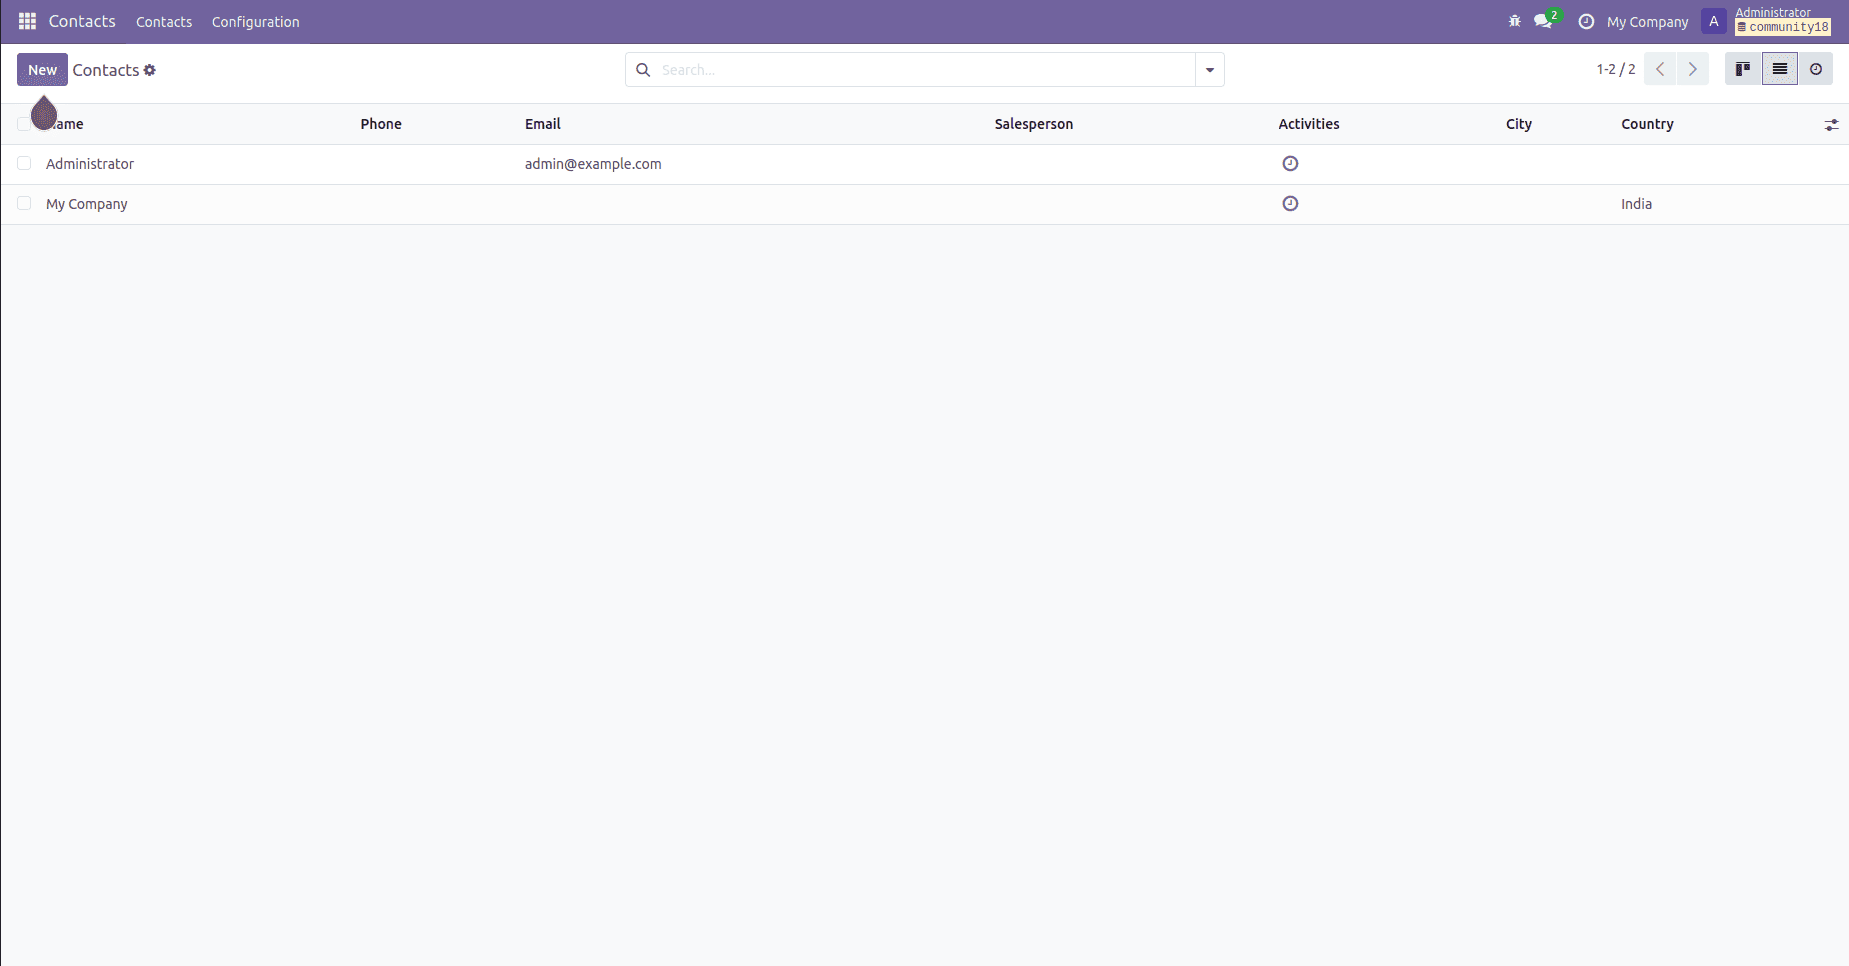
The image below displays the contract list view in Odoo 18
To run the Python script, use the following command on the terminal:
python3 -m transfer_17_18.py
Here, transfer_17_18.py is the Python file containing the script shown above.
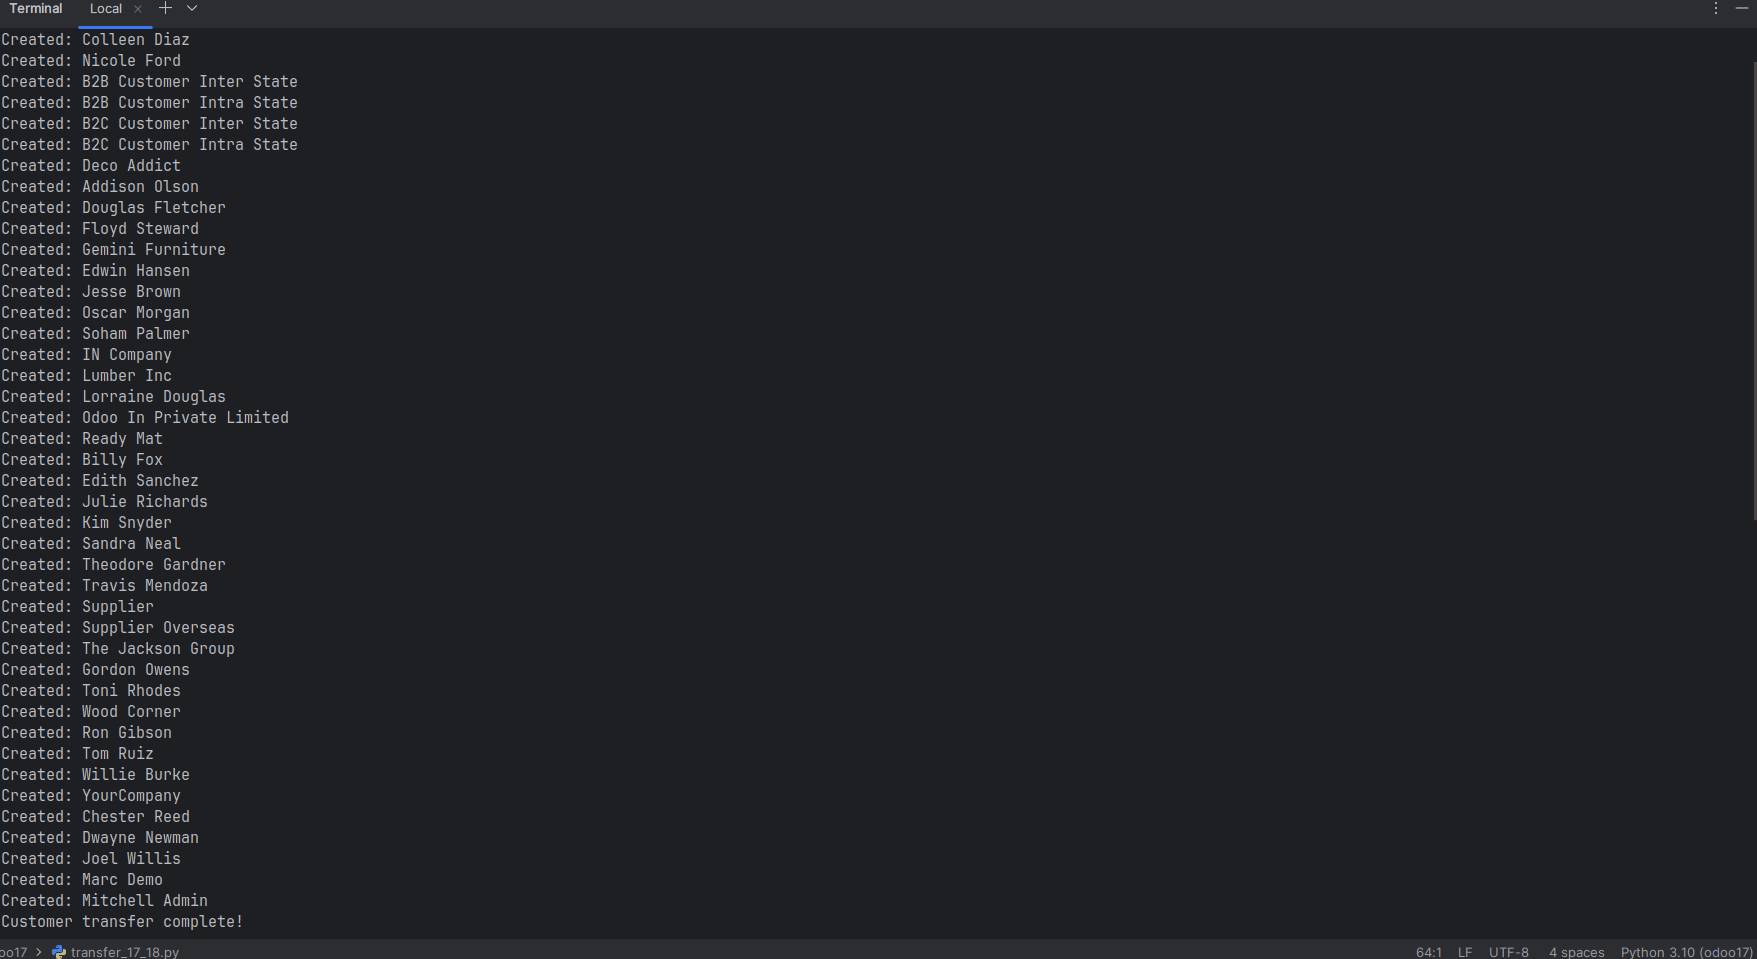
The above terminal screenshot shows the execution result of the Python script transfer_17_18.py. When the script is run, it connects to Odoo 17 and Odoo 18 using XML-RPC, fetches all customer records from Odoo 17, and transfers them to Odoo 18.
Each line beginning with Created: confirms that a customer record has been successfully created in Odoo 18. At the end of the output, the message -”Customer transfer complete!” confirms that the data migration process has finished successfully.
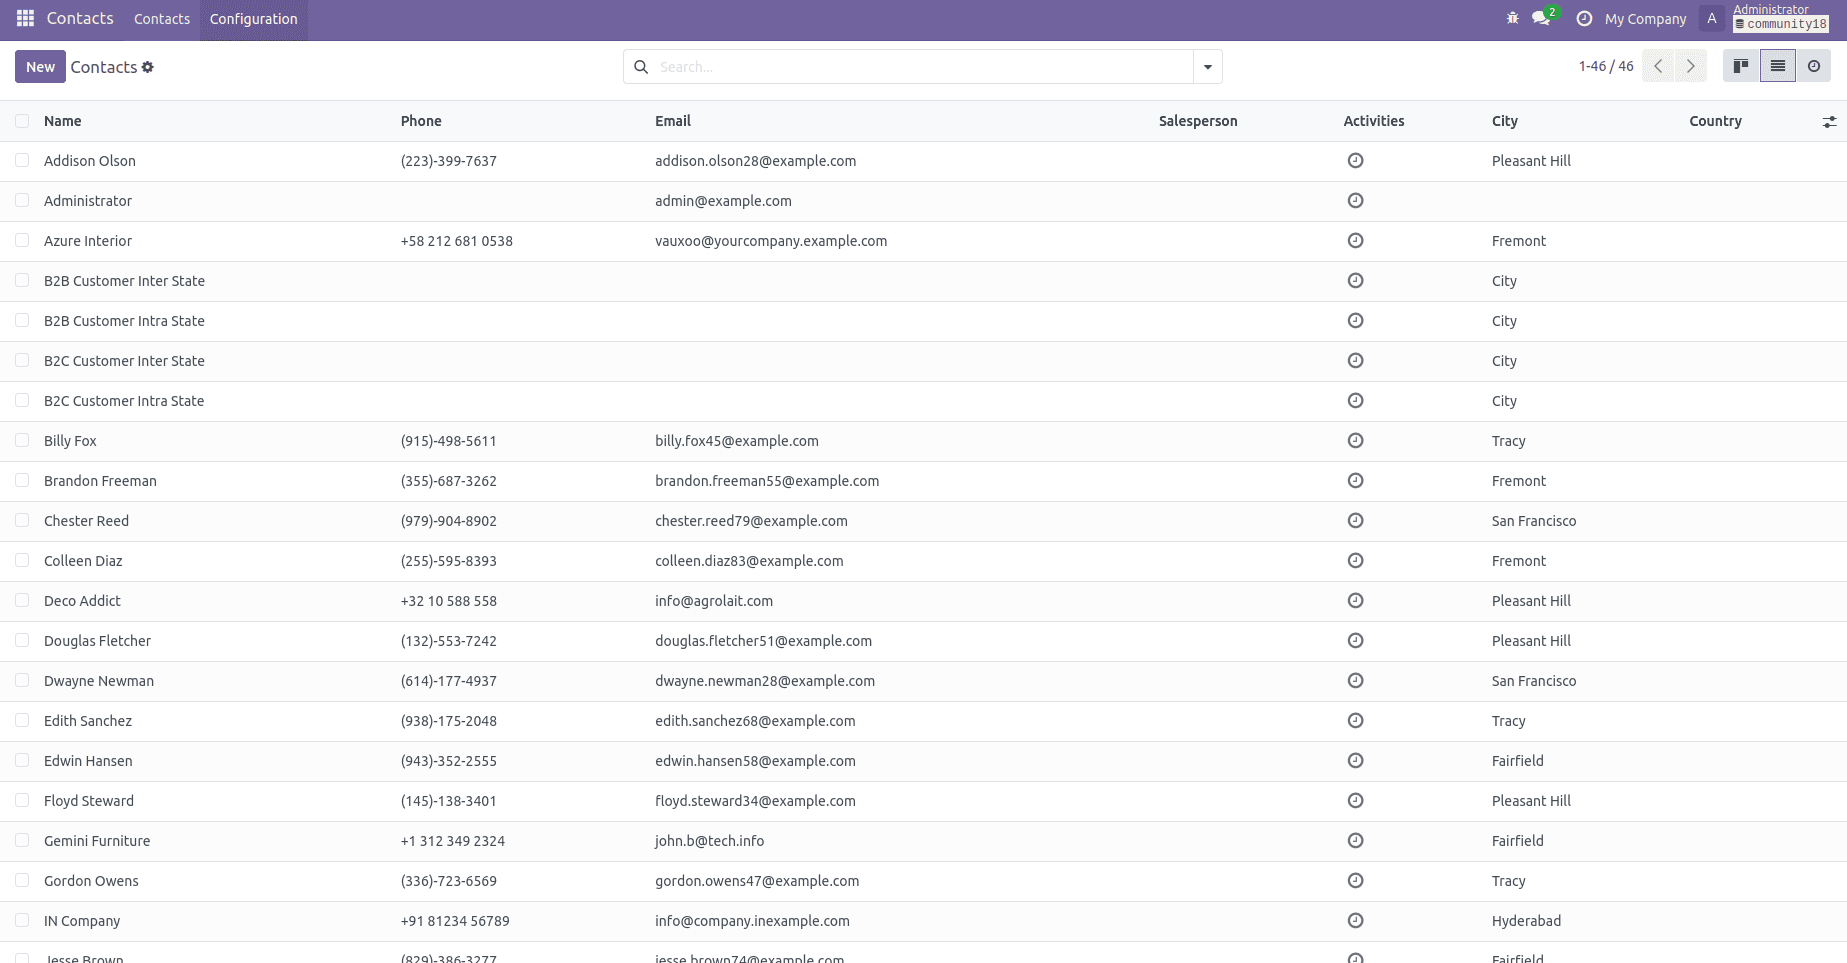
After executing the script, navigate to the Customers section in your Odoo 18 instance. You will see that all customer records from Odoo 17 have been successfully transferred to Odoo 18.
Using XML-RPC to transfer data from Odoo 17 to Odoo 18 is an efficient and customizable method for migrating records between different instances. It supports any model and field structure, allowing you to define exactly what data to transfer and how to handle it. With built-in support for authentication, filtering, and duplicate checks, the process can be tailored to suit various business needs. This approach is ideal for both full and partial migrations, ensuring data consistency while moving between Odoo environments.
To read more about How to Transfer Data From Odoo 16 to Odoo 17 Using XML-RPC, refer to our blog How to Transfer Data From Odoo 16 to Odoo 17 Using XML-RPC.