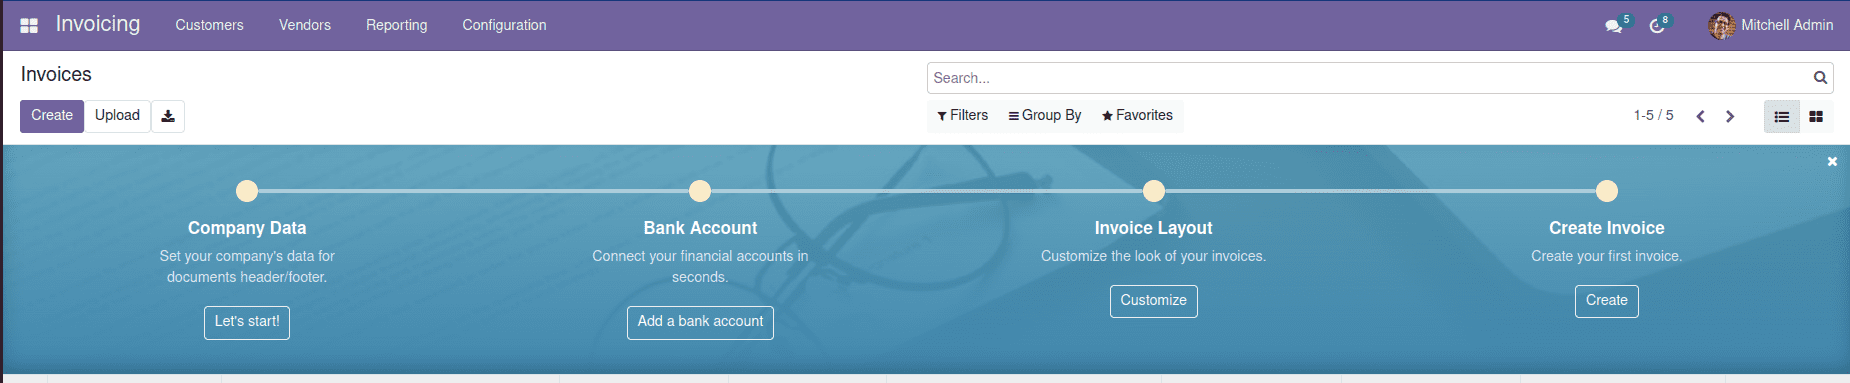
You might have noticed the Onboarding Panel in some modules of Odoo, like Accounting, Invoicing, etc. The following is the Onboarding panel for Invoicing module where you can configure the details such as Company Data, Bank Account, and Invoice layout and also create an invoice directly from the panel.
You can add an onboarding panel like this for your module by using the Banner route in Odoo. It can be used not only for the onboarding panels but also for adding a section in the same position. In this blog, we are going to discuss how to add a section on top of the Employee kanban view using the banner route.
First of all, we need a template to display the data and a python function to fetch the data to be displayed. So in the ‘controllers’ directory, we create a python file in which we define the function to fetch the data and render the template. In the ‘views’ directory, we create an xml file where we define the template.
In the python file:
from odoo import http
from odoo.http import request
class EmployeePanel(http.Controller):
   @http.route('/employee/employee_panel', auth='user', type='json')
   def get_panel_data(self):
       total_employees = request.env['hr.employee'].search_count([])
       vals = {'total_employees': total_employees}
       return {
           'html':request.env.ref(module_name.panel_template')._render({
               'object': request.env['hr.employee'],
               'values': vals
           })
       }
In the function get_panel_data, we count the total number of employees and return the template which displays the data by specifying the external id of the template along with the data.
The template is defined in the xml file as follows:
<template id="panel_template" name="employee.panel.template">
   <div class="row" style="margin: 10px;">
       <div class="col-sm-12">
           <div style="color:white;background-color: #71639e;text-align:center;padding: 25px;vertical-align: middle;">
               <b><t t-esc="values['total_employees']"/></b>
               <br/>
               <b>Total Employees</b>
           </div>
       </div>
   </div>
</template>
Now we need to add this to the Kanban view of employees. Inorder to do that, we have to inherit the Kanban view for employees and add the banner route attribute to the ‘kanban’ tag of the view by using xpath as follows:
<record id="employee_kanban_panel" model="ir.ui.view">
   <field name="name">hr.employee.kanban.panel</field>
   <field name="model">hr.employee</field>
   <field name="inherit_id" ref="hr.hr_kanban_view_employees"/>
   <field name="arch" type="xml">
       <xpath expr="//kanban" position="attributes">
           <attribute name="banner_route">
               /employee/employee_panel
           </attribute>
       </xpath>
   </field>
</record>
Here keep in mind that the url specified in the banner route should be the same as that you had in the route in the controller function.
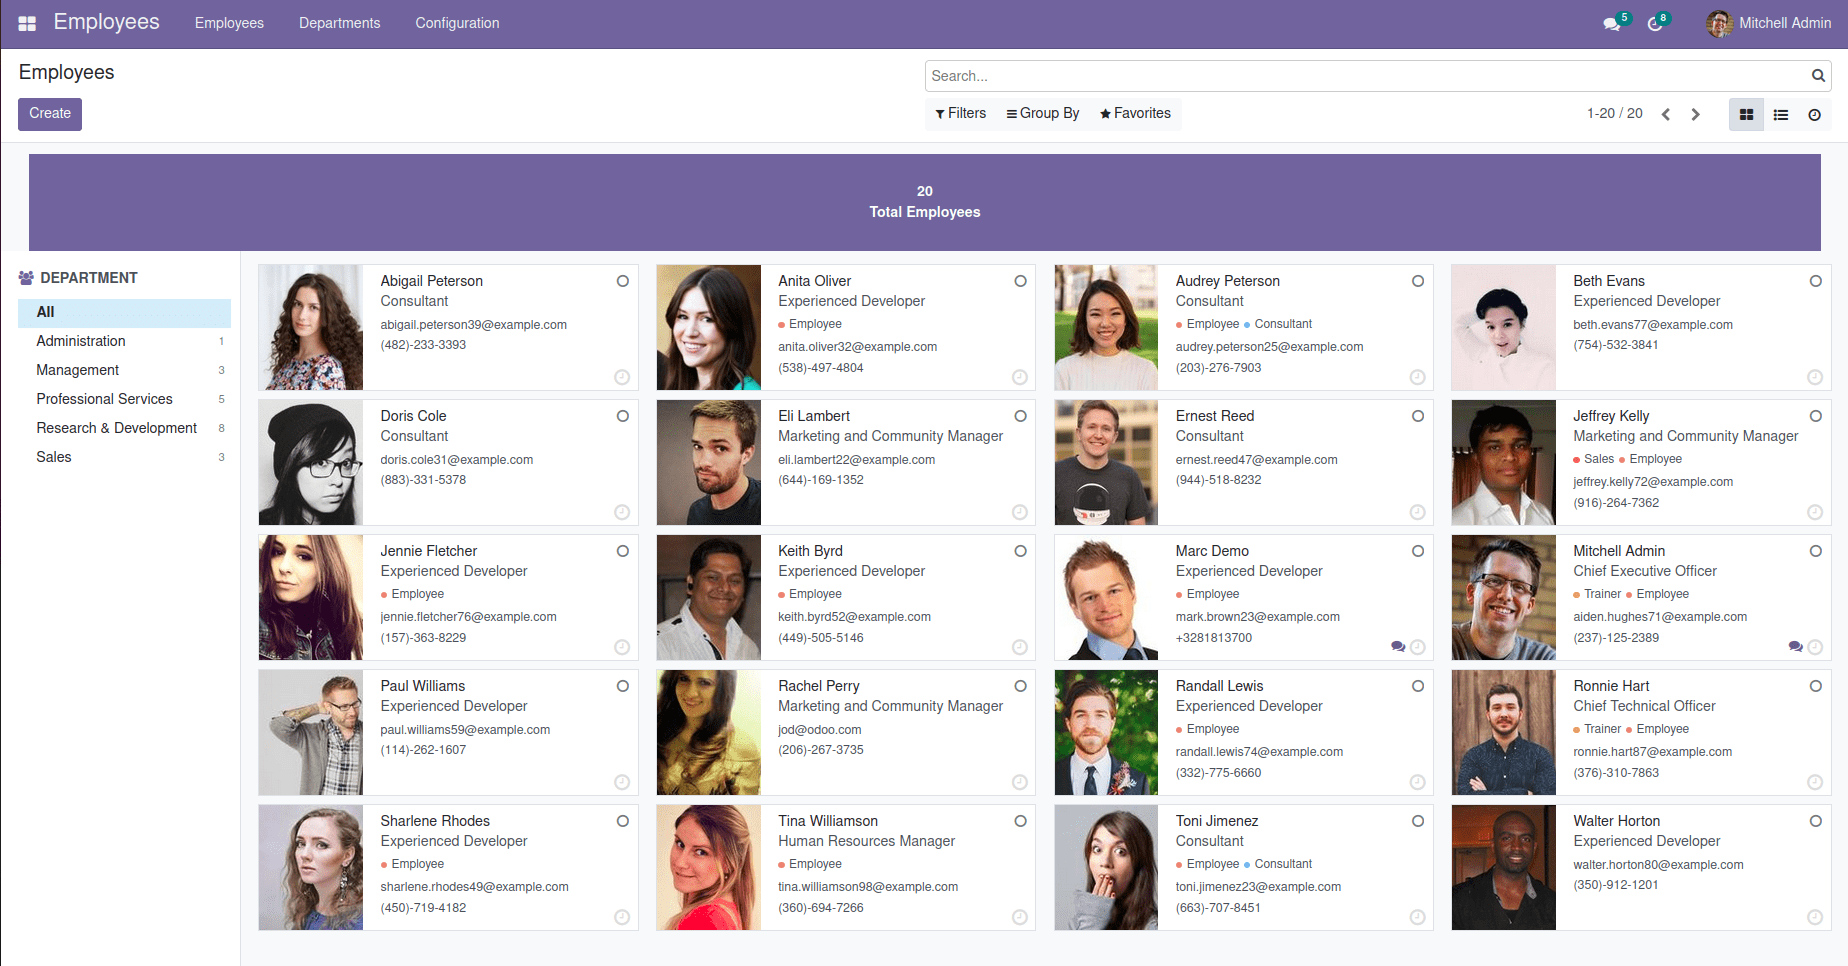
Now, by adding the view files in the __manifest__.py file of the module and importing the controller file in the corresponding __init__.py file and upgrading the module, you will have a panel displaying Total Employees count on top of the Kanban view when you open the Employees menu like this:
If you want to display the same in the list view of employees, you can simply inherit the corresponding view and specify the same url in the banner route attribute of the ‘tree’ tag of the view like this:
<record id="employee_list_panel" model="ir.ui.view">
   <field name="name">hr.employee.list.panel</field>
   <field name="model">hr.employee</field>
   <field name="inherit_id" ref="hr.view_employee_tree"/>
   <field name="arch" type="xml">
       <xpath expr="//tree" position="attributes">
           <attribute name="banner_route">
               /employee/employee_panel
           </attribute>
       </xpath>
   </field>
</record>
If you want to add more data tiles in the panel or create an Onboarding panel itself, all you need to do is to make the corresponding changes in the template as well as in the controller function.