In the world of finance and business management, time and accuracy are two critical factors. Manually moving money between accounts on a regular basis can be both time-consuming and error-prone. Thankfully, Odoo 18 comes with a smart feature called Automatic Transfers in the Accounting module. This functionality helps users simplify routine bookkeeping activities by automating internal transfers across accounts. Let’s explore how this feature works and how you can set it up in Odoo 18.
You can easily manage recurring account movements using the Automatic Transfers feature in Odoo 18’s Accounting module. This tool is especially useful when you need to distribute amounts between accounts over a specific period—for example, allocating prepaid expenses month by month. To access this feature, simply head over to the Accounting menu within the module.
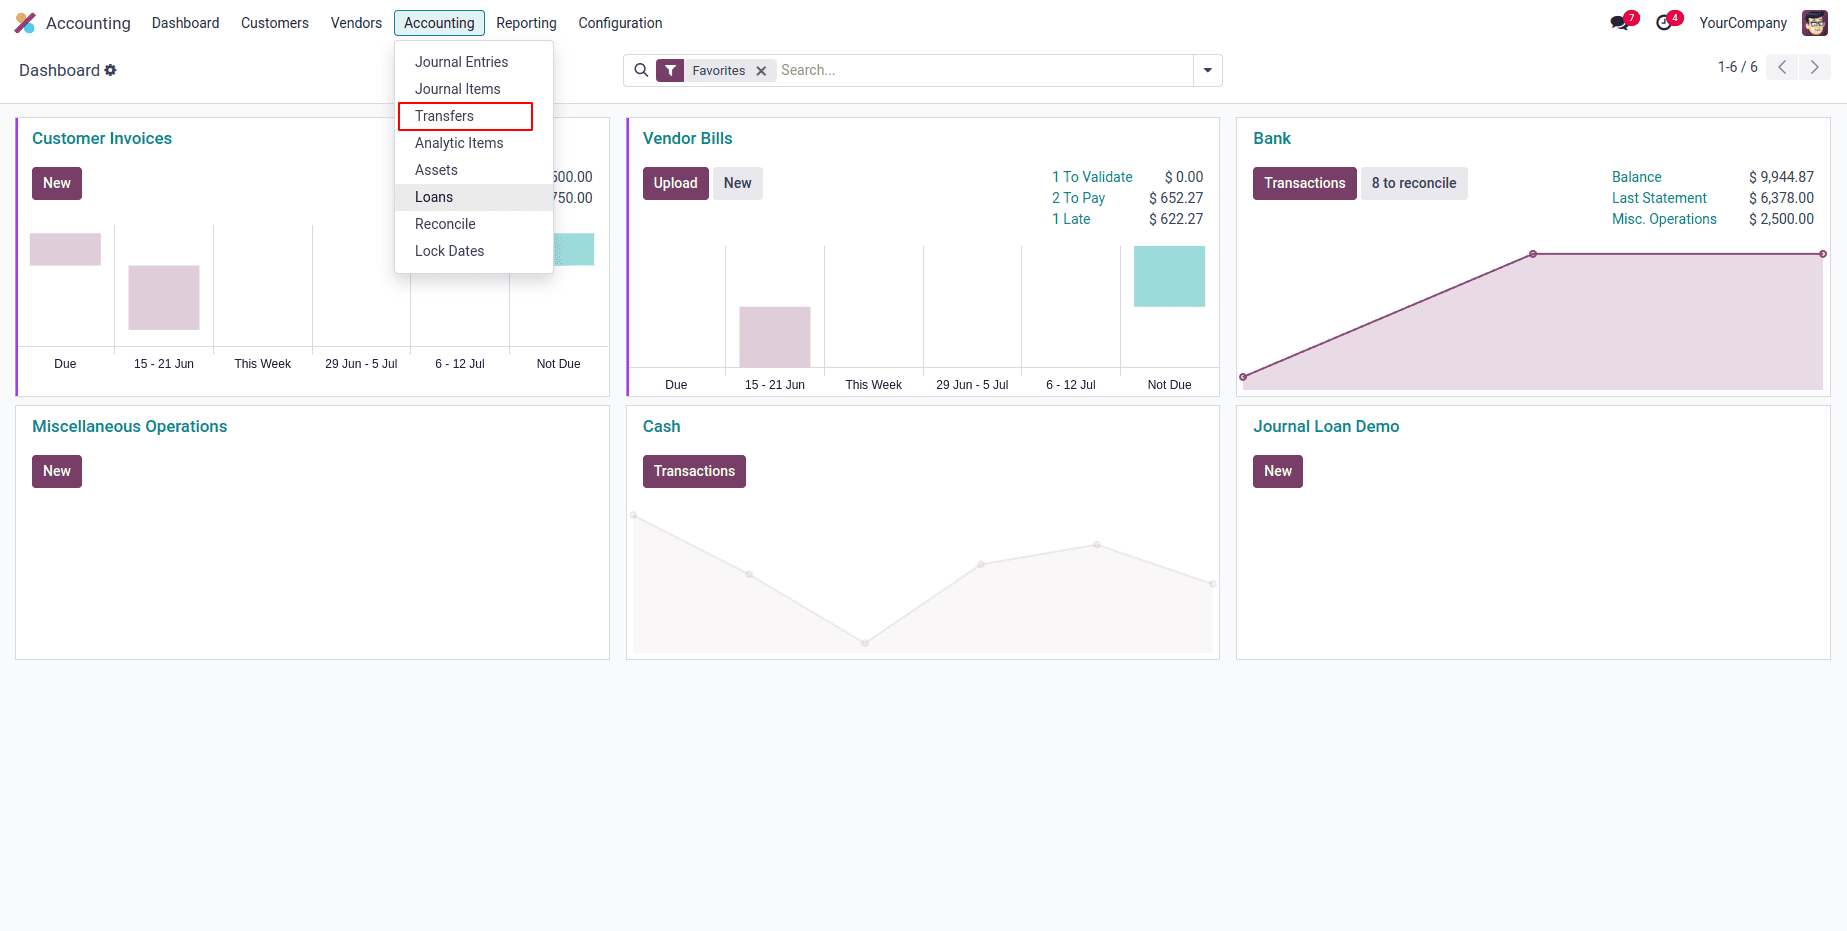
In Odoo 18, when you navigate to the Transfers section under the Accounting module, you'll be taken to a dedicated screen where all previously configured transfers are listed. This view provides a quick overview of each transfer, including its Name, Company, Start Date, End Date, and Frequency. To create a new transfer, simply click the “New” button, and you’ll be able to set up a fresh automated transfer with custom parameters.
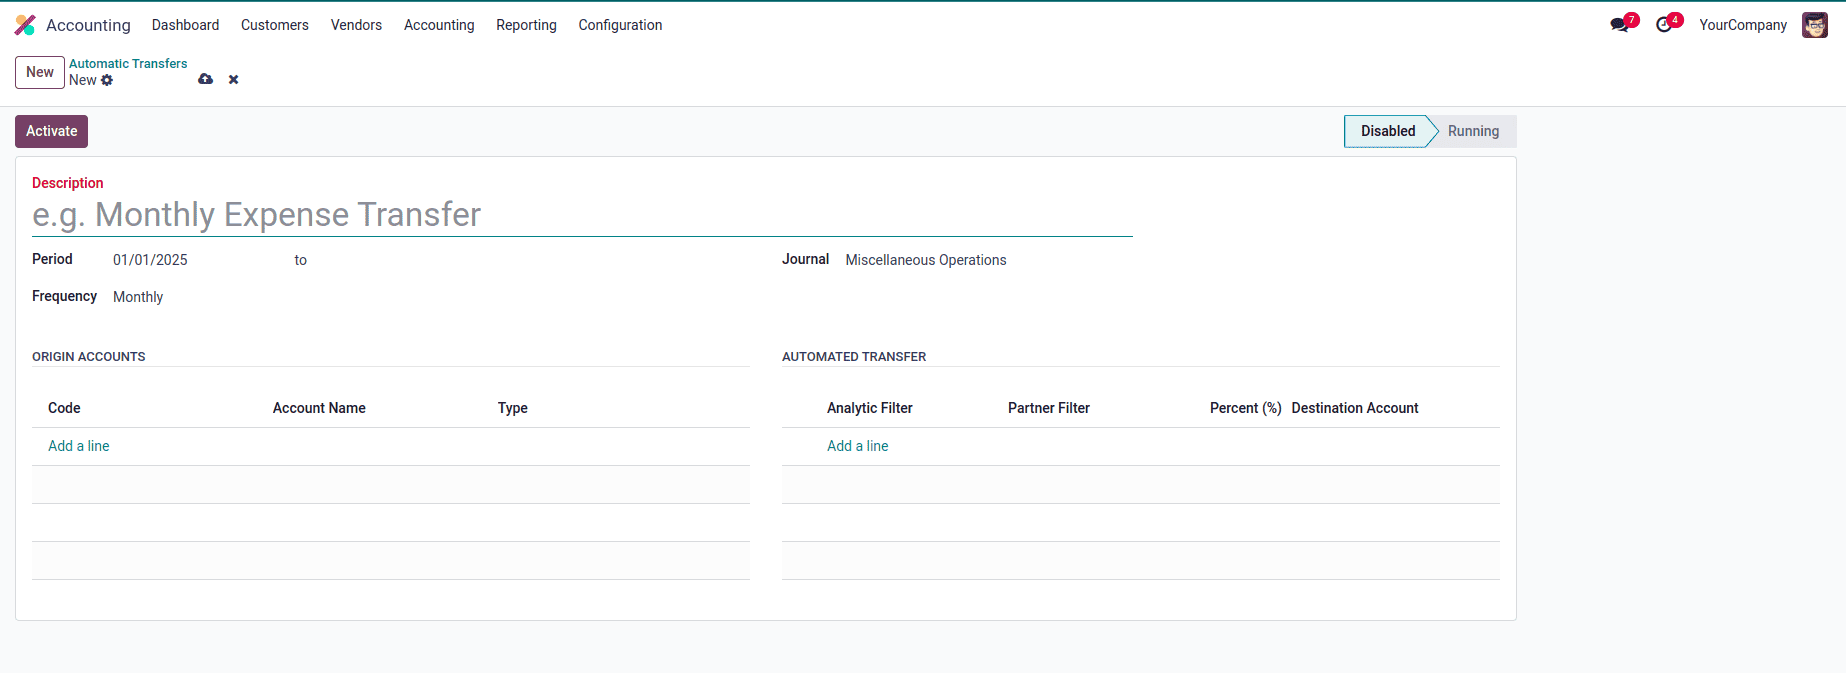
Start by giving your automatic transfer a short and clear Description that reflects its purpose. Next, set the Start Date and End Date using the Period fields — this defines the duration over which the transfer will be spread. You can then select how often the transfer should occur using the Frequency field, choosing from options like monthly, quarterly, or yearly, depending on your needs. You’ll also need to assign a Journal, which will record the accounting entries generated by the transfer.
Once these details are filled in, head over to the Origin Accounts tab. Here, click on “Add a Line” to include the source accounts from which the amounts will be transferred. A selection wizard will pop up, allowing you to choose the appropriate accounts with ease.
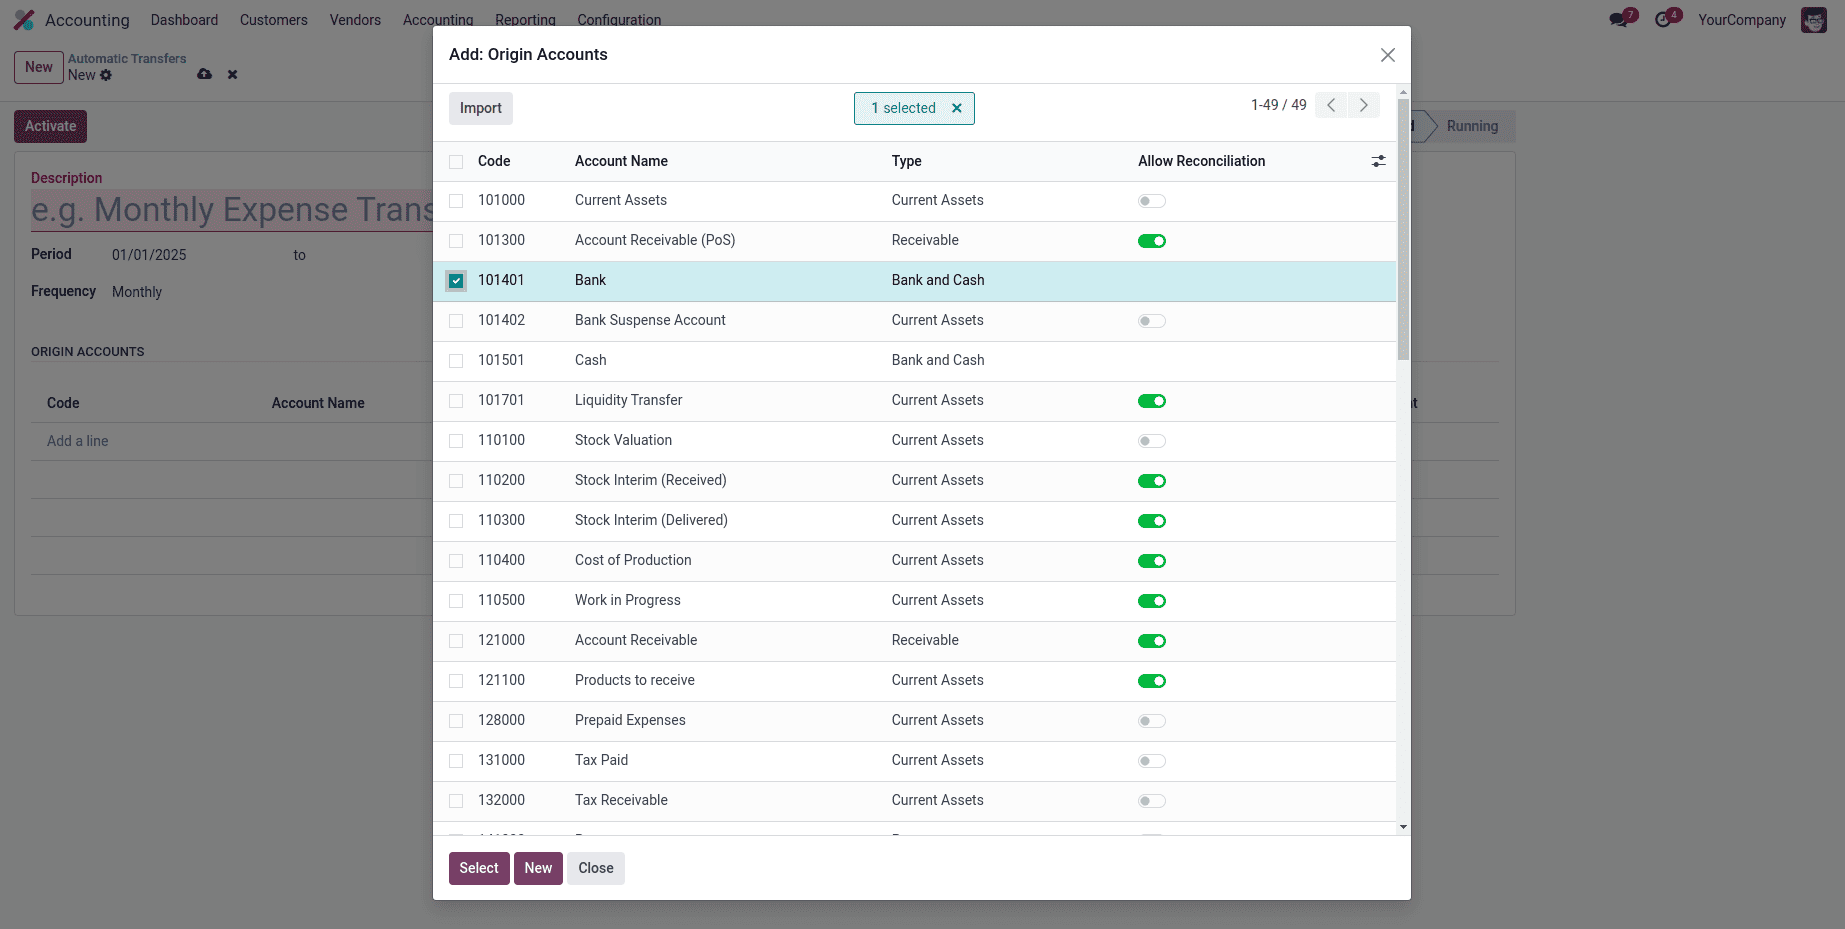
Once you've selected the source accounts using the wizard, click the “Select” button to add them to the Automatic Transfer form. These accounts will then appear under the Origin Accounts tab. In this section, you’ll be able to view key details such as the Account Code, Account Name, and Type, giving you a clear snapshot of the accounts involved in the transfer.
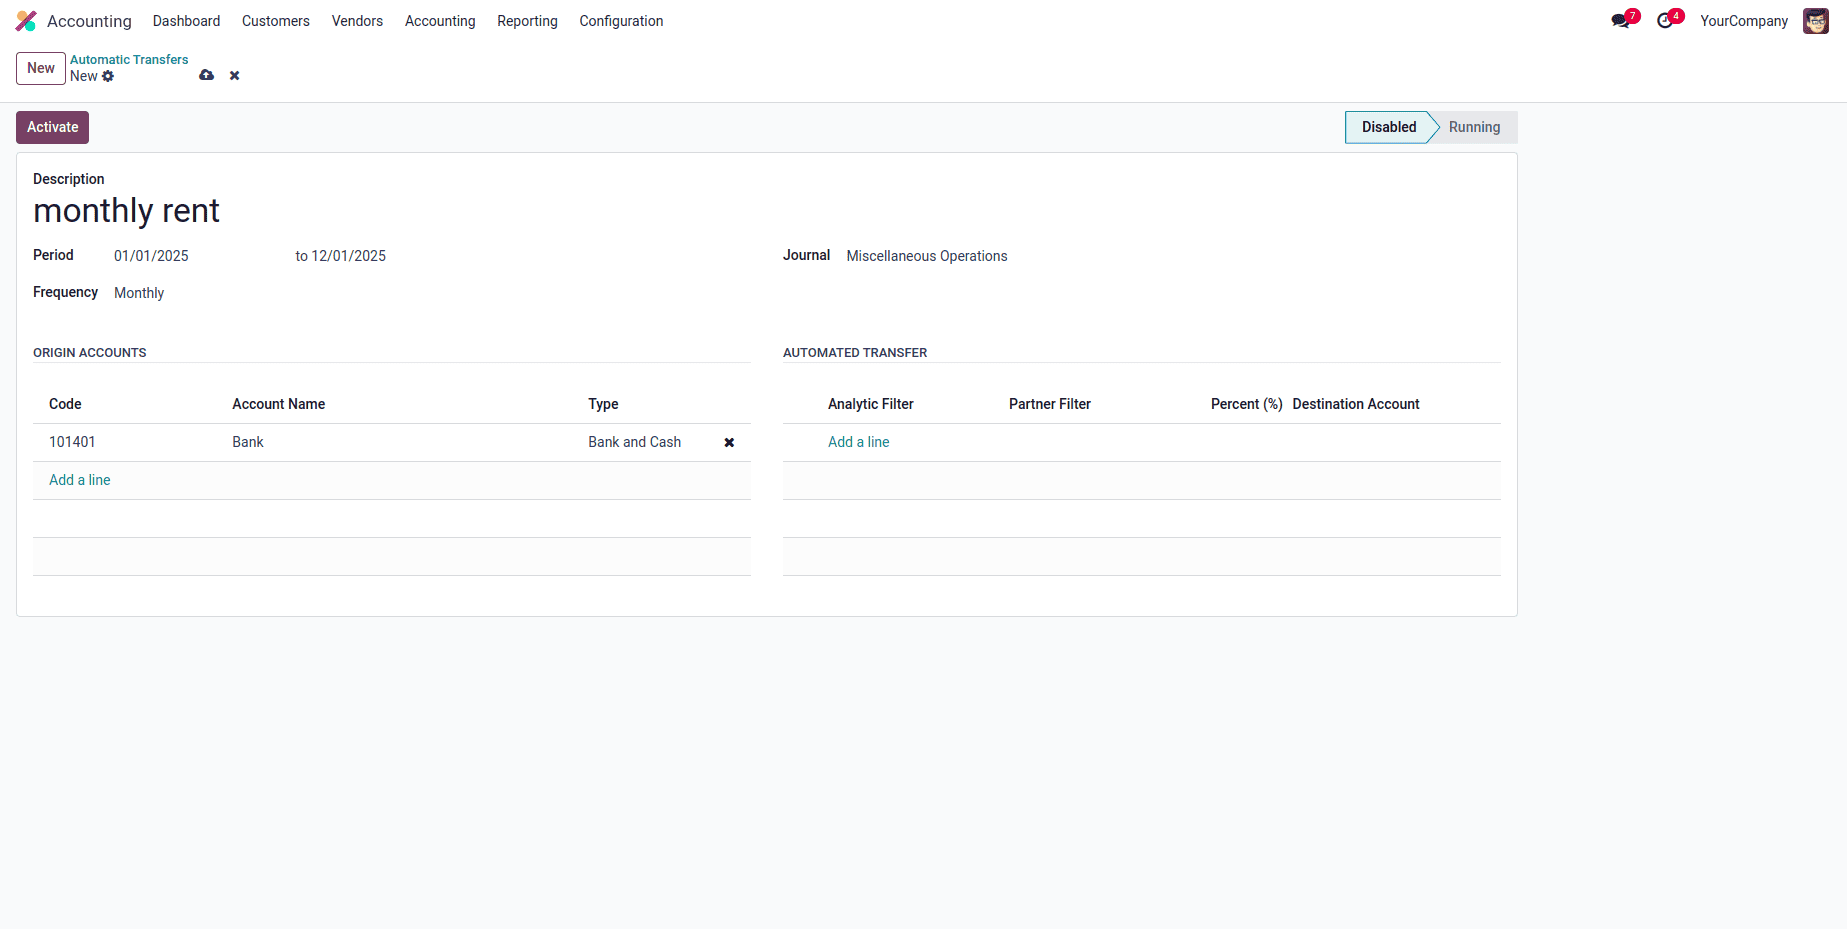
Now, under the Automatic Transfers tab, you can use the “Add a Line” button to specify the Destination Account where the amount should be transferred. Additionally, you can fine-tune the transfer by applying Analytic Account and Partner Filters. These filters ensure that only the total amount from the origin lines matching the selected analytic accounts and partners will be transferred to the destination account, providing more control and accuracy in your financial reporting.
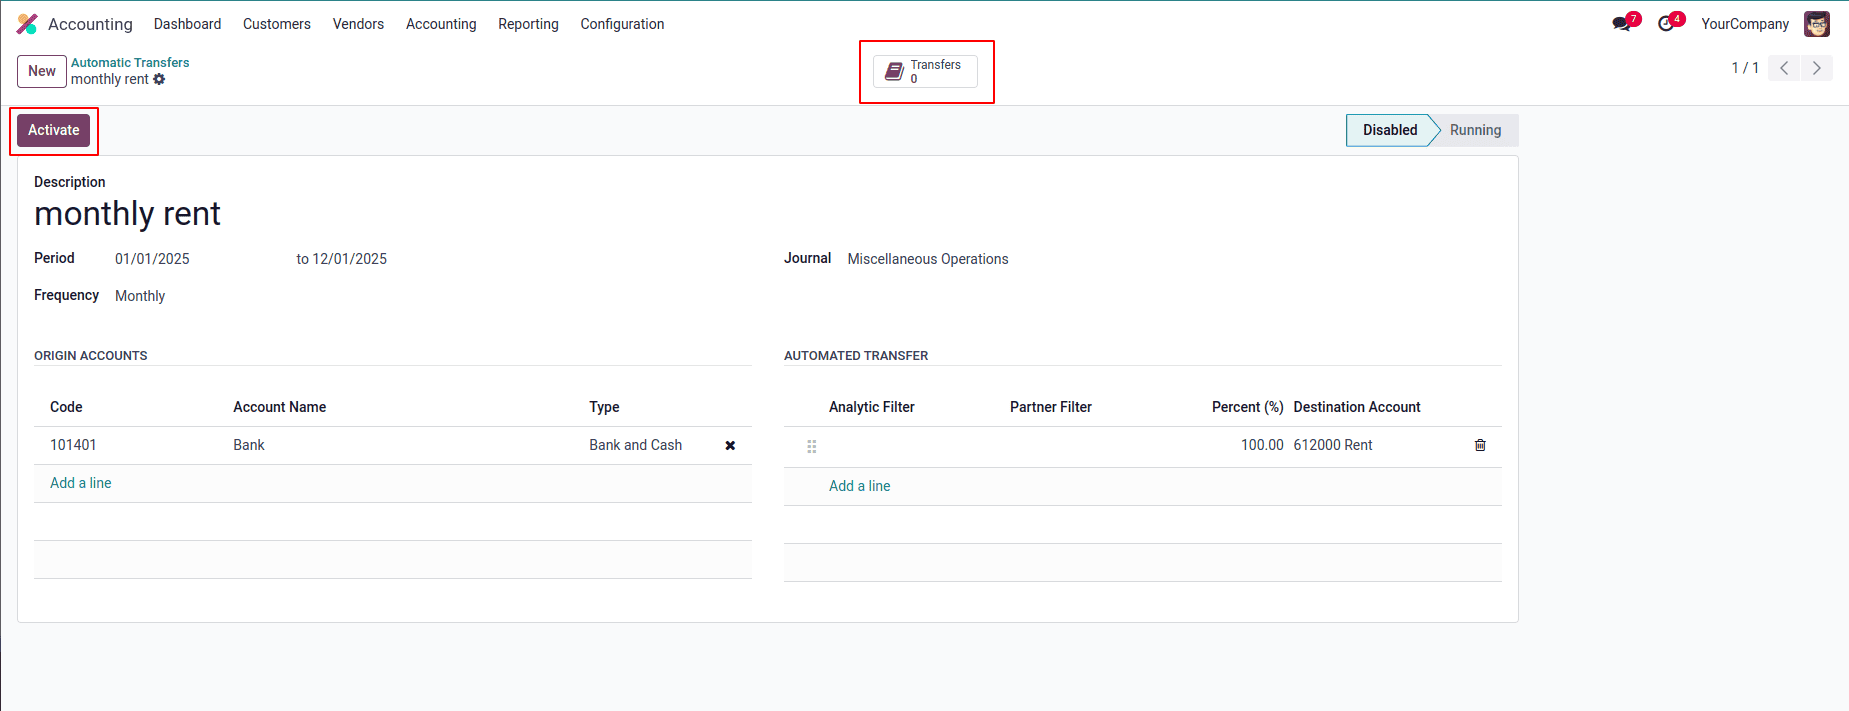
The Percentage field lets you define how much of the total amount from the origin accounts should be transferred. For example, if you set it to 50%, only half of the calculated amount will be moved to the destination account.
Once all configurations are complete, click the “Activate” button to enable the automatic transfer. After activation, you can use the “Compute Transfer” button to manually trigger the calculation and generate the corresponding journal entries.
To keep track of the generated transfers, Odoo provides a “Transfers” smart button at the top of the form. Clicking this will show you a list of all transfers created based on the current configuration, helping you monitor and manage everything with ease.
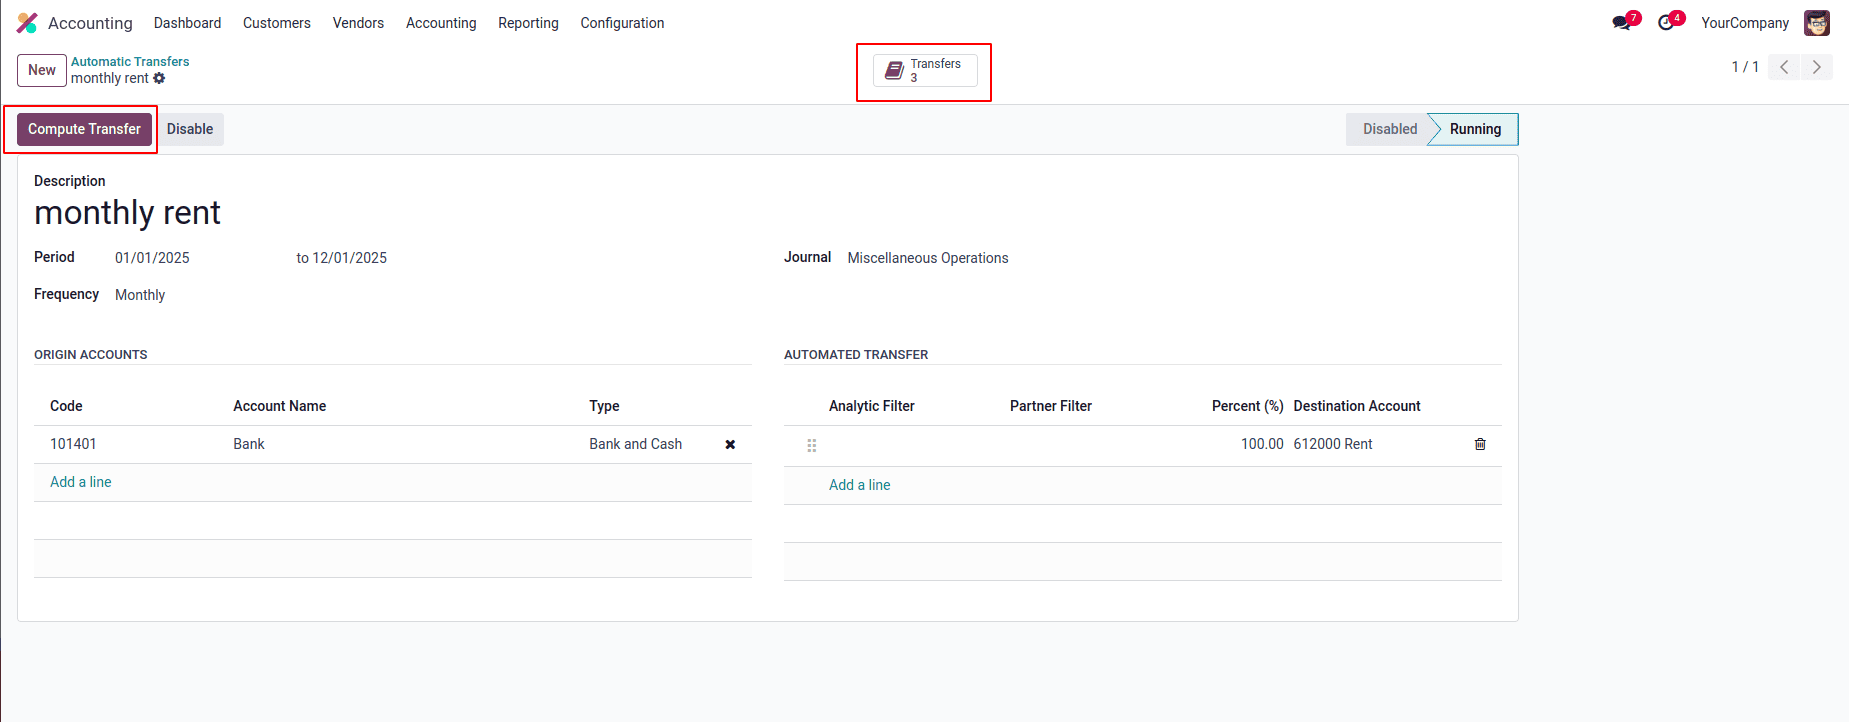
If you ever need to stop an automatic transfer before its scheduled end date, simply click the “Disable” button. This will pause the transfer and prevent any further transactions from being generated.
When an automatic transfer is activated in Odoo 18 and the “Compute Transfer” button is clicked, the system automatically generates a journal entry in the selected journal to record the financial movement between accounts. This journal entry reflects the transfer of amounts from the origin accounts to the destination account based on the configuration and percentage defined in the setup.
For example, if you are allocating prepaid insurance expenses, the system will debit the Insurance Expense account and credit the Prepaid Expenses account for the specified amount, ensuring accurate and consistent financial reporting.
The generated journal entry includes details such as the Date, Journal, Accounts, Debit and Credit amounts, and a Reference linking it to the corresponding automatic transfer.
You can view these entries by navigating to Accounting > Journal Entries, where each entry is clearly labeled for easy tracking and verification.

The Automatic Transfers feature in Odoo 18 Accounting is a powerful tool that streamlines financial management by automating repetitive account movements. It eliminates the need for manual journal entries, reduces the risk of human error, and ensures consistent and accurate financial reporting. Whether you’re handling recurring allocations like prepaid expenses, accrued income, or deferred revenue, this feature helps maintain up-to-date records with minimal effort. By setting up clear rules and schedules, businesses can save valuable time, improve efficiency, and focus more on strategic financial analysis rather than routine bookkeeping tasks. In essence, Automatic Transfers in Odoo 18 make your accounting operations smarter, faster, and more reliable.
To read more about An Overview of Odoo 18 Accounting Reports, refer to our blog An Overview of Odoo 18 Accounting Reports.