In Odoo 18 Studio, Automated Actions (also known as Automation Rules) let you automate tasks based on triggers and conditions, no coding required. With enhanced flexibility added in v18, you can configure actions that respond to user behavior, time events, emails, UI interactions, and even external systems.
Step 1: Open Automation Setup in Studio
To start automating:
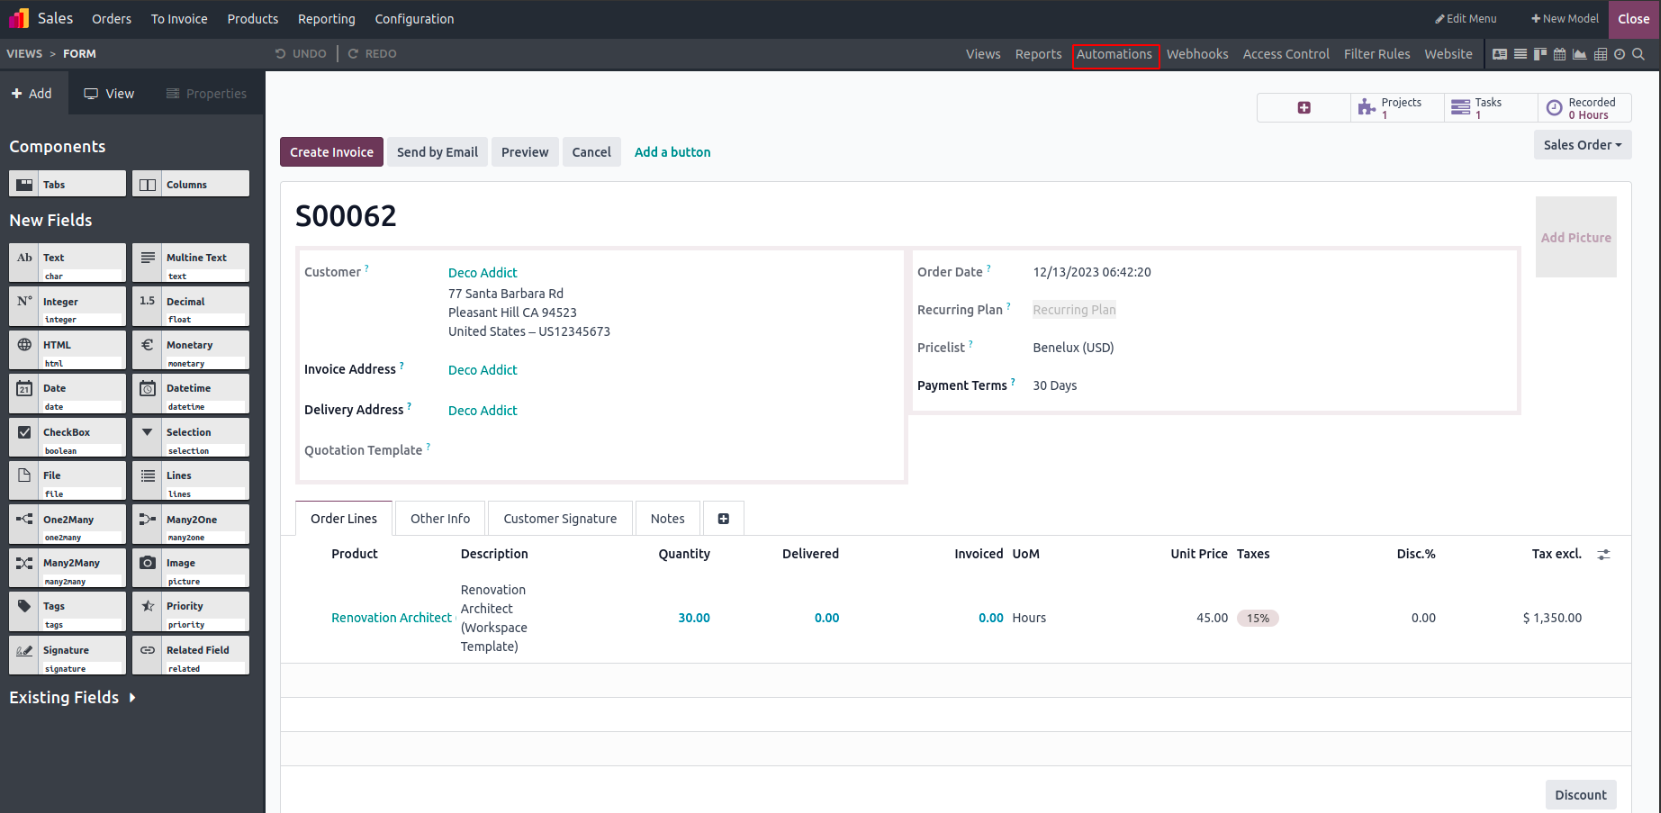
- Navigate to the form view of the model you want to automate (e.g., Products, Contacts, Sales Orders).
- Enter Studio Mode.
- Click the "Automation" button at the top.
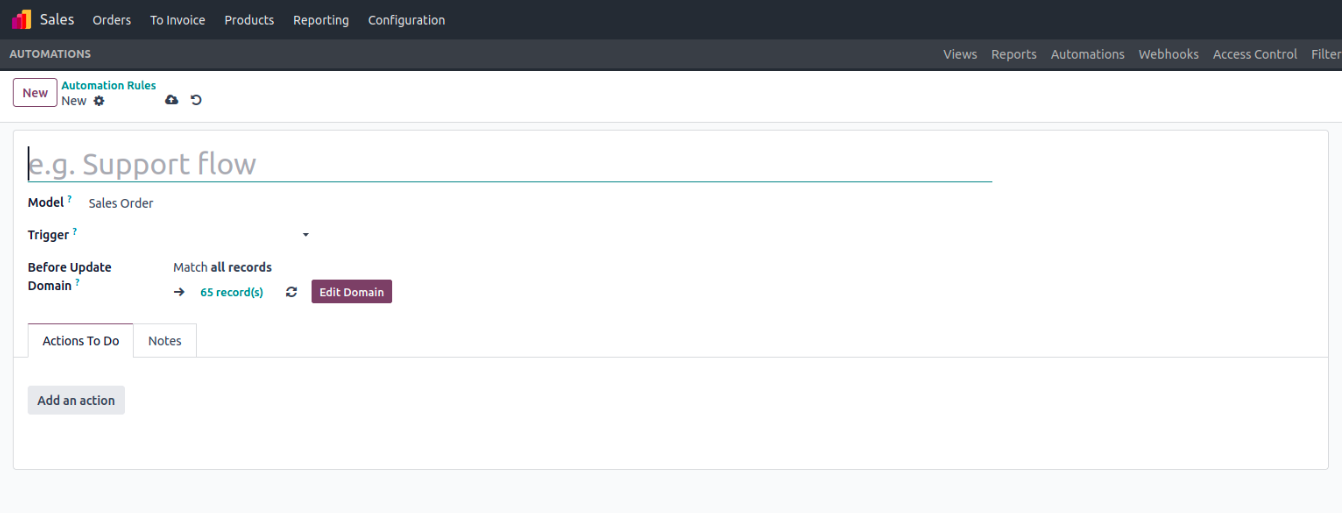
Step 2: Create a New Automation Rule
Click “New” to define a new rule, and fill in the required settings:
- Action Name: A descriptive label for the rule.
- Model: The target model (like Product, Contact, or Sale Order).
- Trigger: Defines when the action should occur—Odoo 18 supports many triggers:
- Values Updated (field changes)
- Email Events (Incoming or Outgoing emails)
- Timing Conditions (after create, after update, or based on date fields)
- Custom (On Save, On Deletion, On UI Change)
- External (On Webhook)
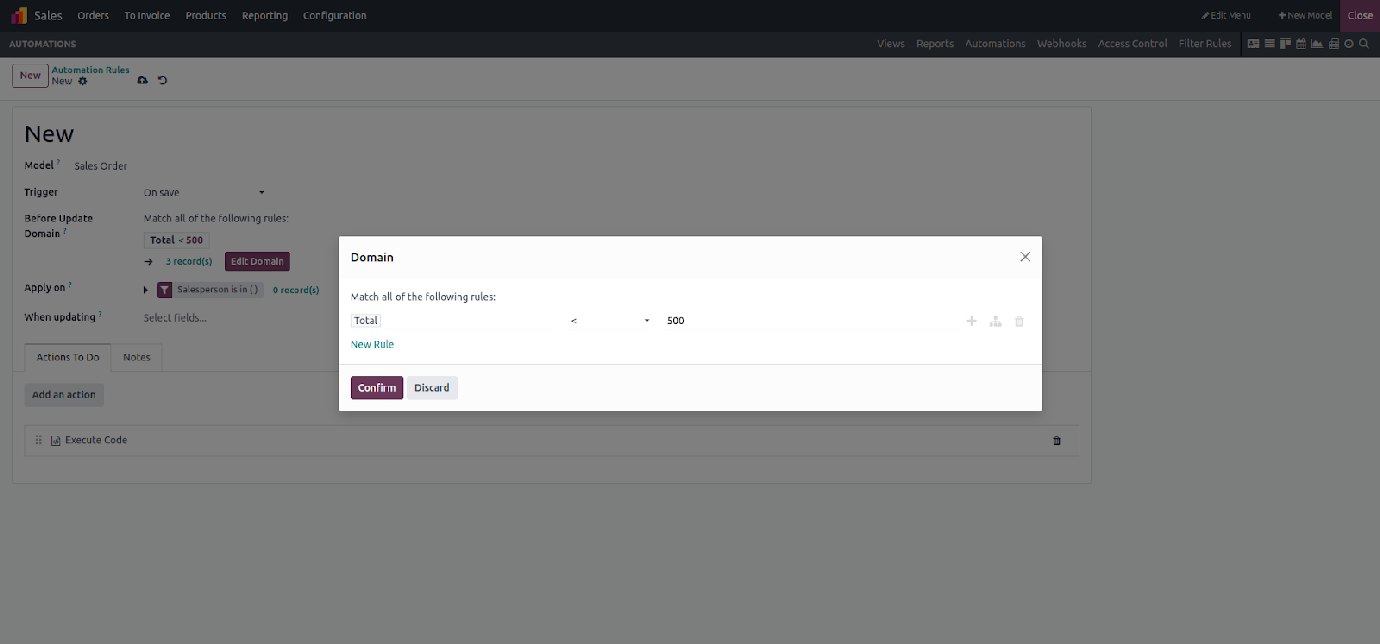
- Before Update Domain (optional): Conditions evaluated before saving/updating.
- Apply On Domain: Conditions evaluated at execution time.
Step 3: Define the Actions to Perform
Under the "Actions To Do" tab, specify what should happen when the rule runs. Available server actions include:
- Update Record – Modify fields automatically.
- Create Record – Generate related records (e.g., tasks or invoices).
- Create Activity - Schedule follow-up activities.
- Send Email – Email templates triggered programmatically.
- Send SMS – Send SMS via template.
- Add/Remove Followers – Control record followers.
- Execute Python Code - Run server-side logic.
- Send Webhook Notification – Push data to external systems.
- Execute Existing Actions – Chain multiple server actions together.
- Allowed Groups – Limit execution to certain user groups.
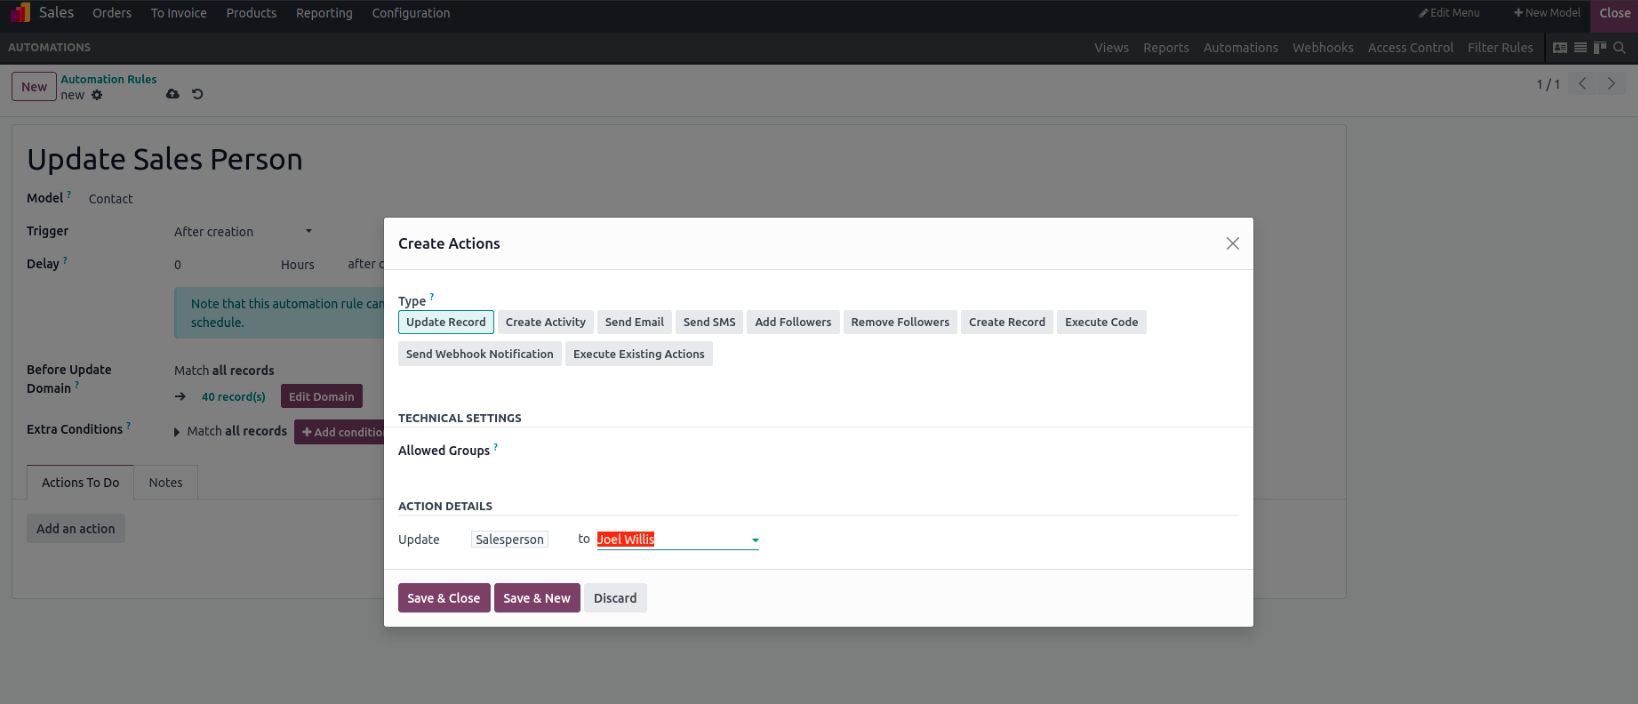
Once configured, save the rule and exit Studio. When a new contact is created: The Salesperson field automatically updates to Joel Willis. Click on the form and inspect the change.
Odoo supports optional scheduling delays (up to 240 minutes), and you can manually trigger the rule via the scheduler interface.
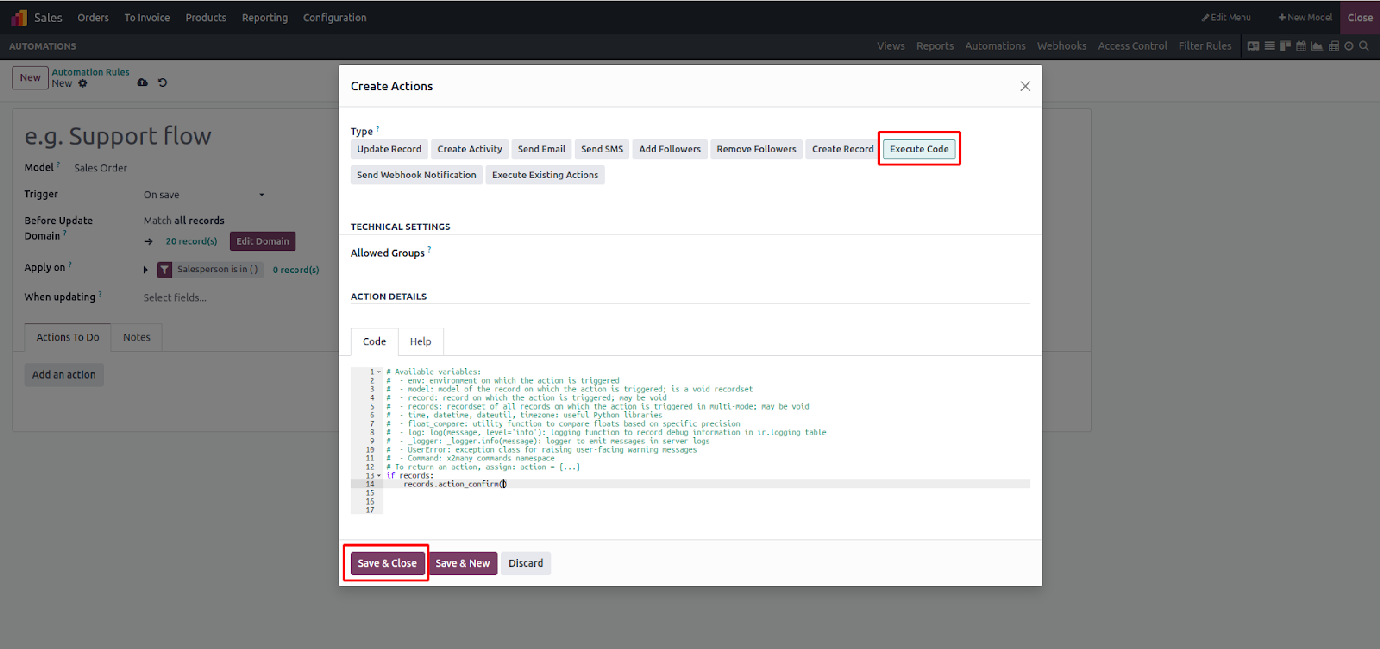
In this example, we’ve used an if statement to check a condition and then invoked the action_confirm method to confirm the sales order.
Within the Python code section of the automation, the following variables and tools are available for use:
- env: The current Odoo environment where the action is being executed.
- model: Refers to the model on which the automation is defined.
- record: The single record the action is triggered on (can be None).
- records: A recordset containing all records the action is triggered on in multi-mode (may be empty).
- Python libraries: time, datetime, dateutil, and timezone are available.
- float_compare: Utility to compare float values based on their precision.
- log(message, level='info'): Logs messages in the ir.logging table for debugging or tracking.
- _logger: Allows writing messages directly to the server log using _logger.info(message).
- UserError: Exception class used to raise user-facing errors.
- Command: Namespace used for handling x2Many field commands (e.g., adding/removing related records).
- action: To return a specific action, assign the result to the action variable, like action = {...}.
These tools allow you to perform detailed, condition-based operations with high flexibility.
Additionally, a domain was applied to filter the records that the automation should act upon. This approach allows us to combine conditional logic with Python code, enabling the execution of advanced operations within an automated action.