One of the best things about Odoo 18 Studio is its ability to let you borrow existing building blocks from Odoo’s core modules, like fields, views, components, and behaviors—and adapt them to your custom apps. This gives you a huge head start on creating powerful, intuitive solutions.
Step 1: Create a Custom App
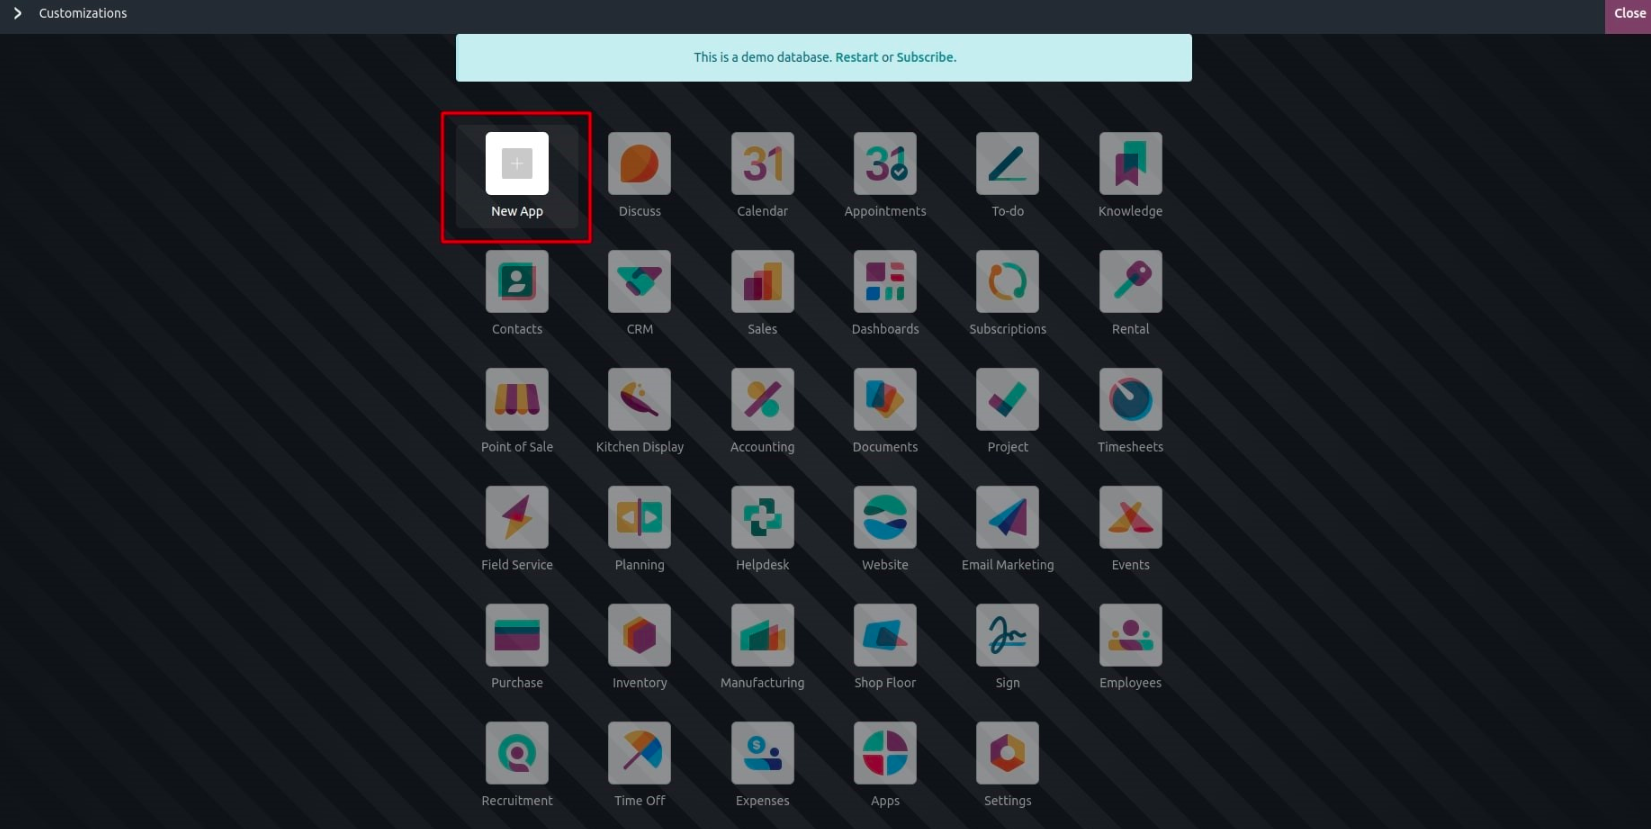
In Studio, click “New App” to begin building your custom application.
Step 2: Choose How You Want to Build
You can start from scratch or extend an existing model:
- Create a New Model – Define your data structure and capabilities.
- Use an Existing Model – Quickly leverage core Odoo models like Sales Order, Project
A) Creating a New Model
If you choose “New Model”, Studio will show a dialog with a list of optional standard features. Enabling these options automatically sets up related fields, views, or widgets for you.
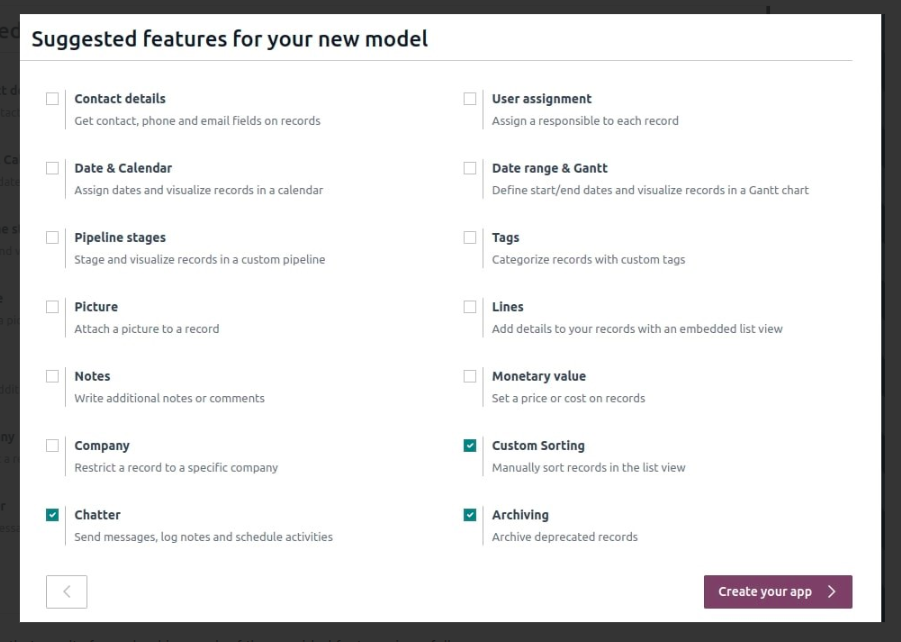
Below is a summary of what each feature adds:
- Contact Details: Adds phone, email, and map support, and includes contact-related fields in List views.
- User Assignment: Adds a ‘Responsible’ field. Includes avatar display in forms and responsible person column in lists.
- Date & Calendar: Enables a date field and sets up a Calendar view.
- Date Range & Gantt: Includes start/end date fields and activates the Gantt chart view.
- Pipeline Stages: Adds Kanban stages (New, In Progress, Done), a status bar in forms, and a colored stage field in lists.
- Tags: Creates a tags model, adds tagging functionality in forms, and sets permissions automatically.
- Picture: Adds an image field to the form header for uploading photos or logos.
- Notes: Inserts a full-width HTML field for notes or rich descriptions.
- Monetary Value: Adds monetary fields with currency handling and enables Pivot and Graph views for analytics.
- Company: Adds a Company field for multi-company setups.
- Custom Sorting: Puts a drag handle in list views for manual sorting of records.
- Chatter: Turns on chatter integration for logging, messaging, and activity scheduling.
- Archiving Integration: Enables archive/unarchive options and hides archived records in views and searches by default.
B) Extending an Existing Model
If you select “Existing Model”, you can leverage all of that model’s capabilities and add your own customizations.
For example, choosing the Sales Order model incorporates sales views, fields, and behavior instantly. Then, you can customize it further by adding fields, automations, or tweaking views.
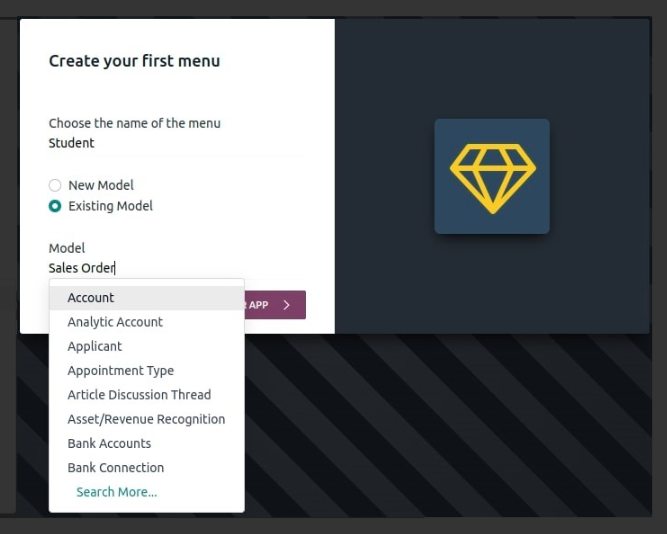
Once selected, the Sales Order form appears in Studio, and you can:
- Add new fields
- Adjust menu structure
- Configure buttons and automations
- Modify the layout—all without losing the power of the core model.