The Kanban View in Odoo presents records in a card-based layout, making it easy to track the status of tasks, sales leads, or any record that progresses through stages. It offers a visual and intuitive way to manage workflows, ideal for project tracking, CRM pipelines, or support tickets.
In Odoo Studio, you can quickly create and customize Kanban views to match how your team works, without touching any code.
Accessing the Kanban View in Studio
To create or edit a Kanban View:
- Click the Studio icon on your Odoo interface.
- Select the app and model you want to work with.
- From the top-right corner or the ‘Views’ tab, choose “Kanban” to open the Kanban view editor.

Customizing the Kanban Layout
Once the Kanban view is activated, you’ll see three main customization sections:
These allow you to control what data is displayed, how the view behaves, and how fields are styled.
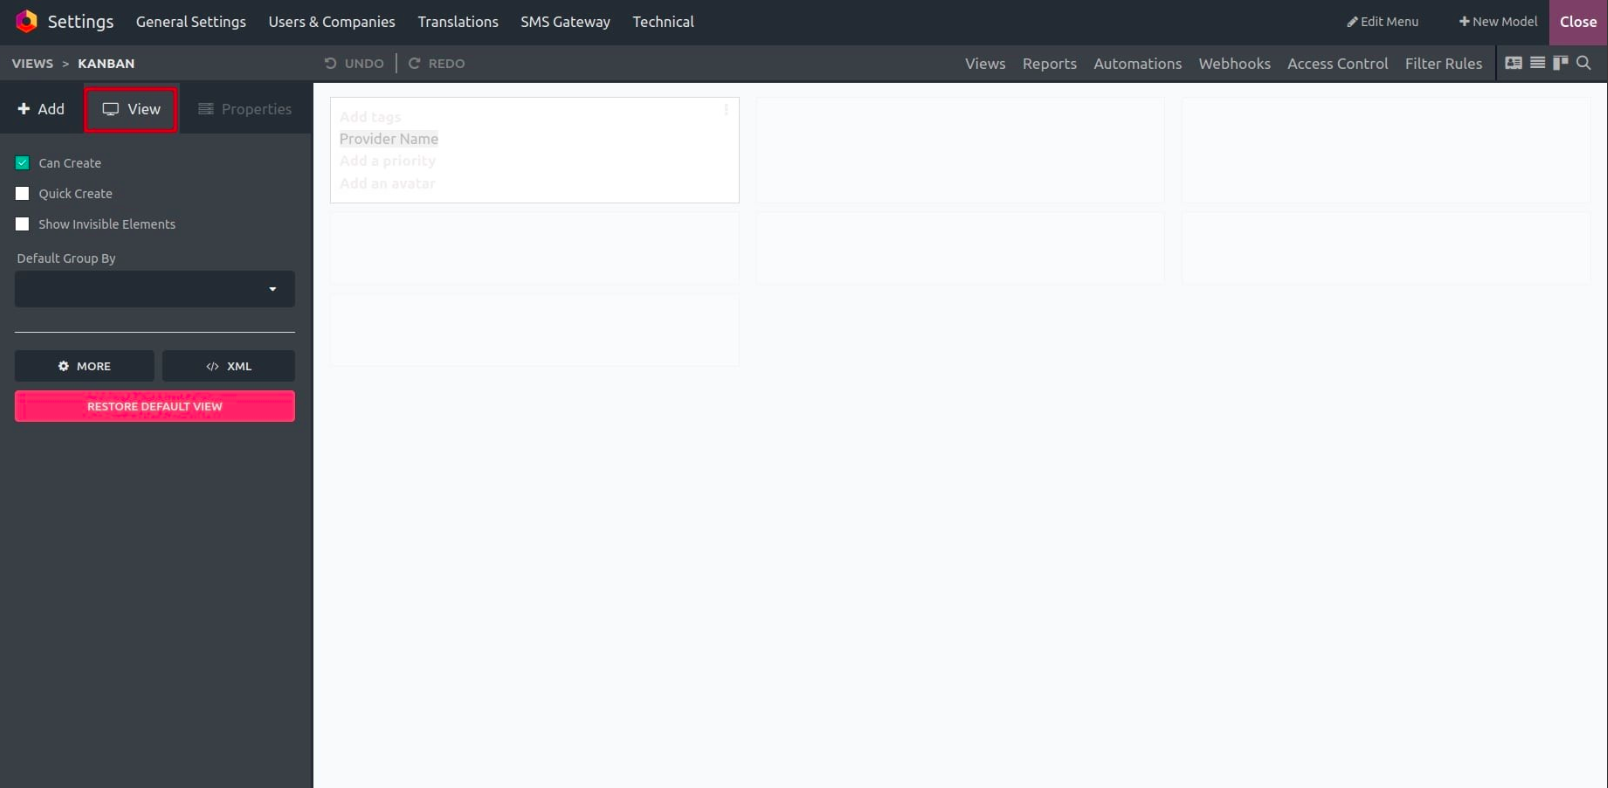
The “View” Tab – Define Display Behavior
Under the “View” tab, you can control high-level behavior of the Kanban view. Options include:
- Can Create: Enable the ability to add new records from the view.
- Quick Create: Allow users to quickly add records using a simplified form.
- Show Invisible Elements: Display hidden fields for advanced configuration.
- Default Group By: Choose a default grouping for Kanban columns (e.g., group by stage, status, or salesperson).
These settings shape how the view functions when users interact with it.
The “Add” Tab – Insert Fields
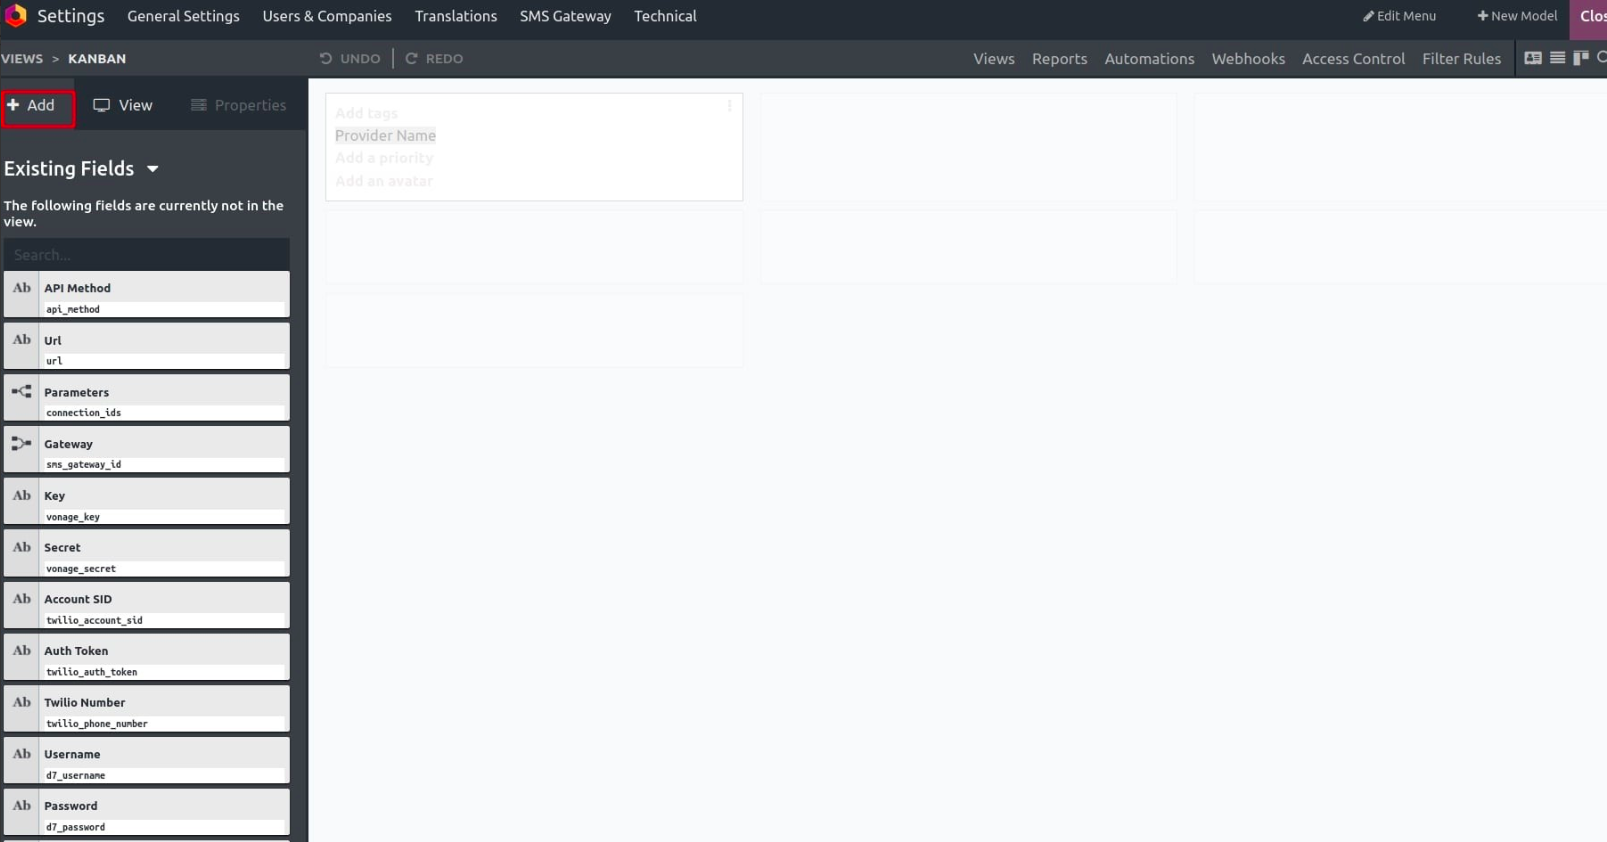
To display more information on your Kanban cards, you can drag and drop fields from the “Add” panel directly into the card layout. These fields can show anything from customer names to priority tags or due dates.
The “Properties” Tab – Style and Configure Fields
When you click on a specific field inside a Kanban card, the “Properties” tab appears. Here, you can fine-tune how that field behaves or looks.
Available property settings include:
- Invisible: Hide the field from users.
- Bold: Highlight important information by making text bold.
- Label: Rename the field label as it appears on the card.
- Widget: Choose how the field appears (e.g., image, progress bar).
- Default Value: Set a default for the field.
- Limit Visibility to Groups: Restrict visibility to specific user groups.
At the bottom, there’s a “Remove from View” option if you want to delete the field from the card layout.

When you create a Kanban view using Studio, the system automatically updates the Window Action so that the Kanban becomes the default view when users open the model.
This ensures that your new layout is immediately functional and visible without any extra steps.