A user interface (UI) comprises elements like buttons, menus, screens, and fields that allow users to interact with a computer system. Fields are specific areas designated for entering or viewing data, while existing fields refer to predefined data points that users can access or modify within the UI.
User Interface
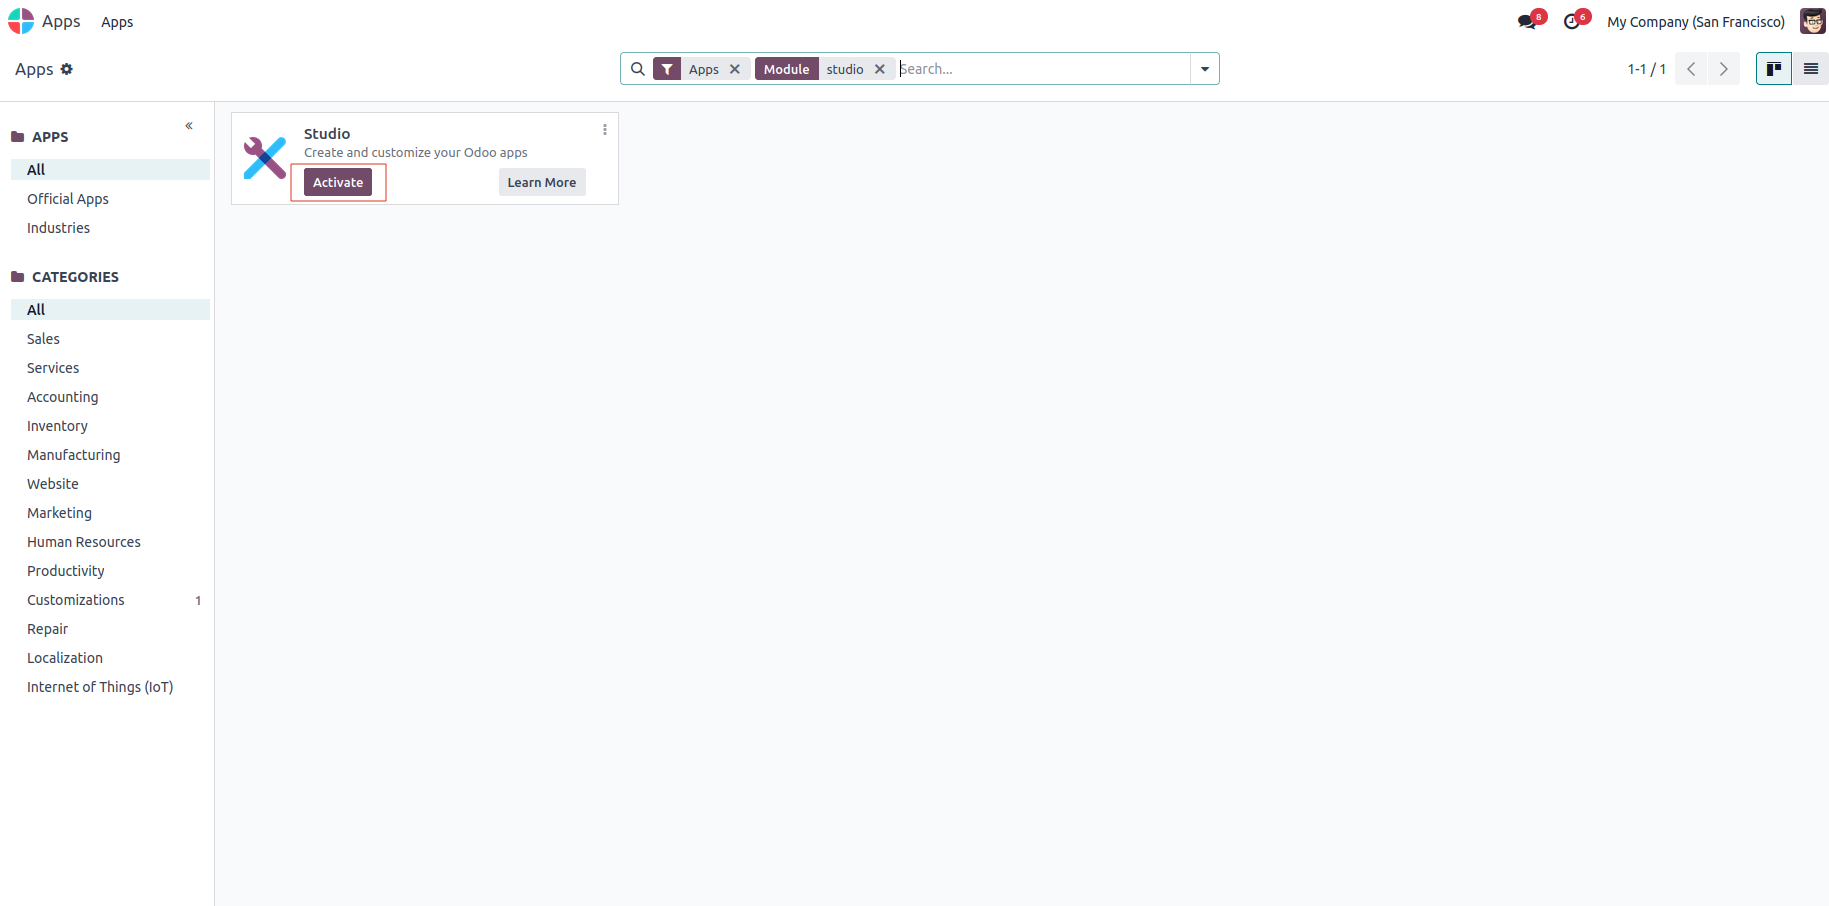
The Studio module must be installed before you can edit or create Odoo modules.
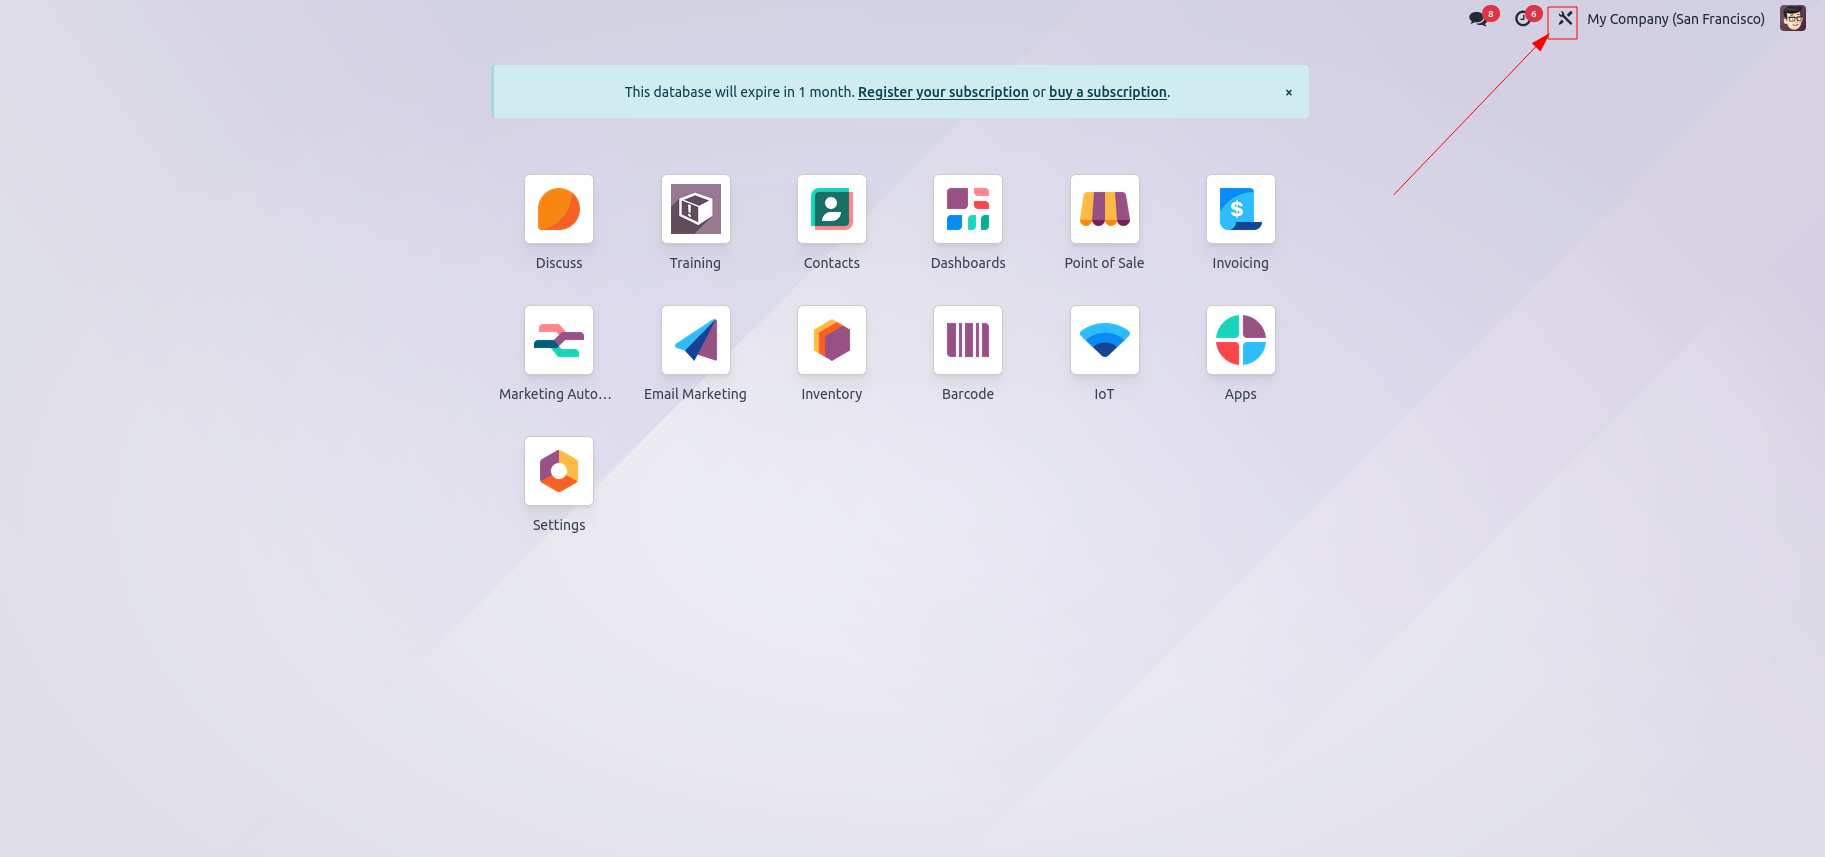
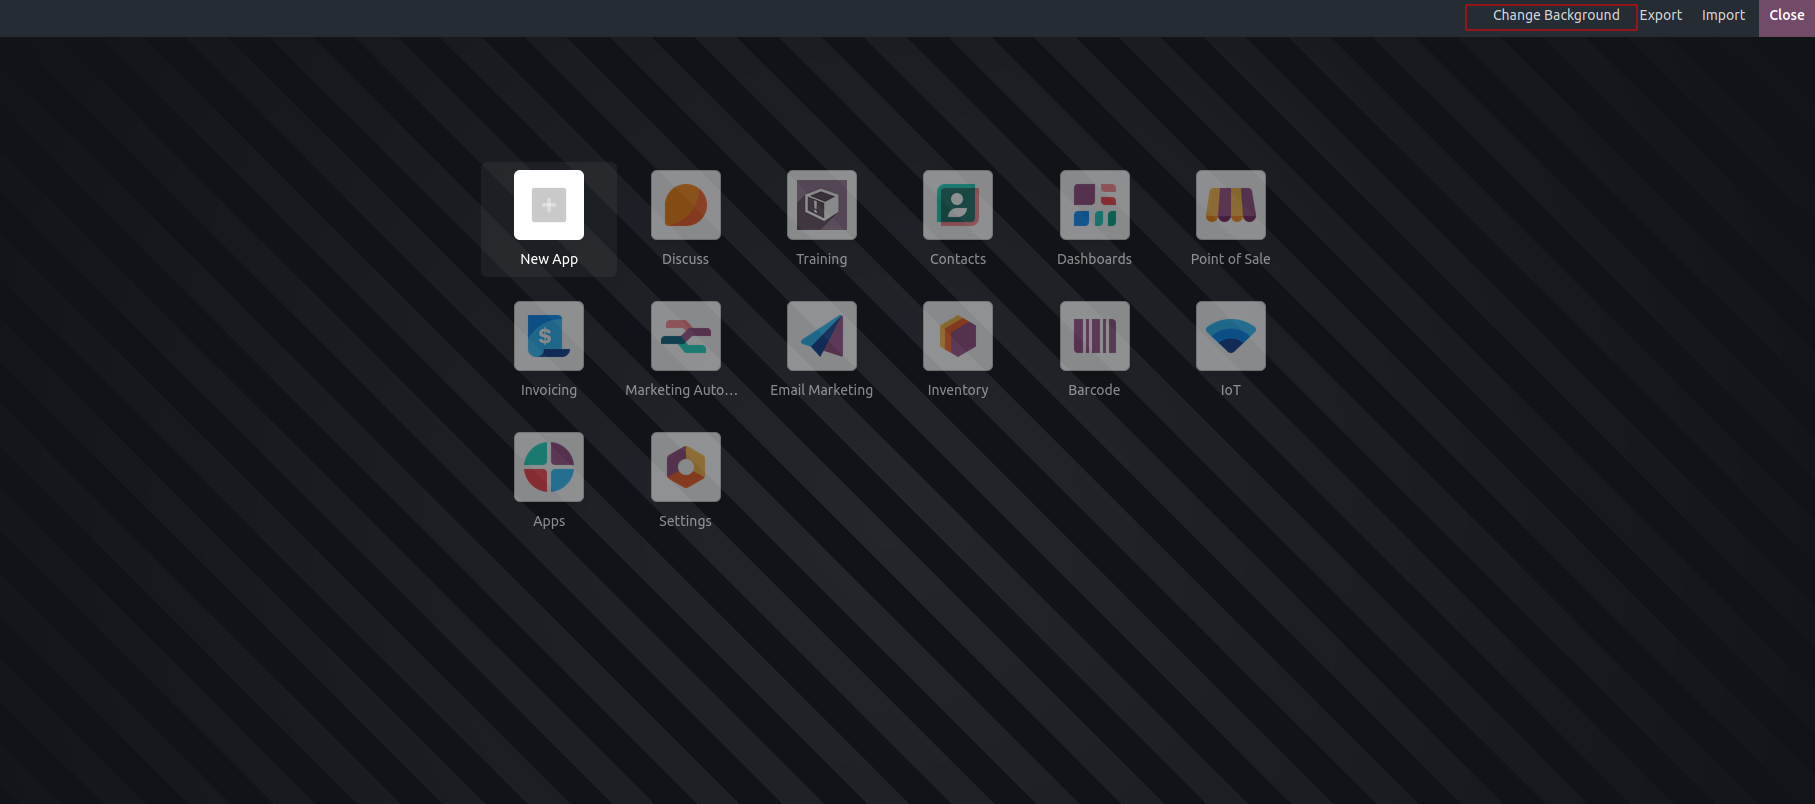
After installing the Studio module, find the editing tool (Change Studio button) on the right side of the Odoo app dashboard. Click the toggle to enable Studio mode and unlock its advanced customization features.
The Toggle Studio tool lets you create a new app or edit an existing one. In Studio mode, you can also customize the app’s background. The Export option allows you to export the module, while the Import option lets you bring in a module, offering a flexible and streamlined way to customize apps in Odoo.
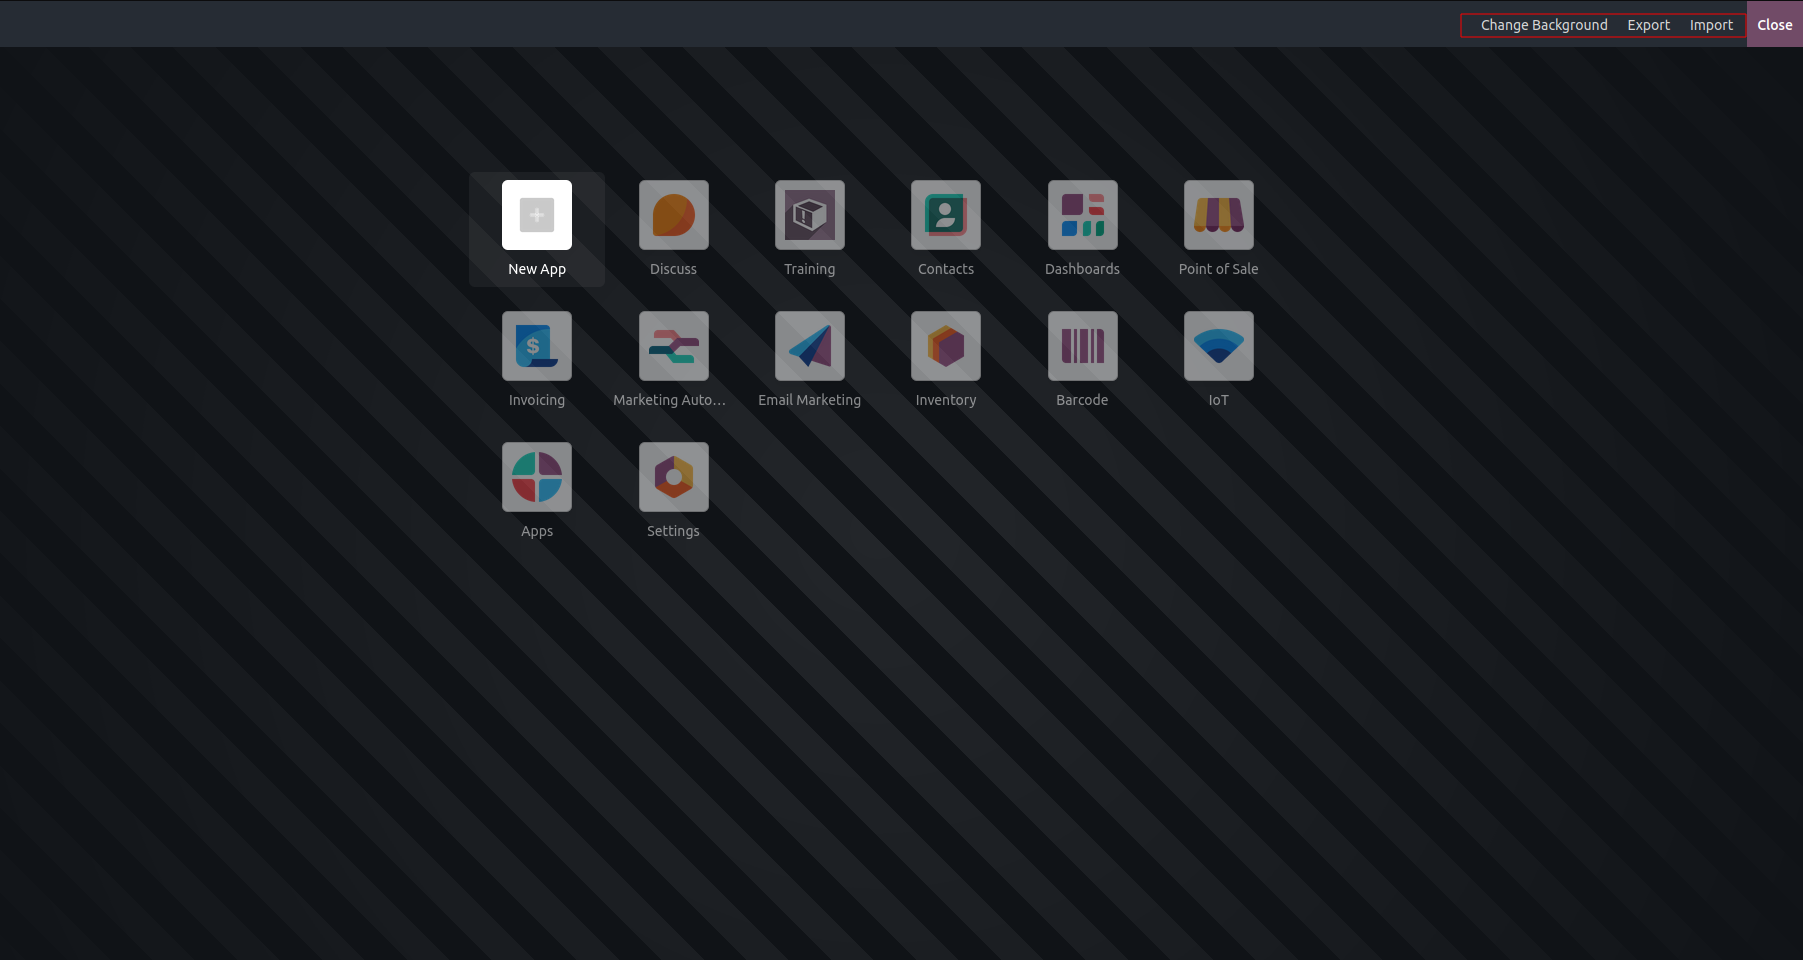
By clicking the Change Studio button, you’ll open the customization menu, which includes options for importing, exporting, and changing the background. The Change Background option lets you choose and apply a custom background for a more personalized and visually attractive interface.
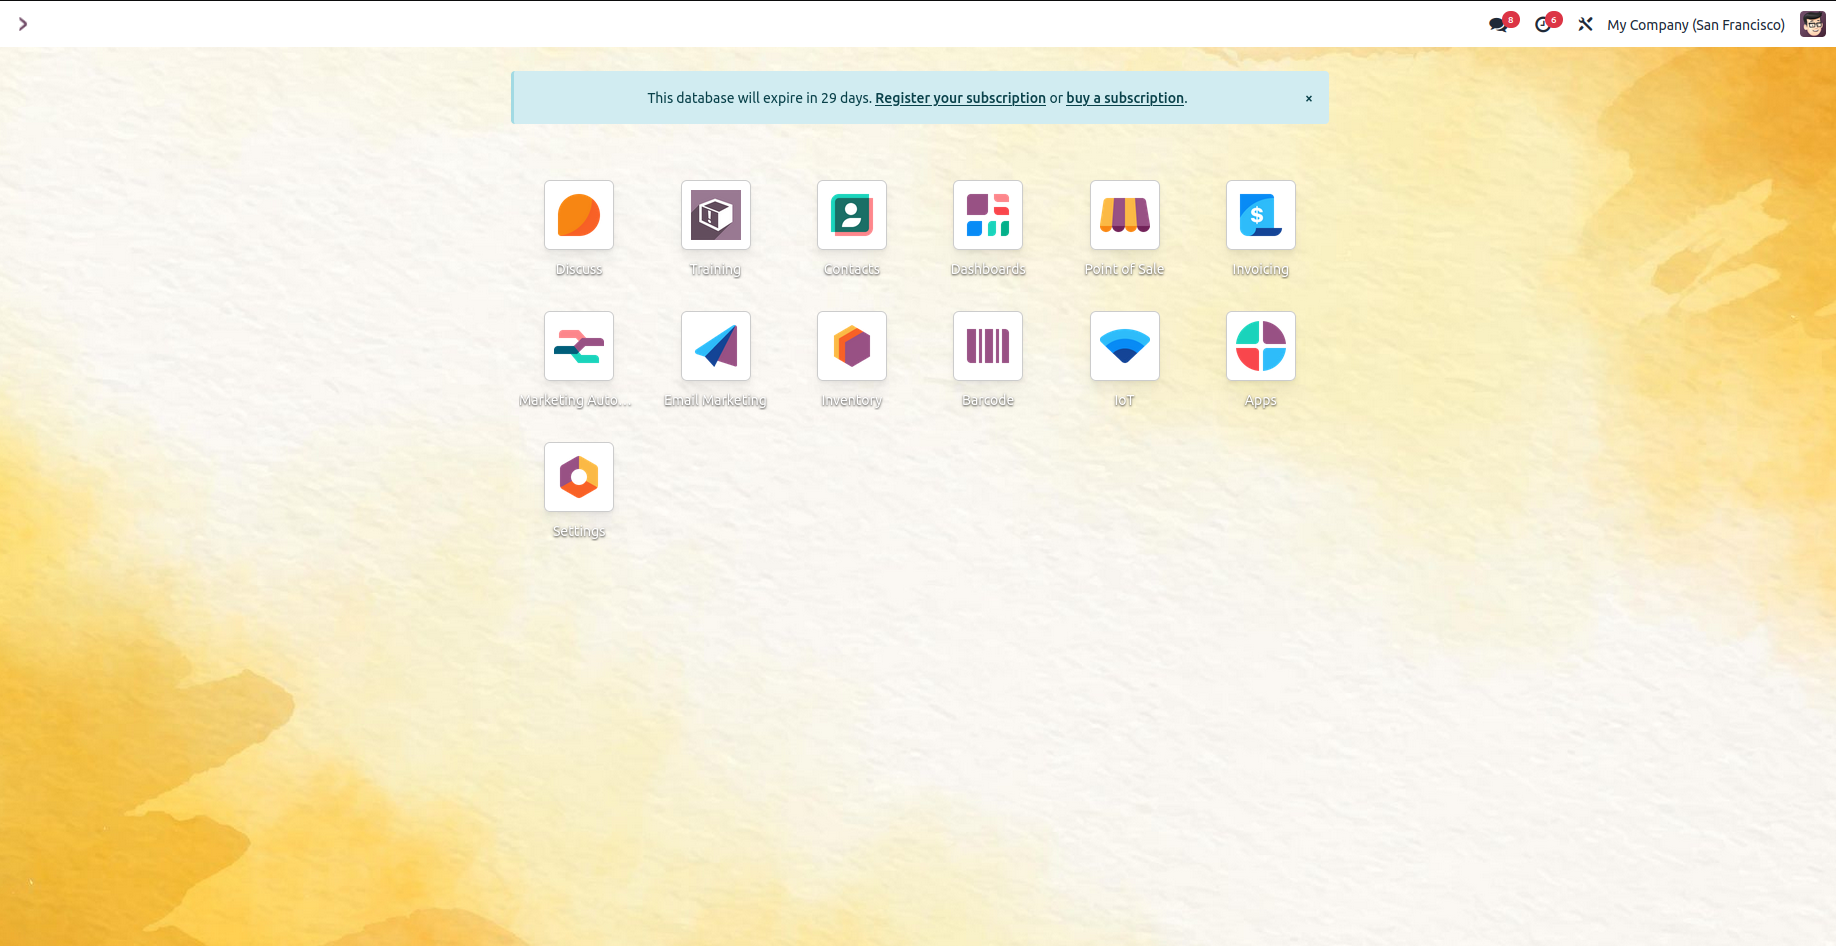
As you can see, we updated our custom background.
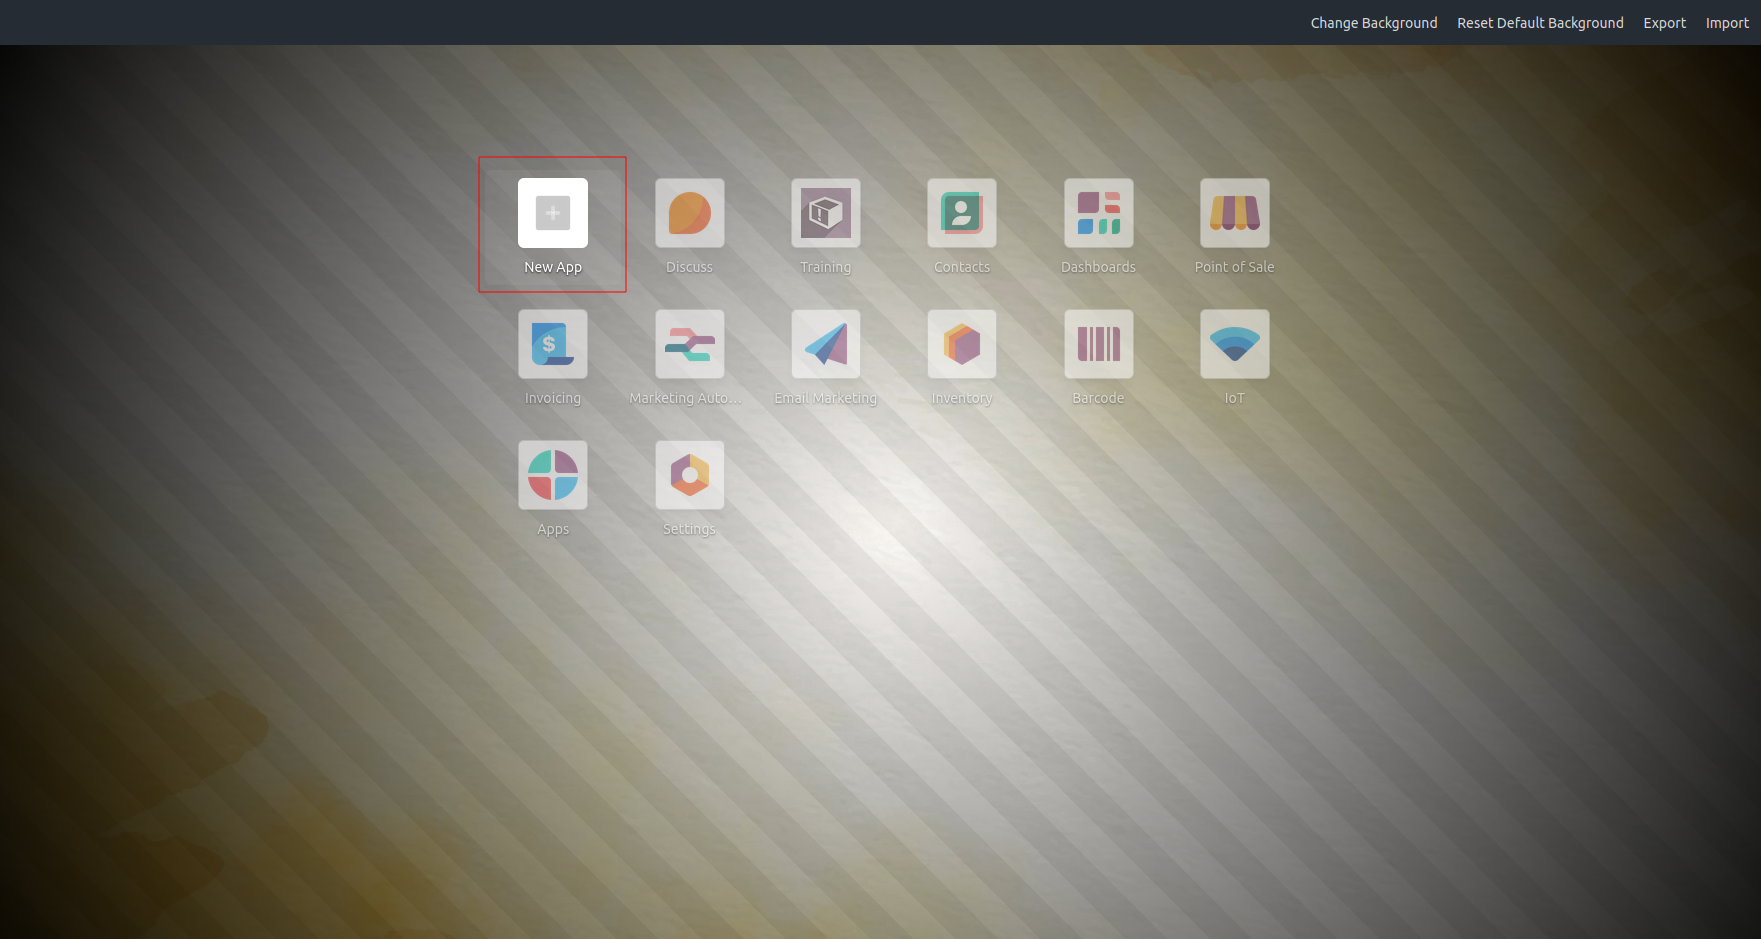
Click the "New App" icon to begin creating a new application. To modify an existing app, simply select it and use the available Odoo customization options to make the desired changes.
To modify an existing application, click its icon in the Odoo application panel. Then, locate the "Views" button in the top-left corner. This button allows users to create and customize various view types, such as tree, form, kanban, map, search, and calendar—tailoring the interface to their specific needs.
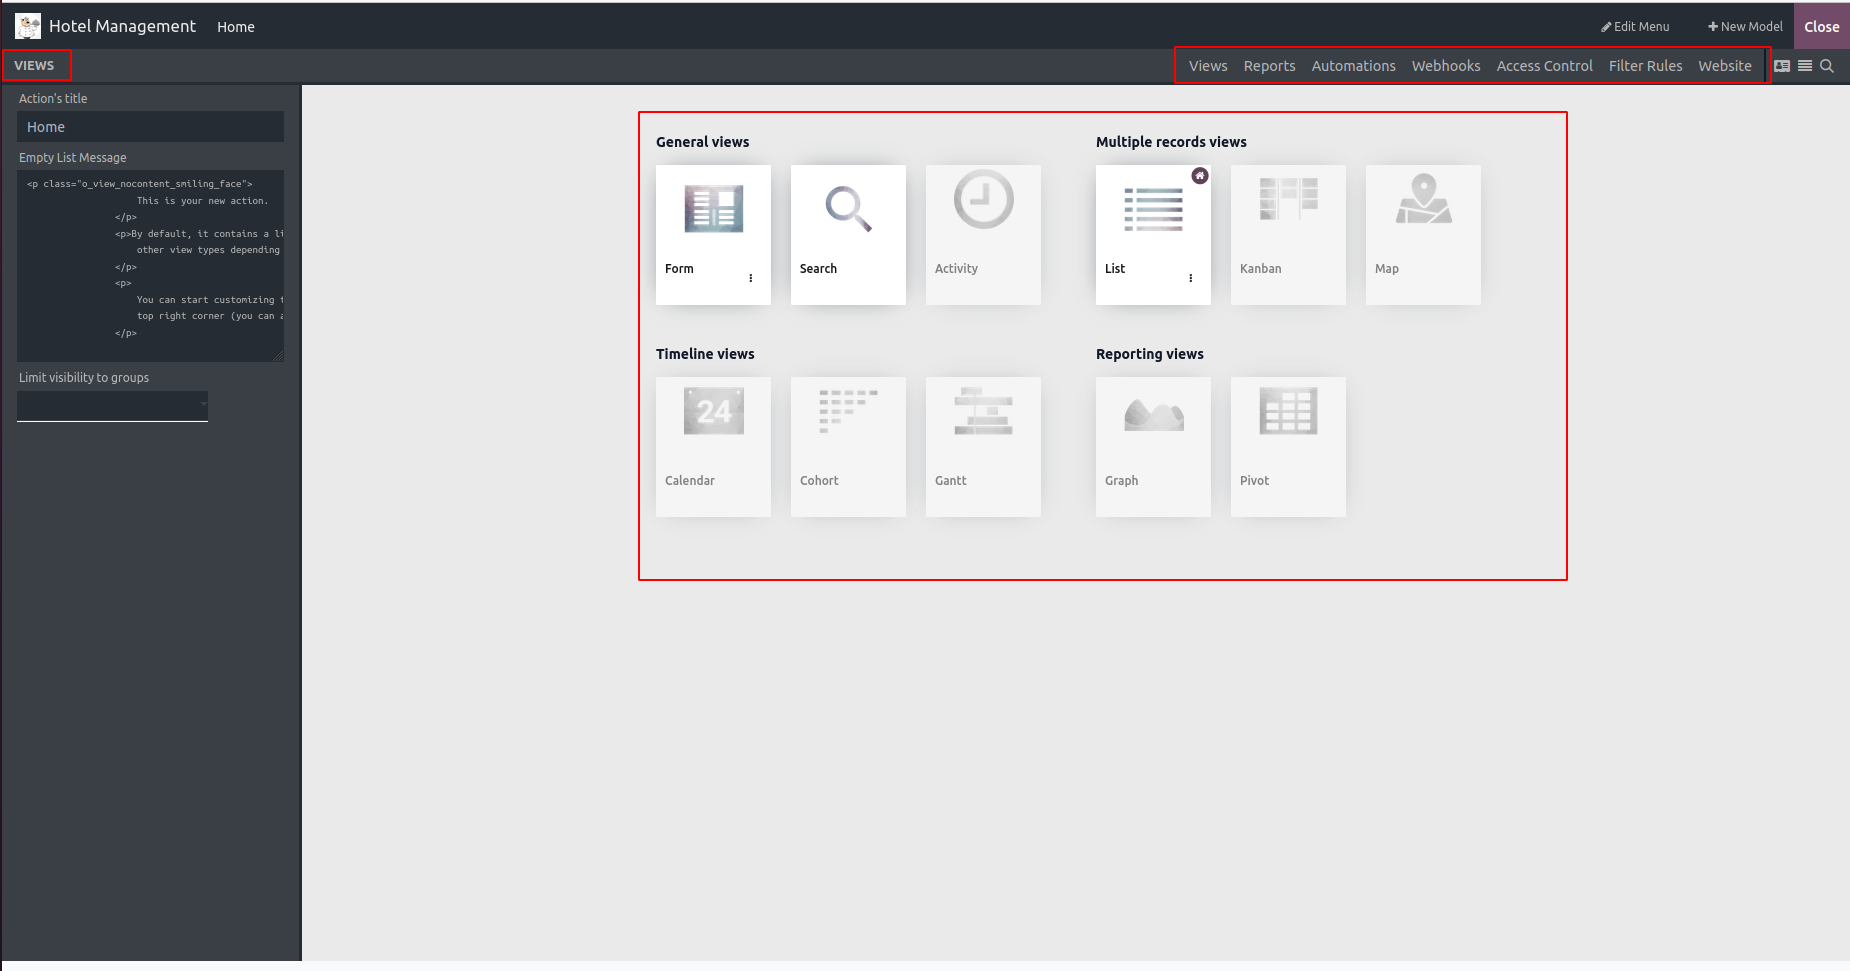
- Views: Contribute to managing and customizing the model's various views.
- Reports: To oversee reports related to the module
- Automation: To modify and add new automatic actions
- Translations: Assist with adding translations to the module.
- Access Rules: To alter the access rules.
- Filter rules: To control the views' filter rules.
- Website: To alter the webpage.
Additionally, you can see the various kinds of views.
General Views
Timeline Views
Multiple Record Views
Reporting View
In Studio mode, the different view icons appear next to the customization menus. Clicking on any of these icons opens the respective view window. You can use the "Edit Menu" button in the window's menu bar to customize and modify the app’s menus.

By selecting the "New" menu option, you can add a custom menu to your system, as well as edit or delete existing ones.
Clicking the "New Model" button allows you to create and add a new model.
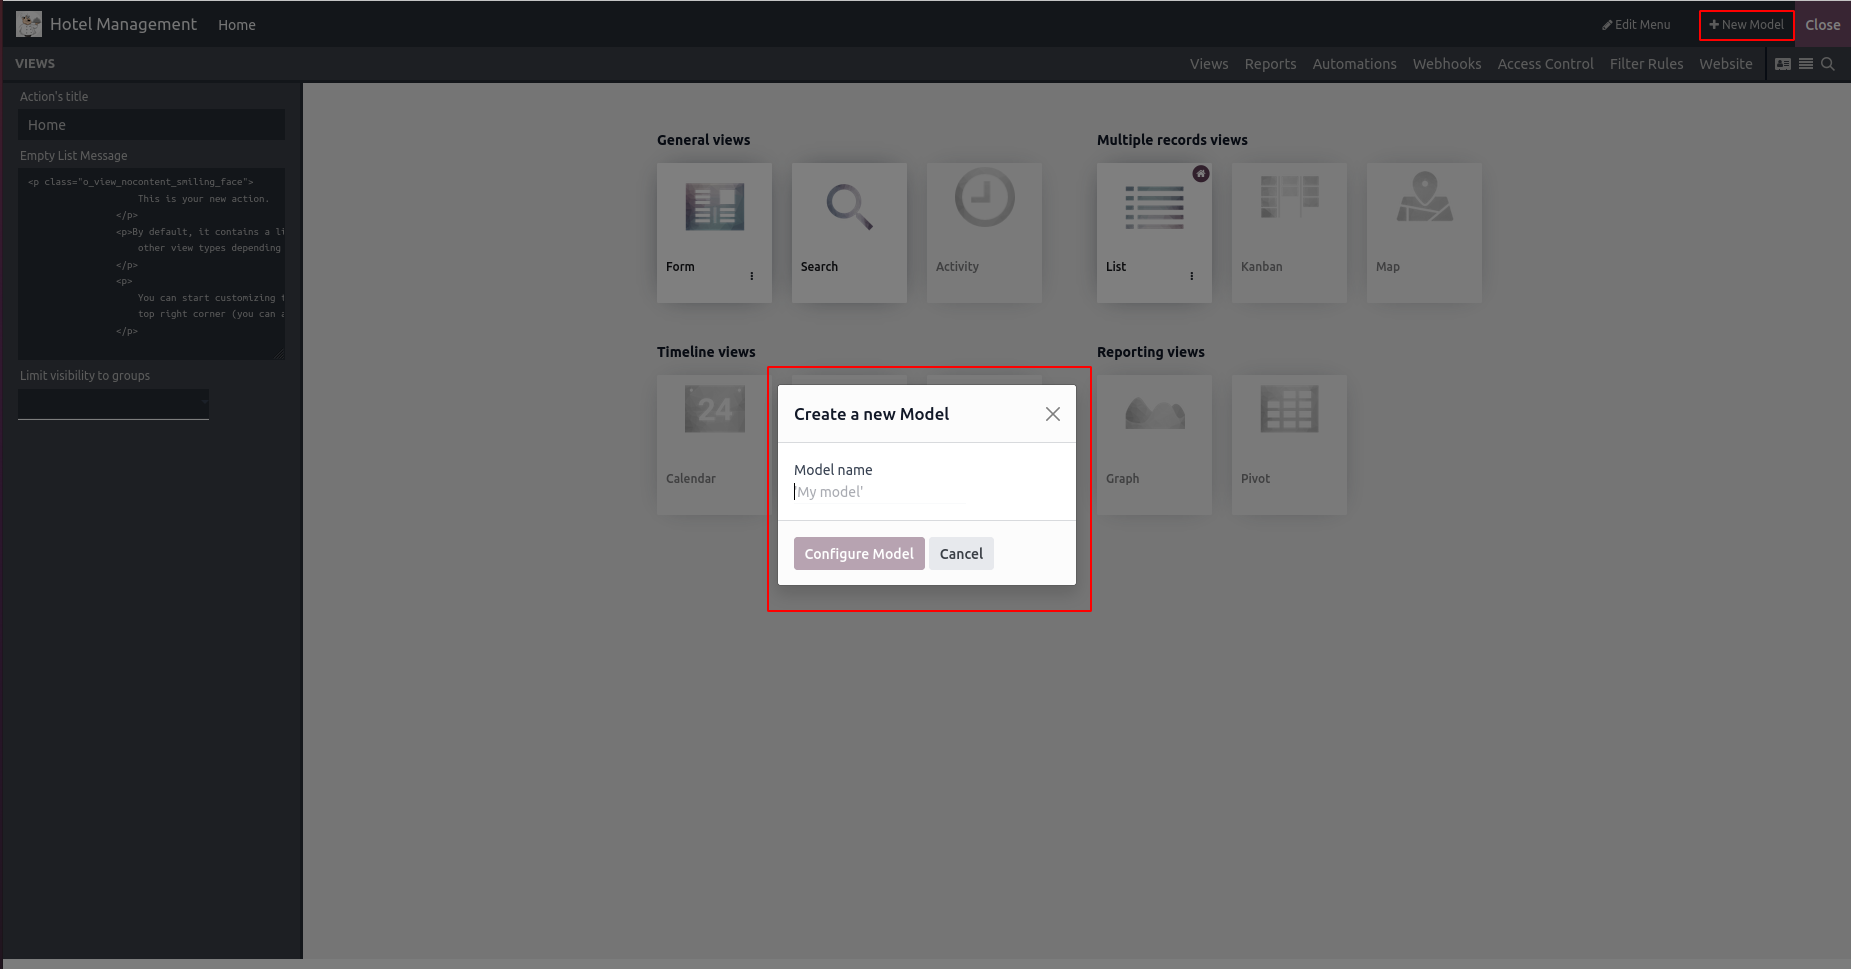
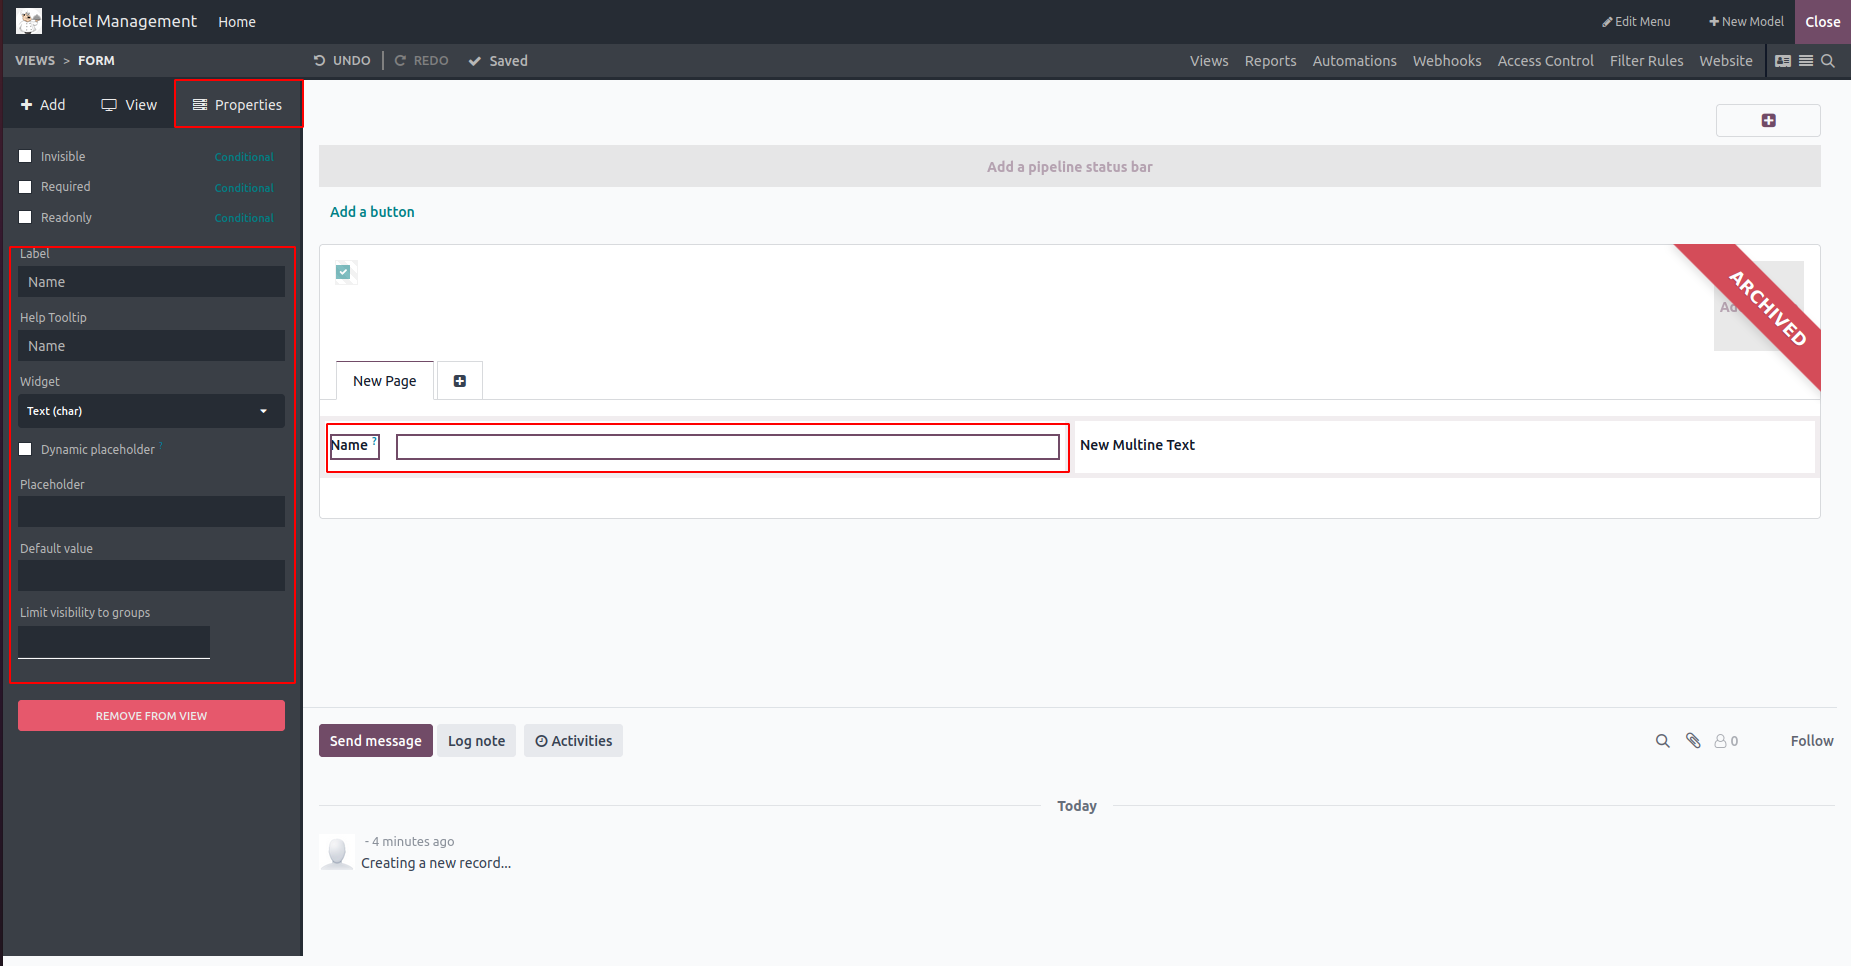
The left corner displays three tabs: Add, View, and Properties.
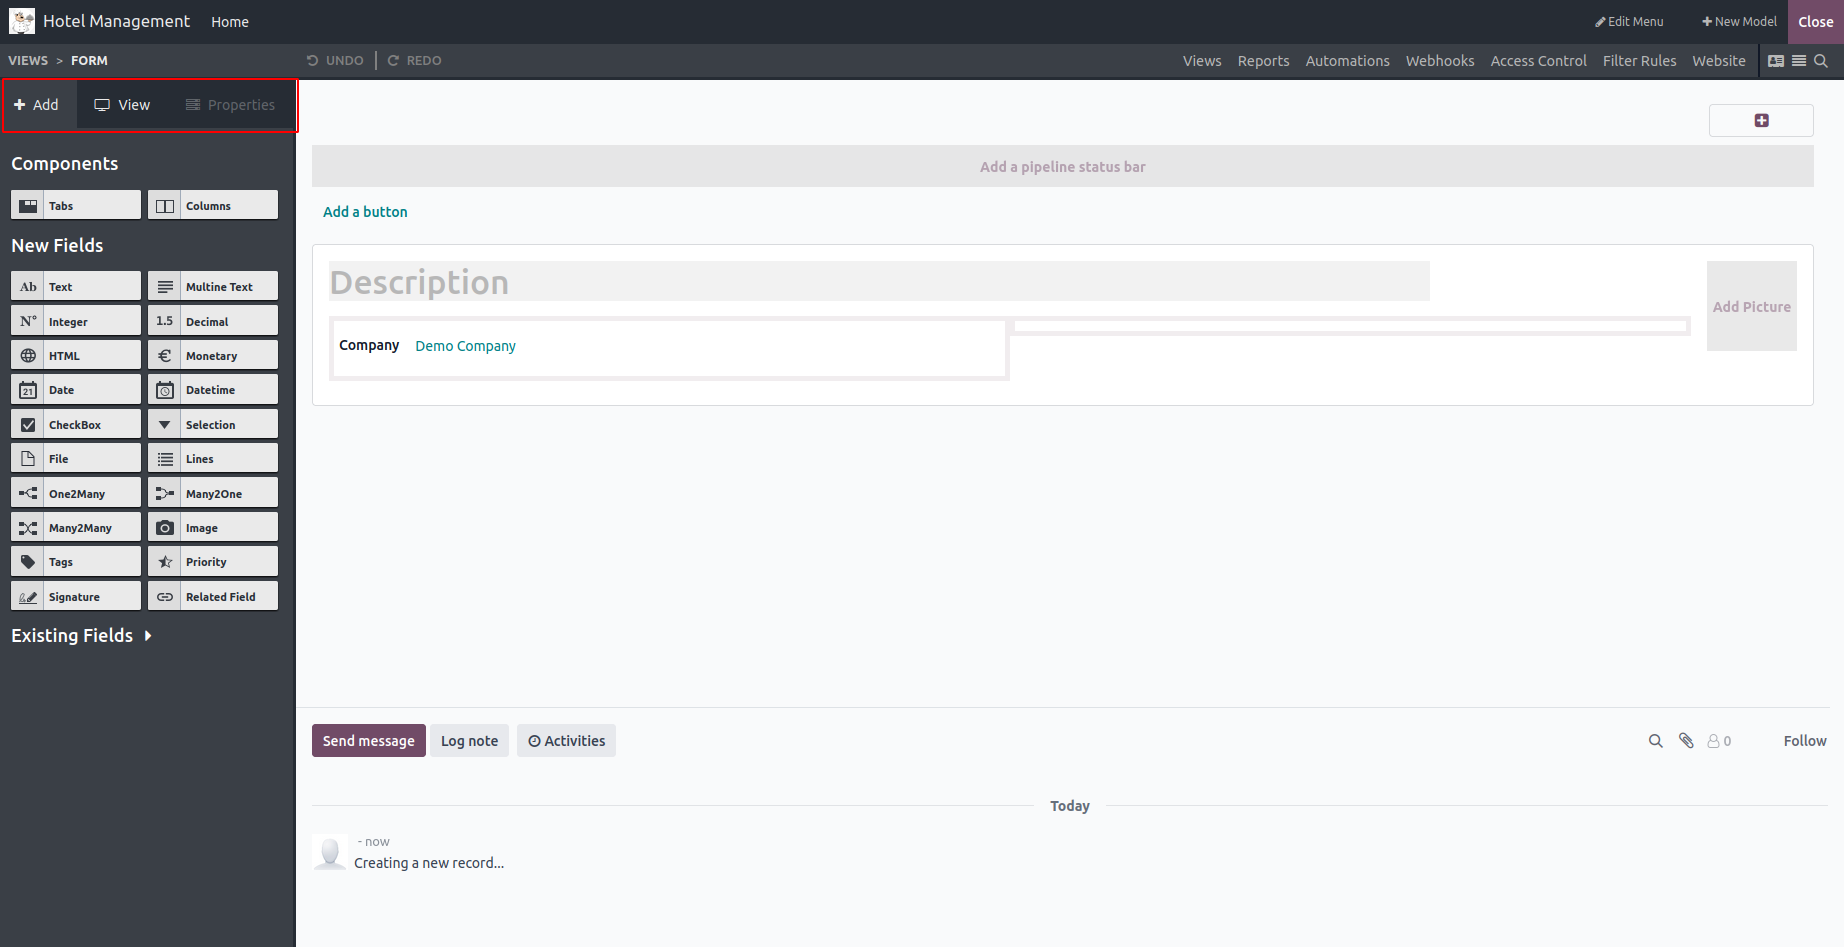
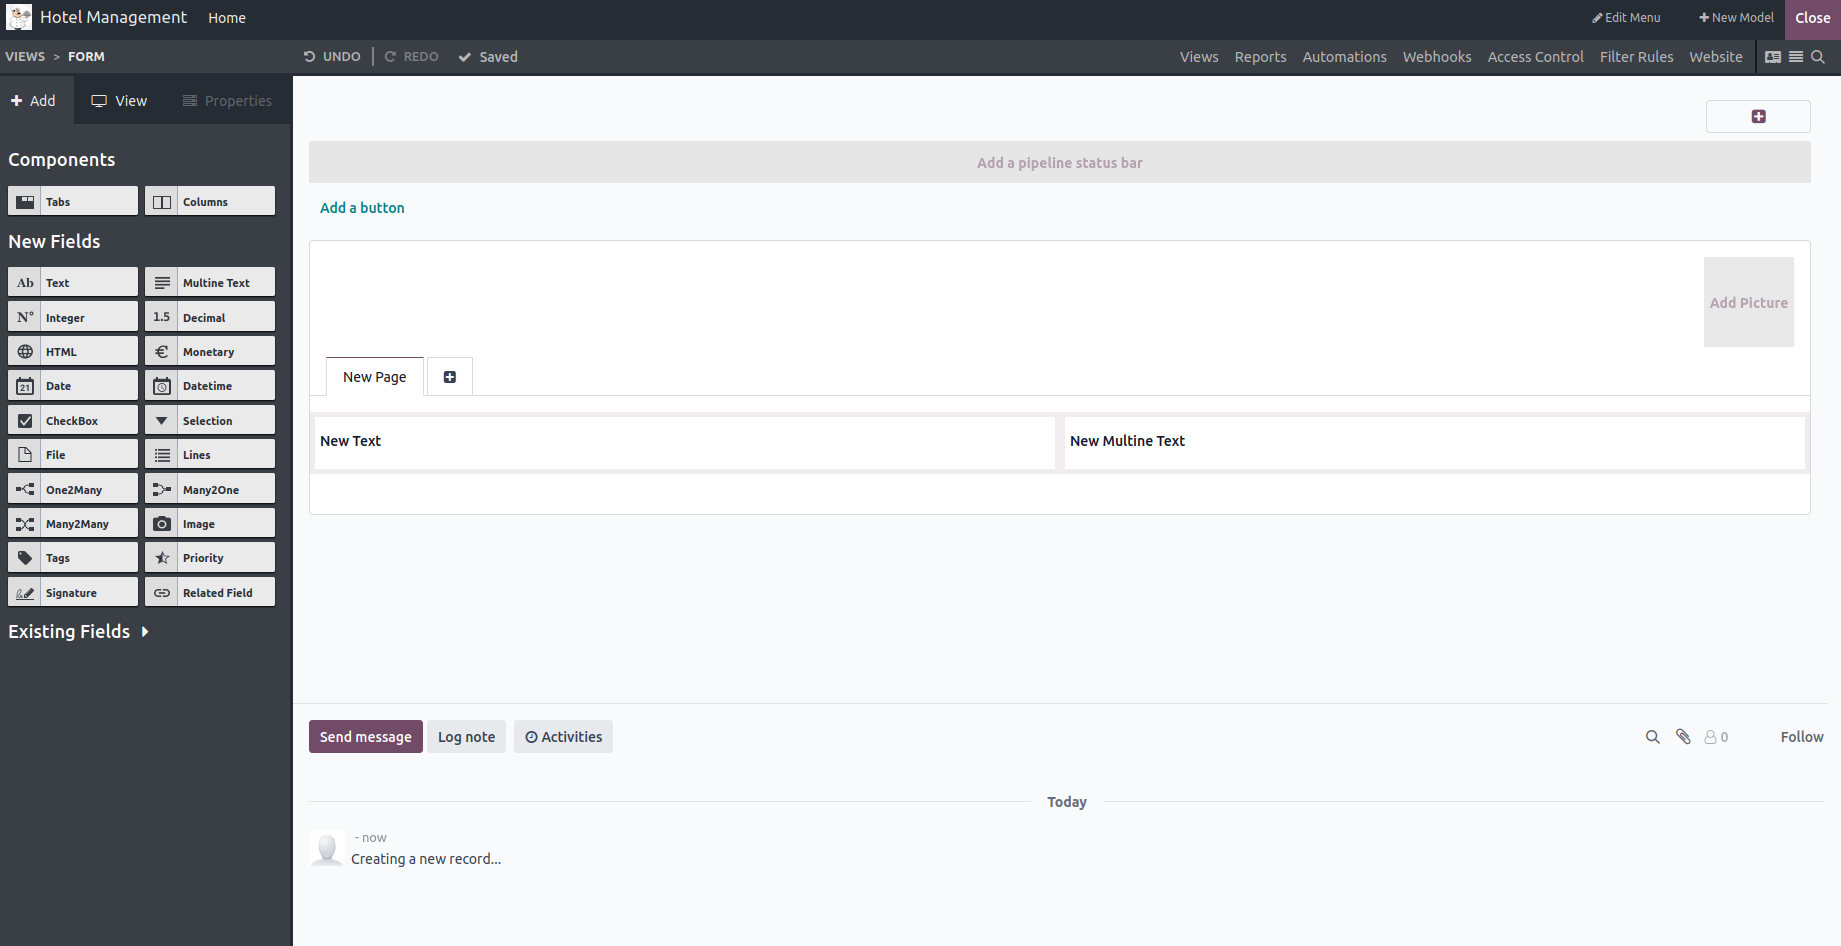
Use the 'Add' tab to insert new components, fields, and any existing fields not currently displayed in the view.
From the View tab, you can enable or disable the "Create," "Edit," and "Delete" options for the view. You can also choose to show or hide hidden content.

While using the Properties menu, you can modify your fields. Options like "Invisible," "Read-Only," and "Required" are configurable, and you can also change the field label for clarity.