When creating or modifying fields in Odoo Studio, you can enhance how users interact with those fields using widgets. A widget defines how data is displayed and interacted with in the user interface. For example, a text field can become a clickable link, an email input, or a badge with just a few clicks.
Widgets improve usability and clarity, making forms more intuitive and visually appealing.
Step-by-Step: Adding a Widget to a Field
Let’s walk through the process of assigning a widget to a newly created field in Odoo 18 Studio.
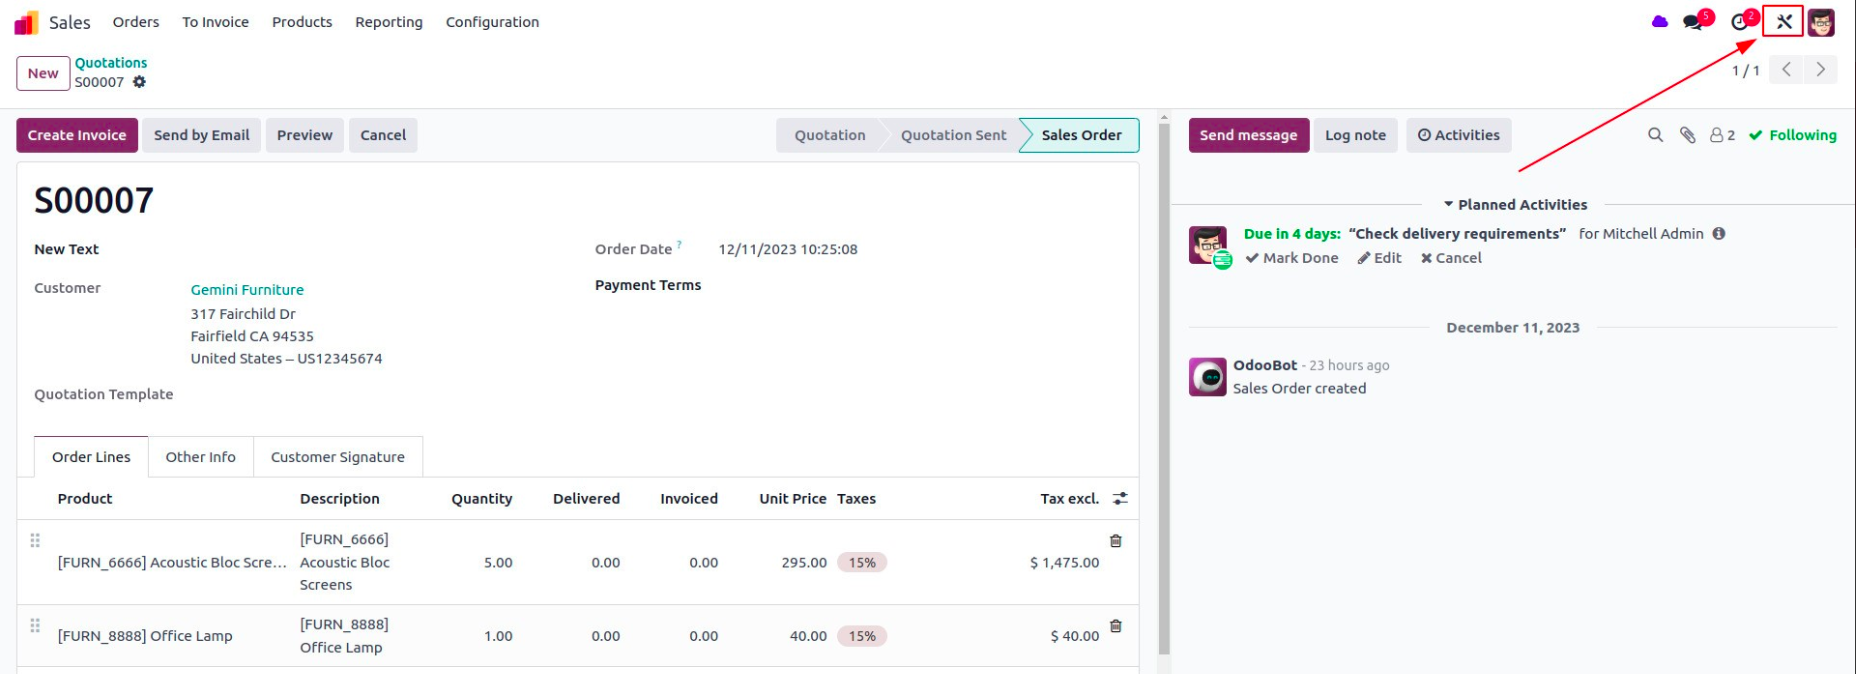
1. Open the Studio Module
Start by clicking the Studio icon on the top right of your Odoo screen.
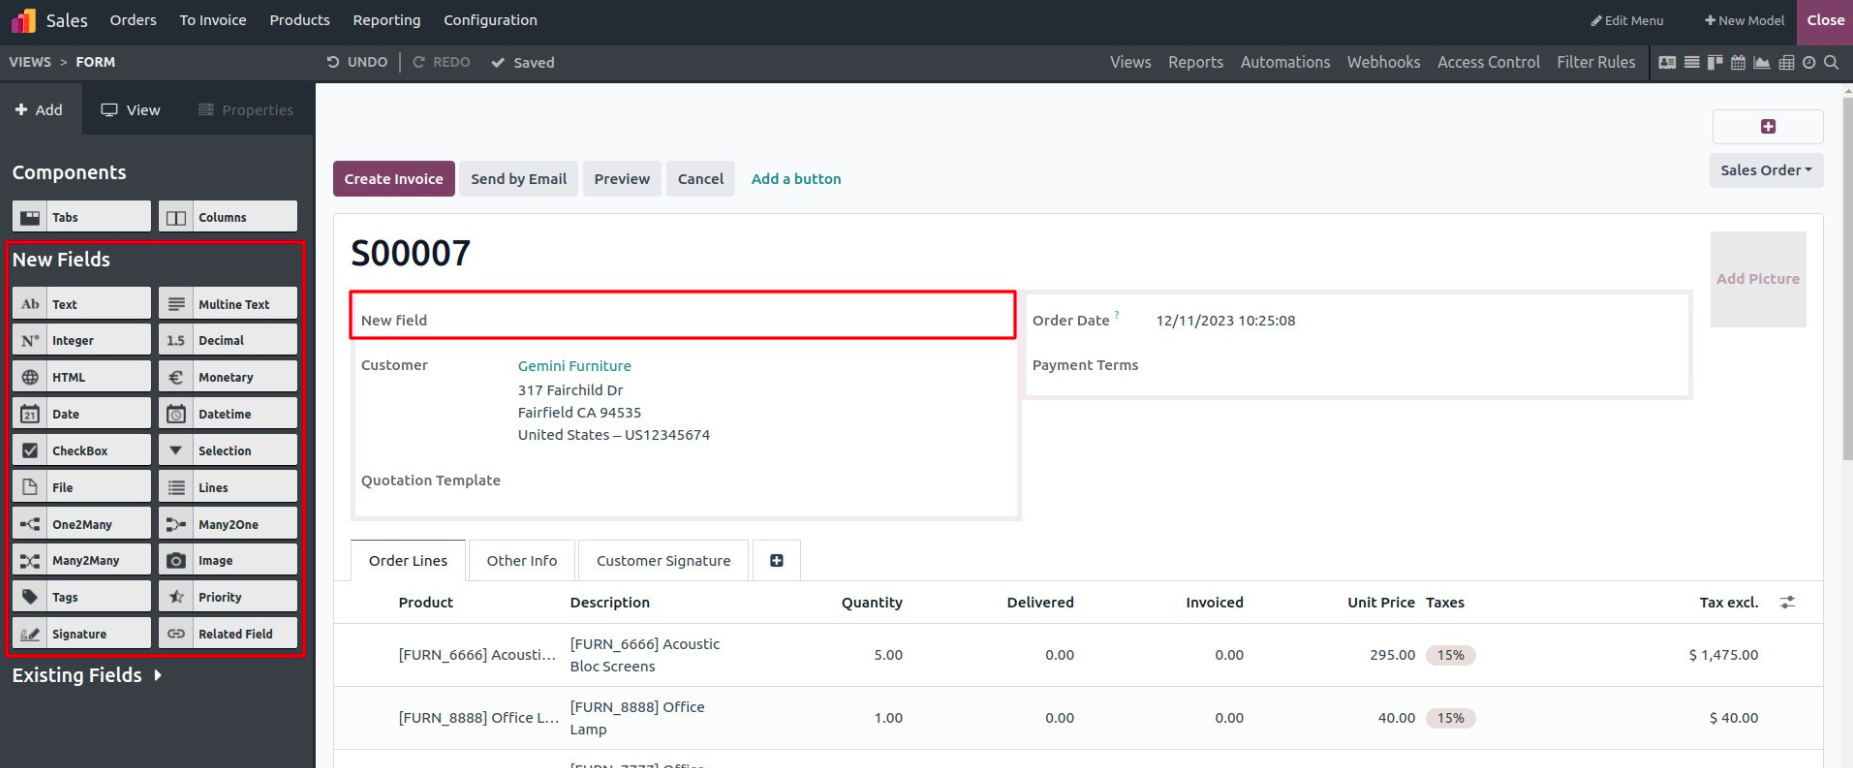
2. Add a New Field to a Form View
Navigate to the form view of the model you want to customize. Drag and drop a new custom field into the form layout from the side panel.
3. Access the Field Properties
Once the field is added, click on it to open the Field Properties panel.
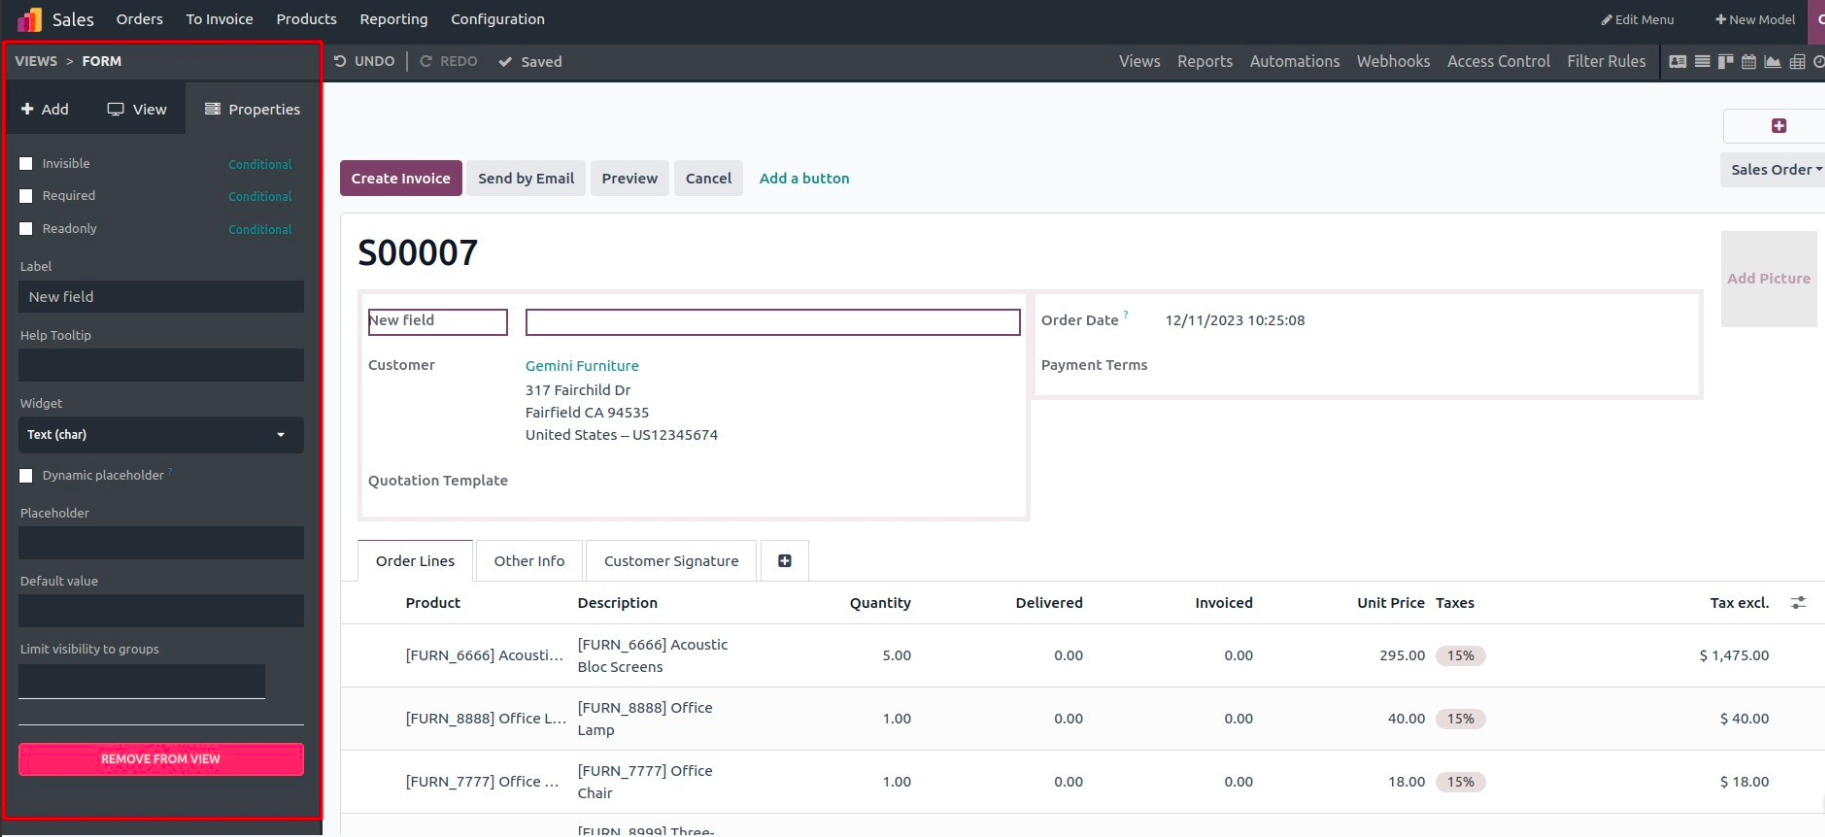
4. Locate the Widget Option
the properties panel, you’ll find a “Widget” dropdown. This allows you to choose how the field appears and behaves on the screen.

5. Choose a Widget from the List
Odoo offers several widget types for different use cases. Here are some commonly used widgets:
- Badge:Displays the field value as a colored label.
- Copy Text to Clipboard: Adds a button to copy the field’s text.
- Copy URL to Clipboard: Adds a button to copy a URL.
- Email: Formats the field as an email address with a mailto link.
- Image: Allows image upload and preview.
- Phone: Formats the field as a clickable phone number.
- Reference: Enables selecting records from different models.
- Text: Formats as a multiline text area.
- URL: Displays the text as a clickable web link.
Example: Apply the “Copy URL to Clipboard” Widget
Let’s say we want our custom field to copy a link when clicked. From the widget dropdown, select Copy URL to Clipboard.
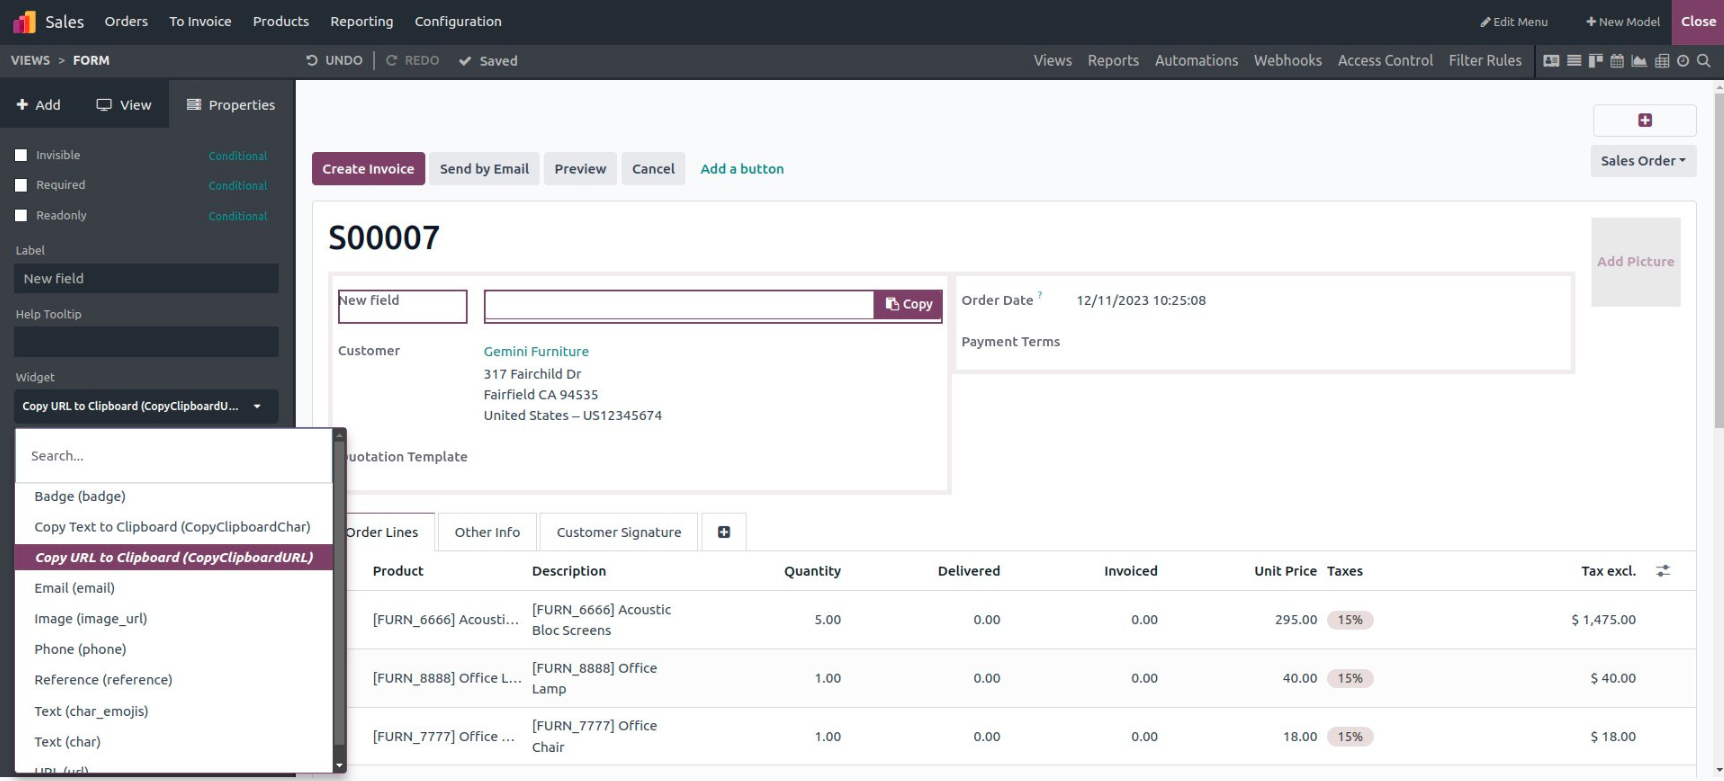
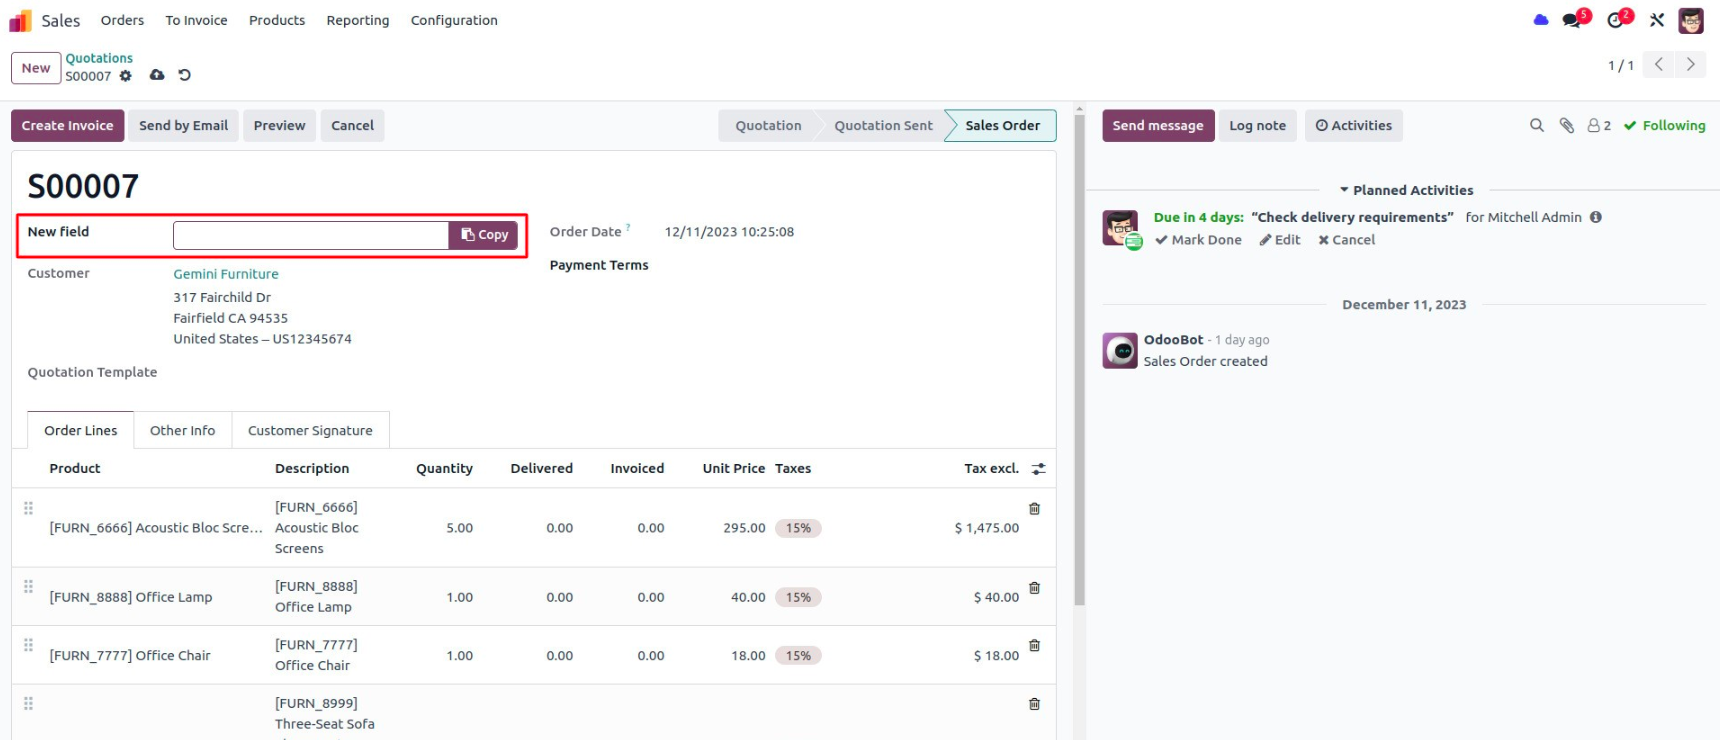
You’ll notice that the UI now includes a small clipboard icon next to the field—clicking it will copy the URL instantly.