In today's competitive eCommerce market, it is vital to give your customers a safe and dependable payment option that will lead to increased conversions. Braintree, which is a PayPal product, is among the best payment gateways, which allows merchants to process credit cards, debit cards, PayPal payments, and other modern payment options on one platform.
Braintree Payment Gateway for Odoo 19 integrates Odoo and Braintree, which allows customers to make payments securely without departing from the shop where they were shopping. This plugin also provides an additional step for OTP email verification before confirmation of the payment so that even unauthorized payments are prevented.
In this tutorial, we will show the whole process of setting up the payment system, starting from acquiring API credentials on Braintree and finishing with successful payment processing on Odoo.
Key Features
- Secure integration between Odoo 19 and Braintree.
- Making payments by credit and debit cards instantly on the Odoo website.
- Support for testing and real transactions in Sandbox and Production mode.
- OTP email verification before payment authorization.
- Customers have the option to save their payment details securely.
- Providing an easy payment process with hosted payment fields.
- Automatic payment confirmation in Odoo.
- Configuring the payment solution without custom development needed.
Prerequisites
Make sure you have the following prerequisites before setting up the payment gateway:
- The Braintree Payment Gateway module is installed.
- A Braintree Sandbox or Production account.
- API credentials (Merchant ID, Public Key, and Private Key).
- Odoo is configured with an outgoing Mail server to guarantee OTP email functionality.
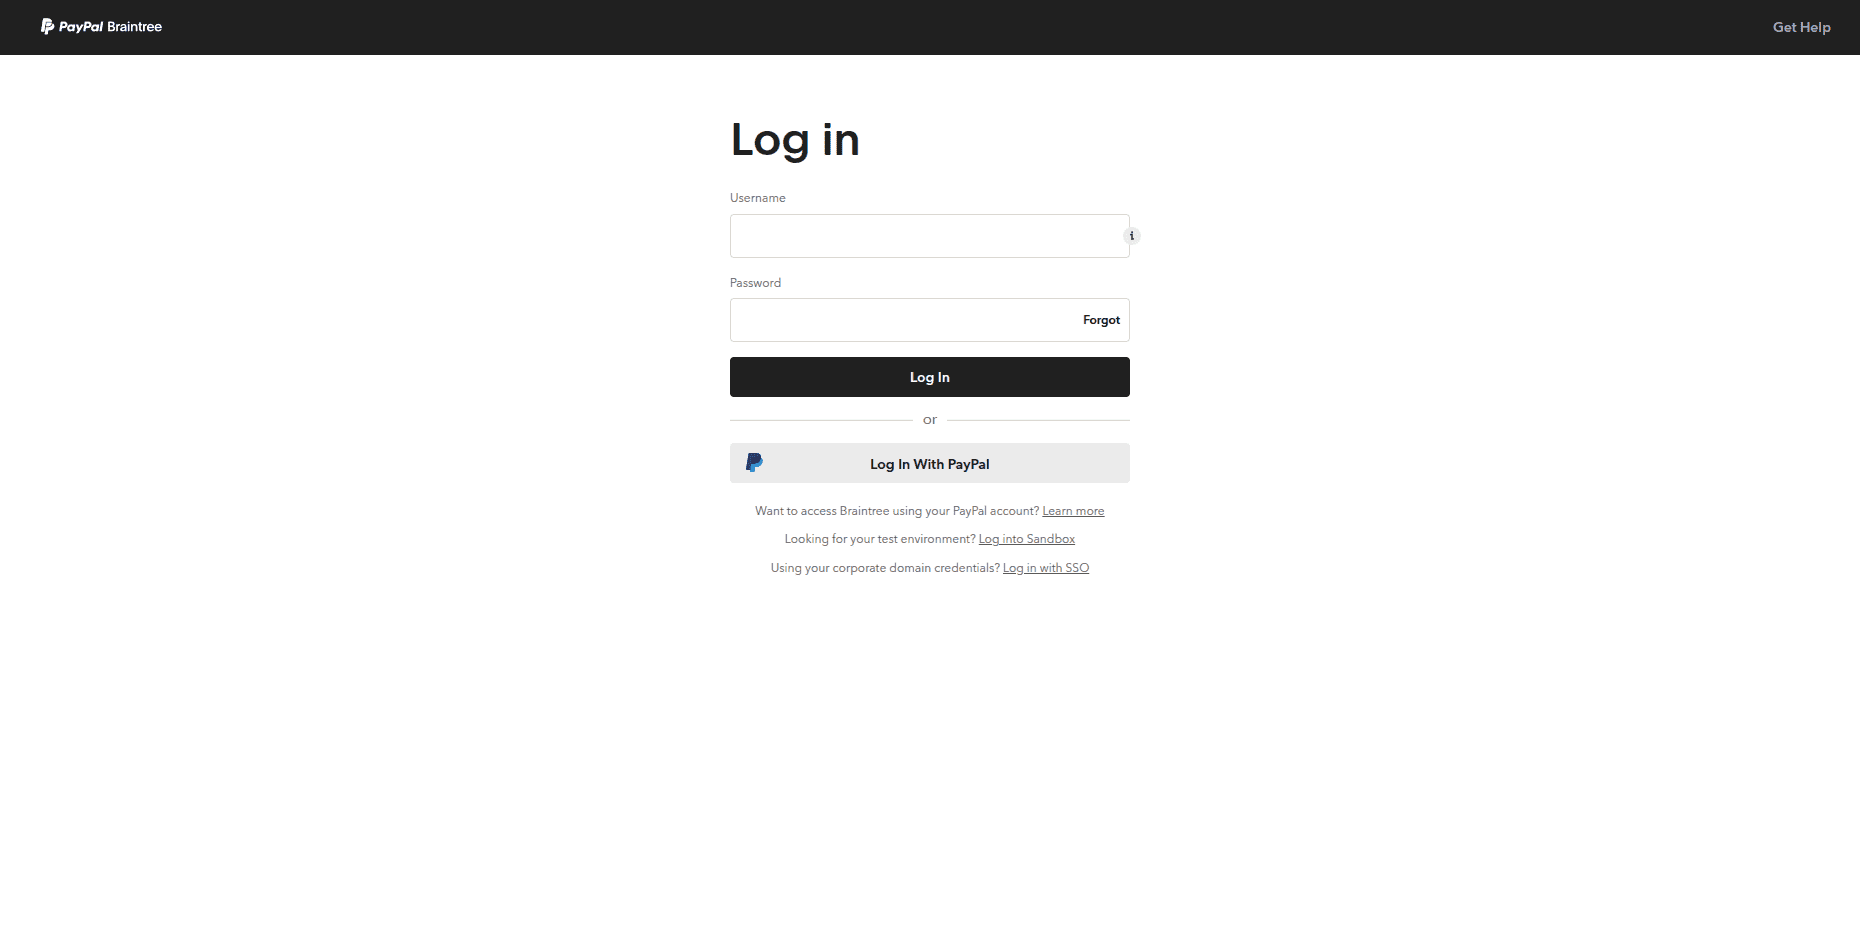
Step 1: Log in to Your Braintree Account
Begin by logging in to your Braintree account.
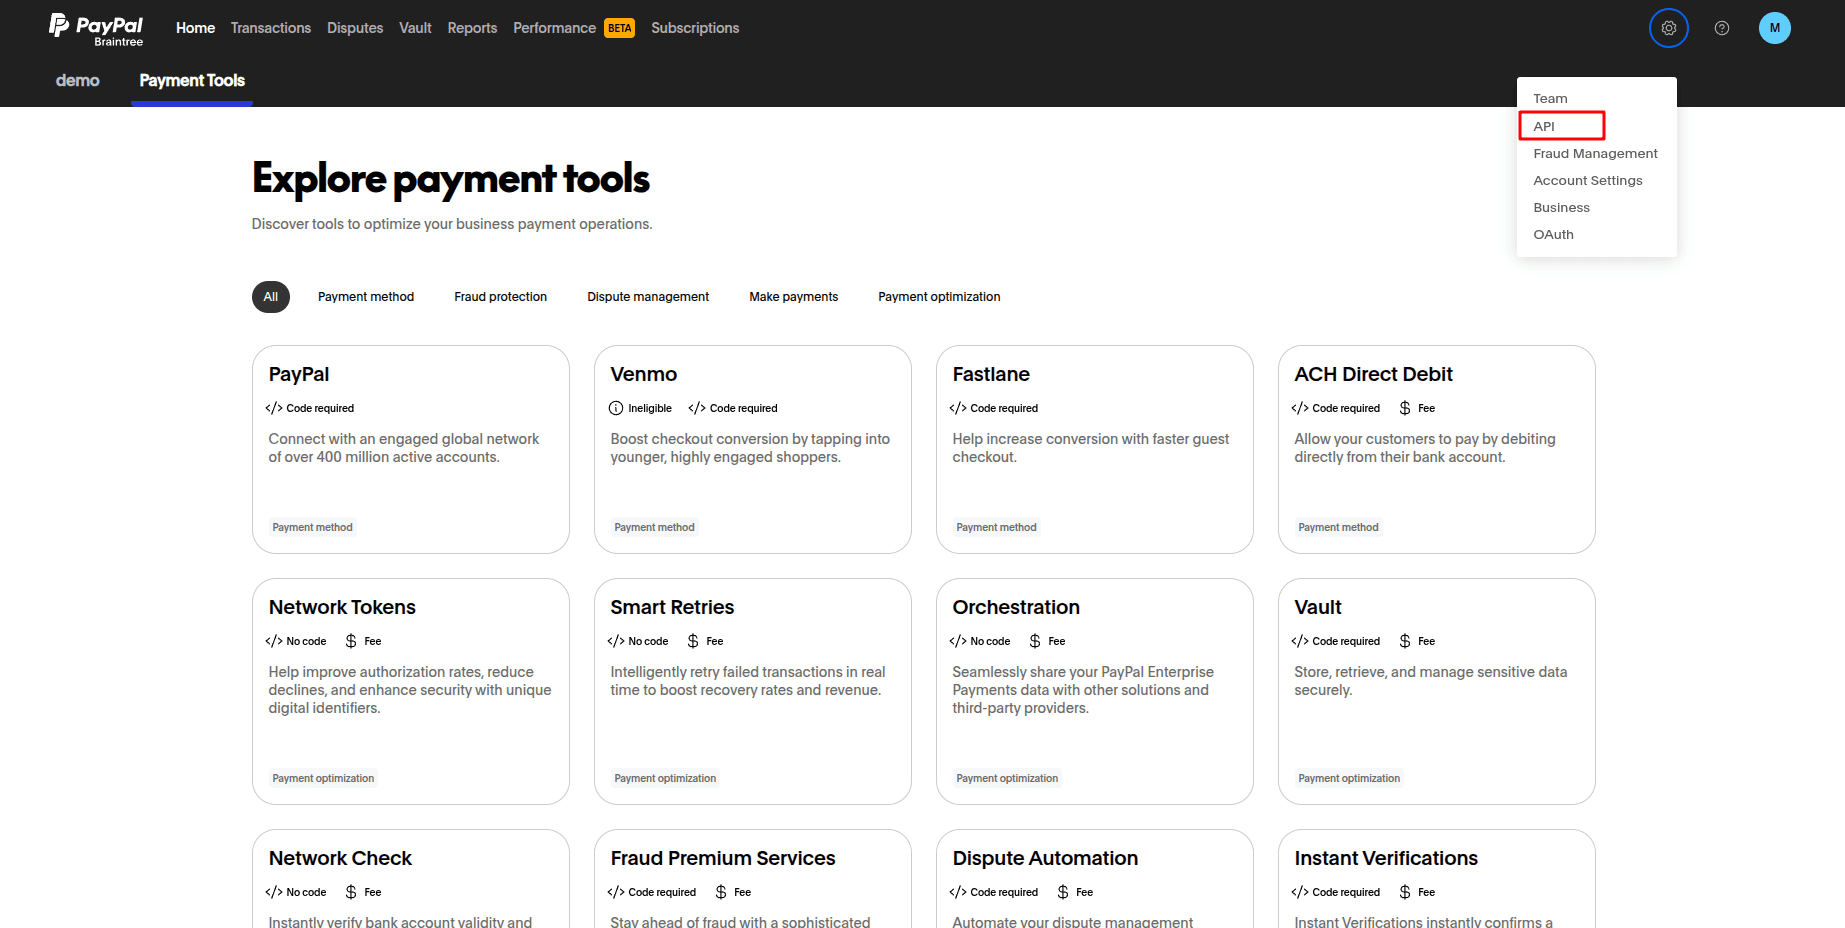
Step 2: Open the API Settings
After logging in, click the Settings icon and navigate to API.
This page provides access to your API credentials, webhook settings, and security configuration.
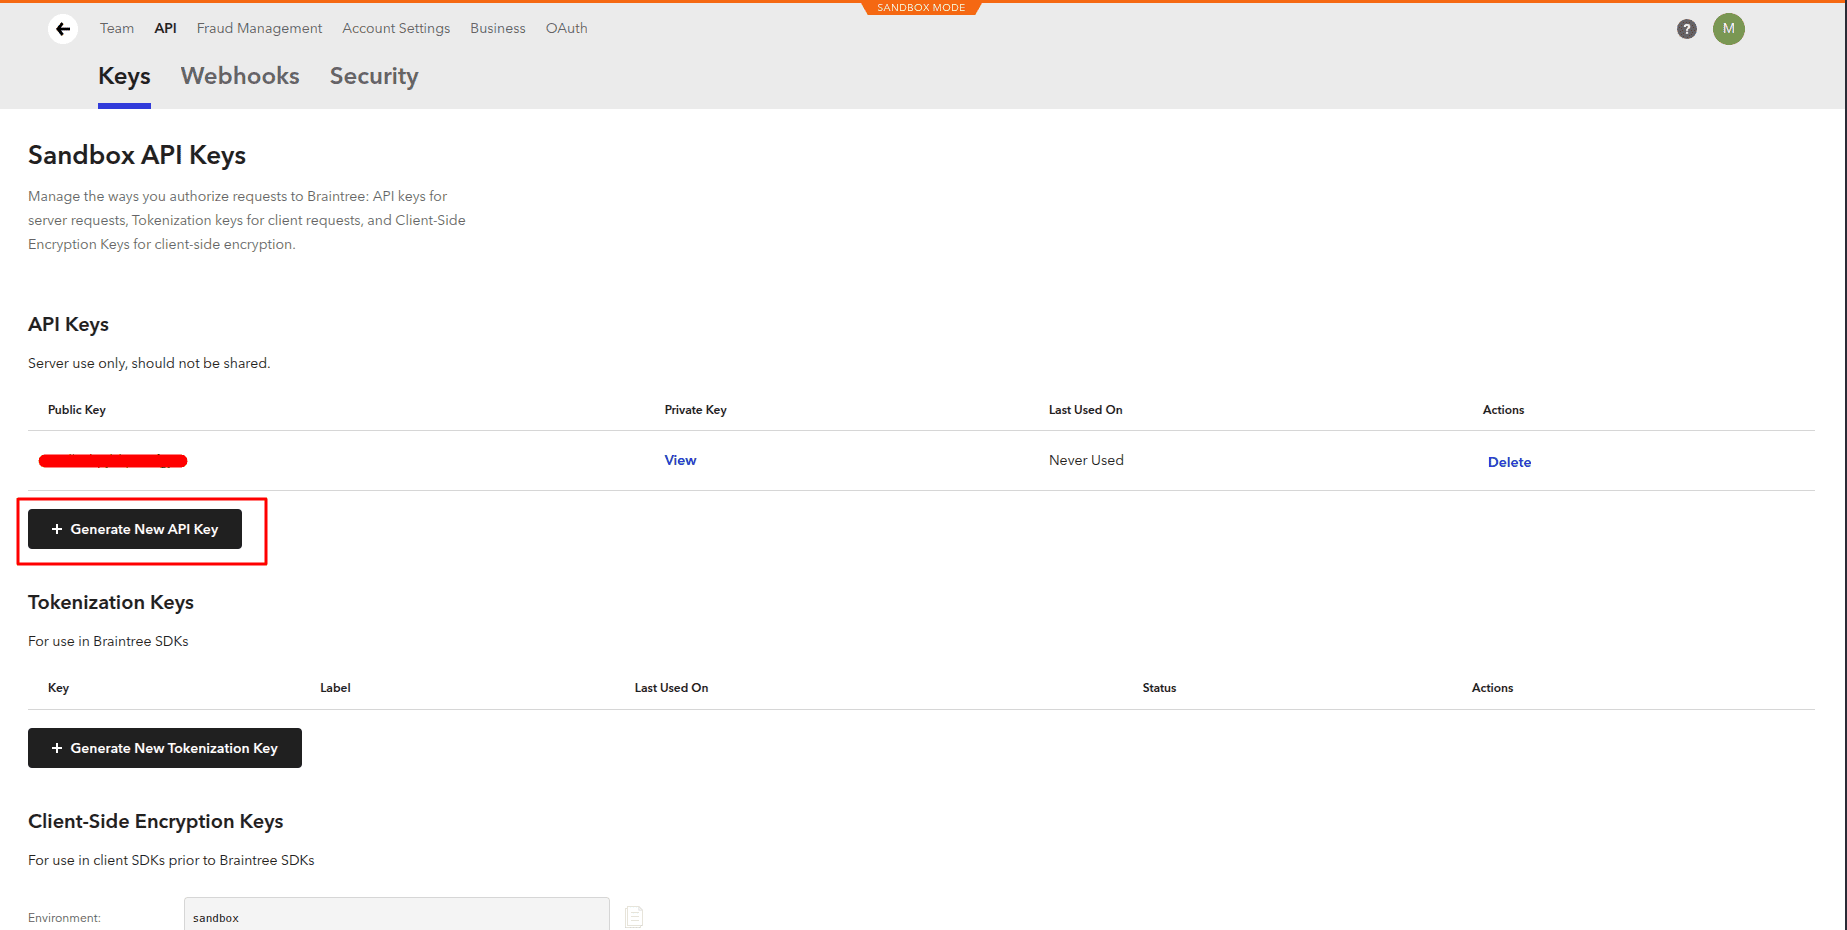
Step 3: Generate API Credentials
Open the Keys section.
If API keys do not already exist, click Generate New API Key.
These credentials will later be used inside Odoo.
Step 4: Copy the Merchant Credentials
Once generated, copy the following information:
- Merchant ID
- Public Key
- Private Key
These credentials establish secure communication between Odoo and Braintree.

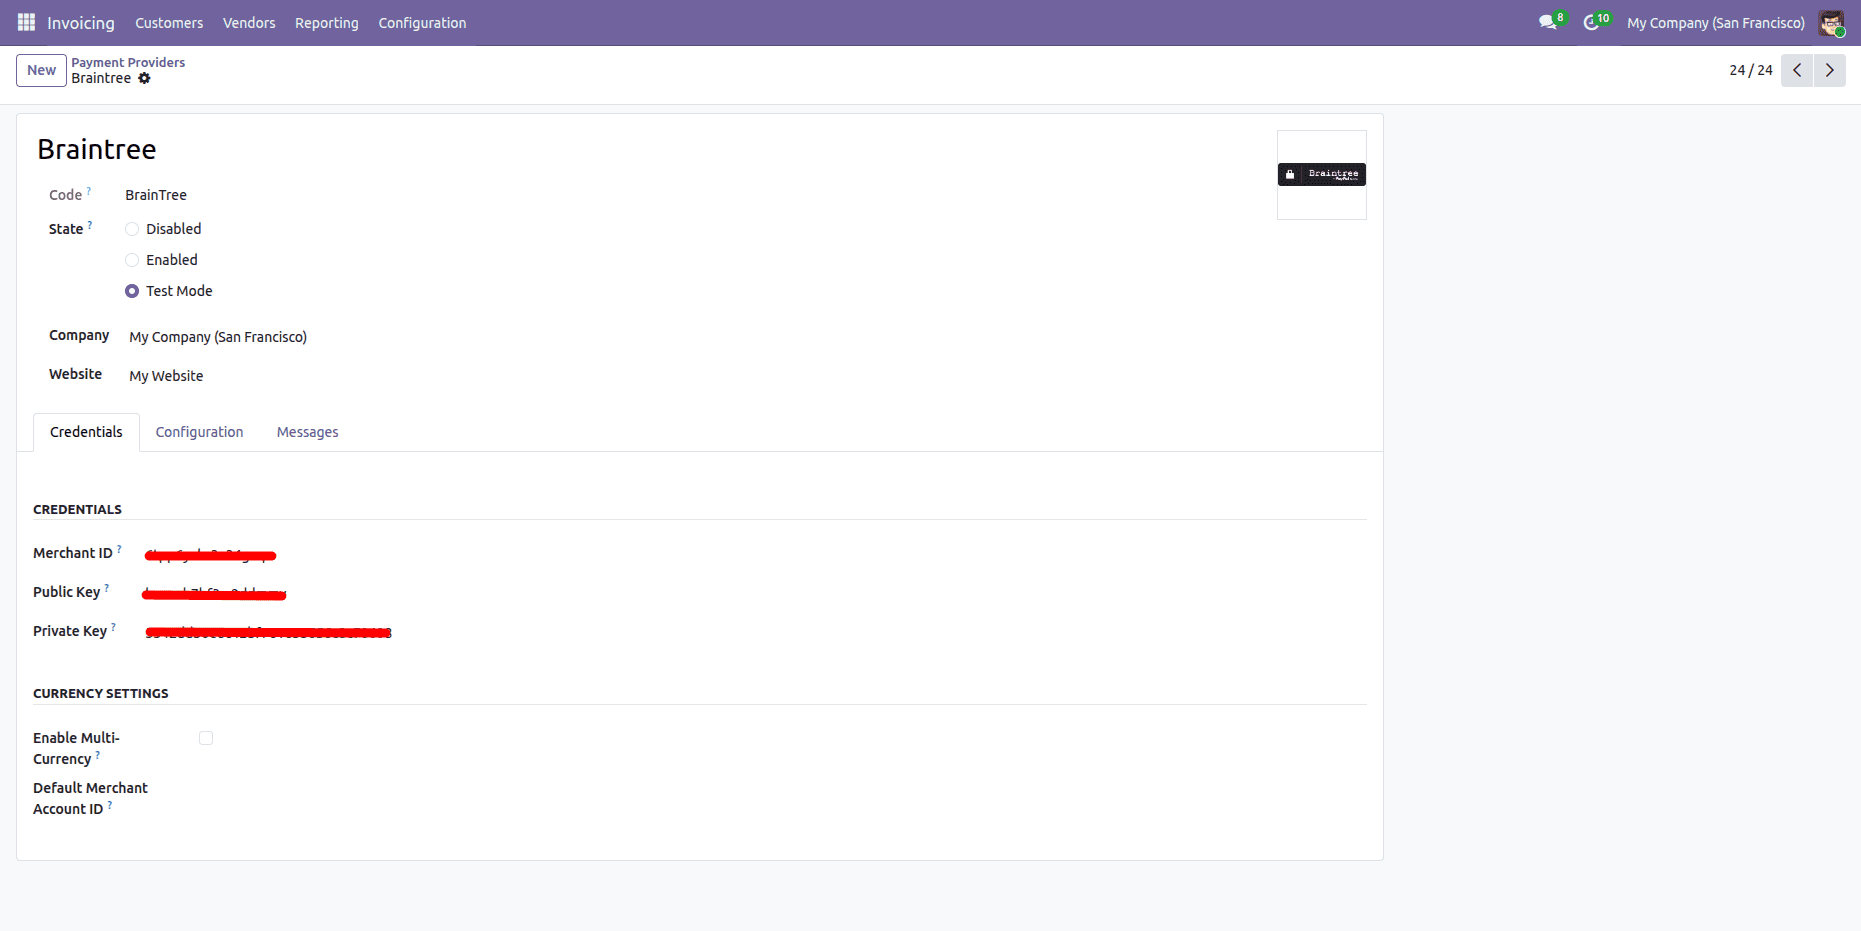
Step 5: Configure the Braintree Payment Provider in Odoo
Navigate to:
Invoicing > Configuration > Payment Providers
Open Braintree and configure the provider.
Fill in:
- Merchant ID
- Public Key
- Private Key
Choose the desired provider state:
For testing purposes, use Test Mode.
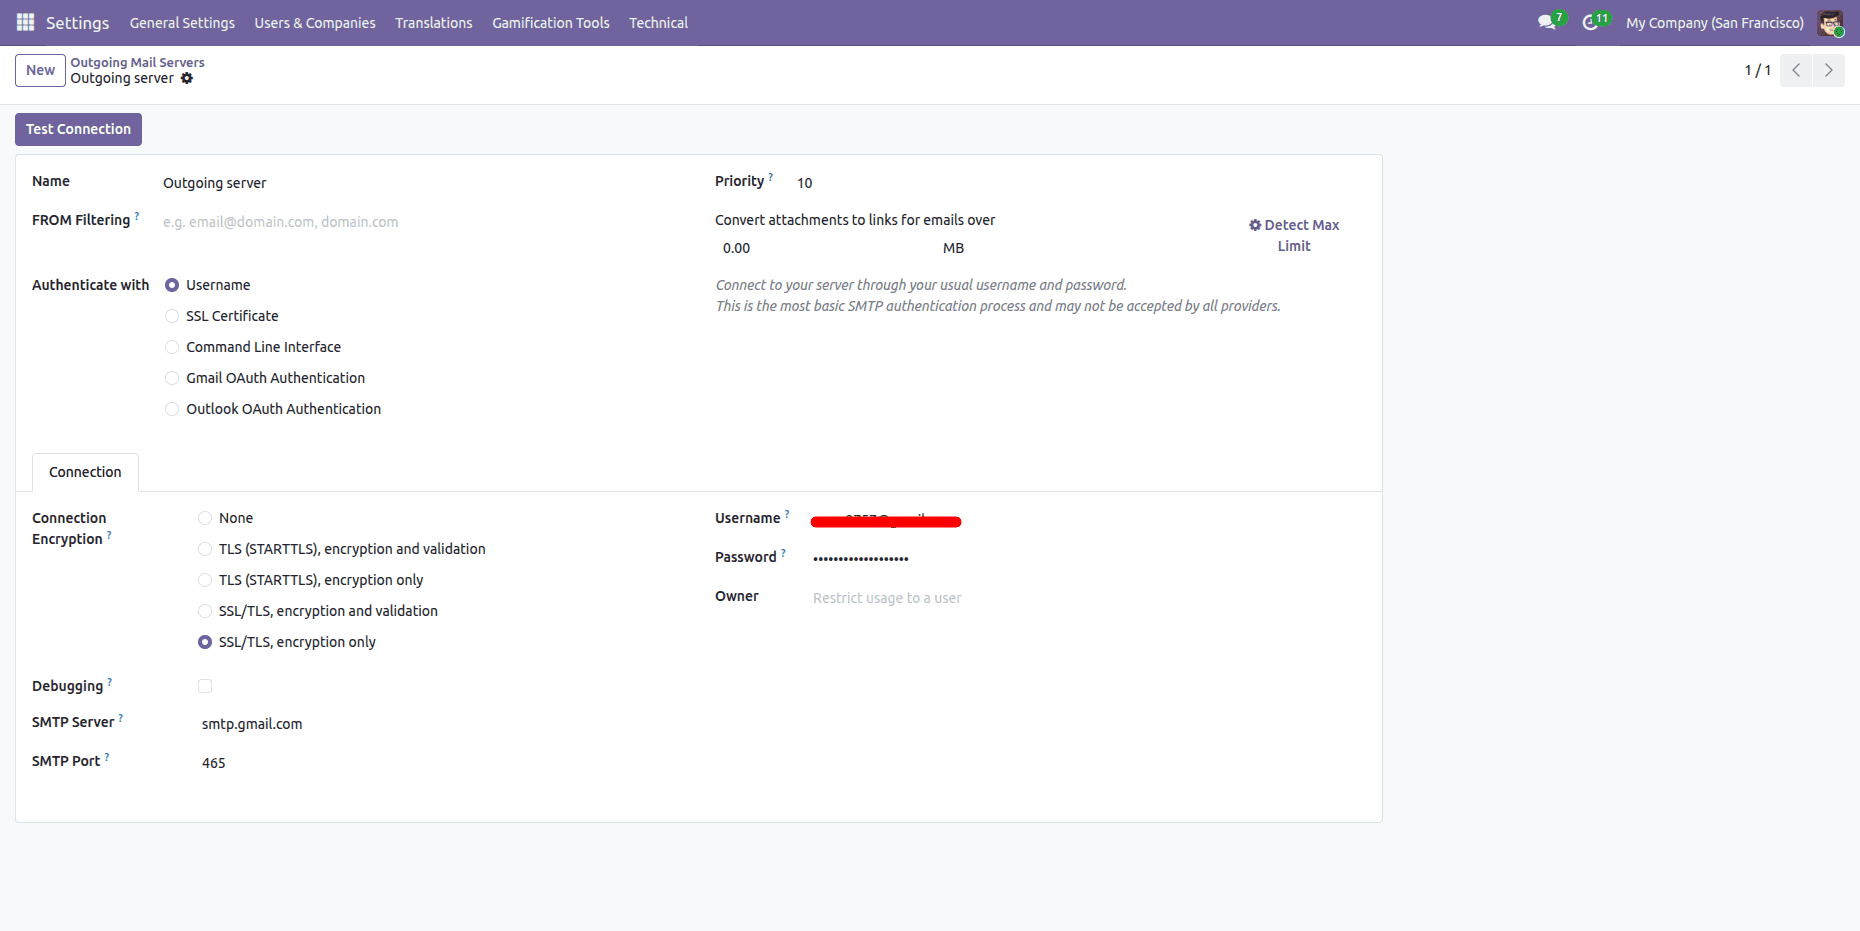
Step 6: Configure the SMTP Mail Server
The OTP verification feature sends a one-time verification code to the customer's email address.
Configure an outgoing mail server by navigating to:
Settings > Technical > Email > Outgoing Mail Servers
Configure:
- SMTP Server
- Port
- Username
- Password
- Encryption
Verify the connection before continuing.
Step 7: Proceed to Website Checkout
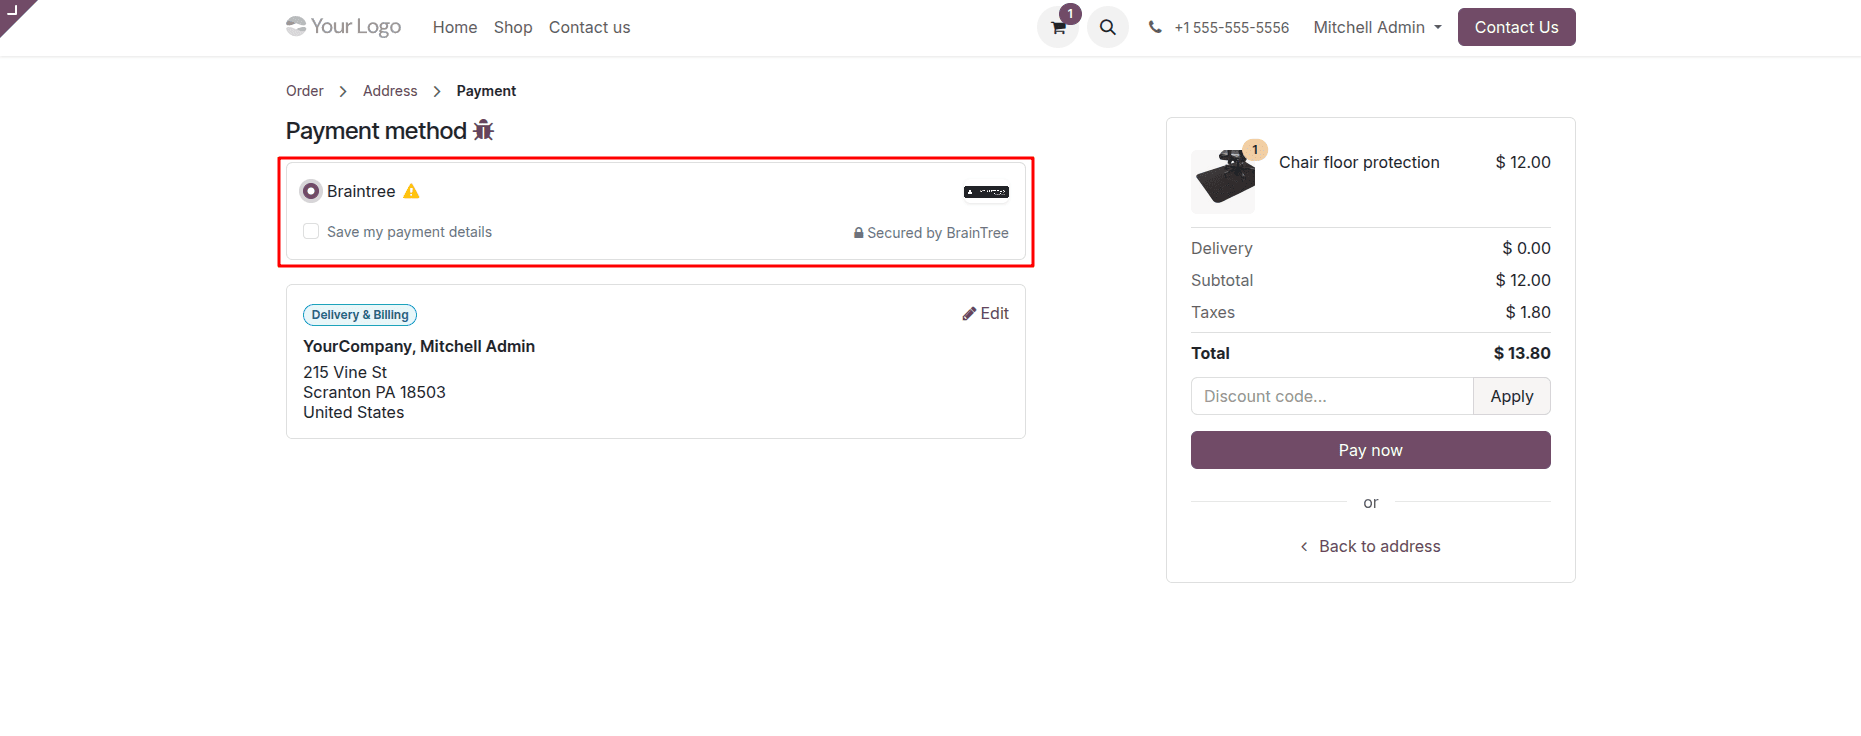
Add the desired products to the shopping cart, then proceed to checkout.
During payment selection, choose Braintree as the payment method.
Customers can also enable the Save my payment details option for faster future checkouts.
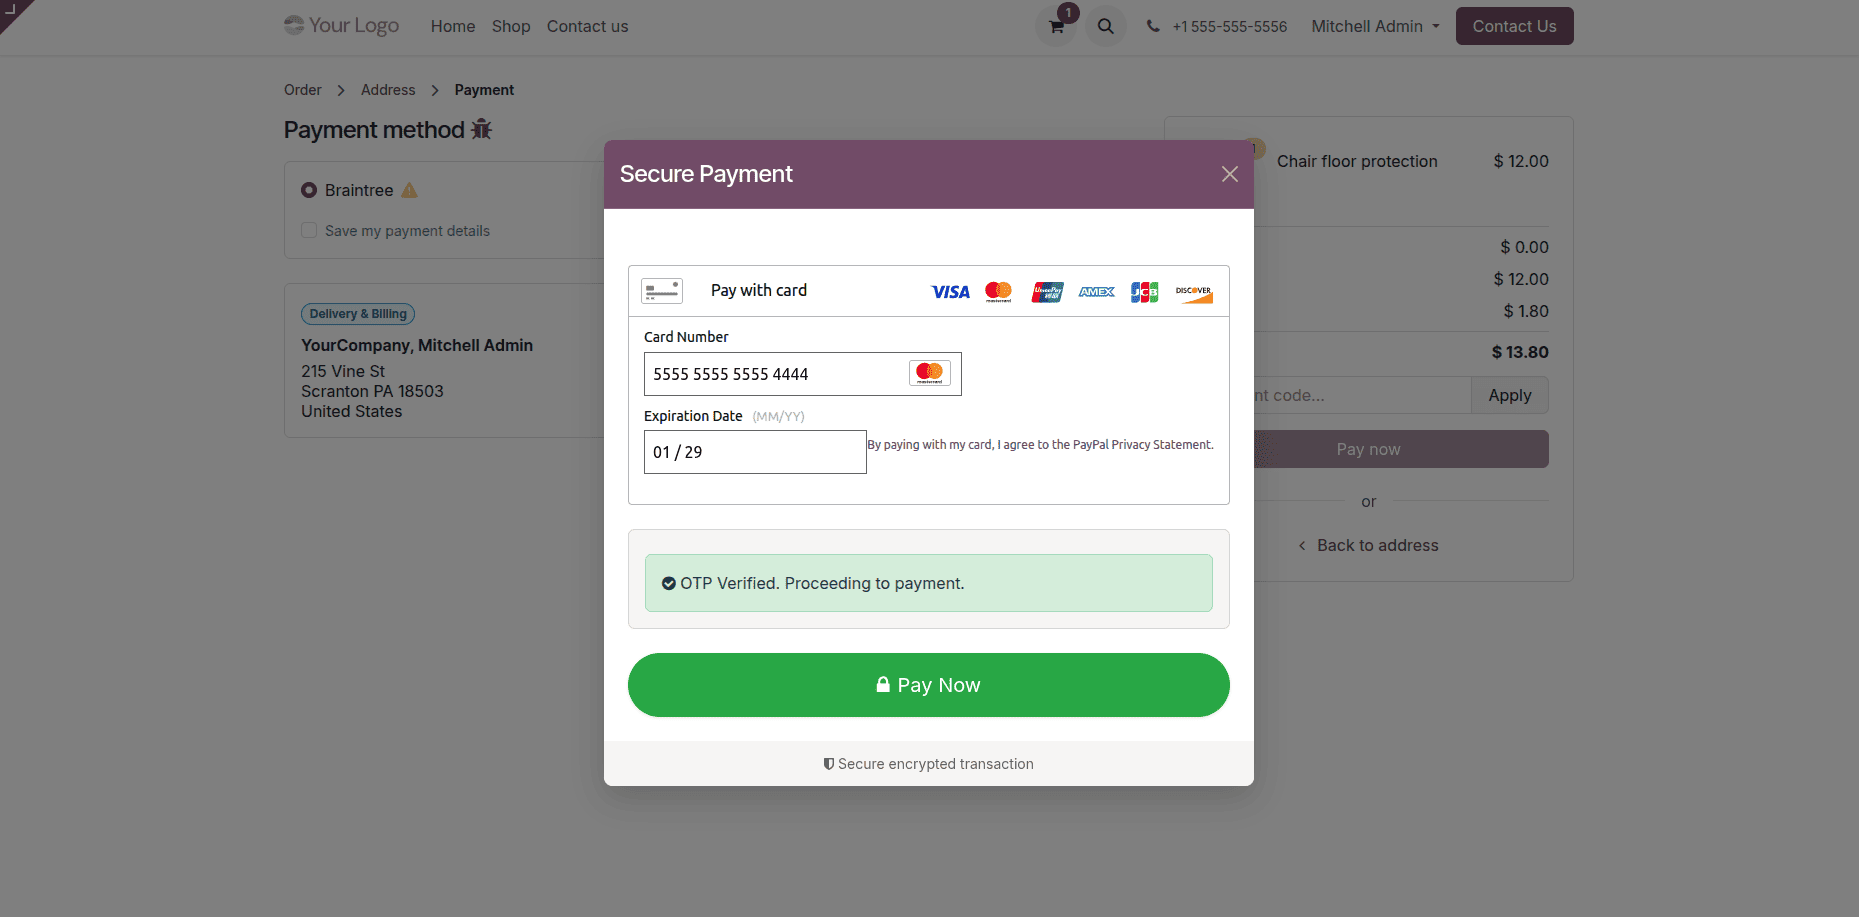
Step 8: Enter Card Information
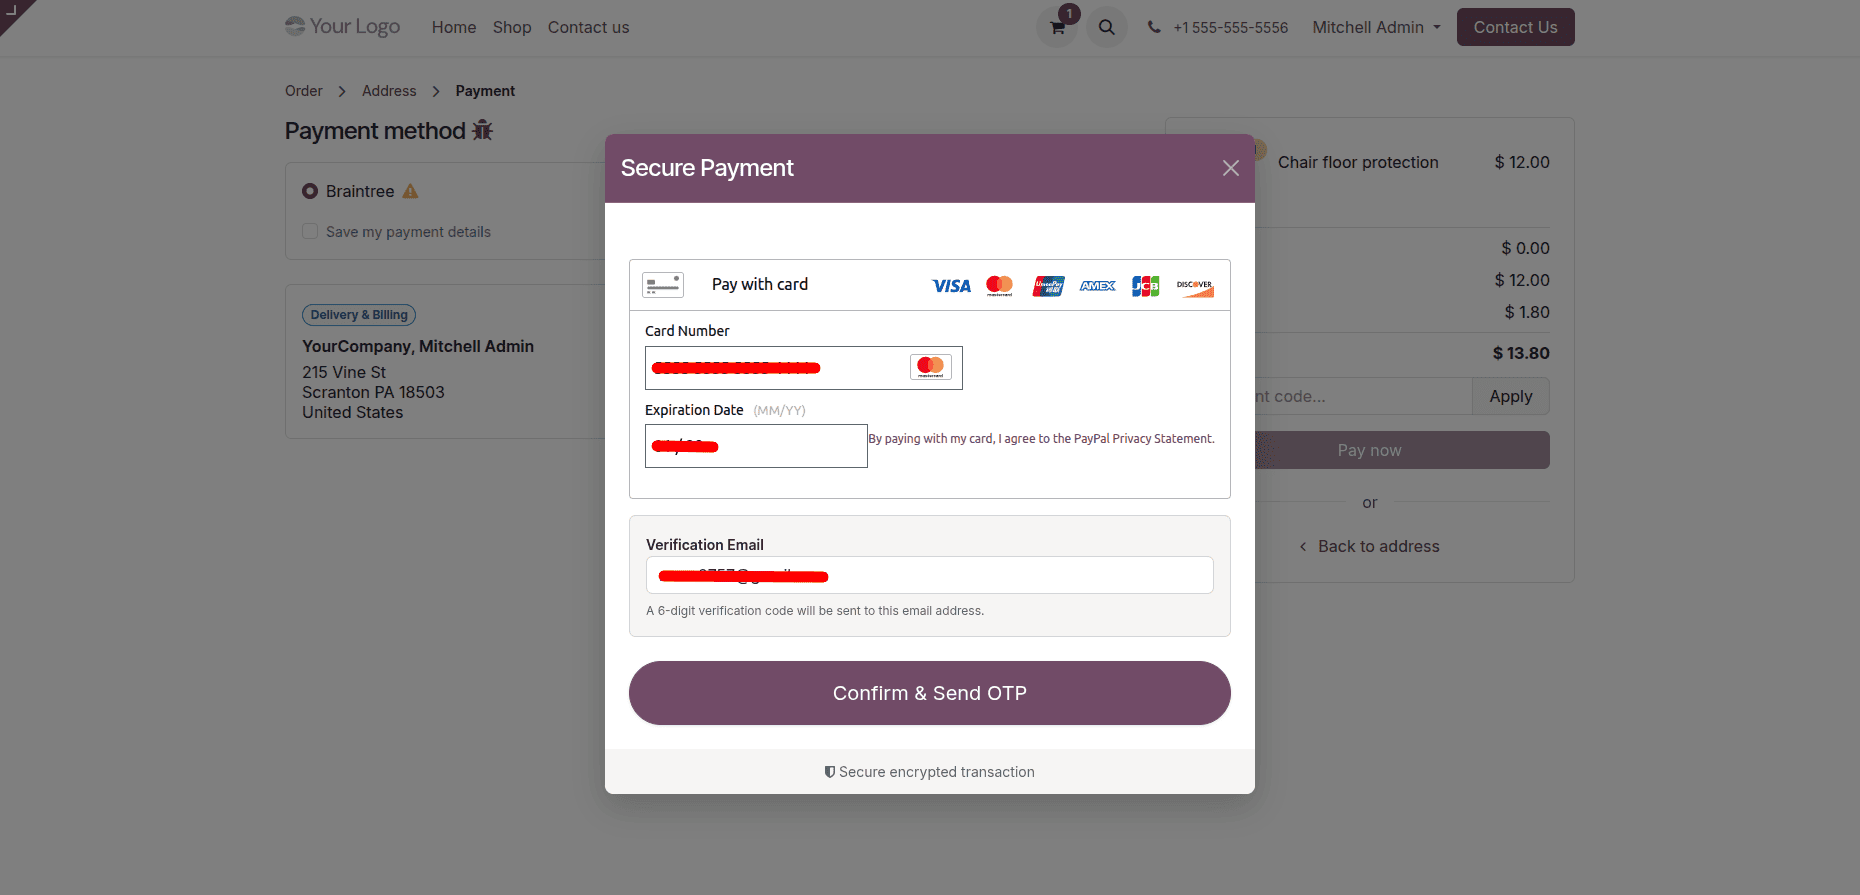
After clicking Pay Now, the secure Braintree payment pop-up appears.
Enter:
- Card Number
- Expiration Date
The customer is also prompted to enter a verification email address.
Click Confirm & Send OTP.
Step 9: Receive the Verification Code
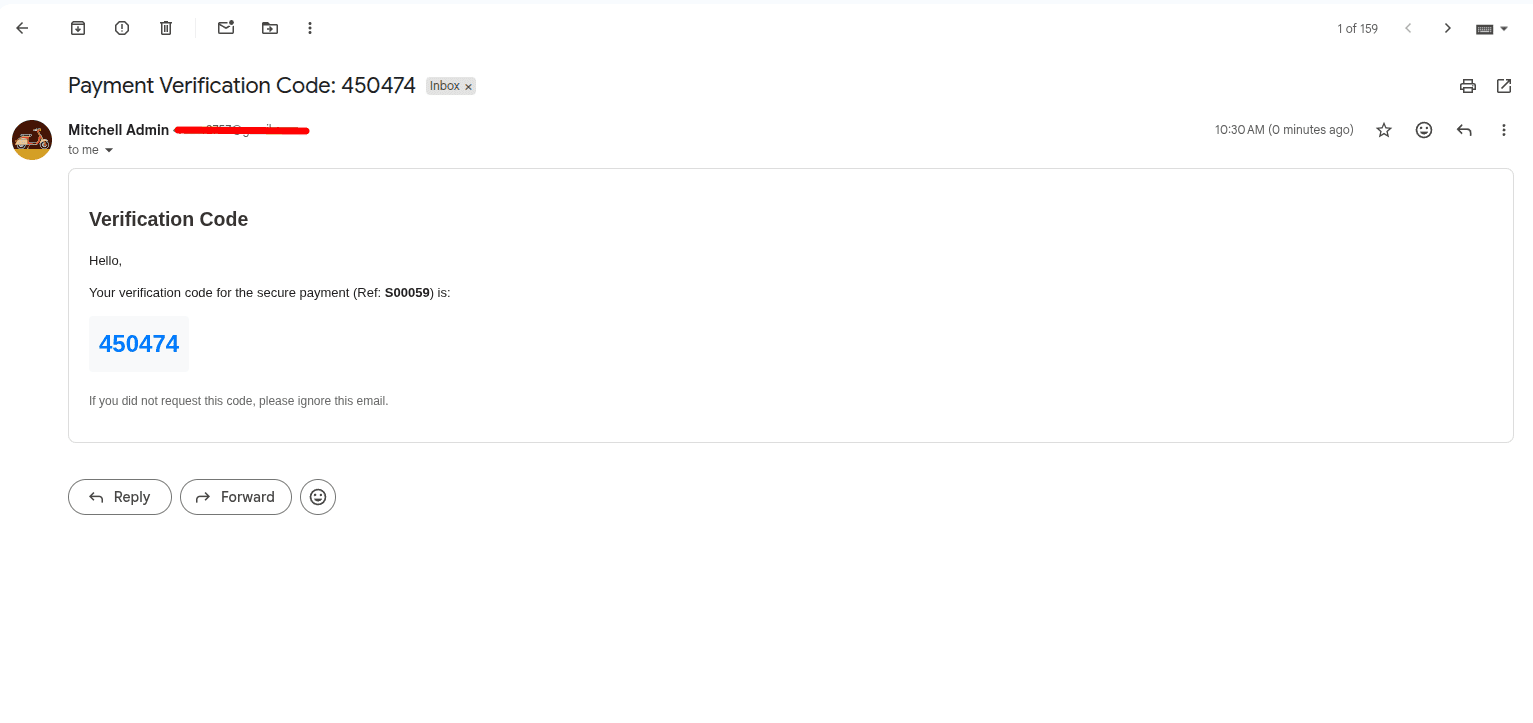
The customer will receive a six-digit verification code at their registered email address.
Retrieve the code from the email inbox.
Step 10: Verify the OTP and Complete Payment
Go back to the payment window to insert the verification code received.
After successful verification, the gateway sends a message that the OTP has been verified.
Click on the Pay Now button in order for a secure payment.
The extra layer of confirmation reduces the chances of unauthorized payment for merchants and customers.
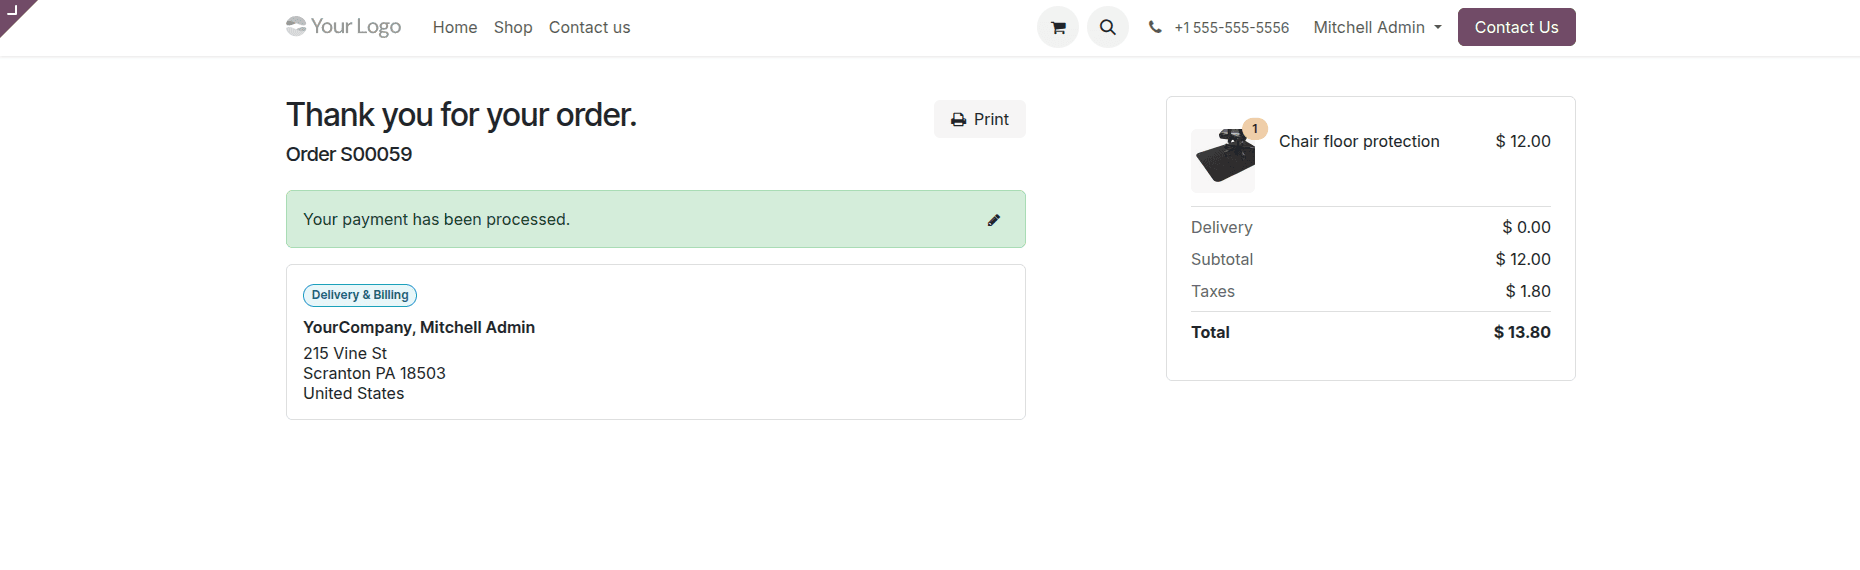
Step 11: Payment Confirmation
After successful payment processing, Odoo displays an order confirmation page showing that the payment has been completed successfully.
Customers can print the order confirmation directly from the website.
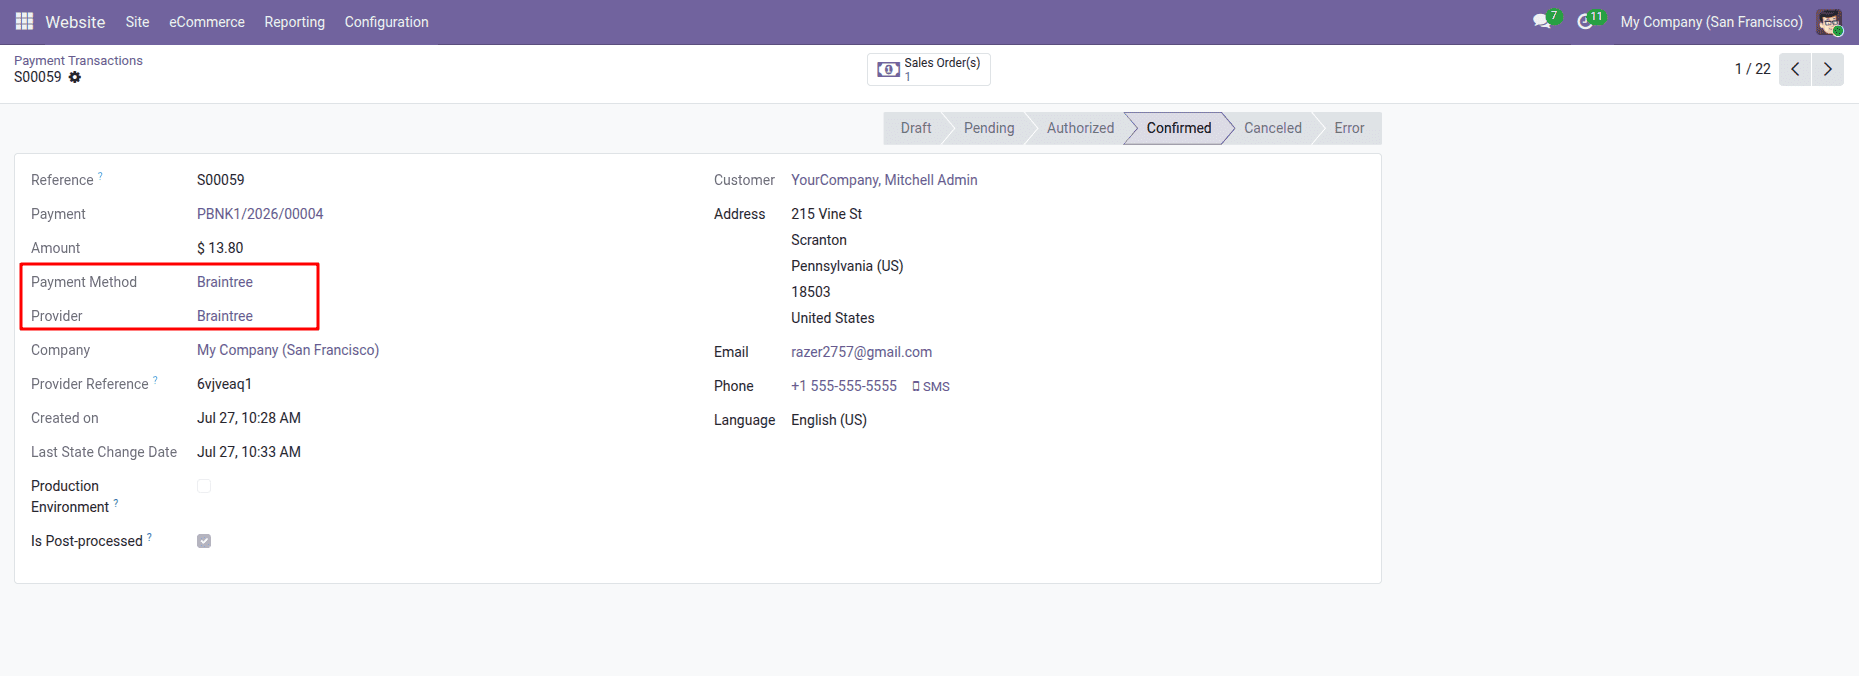
Step 12: Verify the Transaction in Odoo
Navigate to:
Website > Payment Transactions
Open the newly created transaction.
Here you can verify:
- Transaction Status
- Payment Method
- Provider
- Provider Reference
- Customer Information
- Amount
- Payment State
A Confirmed transaction status indicates that the payment was processed successfully.
Reasons to opt for Braintree Payment Gateway in Odoo 19
Using Braintree with Odoo will provide you with the safest payment system applicable to businesses of any size. The combination of Braintree with PayPal technology makes it effortless for clients to buy goods, as Braintree provides the opportunity for smooth operations while selling.
The application of the new technology of One-Time Password guarantees that all operations with money using Braintree will be safe. Moreover, the Braintree payment service allows for testing the system in sandbox mode and then using the application without worries.
There is no need to worry about the synchronization of the transaction process anymore.
Odoo 19 Braintree Payment Gateway makes it easy to incorporate one of the best-known payment systems into your Odoo eCommerce site. From obtaining API credentials and setting up the payment service to validating transfers securely by means of email OTP, you will find the whole procedure rather simple and secure.
Using this tutorial, you will be able to set up a reliable payment service that will help you increase consumer confidence, optimize payment activities, and improve the overall shopping process. You can either test the application in the test environment or accept payments in production mode.Using this tutorial, you will be able to set up a reliable payment service that will help you increase consumer confidence, optimize payment activities, and improve the overall shopping process. You can either test the application in the test environment or accept payments in production mode.
To read more about How to Connect Nextcloud with Odoo19 Using the Nextcloud Connector V19 refer to our blog How to Connect Nextcloud with Odoo19 Using the Nextcloud Connector V19.