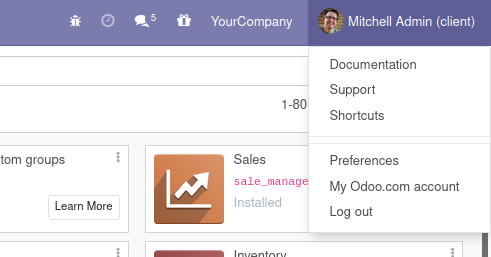
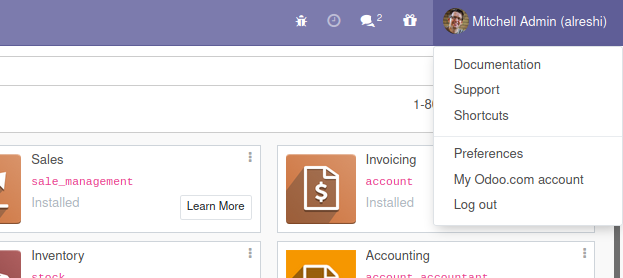
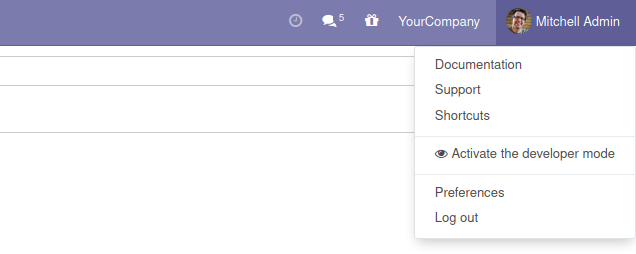
On logging into Odoo, as we can see in the below picture a dropdown menu is seen on the top right corner, this is called the User Menu. In this blog we are going to discuss how to hide a menu from User Menu and create a new menu in User Menu in Odoo14.
Here we are going to hide a user menu and create a new user menu using xml and js.
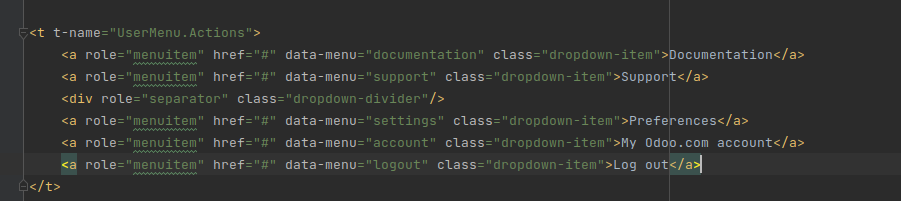
For example: We can hide the menu “My Odoo.com account”. All the menus are defined inside “UserMenu.Actions”. We can make an XML file for hiding the menu in a file known as base.xml in the static/src/xml directory. The menu “My Odoo.com account” is defined as
<?xml version="1.0" encoding="UTF-8" ?>
<templates>
<t t-extend="UserMenu.Actions">
<t t-jquery="a[data-menu='account']">
this.remove();
</t>
           </t>
</templates>
<t t-extend="UserMenu.Actions">: This function is used for extending the template “UserMenu.Actions”.
<t t-jquery="a[data-menu='account']"> : The function helps us to specify the position and is usually used in conjunction with t-operation much like <xpath expr="" position="" />
this.remove() : Used to remove the element itself, as well as everything inside it.
And add this line in your __manifest__.py file
"qweb": ["static/src/xml/base.xml"],
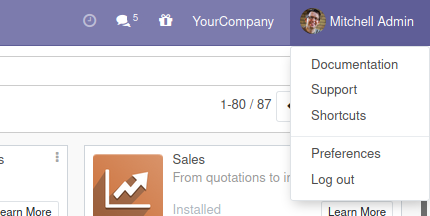
Here we can see that the menu “My Odoo.com account” has disappeared.
Next we can look at how to create a new User menu in the dropdown. For creating a new user menu we can follow the same steps used for hiding the menu as before. Create a xml file with name base.xml in static/src/xml directory.
 <?xml version="1.0" encoding="utf-8"?>
<templates id="template" xml:space="preserve">
      <t t-extend="UserMenu.Actions">
  <t t-jquery="a[data-menu='settings']" t-operation="before">
                 <a role="menuitem" href="#" data-menu="debug"
                       class="dropdown-item"><i class="fa fa-eye"></i>
                       Activate the developer mode</a>
          </t>
      </t>
</templates>
<t t-extend="UserMenu.Actions"> : This function is used for extending the template “UserMenu.Actions”.
<t t-jquery="a[data-menu='settings']"> : The function helps us to specify the position and here we have defined the new menu before the menu “Preferences”
<a role="menuitem" href="#" data-menu="debug" class="dropdown-item"><i class="fa fa-eye"></i> Activate the developer mode</a>: Here we are defining a new menu .
role="menuitem" : Identifies the element as a menu item.
<i class="fa fa-eye"></i>: <i> tag is used to represent icons for the menu as you can see below.
And add this line in your __manifest__.py file
"qweb": ["static/src/xml/base.xml"],
Next to do is to provide action to the menu “Activate the developer mode”. For that we need to set the js file for the action of the menu.
We can set the action of the menu “Activate the developer mode” now. We can create a JS file known as user_debug_menus.js within the static/src/js directory.
odoo.define('web_custom.DebugModeJs', function (require) {
"use strict";
var DebugModeJs = require('web.UserMenu');
DebugModeJs.include({
start: function () {
var self = this;
return this._super.apply(this, arguments).then(function () {
var mMode = 'normal';
if (window.location.href.indexOf('debug=1') > -1)
mMode = 'debug';
if (mMode == 'debug')
self.$('[data-menu="debug"]').hide();
});
},
_onMenuDebug: function () {
window.location = $.param.querystring(window.location.href, 'debug=1');
},
})
});
Here we are adding a new function in Web.UserMenu to open a template. So we are adding the dependency as follows.
var DebugModeJs = require('web.UserMenu');
Similarly here we use window.location object for getting the current page URL.
Window.location.href : returns the href(URL) of the current page.
This is the js file of the user menu we created.
Next, add the assets to xml for example: views/assets.xml.
Eg:-
<odoo>
     <template id="title_extend" name="Extend Title" inherit_id="web.assets_backend">
           <xpath expr="." position="inside">
                       <script type="text/javascript"
                                  src="/web_custom/static/src/js/debug_mode_js.js"></script>
    	</xpath>
      </template>
</odoo>
Add this file to __manifest__.py:
"data": ["views/assets.xml"],
On clicking on the menu “Activate the developer mode” now. You can see the developer mode is activated and the menu gets hidden because of this js function.
“if (mMode == 'debug'
self.$('[data-menu="debug"]').hide();”