We are familiar with adding a new button in the form view header. But in some cases, we will need to add a new button in the tree or kanban view header. In this blog, Let’s see how to create a button in the tree and kanban header.
Let’s take an example. Here I am going to open a wizard from the new button near the tree and kanban view.
Adding a new button in the Tree view:
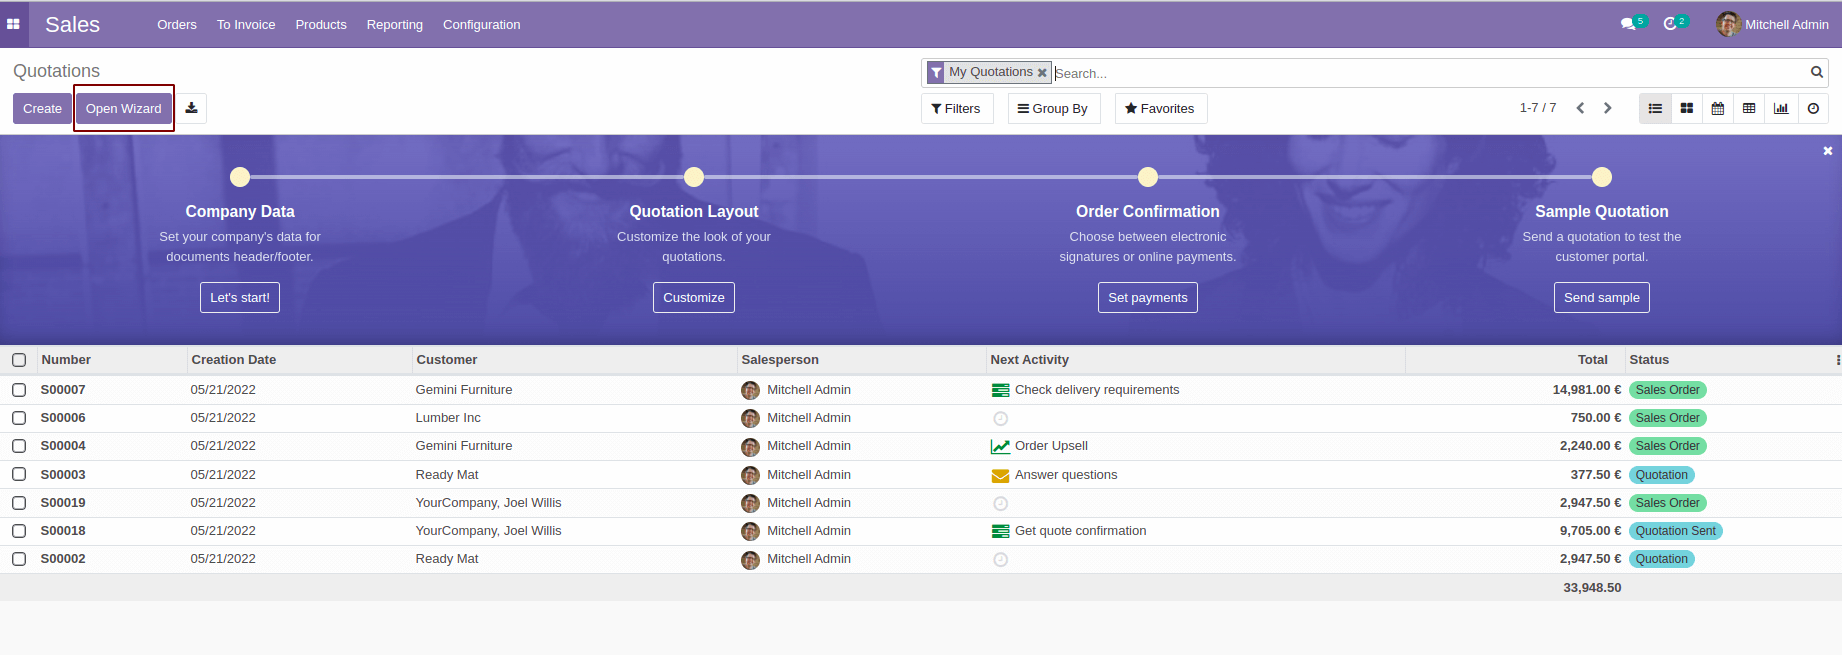
Here I’ve added the new button the sale order tree view.
First, we need to add an XML file in the path, static/src/xml/file_name.xml
In the manifest add this file in ‘qweb’
'qweb': [
   'static/src/xml/tree_button.xml',
 ],
We need to extend the template in the XML file we’ve created before.
tree_button.xml
<?xml version="1.0" encoding="UTF-8"?>
<templates>
   <t t-extend="ListView.buttons" t-name="button_near_create.buttons">
       <t t-jquery="button.o_list_button_add" t-operation="after">
           <button type="button" class="btn btn-primary open_wizard_action">
               Open Wizard
           </button>
       </t>
   </t>
</templates>
Now we need to write a js file to write the functionality of the button.
Create a js file inside the path - static/src/js/tree_button.js
Add this js file in the ‘web.assets_backend’.Create an XML file - views/assets.xml
assets.xml
<odoo>
 <template id="button_render_js" inherit_id="web.assets_backend">
       <xpath expr="." position="inside">
           <script src="button_near_create/static/src/js/tree_button.js" type="text/javascript"/>
           <script src="button_near_create/static/src/js/kanban_button.js" type="text/javascript"/>
       </xpath>
   </template>
</odoo>
‘button_near_create’ is the module name,tree_button.js is the js file I’ve created
tree_button.js
odoo.define('button_near_create.tree_button', function (require) {
"use strict";
var ListController = require('web.ListController');
var ListView = require('web.ListView');
var viewRegistry = require('web.view_registry');
var TreeButton = ListController.extend({
   buttons_template: 'button_near_create.buttons',
   events: _.extend({}, ListController.prototype.events, {
       'click .open_wizard_action': '_OpenWizard',
   }),
   _OpenWizard: function () {
       var self = this;
        this.do_action({
           type: 'ir.actions.act_window',
           res_model: 'test.wizard',
           name :'Open Wizard',
           view_mode: 'form',
           view_type: 'form',
           views: [[false, 'form']],
           target: 'new',
           res_id: false,
       });
   }
});
var SaleOrderListView = ListView.extend({
   config: _.extend({}, ListView.prototype.config, {
       Controller: TreeButton,
   }),
});
viewRegistry.add('button_in_tree', SaleOrderListView);
});
In this js file, we are extending the ListController.
buttons_template - Here we will specify the t-name of the template.
open_wizard_action is the class of the button we’ve specified in the template XML file.
_OpenWizard is the function that will perform when clicking the button.
do_action will help to open the specific action window.
We will extend ListView and will add this extender controller. The view must then be added to the registry, i.e., we must inform the web client about the mapping between the view's name and the actual class.
Now, to see this new button in a specific tree view of the sale.order model, we need to specify the new class in the specific view. For that, we can use the attribute ‘js_class’ in the tree tag of the view.
<?xml version="1.0" encoding="UTF-8"?>
<odoo>
   <data>
       <record id="sale_order_inherited_tree_view" model="ir.ui.view">
           <field name="name">sale.order.view.tree.inherit</field>
           <field name="model">sale.order</field>
           <field name="inherit_id" ref="sale.view_quotation_tree"/>
           <field name="arch" type="xml">
               <xpath expr="//tree" position="attributes">
                   <attribute name="js_class">button_in_tree</attribute>
               </xpath>
           </field>
       </record>
   </data>
</odoo>
Now, don’t forget to add this view to the manifest.
A button can be placed in the list view header in this way.
Adding new button in Kanban view:
In this example, I’ve added the new button in the sale.order kanban view.
This can also be done like what we’ve done before for tree view.
Create a template xml file - static/src/xml/kanban_button.xml
kanban_button.xml
<?xml version="1.0" encoding="UTF-8"?>
<templates id="template" xml:space="preserve">
   <t t-extend="KanbanView.buttons" t-name="button_near_create.button">
       <t t-jquery="button" t-operation="after">
               <button t-if="widget.modelName == 'sale.order'"
                   class="btn btn-primary open_wizard_action_kanban oe_highlight"
                   type="button">Open Wizard</button>
       </t>
   </t>
</templates>
Here I’ve used a condition in the button tag to limit the button visibility only for the sale.order model.
Don’t forget to add the file in the ‘qweb’.
Now let’s take a look at the js file. Add the js file in the path - static/src/js/kanban_button.js
kanban_button.js
odoo.define('button_near_create.kanban_button', function(require) {
   "use strict";
   var KanbanController = require('web.KanbanController');
   var KanbanView = require('web.KanbanView');
   var viewRegistry = require('web.view_registry');
   var KanbanButton = KanbanController.include({
       buttons_template: 'button_near_create.button',
       events: _.extend({}, KanbanController.prototype.events, {
           'click .open_wizard_action_kanban': '_OpenWizardKanban',
       }),
       _OpenWizardKanban: function () {
       var self = this;
        this.do_action({
           type: 'ir.actions.act_window',
           res_model: 'test.wizard',
           name :'Open Wizard',
           view_mode: 'form',
           view_type: 'form',
           views: [[false, 'form']],
           target: 'new',
           res_id: false,
       });
   }
   });
   var SaleOrderKanbanView = KanbanView.extend({
       config: _.extend({}, KanbanView.prototype.config, {
           Controller: KanbanButton
       }),
   });
   viewRegistry.add('button_in_kanban', SaleOrderKanbanView);
});
It has the same structure as the js file we used for the tree view button creation. Here we are extending the KanbanController and KanbanView.
While clicking the new button from both the views it’ll open the specific wizard which we’ve specified in the do_action function. In this example, I’ve used a custom wizard having two date fields, From and To.
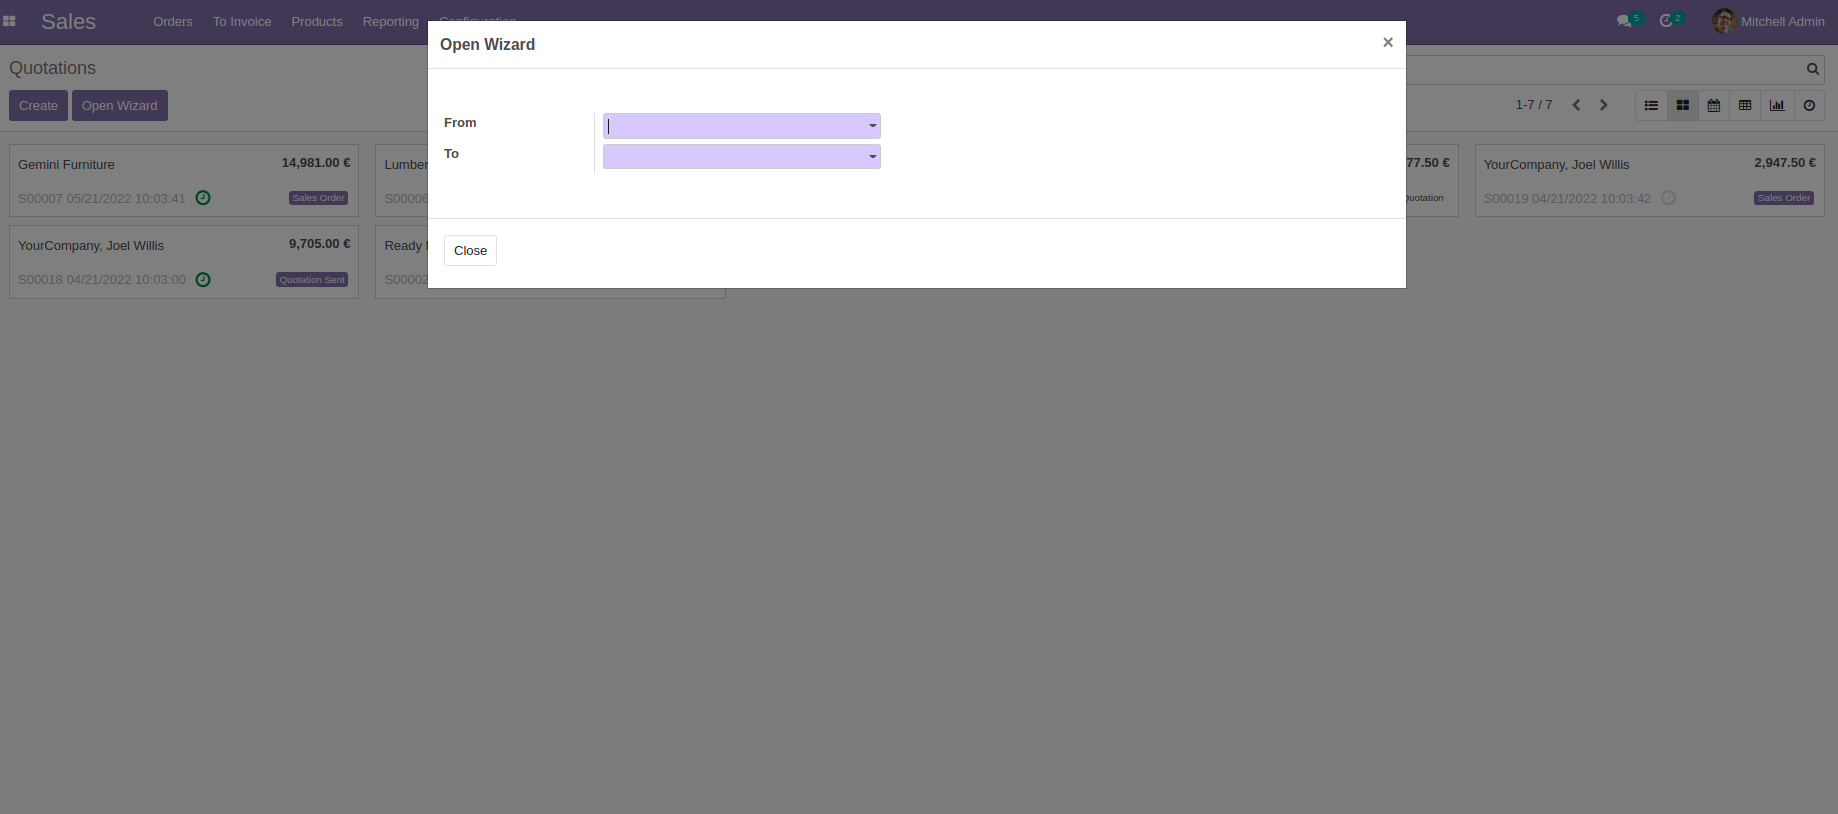
In this way, a button can be added near the Create button in the tree and kanban view.