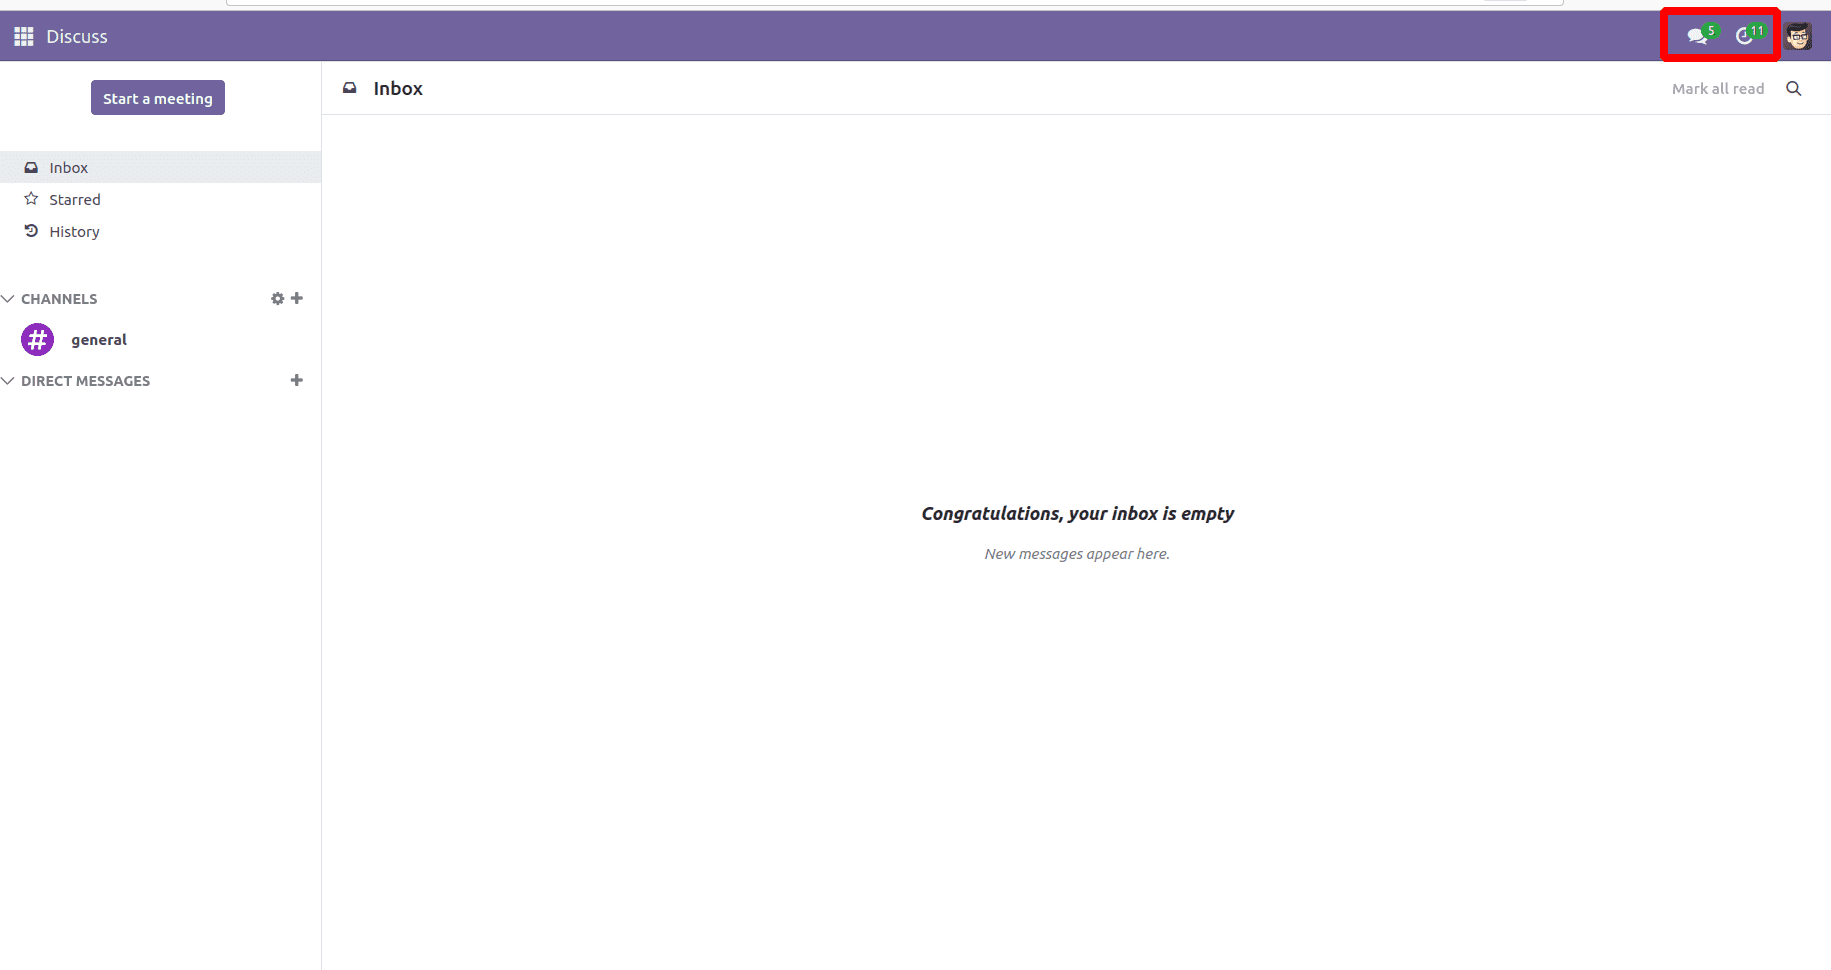
In Odoo, the system tray icon prompts accessibility for specific functionalities and also serves to display notifications to users. Systray icons are located in the notification bar. The systray exhibits notifications and alerts for different events, including incoming messages, reminders, and so forth. The menu choices vary based on the particular module or application in use.
The highlighted section in the screenshot indicates the system tray icons.
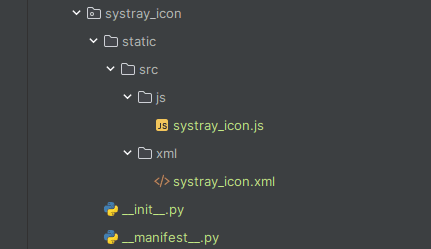
Let's explore the process of establishing a systray in the menu bar and assigning an action to it. Initially, create a directory and within it, establish a static folder. Subsequently, add JS and XML folders to the static folder.
Now, we can create the view for the systray icon within the notification bar.
XML Code:
<?xml version="1.0" encoding="UTF-8" ?>
<templates xml:space="preserve">
   <t t-name="systray_icon" owl="1">
   <Dropdown>
           <t t-set-slot="toggler">
               <div class="new_icon">
           <div class="icon_div">
               <div class="toggle-icon" role="button">
                   <i id='create_order'
                      class="fa fa-shopping-cart fa-1.5x"
                      style="color: white; margin-bottom:10px; padding:13px;"
                      role="img" aria-label="Sale/Purchase Order"/>
               </div>
           </div>
       </div>
           </t>
           <t t-set-slot="default">
               <DropdownItem >
                   <div t-on-click="_openSaleModel">
                       Sale Order
                   </div>
               </DropdownItem>
               <DropdownItem>
                   <div t-on-click="_openPurchaseModel">
                       Purchase Order
                   </div>
               </DropdownItem>
           </t>
   </Dropdown>
   </t>
</templates>
This will add a shopping cart icon in the notification. Different style attributes are added, including padding adjustments to align this icon seamlessly with the existing ones. The fa-1.5x class gives the size of the icon.
The next task involves incorporating an action for the icon, which requires JavaScript code. Here, a function is added. Upon clicking the button, it triggers a dropdown menu, and clicking an option from the dropdown triggers a pop-up wizard and opens a new form for creating a sale order or purchase order, depending on the selection.
/** @odoo-module **/
import { registry } from "@web/core/registry";
import { useService } from "@web/core/utils/hooks";
import { Component } from "@odoo/owl";
import {Dropdown} from '@web/core/dropdown/dropdown';
import {DropdownItem} from '@web/core/dropdown/dropdown_item';
class SystrayIcon extends Component {
   setup() {
       super.setup(...arguments);
       this.action = useService("action");
   }
   _openSaleModel() {
       this.action.doAction({
           type: "ir.actions.act_window",
           name: "Sale Order",
           res_model: "sale.order",
           view_mode: "form",
           views: [[false, "form"]],
           target: "new",
           });
           }
   _openPurchaseModel(){
       this.action.doAction({
           type: "ir.actions.act_window",
           name: "Purchase Order",
           res_model: "purchase.order",
           view_mode: "form",
           views: [[false, "form"]],
           target: "new",
           });
    }
}
   SystrayIcon.template = "systray_icon";
   SystrayIcon.components = {Dropdown, DropdownItem };
   export const systrayItem = { Component: SystrayIcon,};
   registry.category("systray").add("SystrayIcon", systrayItem, { sequence: 1 });
To add an action for this icon, the initial step is to import the registry, useService, Owl component, Dropdown and Dropdown Item. In Odoo JavaScript, classes can be extended using the extend method. This method facilitates the creation of a new class, inheriting all the properties and methods of the original class, allowing for the override or addition of new properties and methods. In this scenario, the Component class is extended, creating a new class named SystrayIcon. This class introduces a new component for our systray icon. The template name is specified as our XML template name. Events are declared, including an _openSaleModel and _openPurchaseModel function for the Owl component. Within the click event function, a doAction is specified to open a sale order and purchase order, respectively.
Next, we can give these files to the assets in the manifest file.
'assets': {
'web.assets_backend': [
 'systray_icon/static/src/js/systray_icon.js',
  'systray_icon/static/src/xml/systray_icon.xml',
 	   ]
}
After installing, we can see the cart icon in the systray, as shown in the image below.
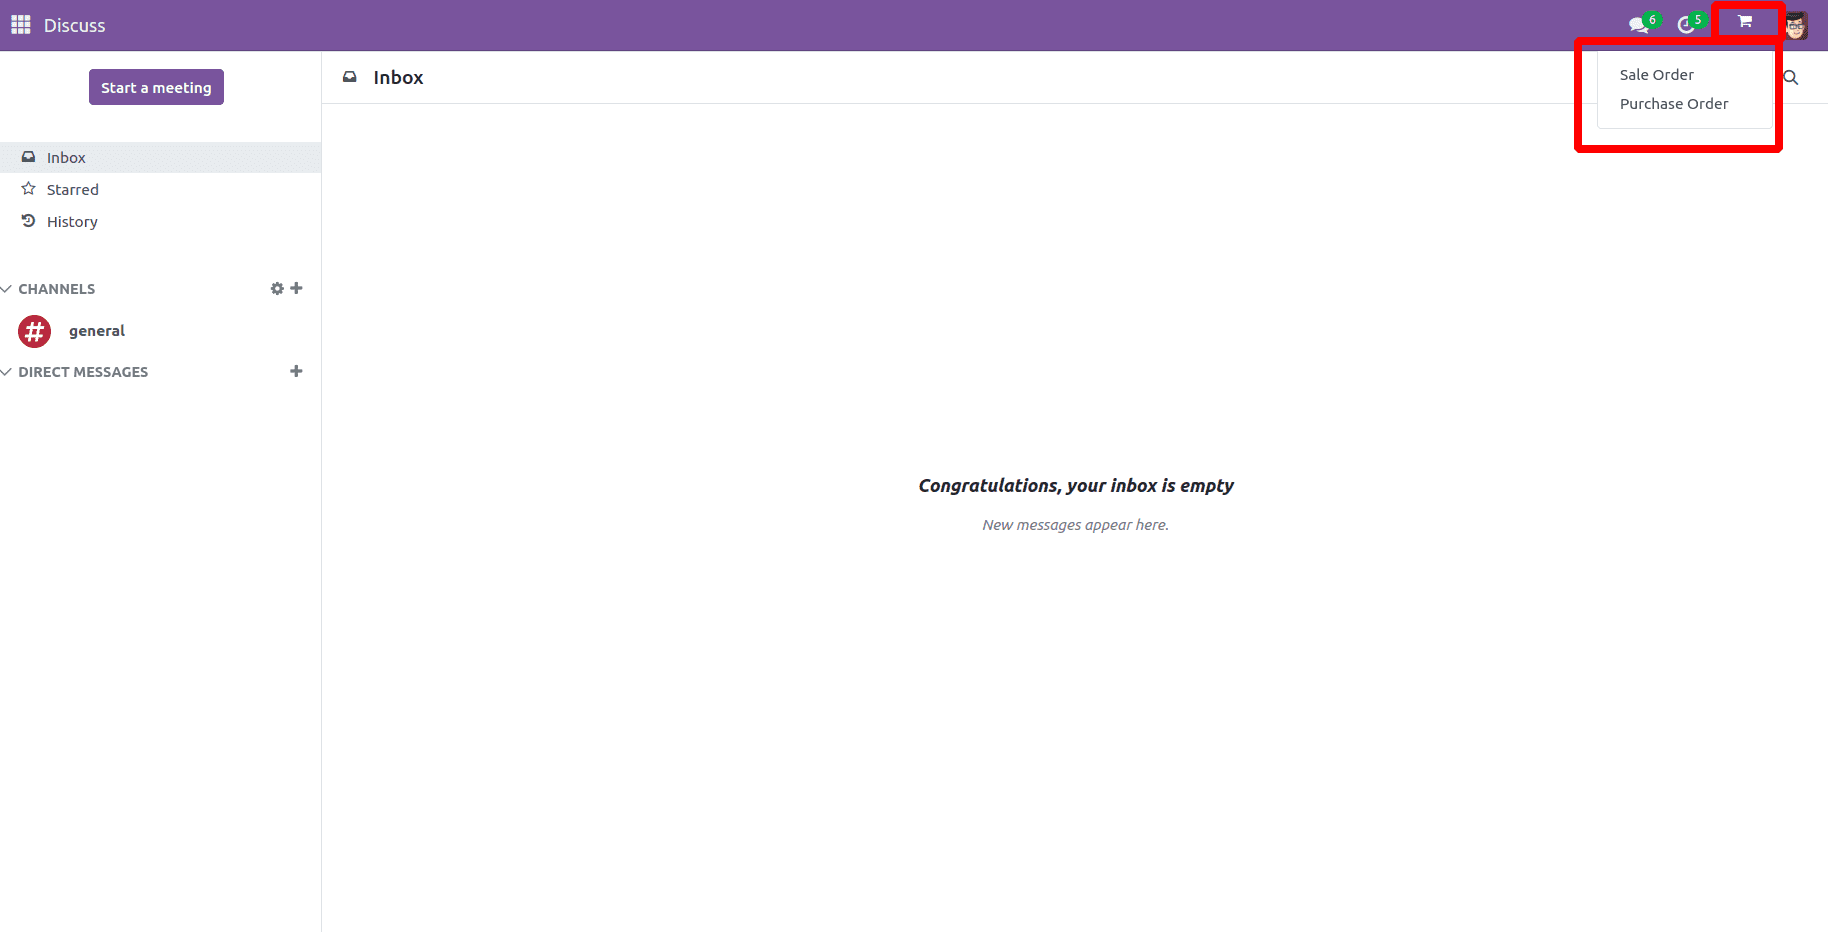
When we click on that icon, a dropdown item opens and if we click on sale order, we can see that a new wizard opens for creating the sale order.
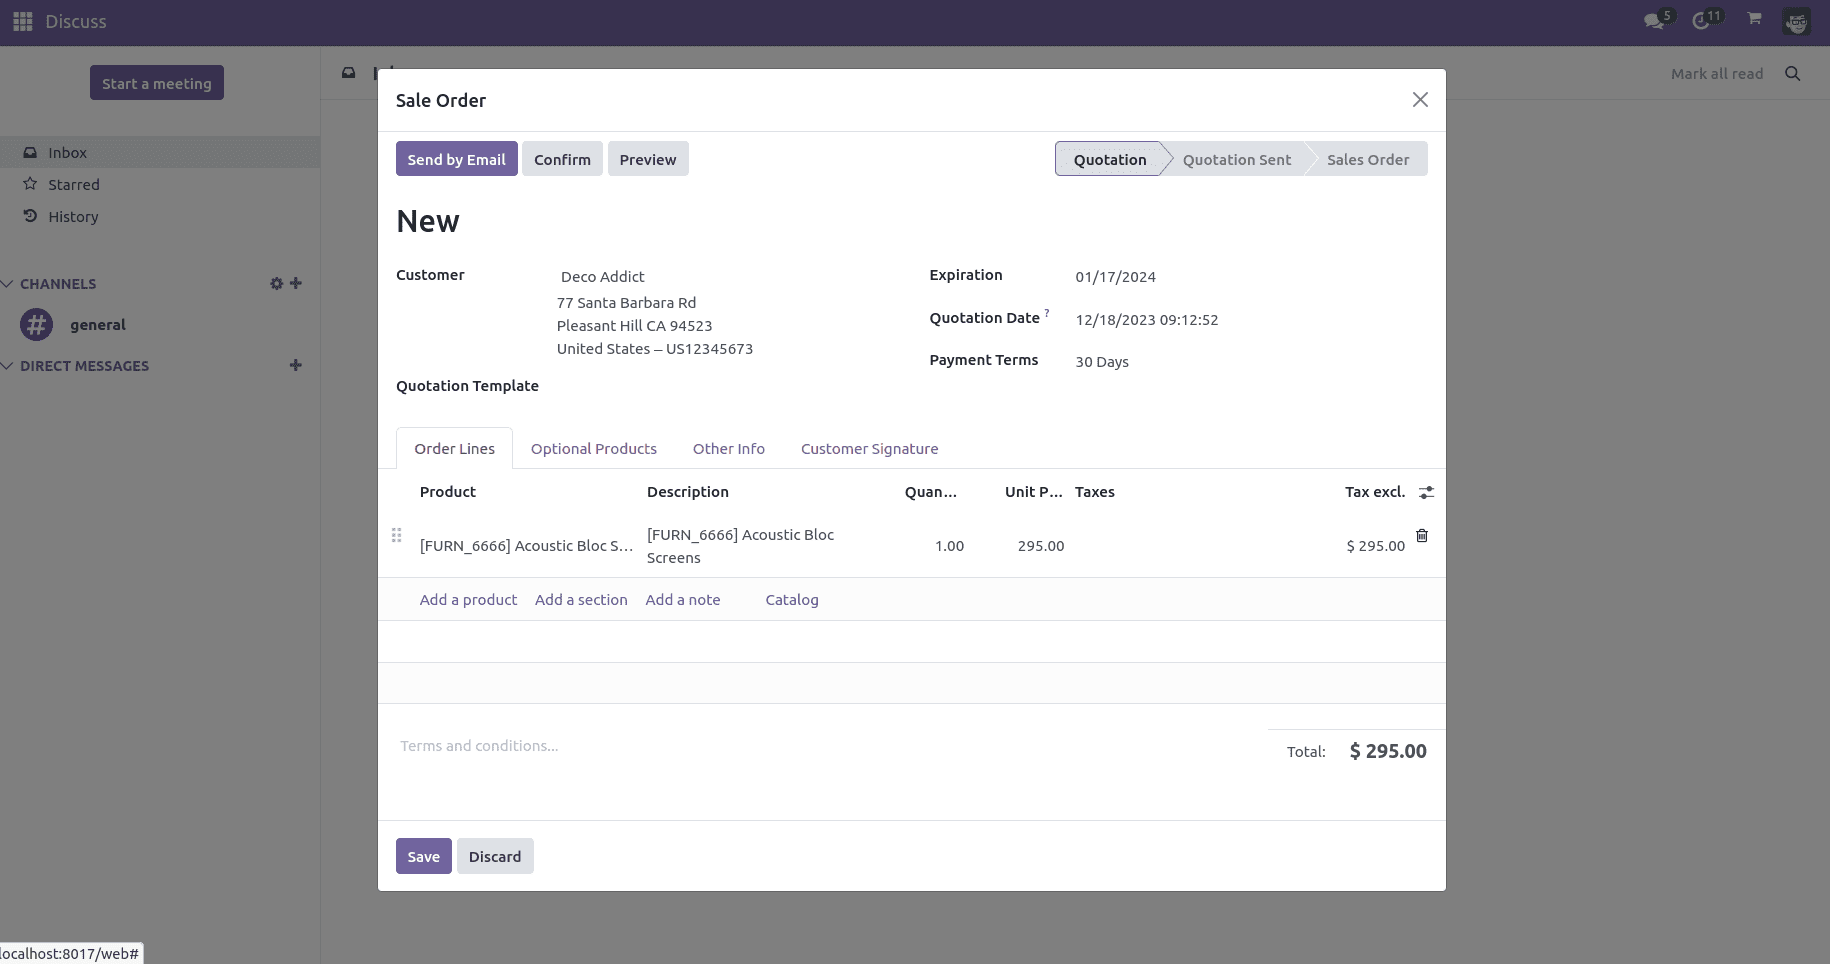
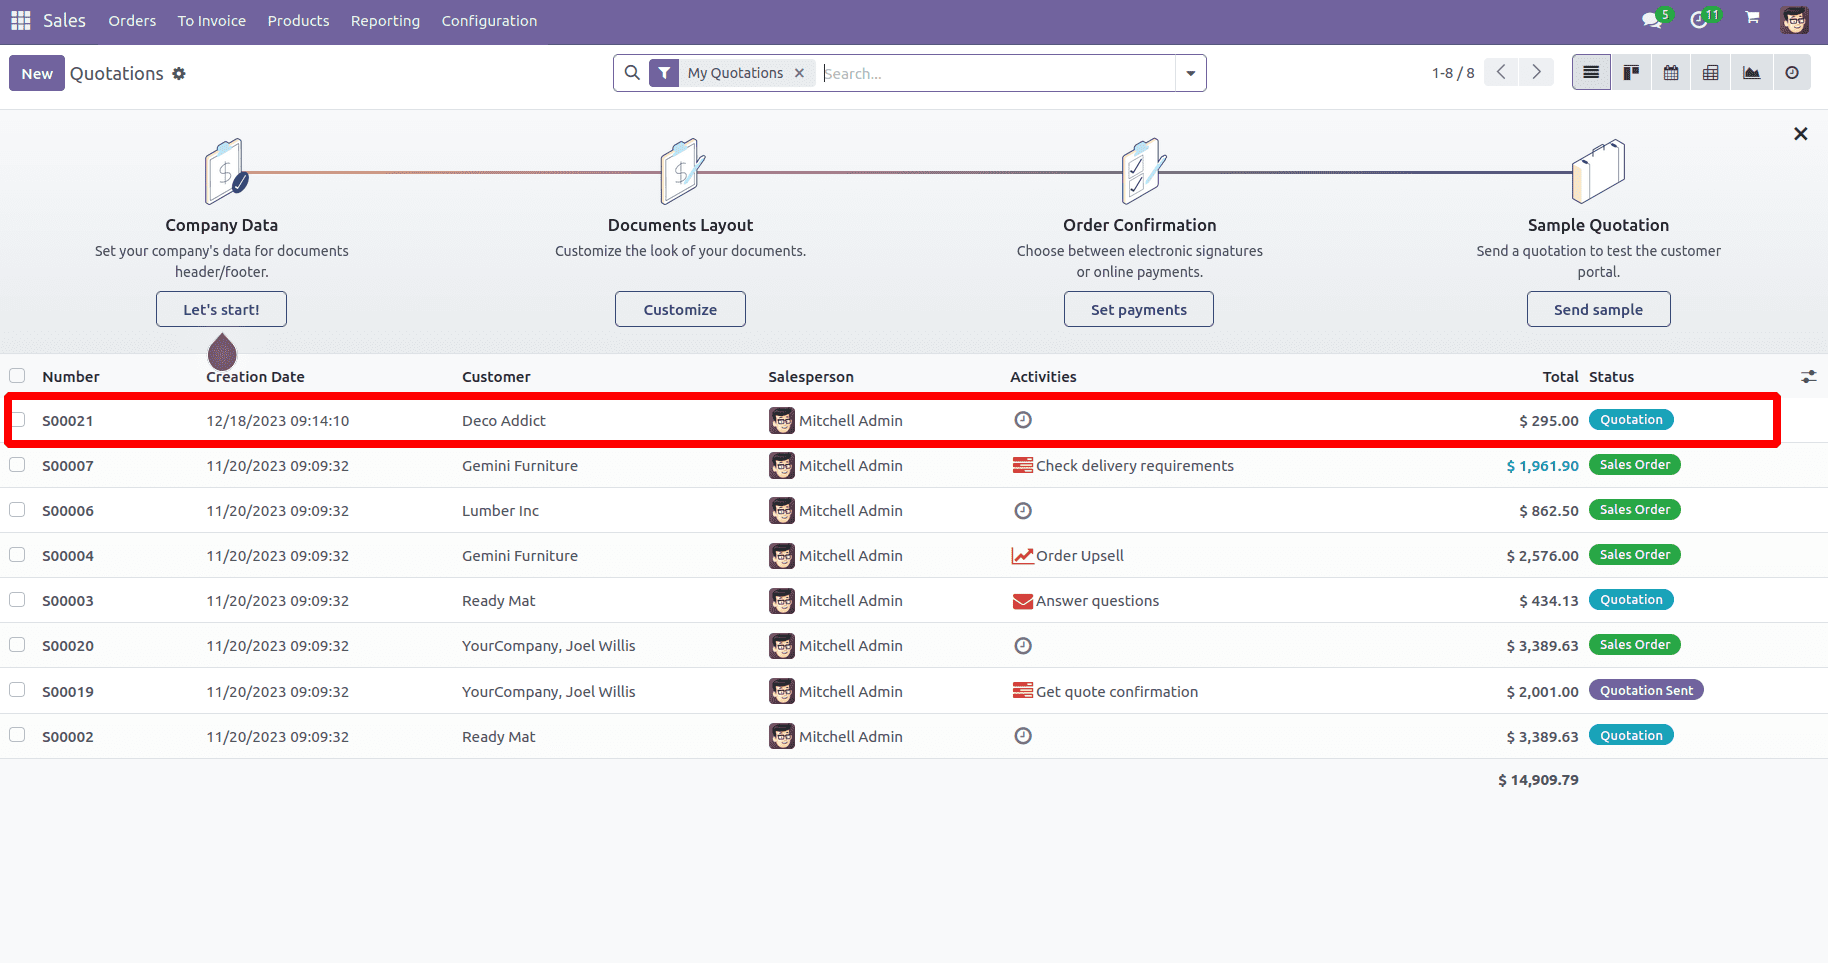
After filling in the necessary details, we can click on the save button. Next, if we move to the sales module, we can see that a new sale order has been created in the quotation stage.
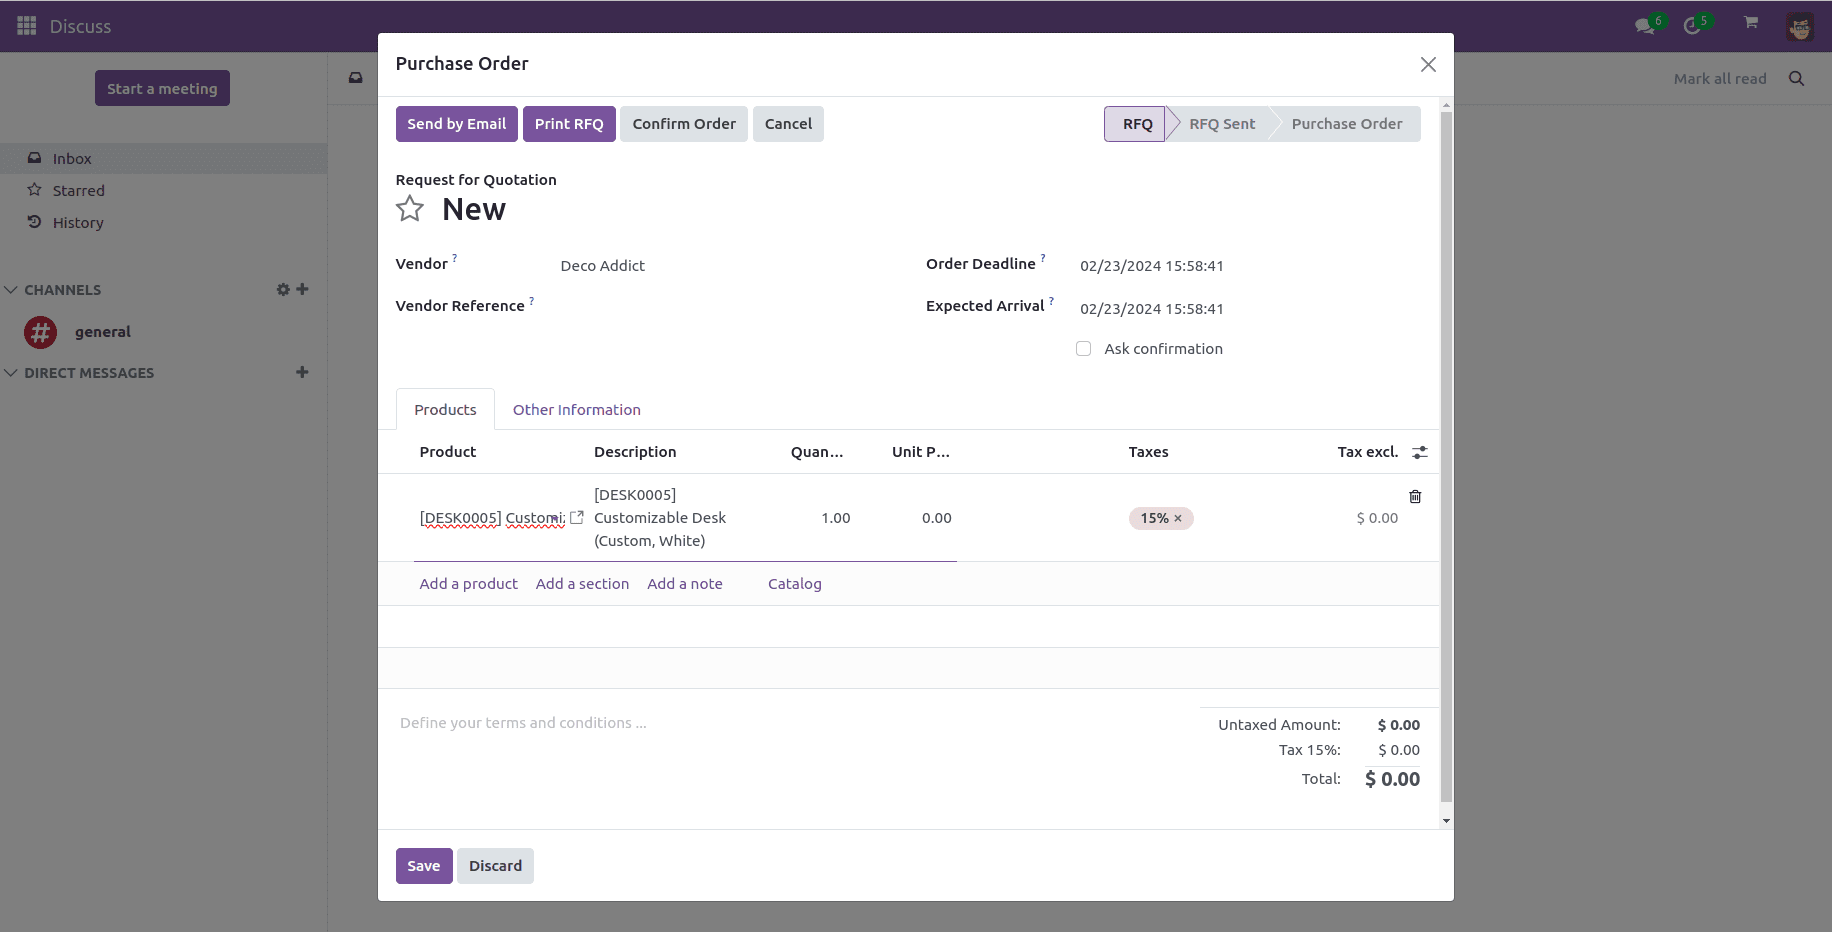
Similarly, when we click on the purchase order option, a new wizard opens to create the purchase order.
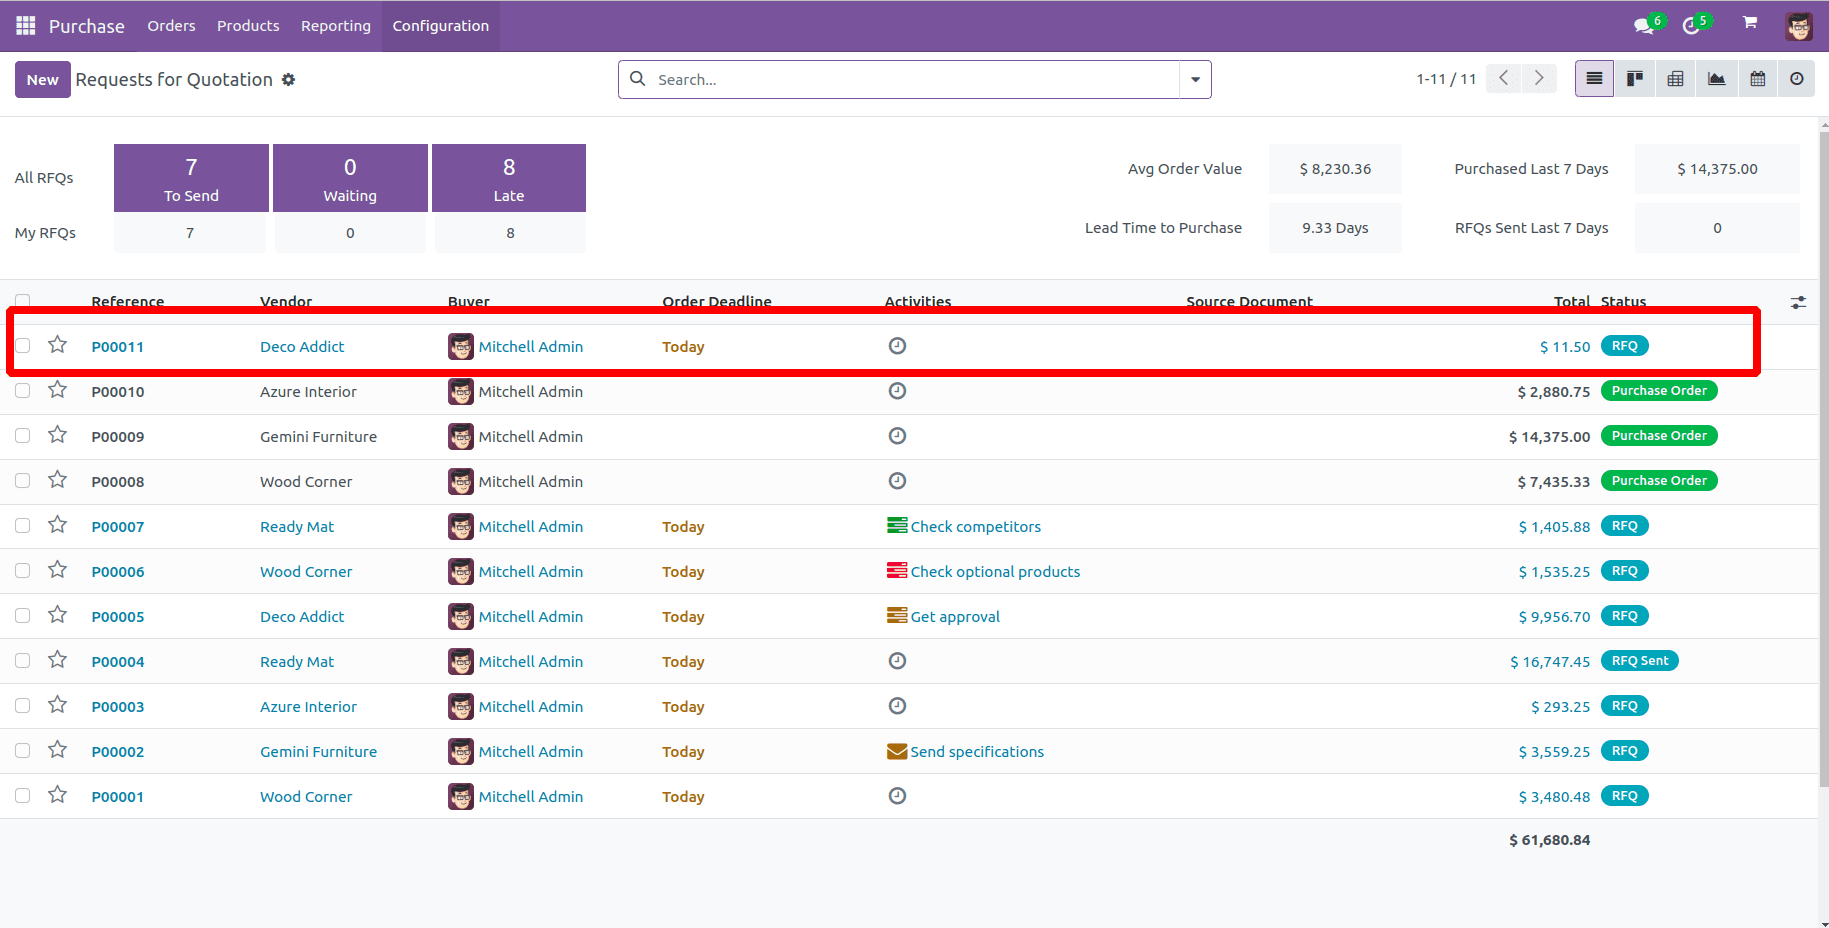
After saving, when we go to the Purchase module, a purchase order will be created in the RFQ stage.
By following these steps, we can create an icon in Systray along with the dropdown item in Odoo 17.
To read more about adding an icon in Systray in Odoo 16, refer to our blog How to Add an Icon in Systray in Odoo 16