The Barcode App in Odoo connects Odoo Warehouse and makes the workflow smooth.
In this blog, we can understand how to add an icon to the barcode screen using Odoo’s bus service. This is useful in cases where we can show pending orders, unassigned sale orders, and any other specific business requirements.
Step 1: Extend the Barcode Template
To start with, we can inherit the Barcode application’s main component
<templates>
    <t t-inherit="stock_barcode.MainComponent" t-inherit-mode="extension">
        <xpath expr="//div[hasclass('o_barcode_client_action')]" position="inside">
            <div style="
                position:absolute;
                top:20px;
                right:100px;
                background:red;
                color:white;
                padding:4px 8px;
                border-radius:10px;
                font-size:14px;
                z-index:1000;
            ">
                ?? <t t-esc="salesCounter ? salesCounter.count : 0"/>
            </div>
        </xpath>
    </t>
</templates>
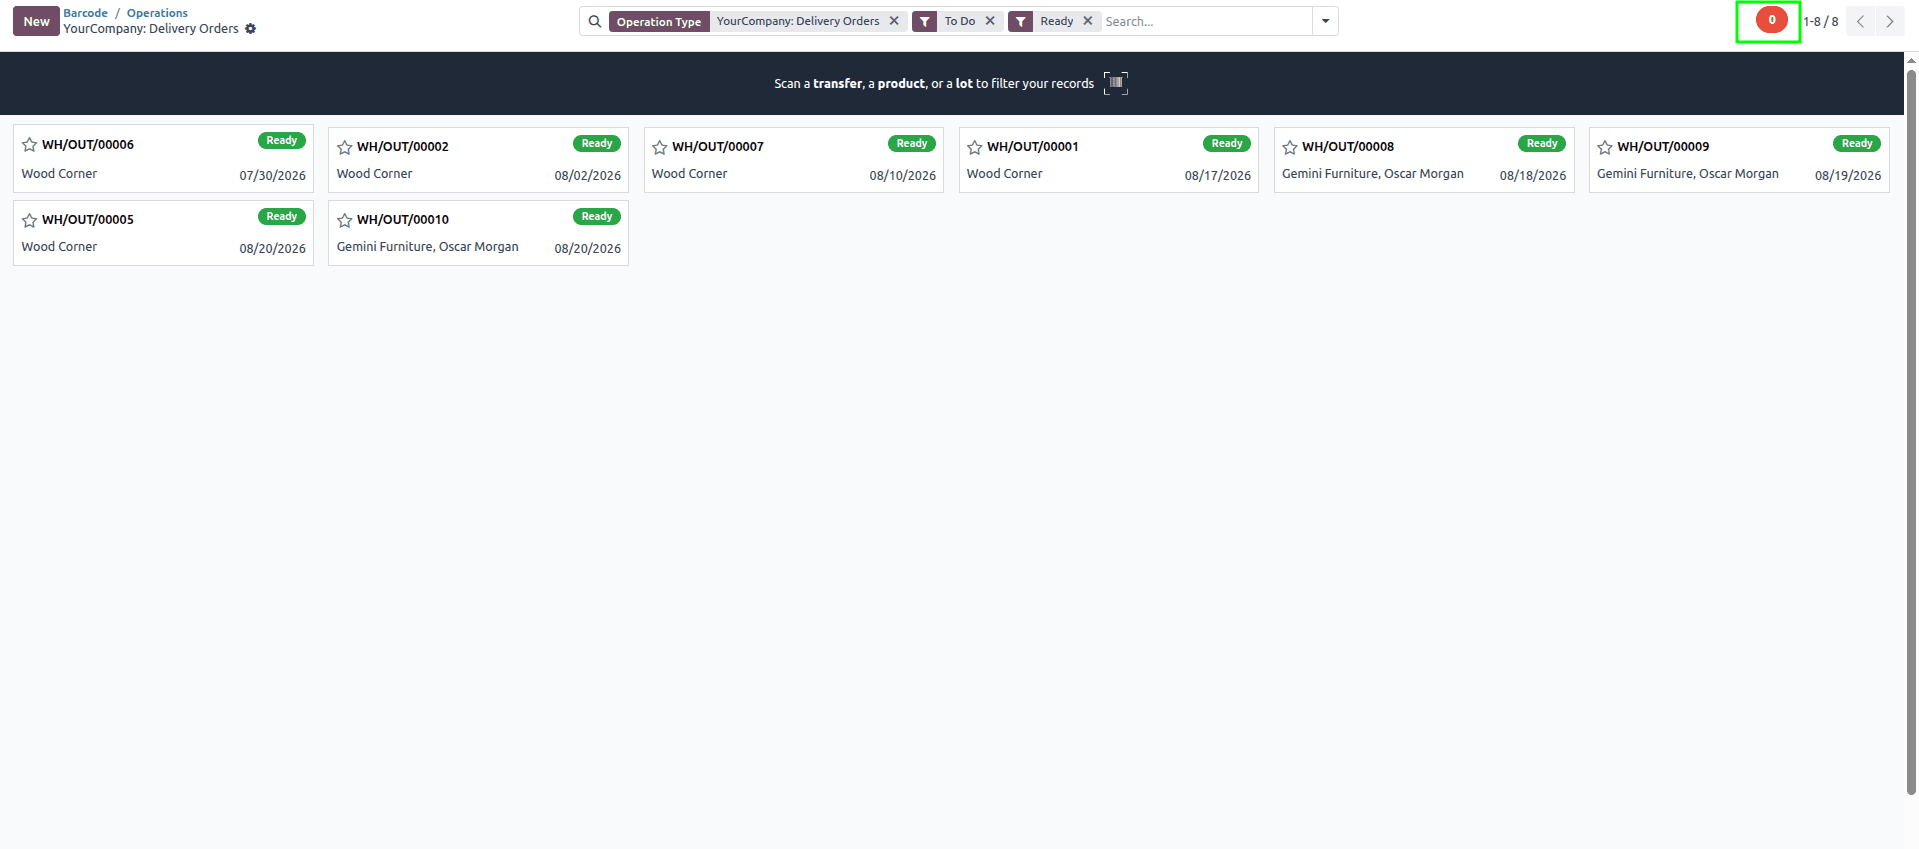
The above code inherits the existing barcode interface and adds a small counter badge inside the barcode screen.
The screenshot below shows the icon we created in the interface
Step 2: Add the JavaScript Logic
The code below shows the JS file to change the counter value.
/** @odoo-module **/
import MainComponent from "@stock_barcode/components/main";
import { patch } from "@web/core/utils/patch";
import { useService } from "@web/core/utils/hooks";
import { useState, onWillStart, onWillUnmount } from "@odoo/owl";
patch(MainComponent.prototype, {
    setup() {
        super.setup();
        this.orm = useService("orm");
        this.busService = this.env.services.bus_service;
        this.salesCounter = useState({ count: 0 });
        this.isMounted = true;
        onWillUnmount(() => {
            this.isMounted = false;
        });
        this.busService.addChannel("sales_counter");
        this.busService.subscribe(
            "update_counter",
            this._onCounterUpdate.bind(this)
        );
        onWillStart(async () => {
            await this._loadCount();
        });
    },
    async _loadCount() {
        try {
            const count = await this.orm.call(
                "sale.order",
                "broadcast_counter",
                []
            );
            if (this.isMounted) {
                this.salesCounter.count = count;
            }
        } catch (err) {
            console.error("Barcode load error:", err);
        }
    },
    _onCounterUpdate(payload) {
        if (!this.isMounted) return;
        if (payload?.count !== undefined) {
            this.salesCounter.count = payload.count;
        }
    },
});
The above code patches the barcode application’s owl main component. When the barcode screen loads, it fetches the current value, store and displays it in the counter without refreshing the page.
Step 3: Add Assets to the Manifest
Include the XML and JavaScript files in your module assets.
'assets': {
    'web.assets_backend': [
        'your_module/static/src/js/barcode_counter.js',
        'your_module/static/src/xml/barcode_counter.xml',
    ],
},
Refresh your models to see the changes.
Customizing the Barcode interface in Odoo 18 is straightforward with OWL components and template inheritance. By adding a small counter badge and connecting it to Odoo's bus service, you can display real-time information directly on the Barcode screen and improve the overall user experience.
To read more about How to Add an Icon in Systray in Odoo 17, refer to our blog How to Add an Icon in Systray in Odoo 17.