In Odoo 17 Invoicing, enabling users to attach files directly from the Invoicing list view enhances workflow efficiency. This guide demonstrates how to add an "Upload" button to the Sale Order list view, allowing users to attach files effortlessly.
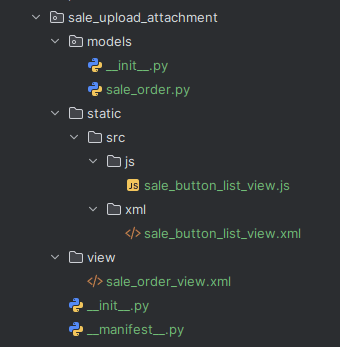
Let's explore the process of setting up a file upload button in the Sale Order list view and assigning an action to it. Initially, create a directory, and within it, establish models, views, and static folders. Subsequently, add a src folder inside the static folder. Within the src folder, create js and xml folders.
Now, we can inherit the Sale Order tree view to add the button_in_tree js_class attribute.
XML Code: views/sale_order_view.xml
<?xml version="1.0" encoding="UTF-8" ?>
<odoo>
   <record id="sale_upload_button_tree" model="ir.ui.view">
       <field name="name">sale.upload.button.tree.inherit</field>
       <field name="model">sale.order</field>
       <field name="inherit_id" ref="sale.sale_order_tree"/>
       <field name="arch" type="xml">
           <xpath expr="//tree" position="attributes">
               <attribute name="js_class">button_in_tree</attribute>
           </xpath>
       </field>
   </record>
</odoo>
Then we can create the view for the upload button within the Sale Order tree view.
XML Code: static/src/xml/sale_button_list_view.xml
<?xml version="1.0" encoding="utf-8"?>
<templates>
  <t t-name="button_sale.ListView.Buttons" t-inherit="web.ListView.Buttons">
      <xpath expr="//div[hasclass('o_list_buttons')]" position="after">
          <div>
              <FileUploader
                      acceptedFileExtensions="props.acceptedFileExtensions"
                      multiUpload="true"
                      onUploaded.bind="onFileUploaded"
                      onUploadComplete.bind="onUploadComplete">
                  <t t-set-slot="toggler">
                      <t t-if="props.togglerTemplate"
                         t-call="{{ props.togglerTemplate }}"/>
                      <t t-else="" t-slot="toggler"/>
                  </t>
                  <t t-slot="default"/>
                  <t t-set-slot="toggler">
                    <button type="button" class="btn btn-secondary">
                      Upload
                    </button>
                  </t>
              </FileUploader>
          </div>
      </xpath>
  </t>
</templates>
It inherits ListView.Buttons, adds an Upload button after o_list_buttons using <xpath>, enables file uploads via <FileUploader>, and handles uploads with onFileUploaded and onUploadComplete.
Now, we need to add a JavaScript file to manage file uploads and integrate the upload button into the Sale Order list view. The following script customizes the list controller to handle file upload.
JS Code: static/src/js/sale_button_list_view.js
/** @odoo-module */
import { ListController } from "@web/views/list/list_controller";
import { registry } from '@web/core/registry';
import { listView } from '@web/views/list/list_view';
import { FileUploader } from "@web/views/fields/file_handler";
import { useService } from "@web/core/utils/hooks";
export class SaleListController extends ListController {
  setup() {
      super.setup();
      this.attachmentIdsToProcess = [];
      this.action = useService("action");
  }
  async onFileUploaded(file) {
       const att_data = {
           name: file.name,
           mimetype: file.type,
           datas: file.data,
       };
       const [att_id] = await this.orm.create("ir.attachment", [att_data], {
           context: { ...this.extraContext, ...this.env.searchModel.context },
       });
       this.attachmentIdsToProcess.push(att_id);
   }
  async onUploadComplete() {
       const action = await this.orm.call("sale.order", "create_document_from_attachment", ["", this.attachmentIdsToProcess], {
           context: { ...this.extraContext, ...this.env.searchModel.context },
       });
       this.attachmentIdsToProcess = [];
       if (action.context && action.context.notifications) {
           for (let [file, msg] of Object.entries(action.context.notifications)) {
               this.notification.add(
                   msg,
                   {
                       title: file,
                       type: "info",
                       sticky: true,
                   });
           }
           delete action.context.notifications;
       }
       this.action.doAction(action);
  }
}
SaleListController.components = {...SaleListController.components, FileUploader}
registry.category("views").add("button_in_tree", {
  ...listView,
  Controller: SaleListController,
  buttonTemplate: "button_sale.ListView.Buttons",
});
This JavaScript file customizes the Sale Order list view by extending ListController, Importing FileUploader for file selection, creating ir.attachment records via onFileUploaded, attaching files using onUploadComplete, and registering the view as button_in_tree to display the Upload button.
Now, we inherit the Sale Order model, adding the create_document_from_attachment function, which creates a new Sale Order, attaches uploaded files, updates the attachment records, and returns an action to open the Sale Order in the form view.
Python Code: models/sale_order.py
from odoo import models

class SaleOrder(models.Model):
   _inherit = 'sale.order'
   def create_document_from_attachment(self, attachment_ids):
       """ Create the sale order from files.
        :return: A action redirecting to sale.order form view.
       """
       attachments = self.env['ir.attachment'].browse(attachment_ids)
       sale_order = self.create({
           'partner_id': self.env.user.partner_id.id
       })
       sale_order.message_post(attachment_ids=attachments.ids)
       attachments.write({'res_model': 'sale.order', 'res_id': sale_order.id})
       action_vals = {
           'name': 'Generated Documents',
           'domain': [('id', 'in', sale_order.ids)],
           'res_model': 'sale.order',
           'type': 'ir.actions.act_window',
           'context': self._context
       }
       action_vals.update({
           'views': [[False, "form"]],
           'view_mode': 'form',
           'res_id': sale_order.id,
       })
       return action_vals
This Python code inherits the Sale Order model and adds the create_document_from_attachment function.
* Creates a new Sale Order.
* Attaches uploaded files to the Sale Order.
* Updates the file records to link them to the order.
* Returns an action to open the same Sale Order in form view.
This ensures that when a file is uploaded, it automatically creates a Sale Order and links the document
Workflow
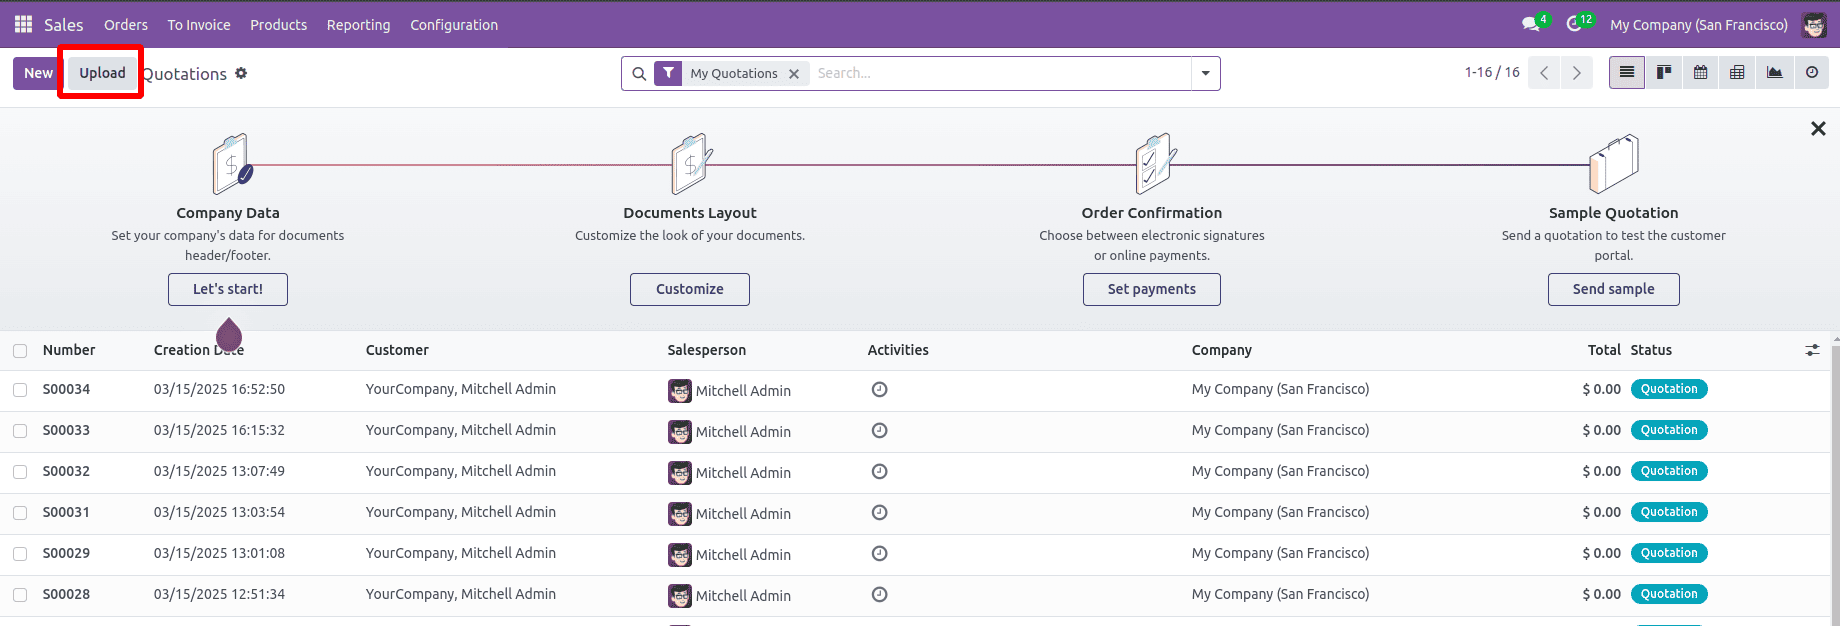
User Uploads a File: The user clicks the "Upload" button in the Sale Order list view, triggering the file selection.
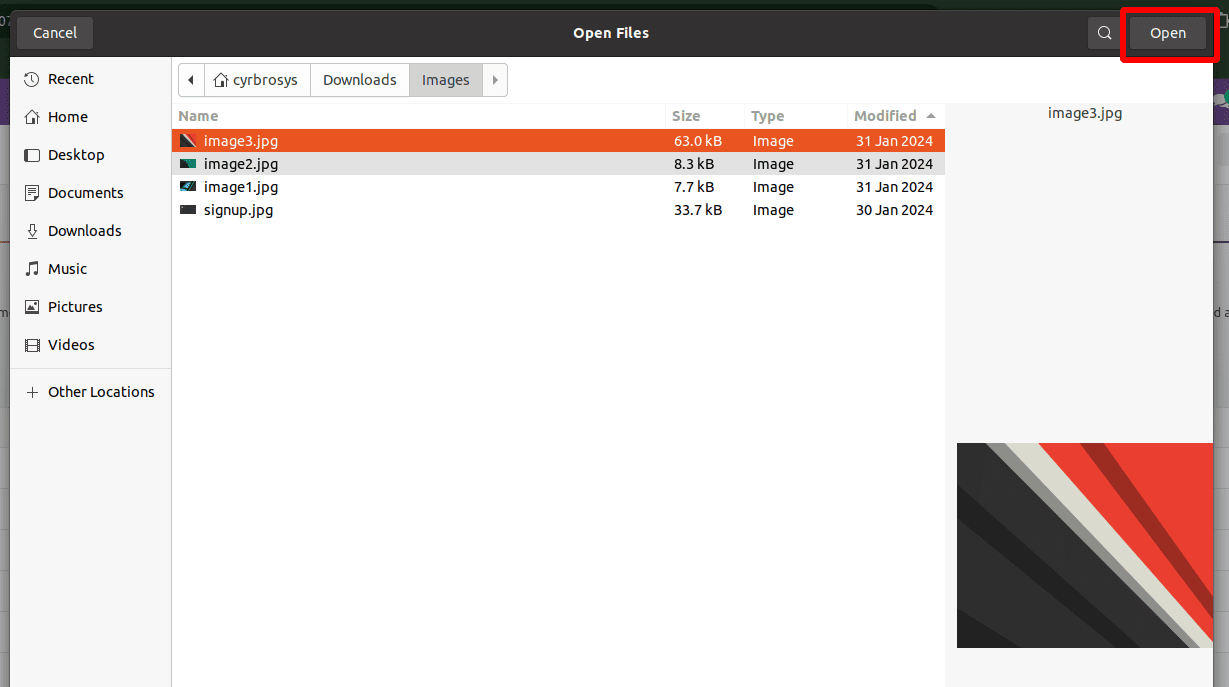
Here we can choose single or multiple files.
File Processing in JavaScript: The selected file is uploaded as an ir.attachment, and its ID is stored for further processing. Once the upload is complete, the onUploadComplete function calls the backend method.
Backend Processing in Python: The create_document_from_attachment function creates a new Sale Order, attaches the uploaded file, updates the attachment records, and returns an action to open the same Sale Order.
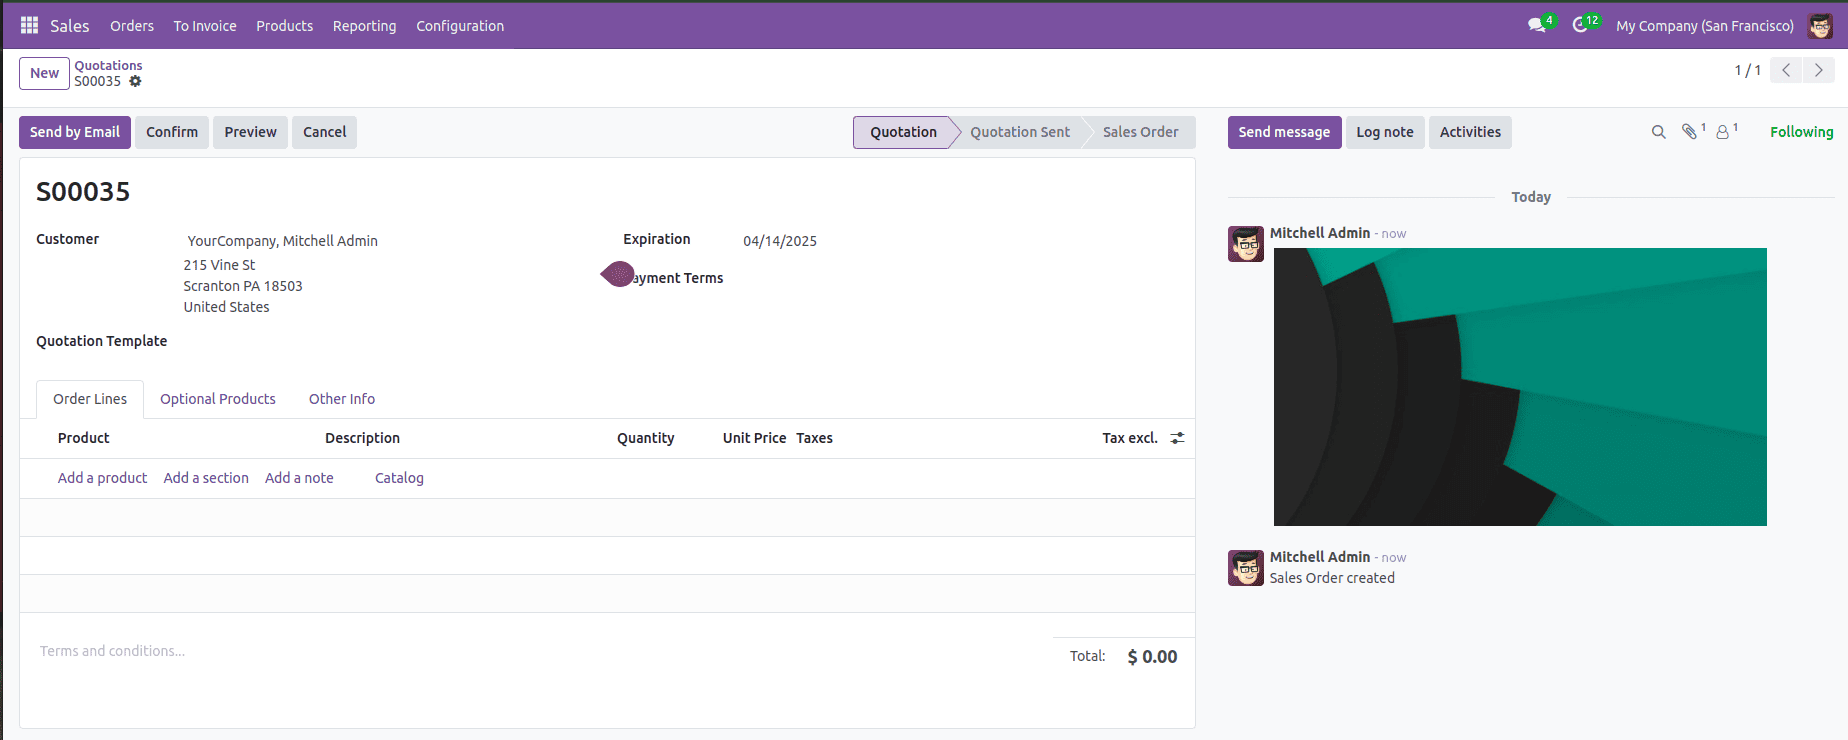
Sale Order View Update: The user is redirected to the newly created Sale Order form view, where the uploaded file is linked.
Integrating a file upload feature directly into the Sale Order list view in Odoo 17 significantly enhances document management and user efficiency. By customizing the XML views, JavaScript controllers, and Python models, this solution enables users to effortlessly upload and attach files, which automatically generate and link to new Sale Orders. This workflow improves usability and ensures proper document tracking by allowing users to upload and attach files directly from the Sale Order list view.
To read more about How to Attach Files With Products Using Odoo 17, refer to our blog How to Attach Files With Products Using Odoo 17.