Odoo provides powerful automation tools that allow you to execute logic without writing code directly. Two key features for this are Scheduled Actions (Cron Jobs) and Server Actions. In Odoo 19, these can be fully configured through the GUI, making automation accessible even for functional users.
What Are Server Actions?
Server Actions are automated backend operations that can be triggered manually or automatically. They can:
- Update records
- Send emails
- Execute Python code
- Trigger workflows
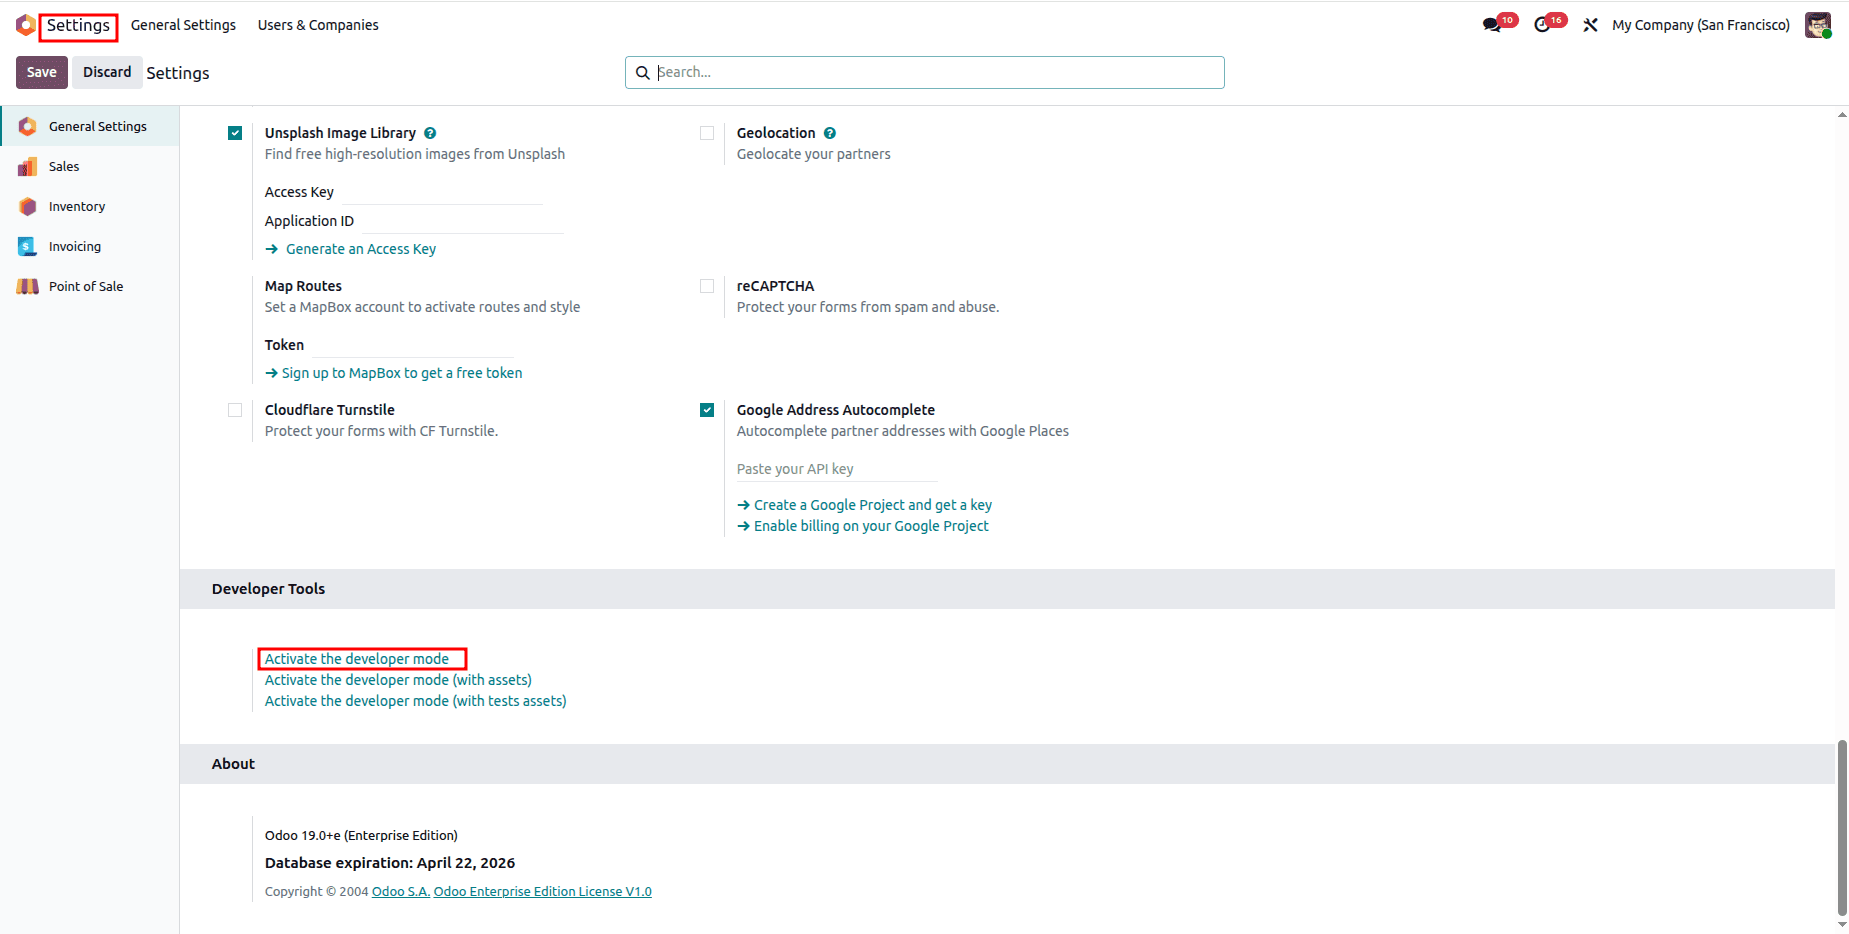
Step 1: Enable Developer Mode
To access these features:
- Go to Settings
- Scroll down and click Activate Developer Mode
This will unlock technical menu options.
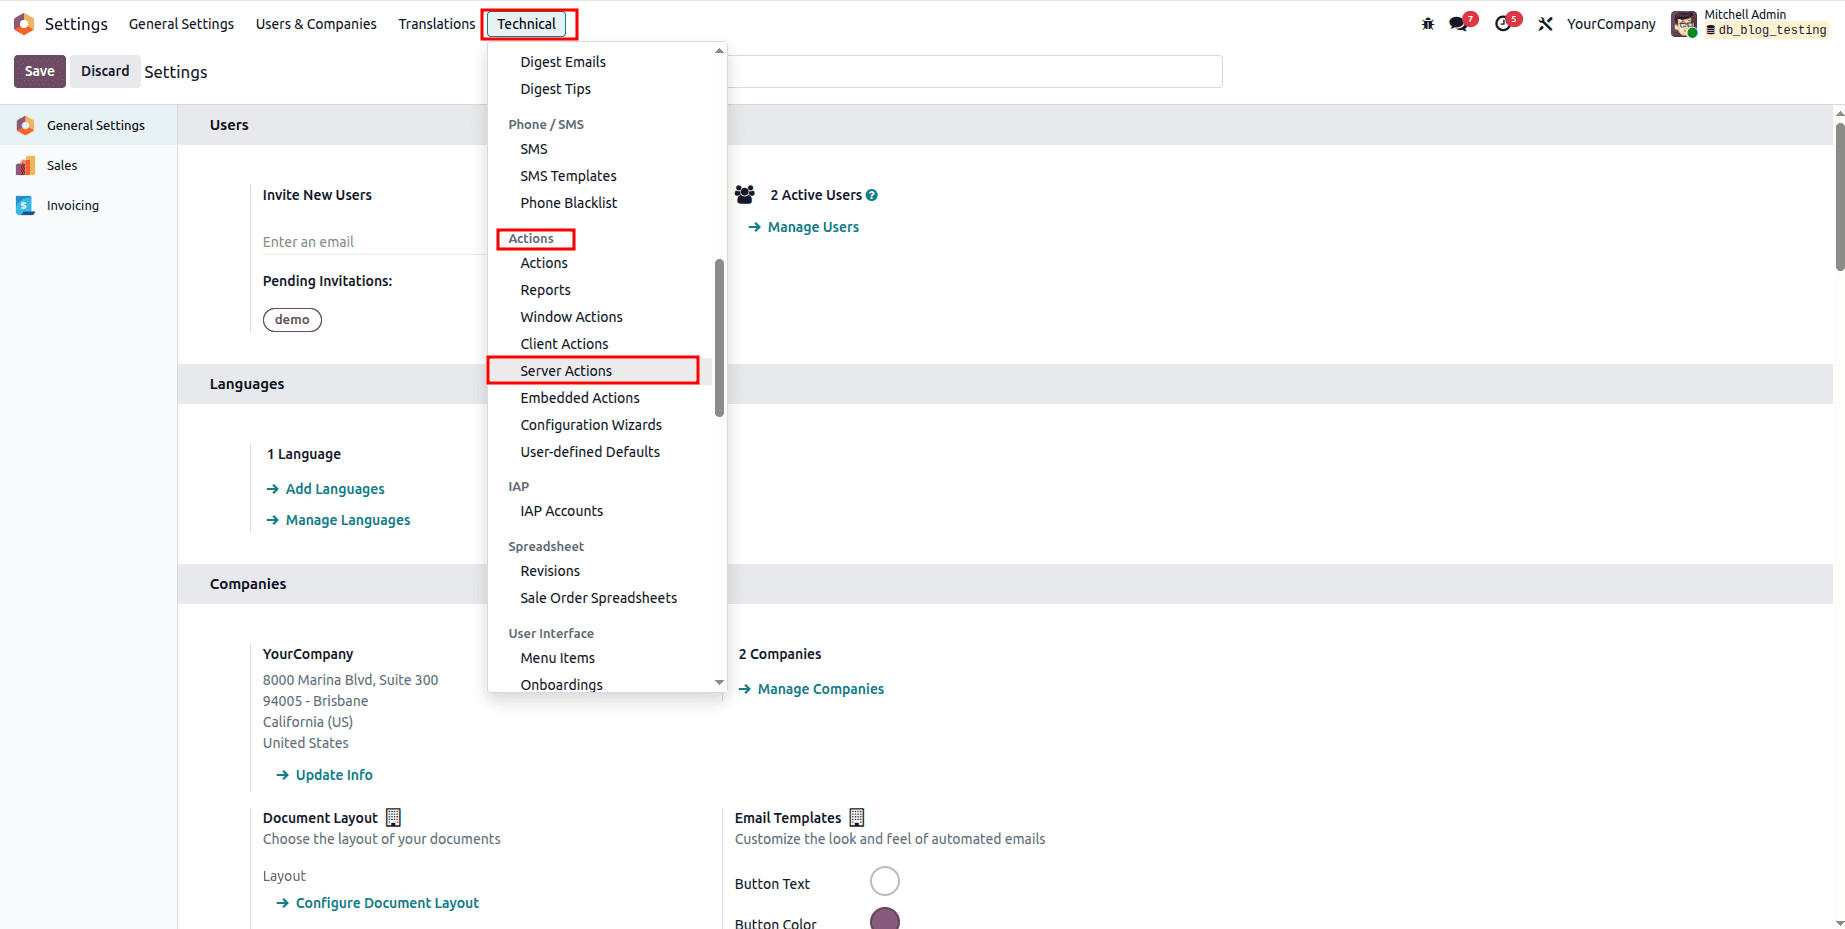
Step 2: Create a Server Action
Navigate to:
Settings > Technical > Actions > Server Actions
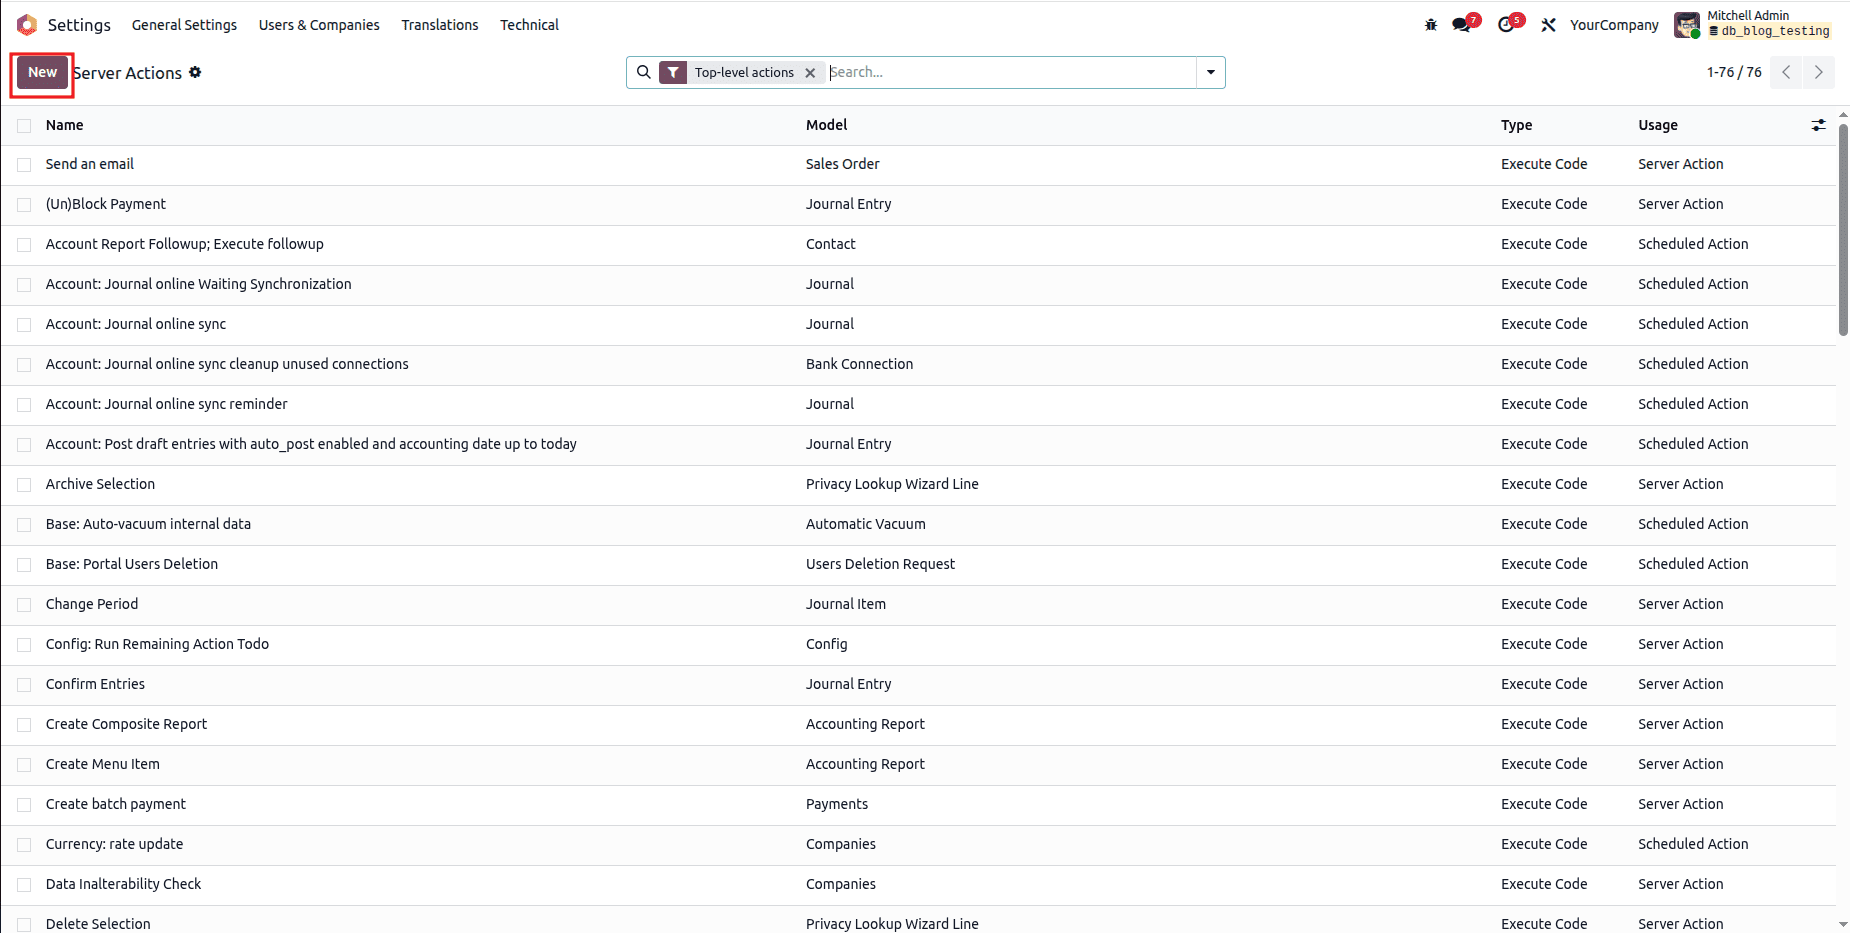
Steps:
- Click Create
- Fill in the details:
- Action Name: Name of your action
- Model: Select the model (e.g., Sales Order, Invoice)
- Action Type: Choose one of:
Example: Automatically Confirm Draft Sales Orders
1. Click Create
2. Fill in the details:
- Action Name: Confirm Draft Sales Orders
- Model: Sales Order (sale.order)
- Action Type: Execute Python Code
Python Code Example
for record in records:
   if record.state == 'draft':
       record.action_confirm()
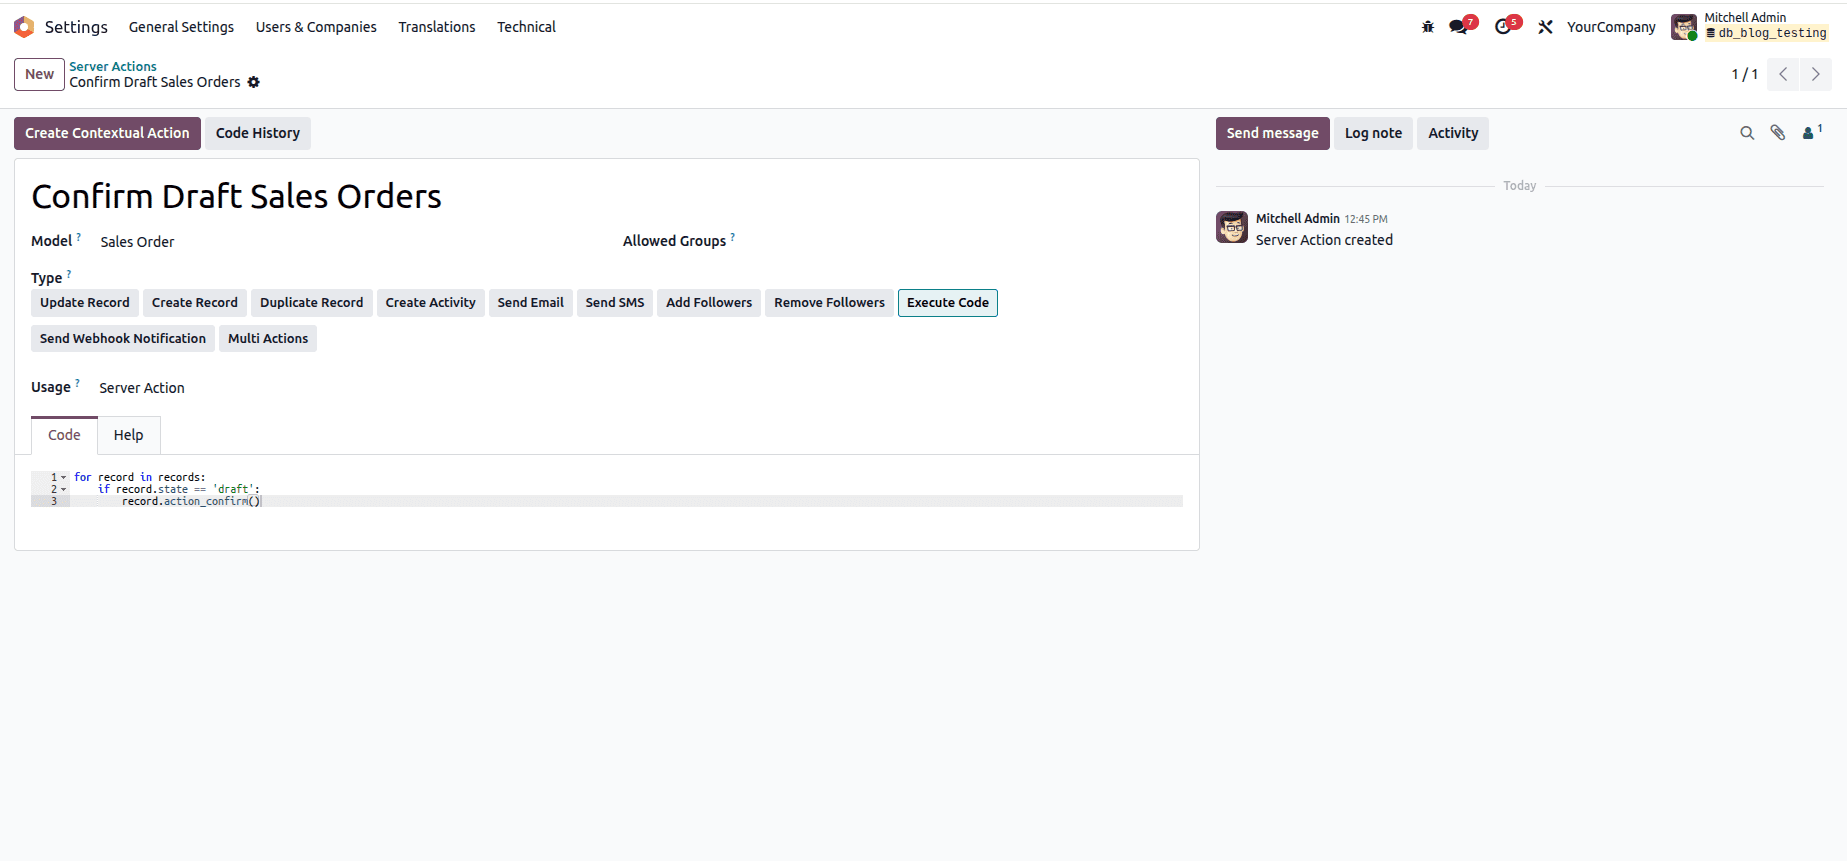
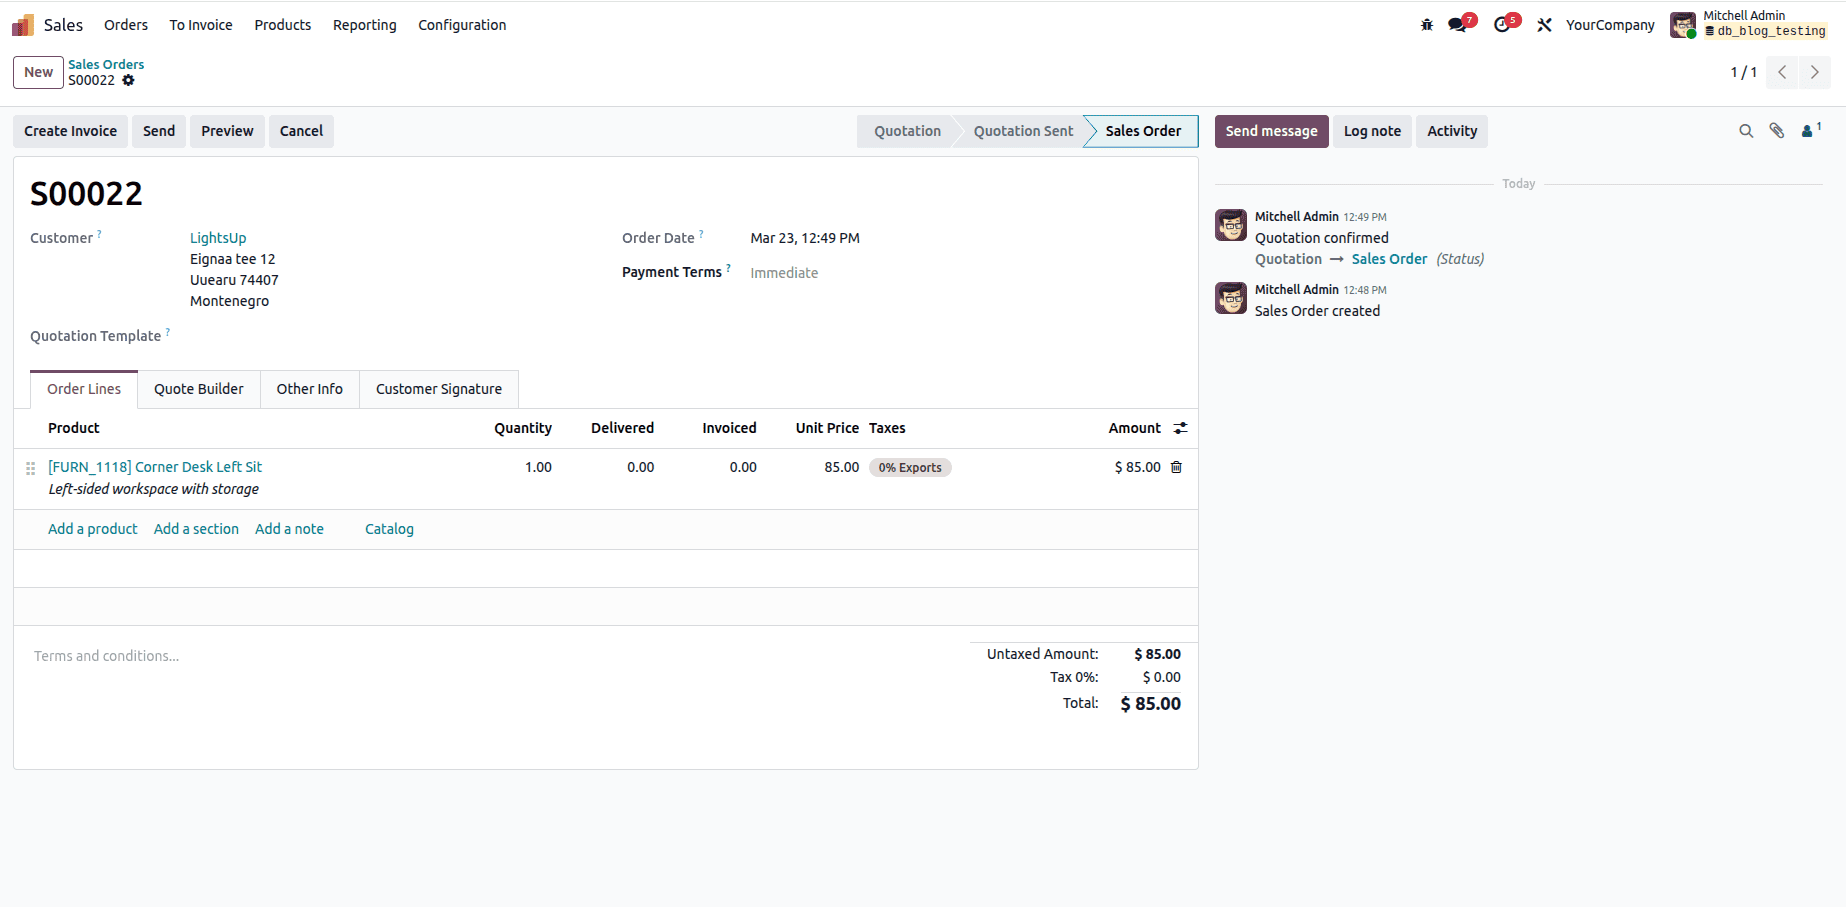
What This Does
- It loops through selected sales orders
- Checks if the order is in Quotation (draft) state
- Automatically confirms the order (changes to Sales Order)
How to Use It
- Go to Sales Module
- Open Orders > Quotations
- Select one or multiple quotations
- Click Action (or Action menu)
- Choose Confirm Draft Sales Orders
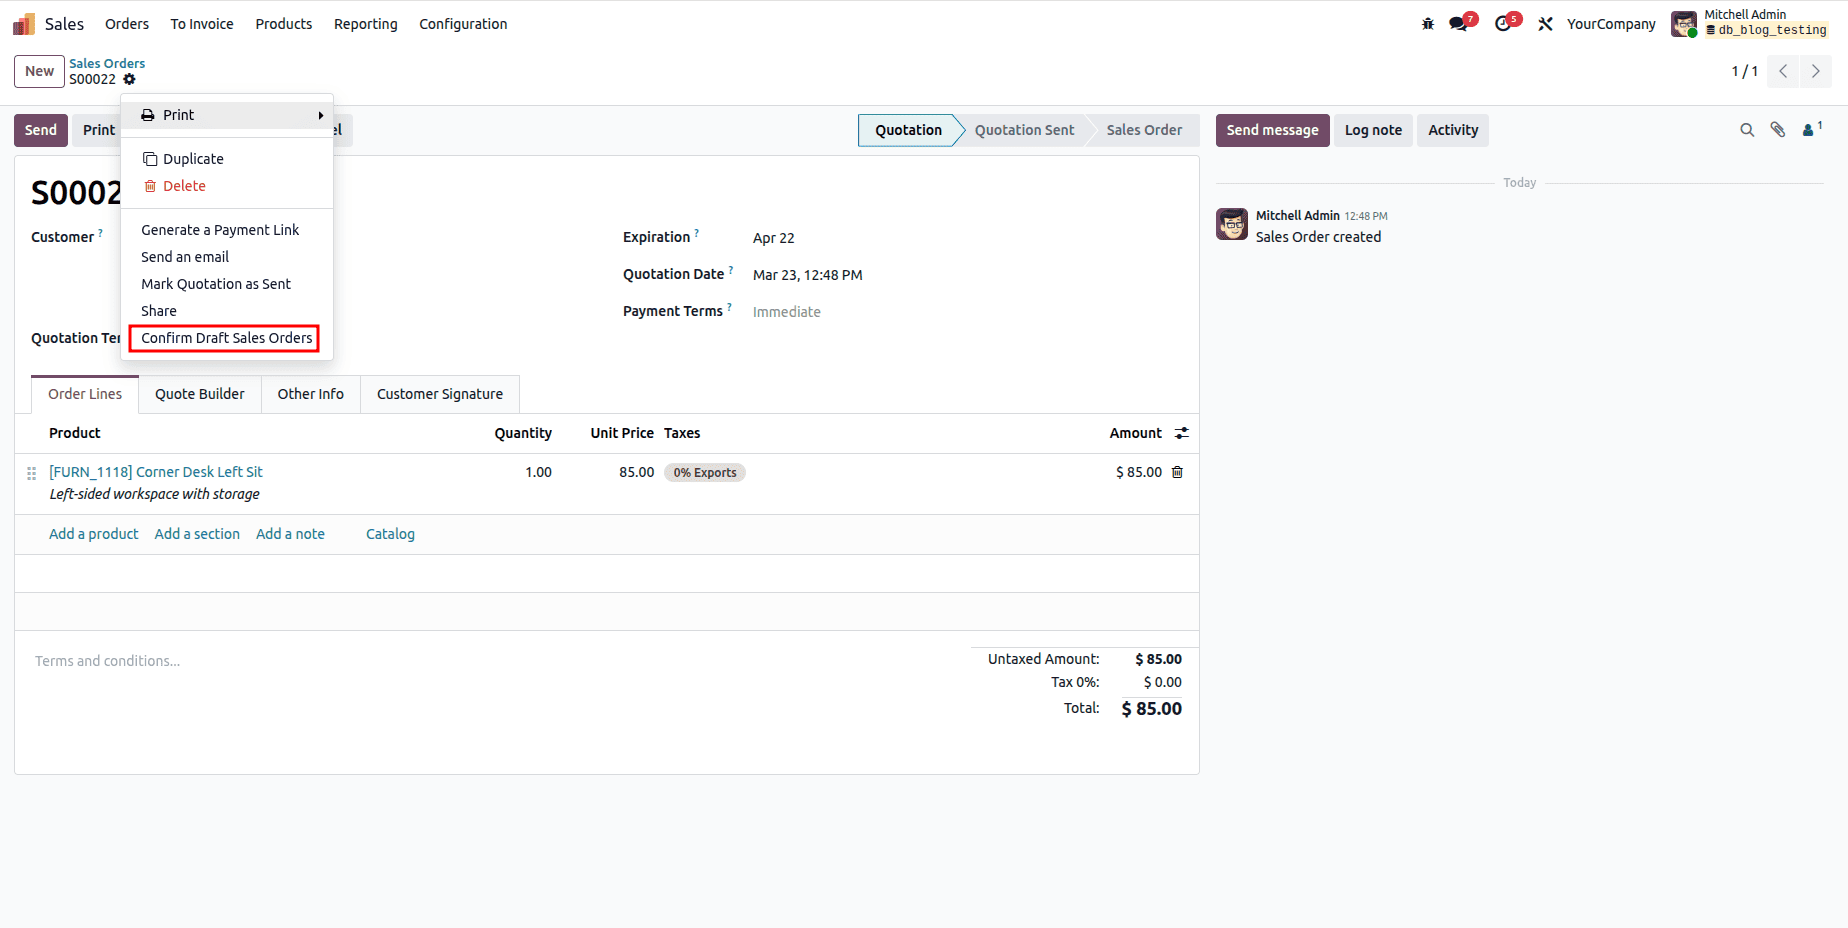
The selected quotations will be confirmed instantly.
What Are Scheduled Actions?
Scheduled Actions (also called Cron Jobs) allow you to:
- Run tasks automatically at specific intervals
- Execute server actions periodically
- Automate repetitive business processes
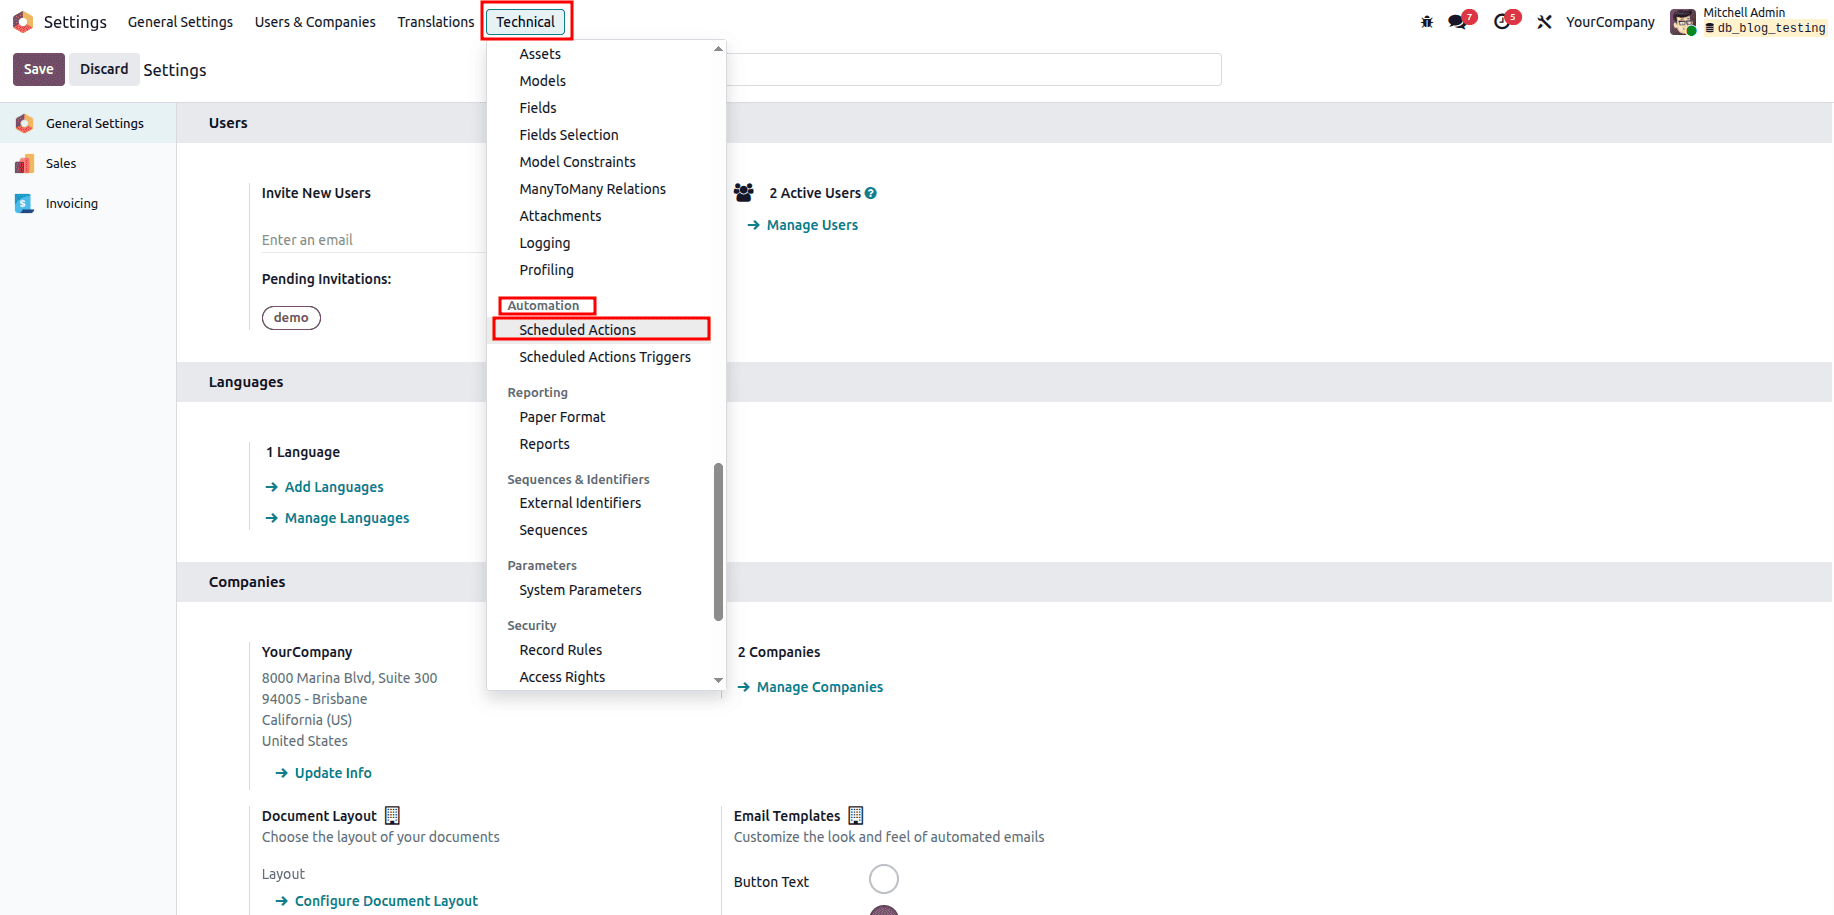
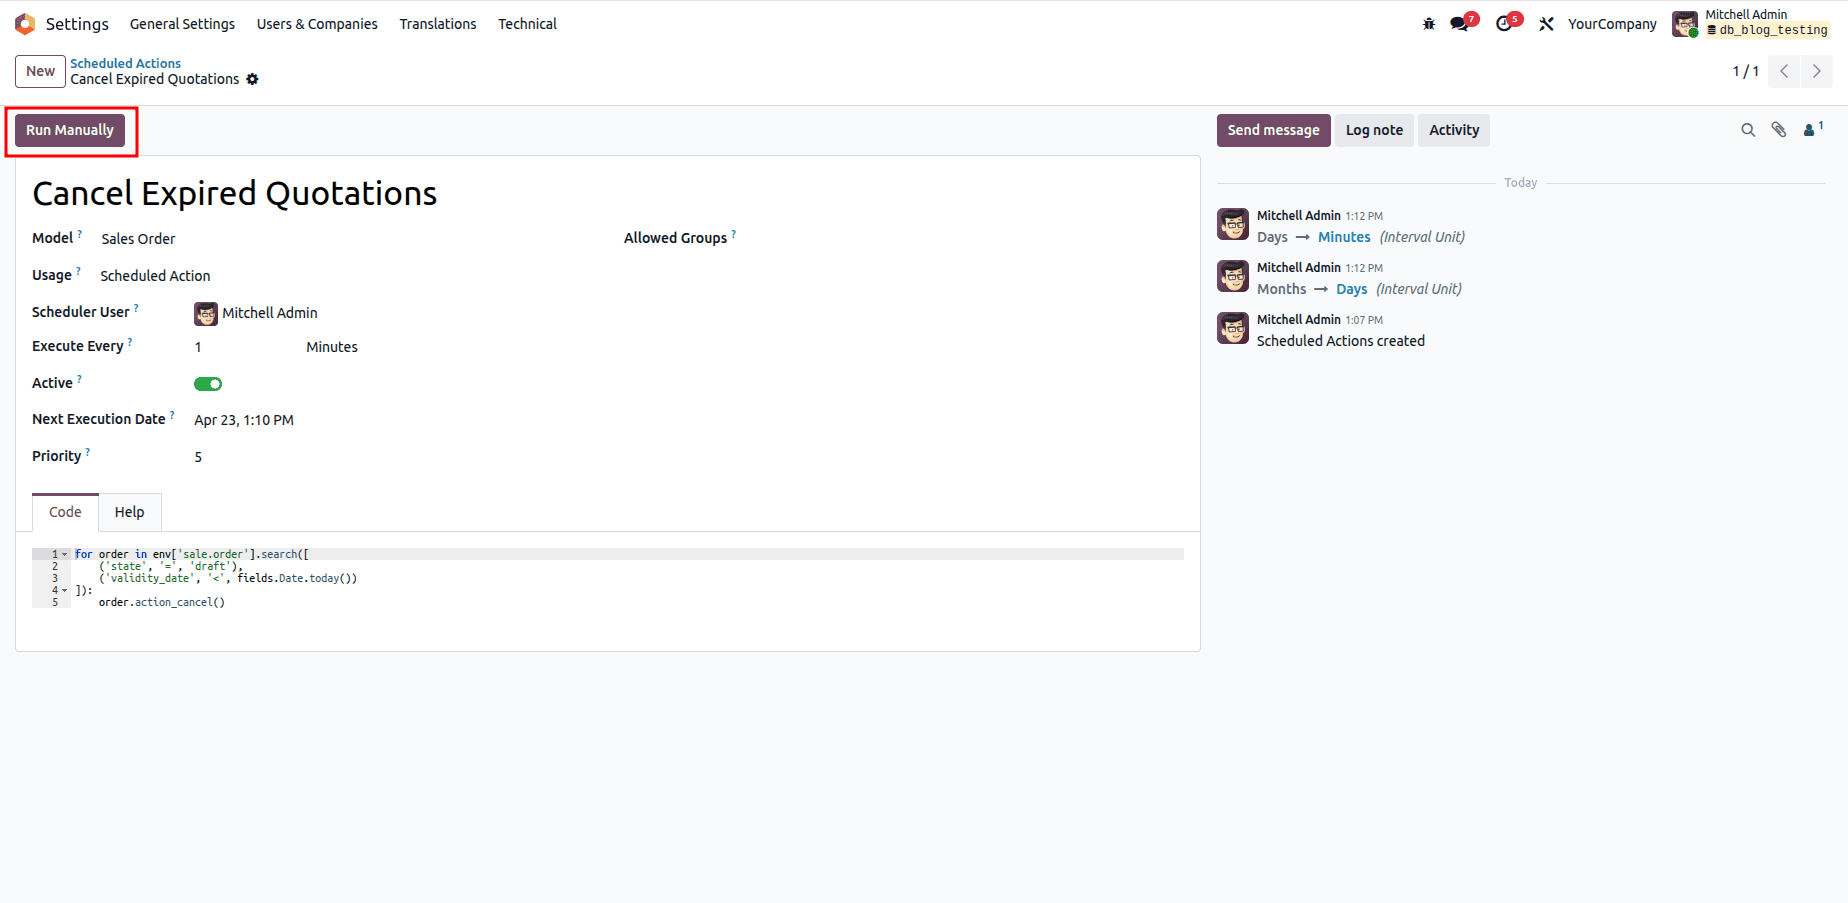
Step 1: Create a Scheduled Action
Navigate to:
Settings > Technical > Automation > Scheduled Actions
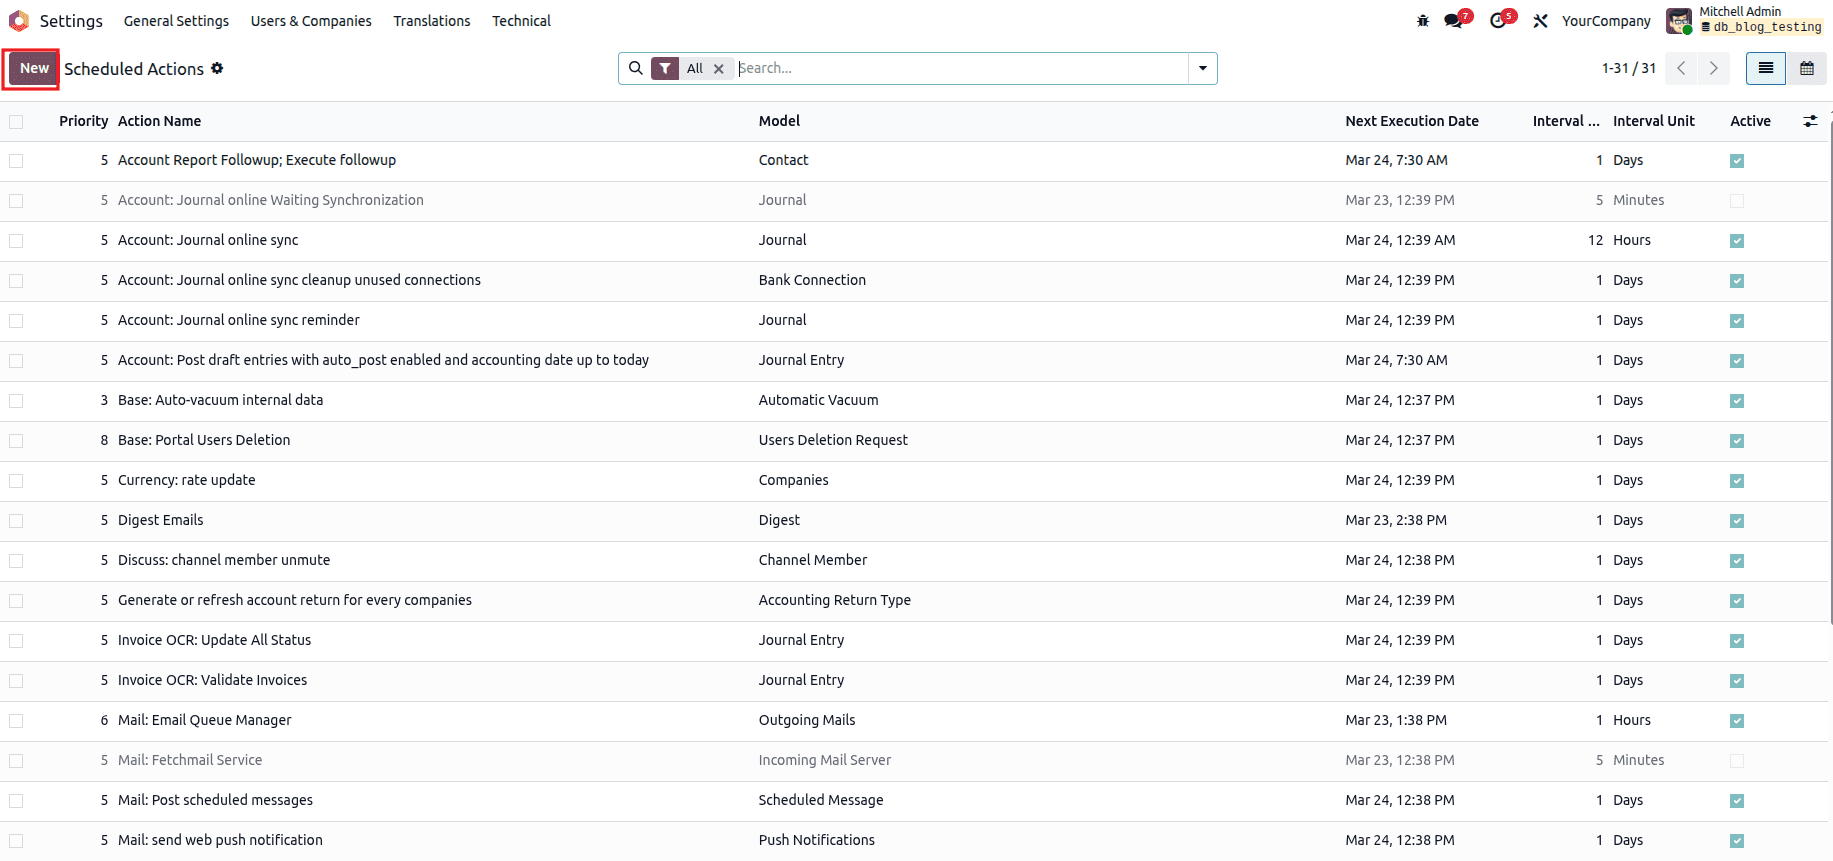
Steps:
- Click Create
- Configure the fields:
- Name: Action name
- Model: Select model
- Method: Choose:
- Interval Number: e.g., 1
- Interval Unit: Minutes / Hours / Days
- Next Execution Date: When it should run next
- Active: Enable it
Example: Send Reminder Email for Pending Orders
Create Scheduled Action
1. Click Create
2. Configure the fields:
- Name: Send Reminder Email for Pending Orders
- Model: Sales Order (sale.order)
- Method: Execute Python Code
Python Code Example
for order in env['sale.order'].search([('state', 'in', ['draft', 'sent'])]):
    if order.partner_id.email:
        env['mail.mail'].create({
            'subject': f'Reminder: Order {order.name} Pending',
            'body': f'Your order {order.name} is waiting for confirmation',
            'email_to': order.partner_id.email,
        }).send()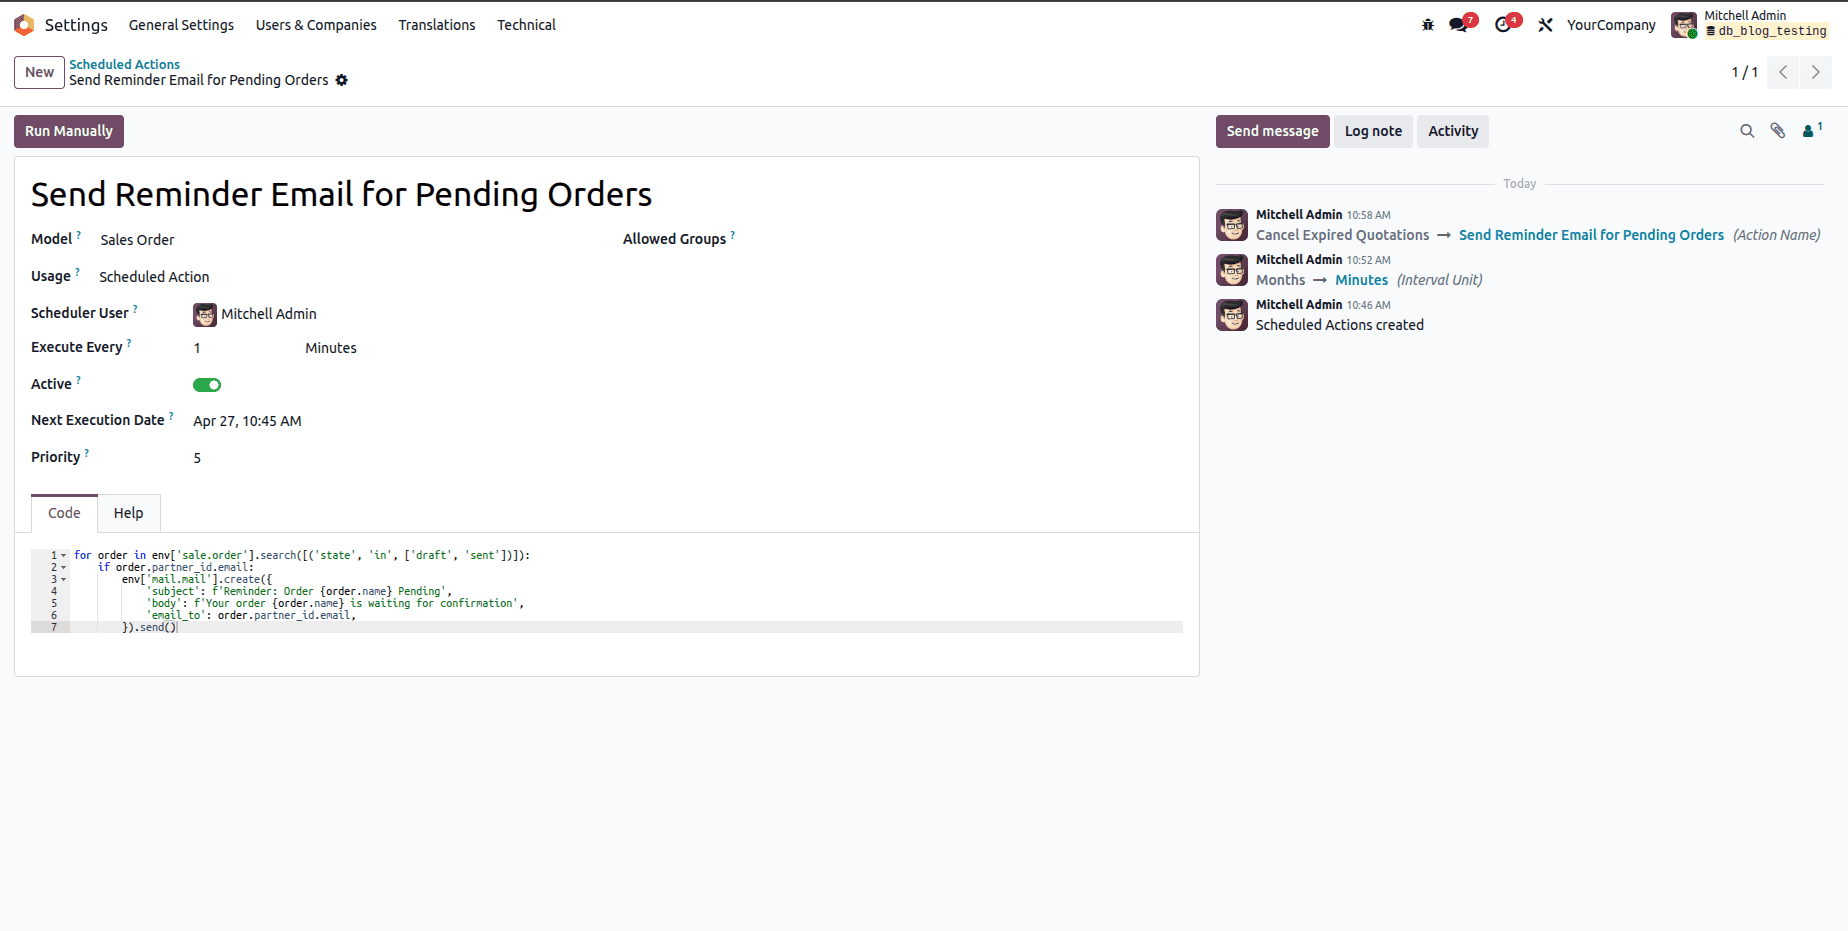
What This Does
This scheduled action automatically sends reminder emails to customers who have pending sales orders.
Schedule Configuration
- Interval Number: 1
- Interval Unit: MInutes
- Next Execution Date: Set (e.g., tomorrow 00:00)
- Active: Enabled
This will run once daily and keep your quotations clean.
Through an Odoo 19 GUI, users may easily automate their daily processes without needing to have a significant technical background. By combining the functions of scheduled and server actions, users can benefit from improving workflow and minimizing repetitive work while streamlining business processes.
To read more about How to Create & Configure Server Actions in Odoo 19, refer to our blog How to Create & Configure Server Actions in Odoo 19.