Salesforce is one of the most popular Customer Relationship Management (CRM) platforms, and Odoo is an all-in-one business management solution that helps businesses handle sales, inventory, accounting, purchasing, and many other operations. Many companies use both platforms to manage different parts of their business. But when data has to be entered or updated manually in both systems, it can take time and often leads to mistakes or duplicate records.
The Salesforce Odoo Connector solves this problem by linking Salesforce and Odoo together. It automatically syncs data between the two systems, keeping business records up to date without manual effort. This helps teams to work with accurate information in real time while continuing to use the platform they are most comfortable with.
Let's explore the configurations of the Odoo Salesforce Connector app available on the Odoo Apps Store.
Firstly, we need a Salesforce Developer Account. If you already have an account, simply log in. If not, you can create a Developer Account to get started.
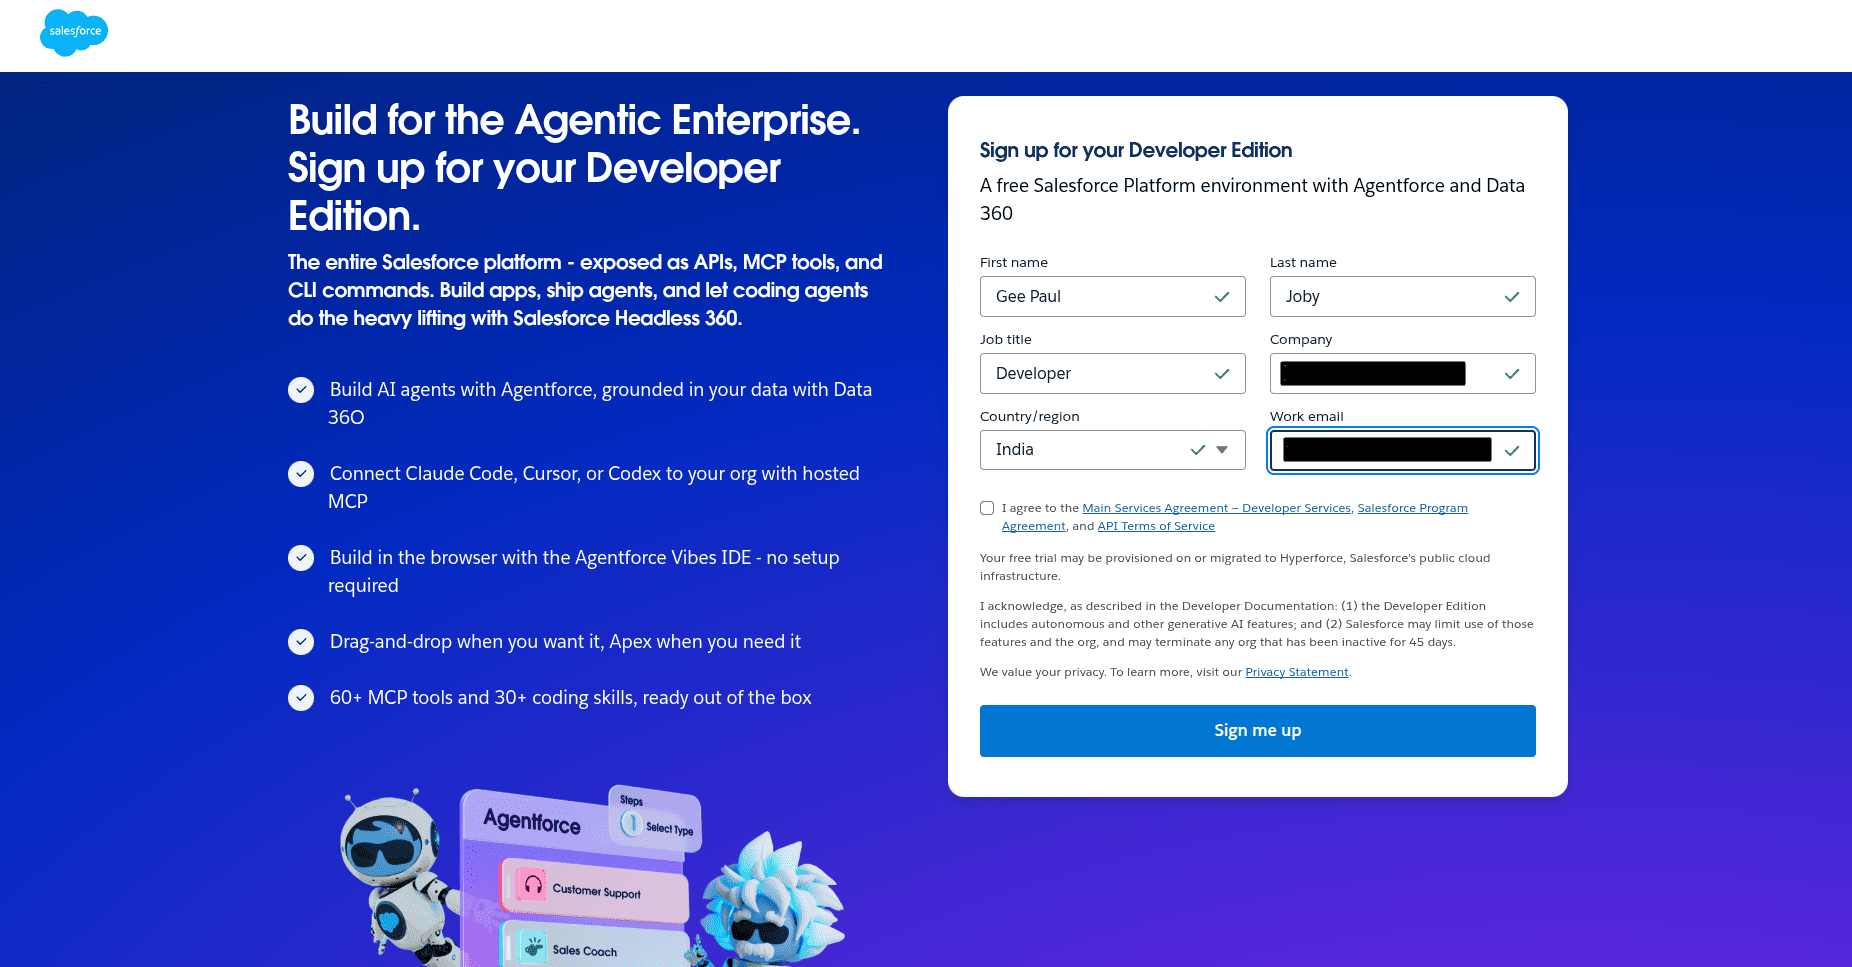
After signing up, log in to the Salesforce Developer Account.
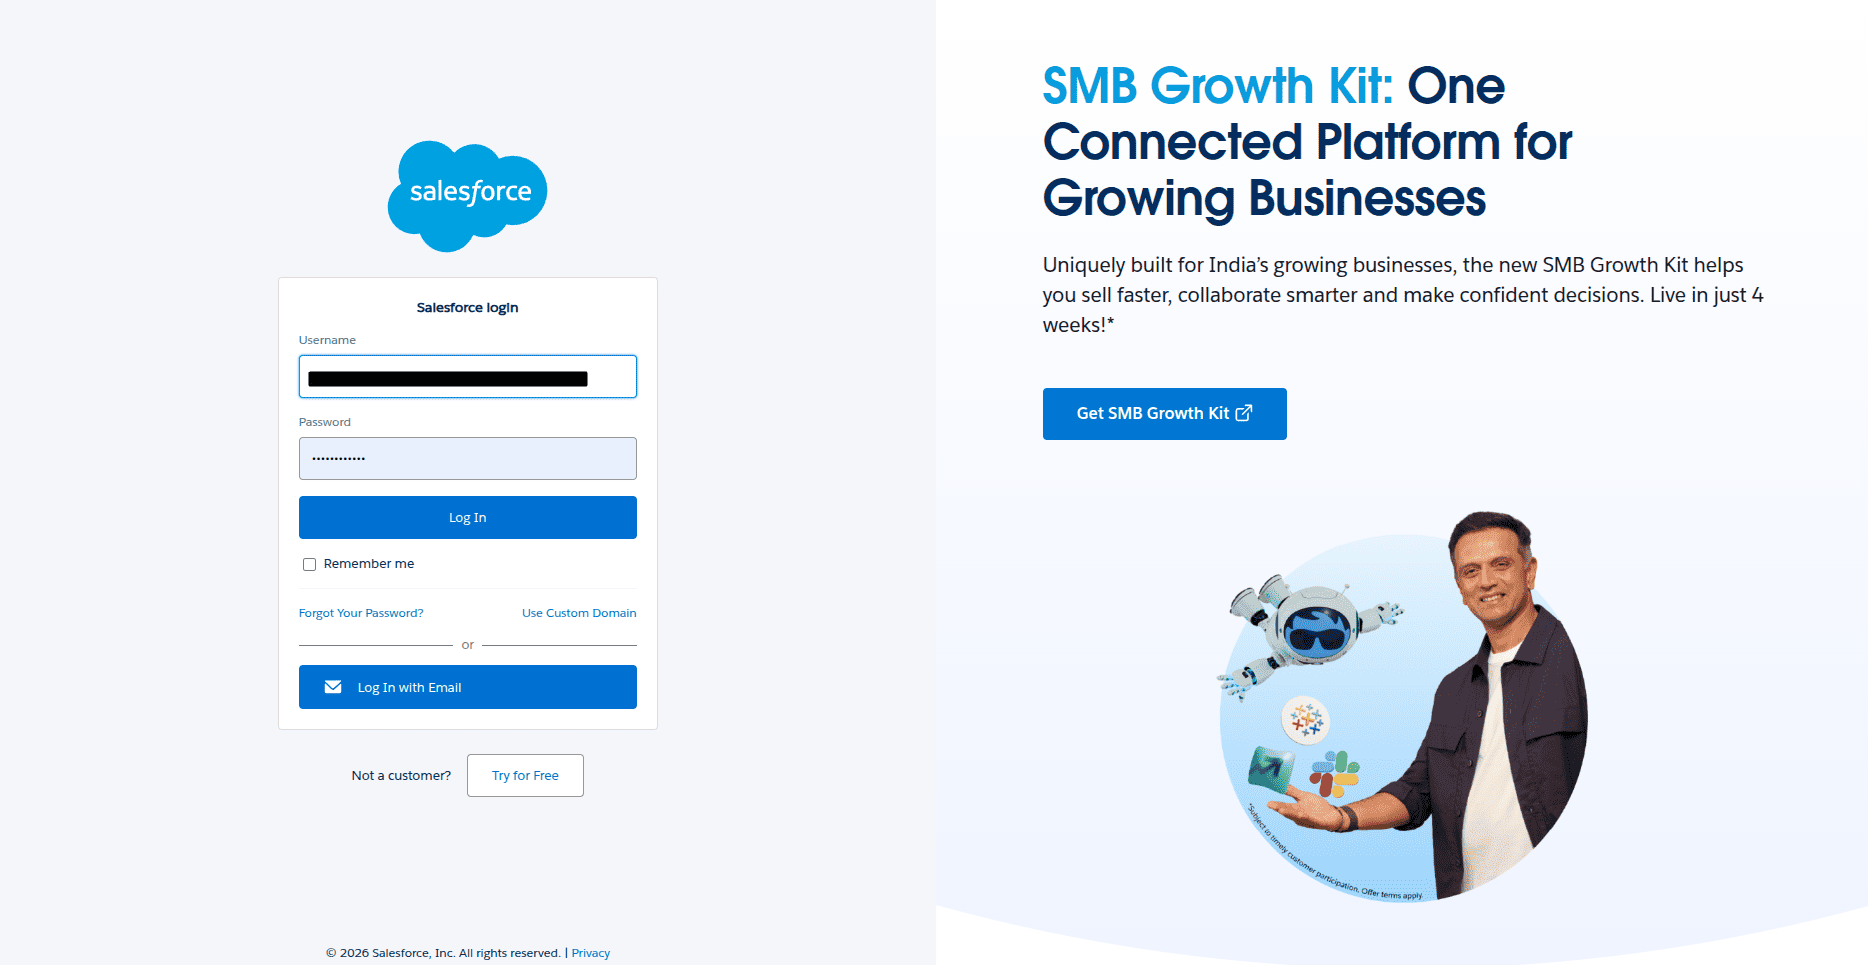
Next, go to View Profile and open the Settings.
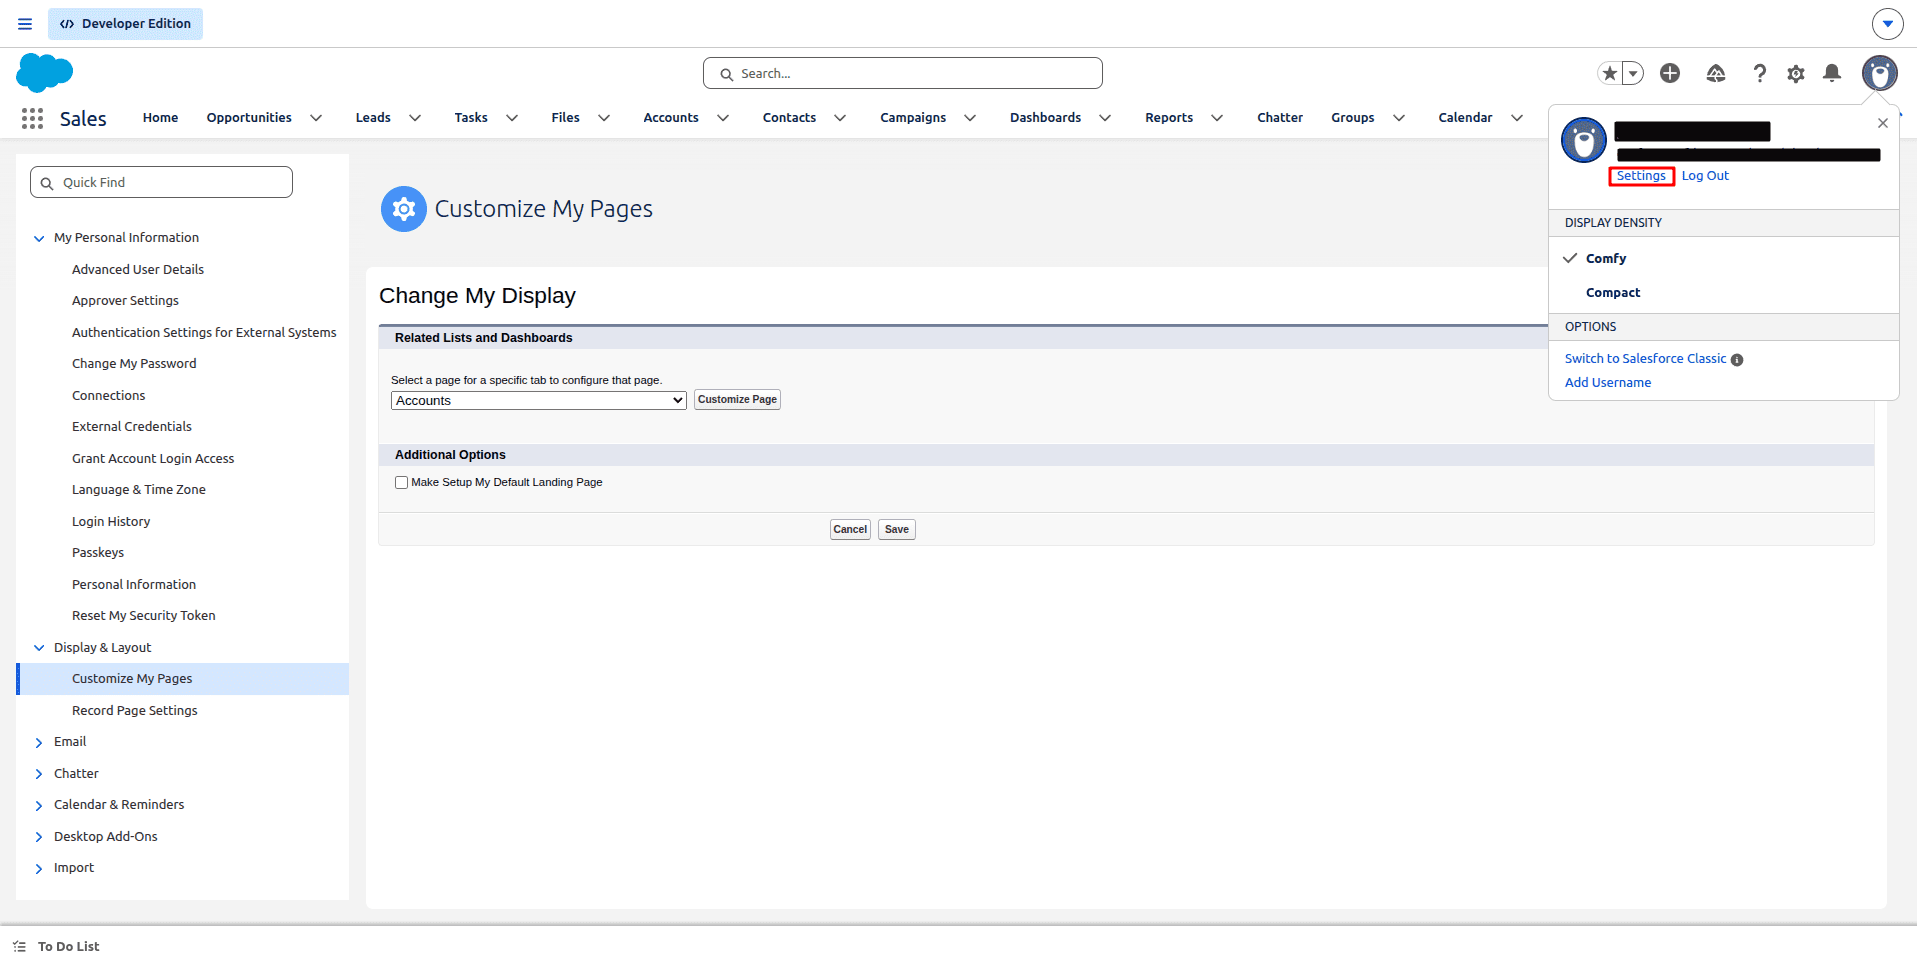
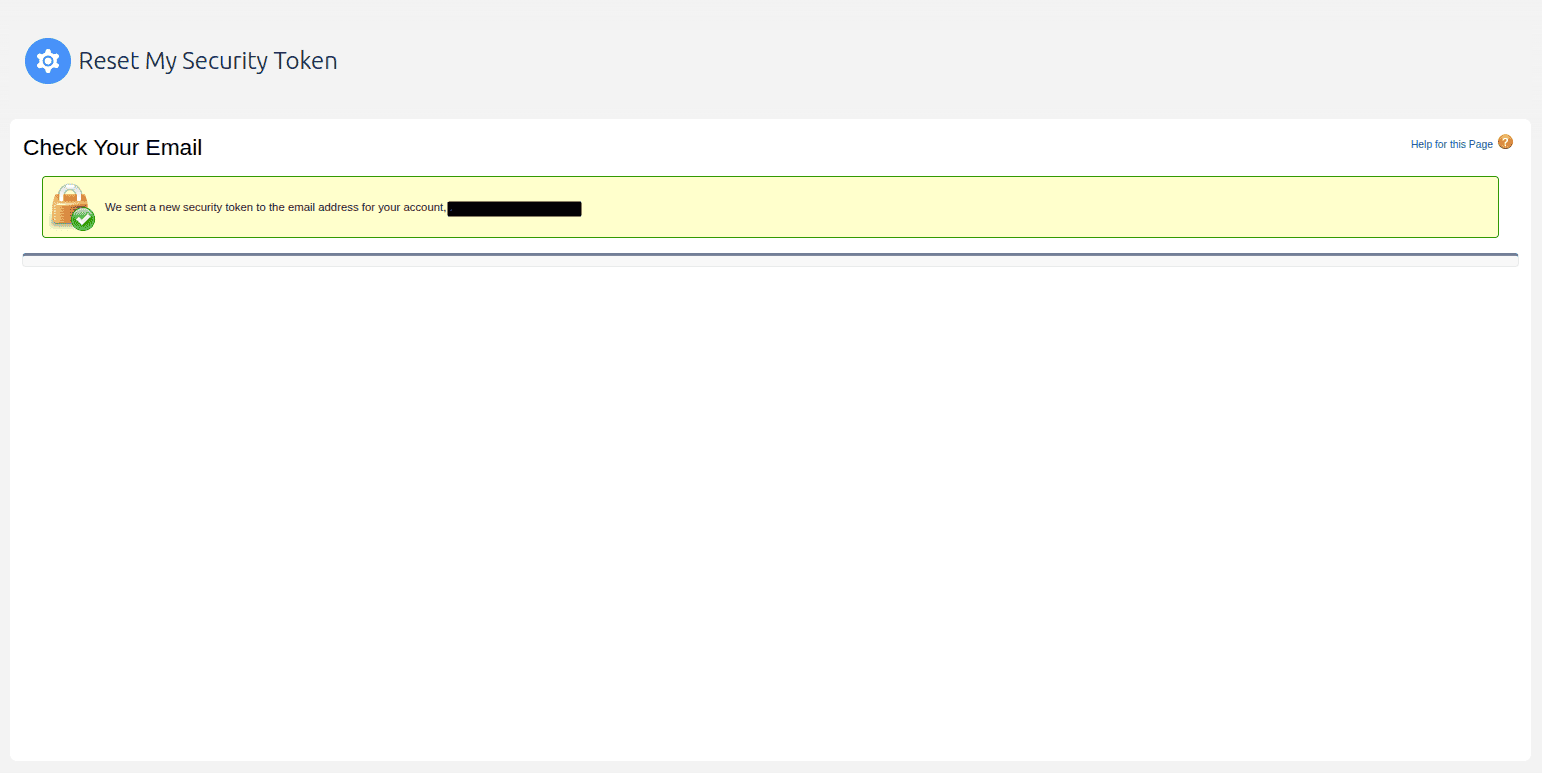
From the left-side menu, choose Reset My Security Token, and then click Reset Security Token to complete the process.
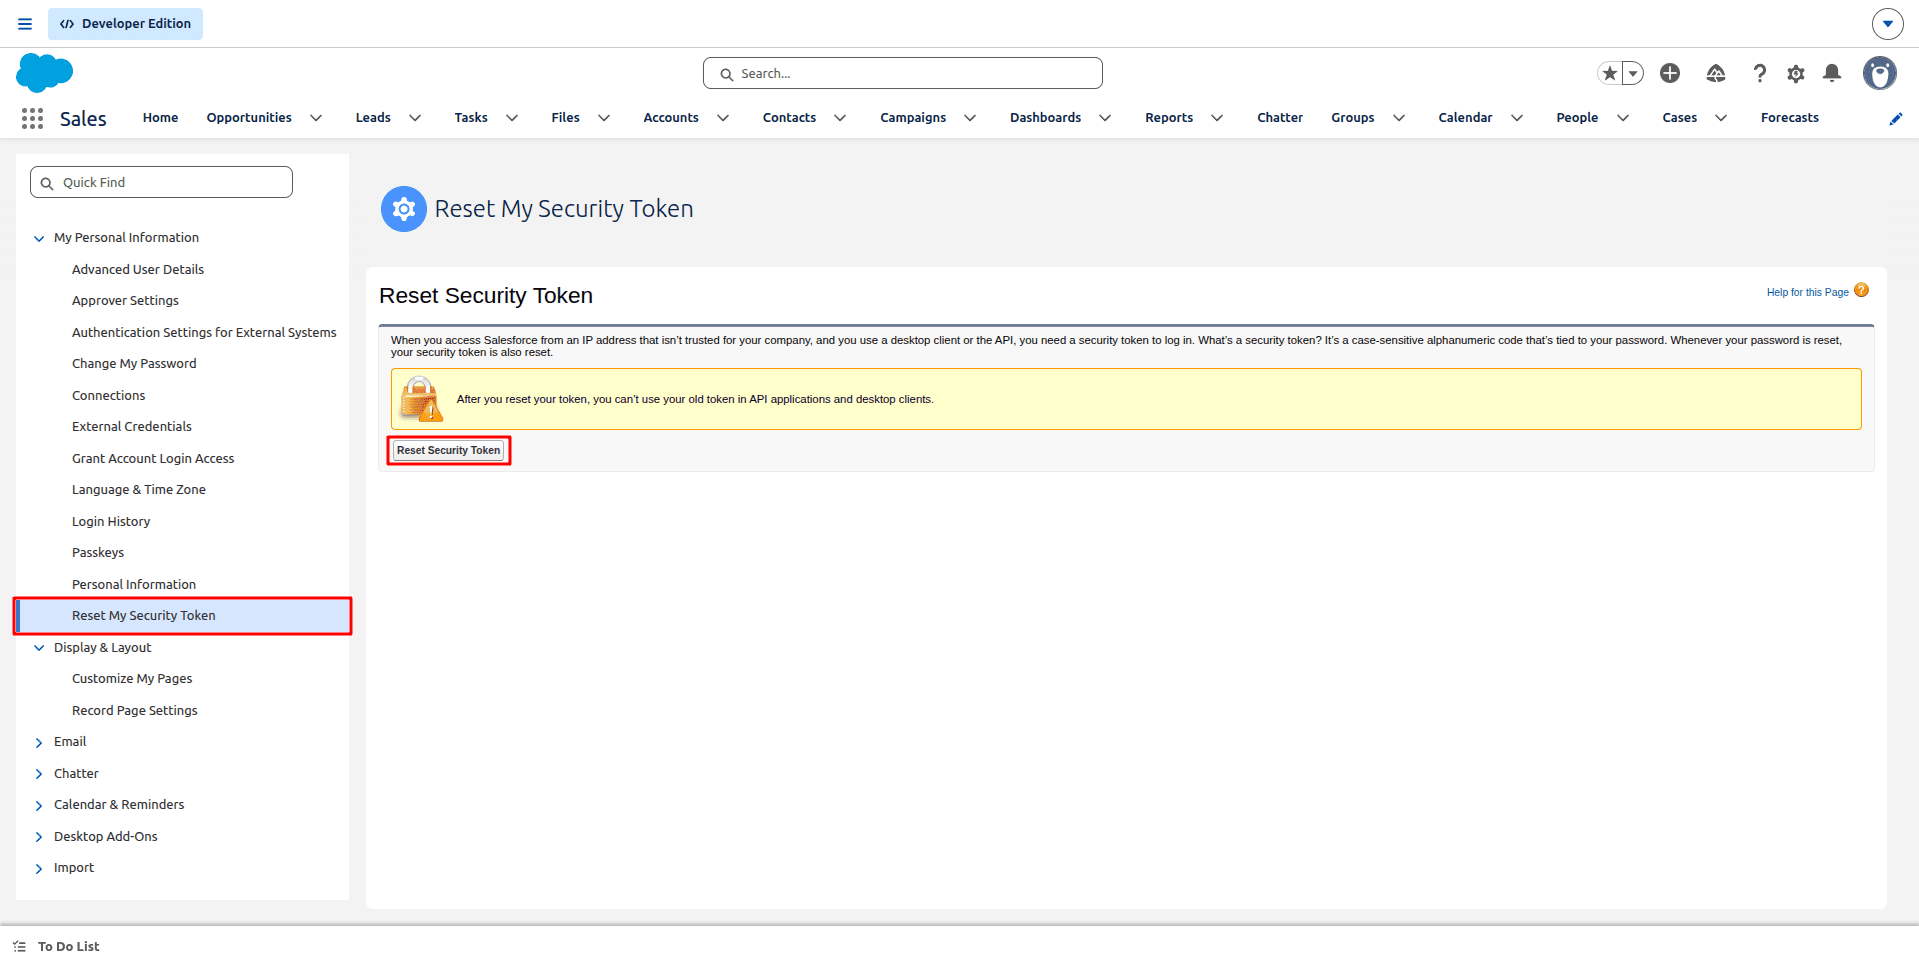
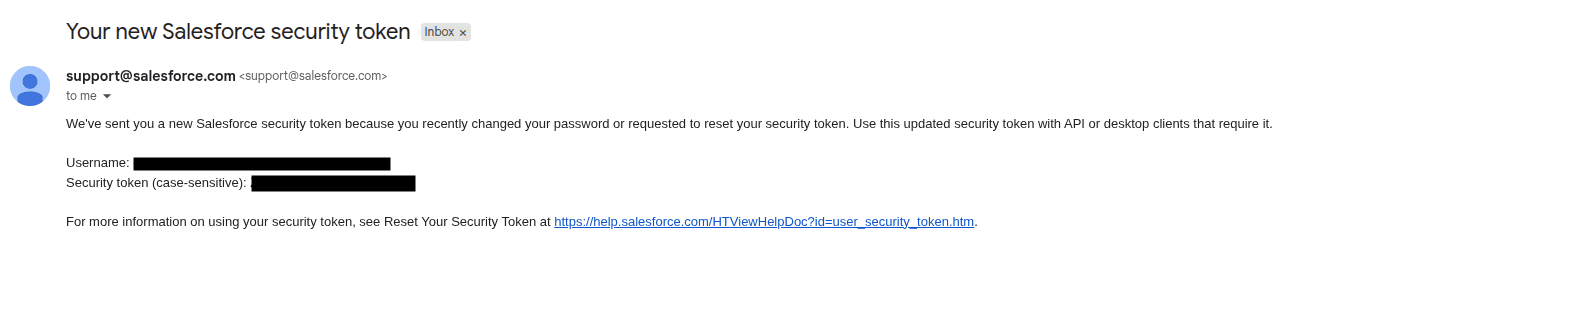
This will send an email with the new security token. Later, this is needed in the Connection between the Odoo and Salesforce accounts.
The email contains the account username and the new security token.
Now, let’s proceed with installing the module in Odoo. Before installation, make sure that all the required external Python dependencies are properly installed. If it is not installed, you can install the required dependency using the command below:
pip install simple-salesforce
Then, proceed with installing the module.
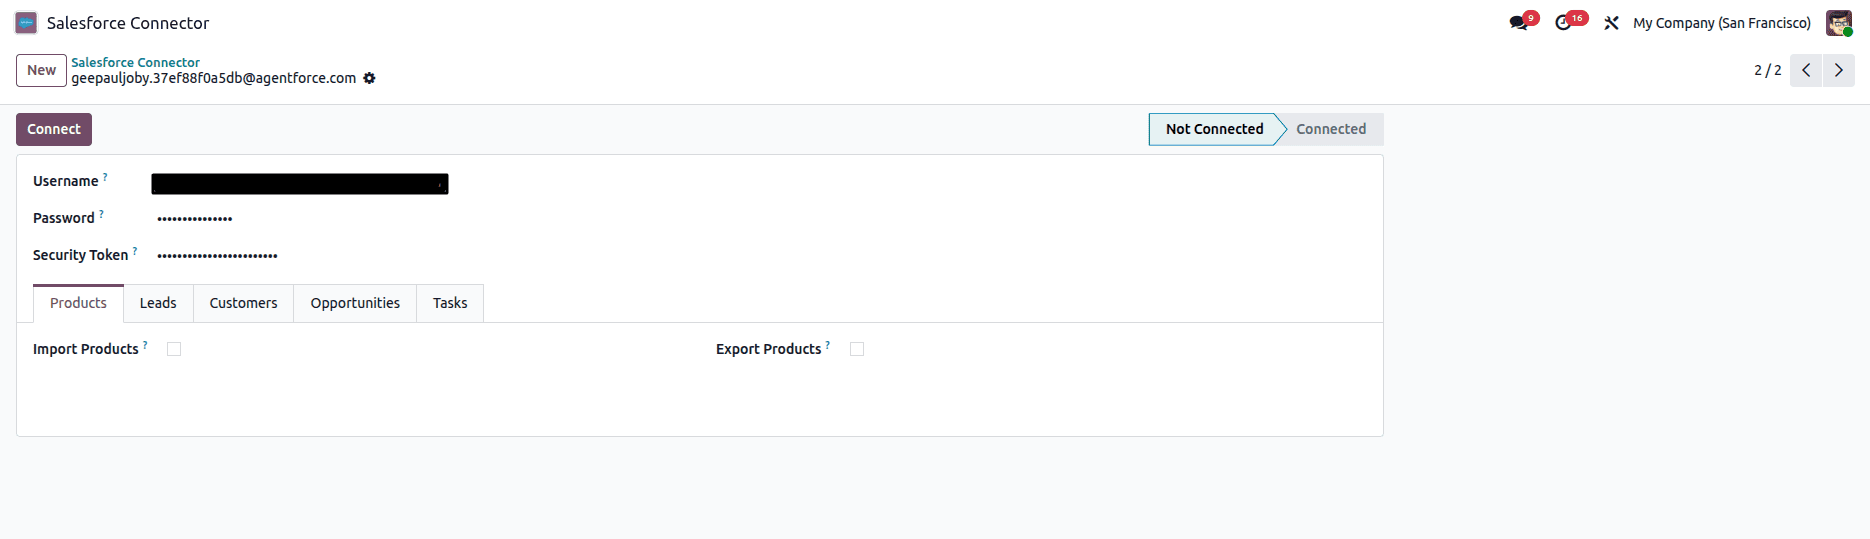
After successfully install the module, open the Odoo Salesforce Connector App. We need to connect Odoo with a Salesforce Developer Account. For that, we need the username, the Developer account password, and the newly created security token. Enter the Username, Password, and Security Token in their respective fields, then click Connect.
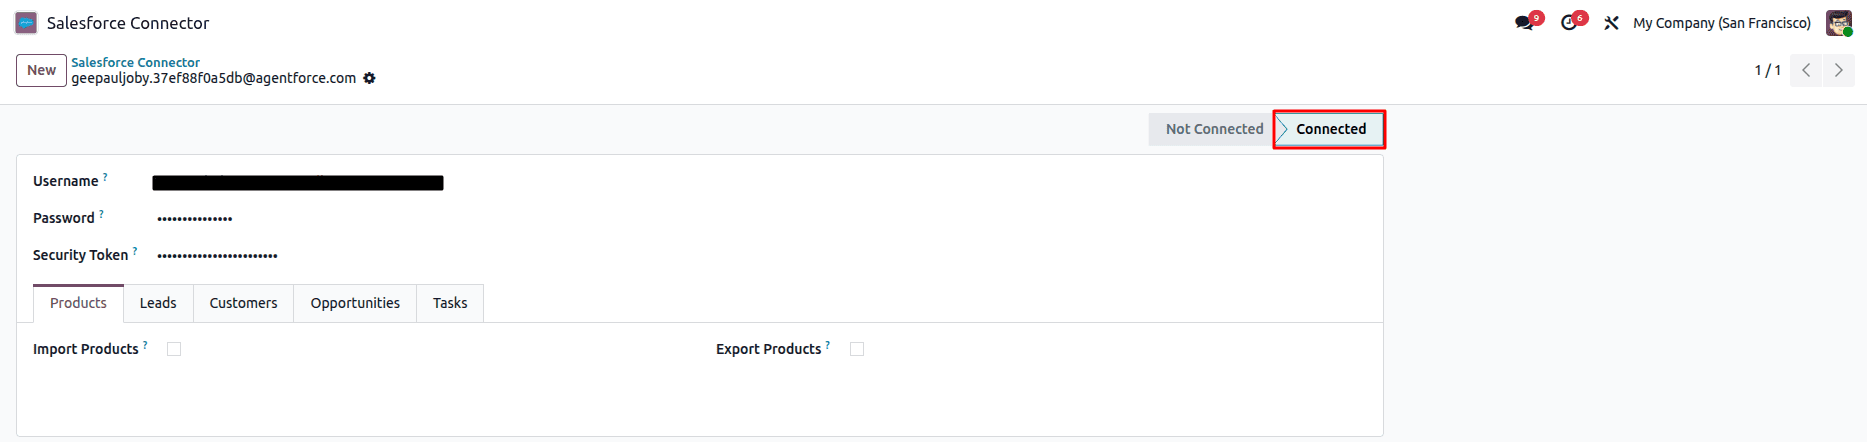
If the credentials are valid, the connection will be established successfully, and the status will be displayed as Connected.
In this application, we have the facilities to import and export the products, Leads, Customers, opportunities, and Tasks.
Let’s see the import and export of the products. To do this, navigate to the Products tab and enable both Import Products and Export Products. Then, the Buttons will be visible for the same. Clicking the Import button will initiate the import process.
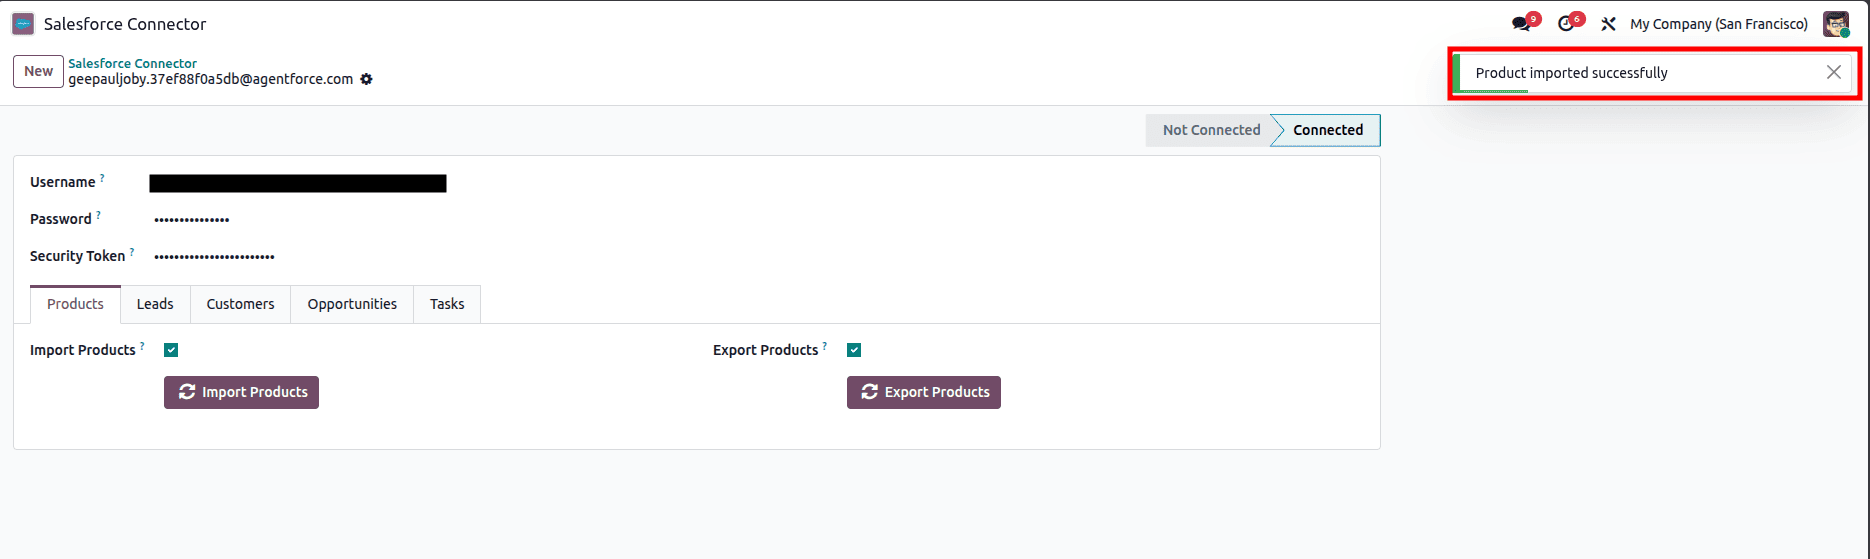
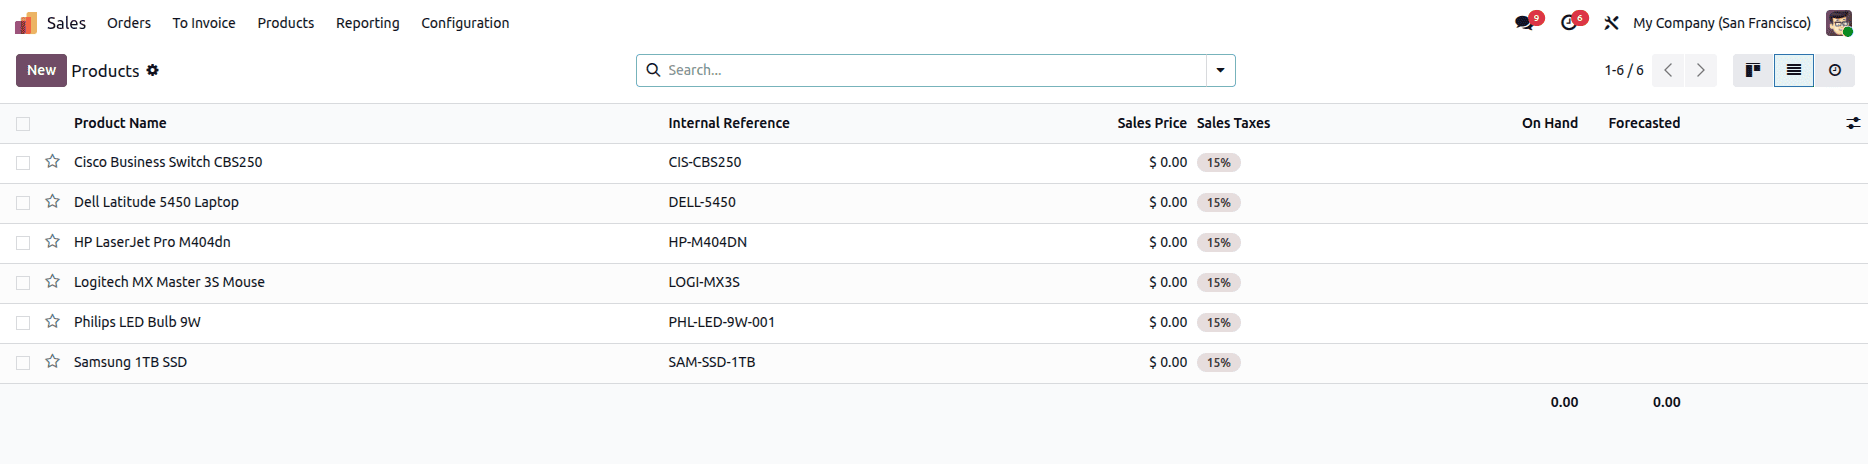
After the import of the products, a successful notification will appear. Then, you can check the products page; the products are imported successfully.
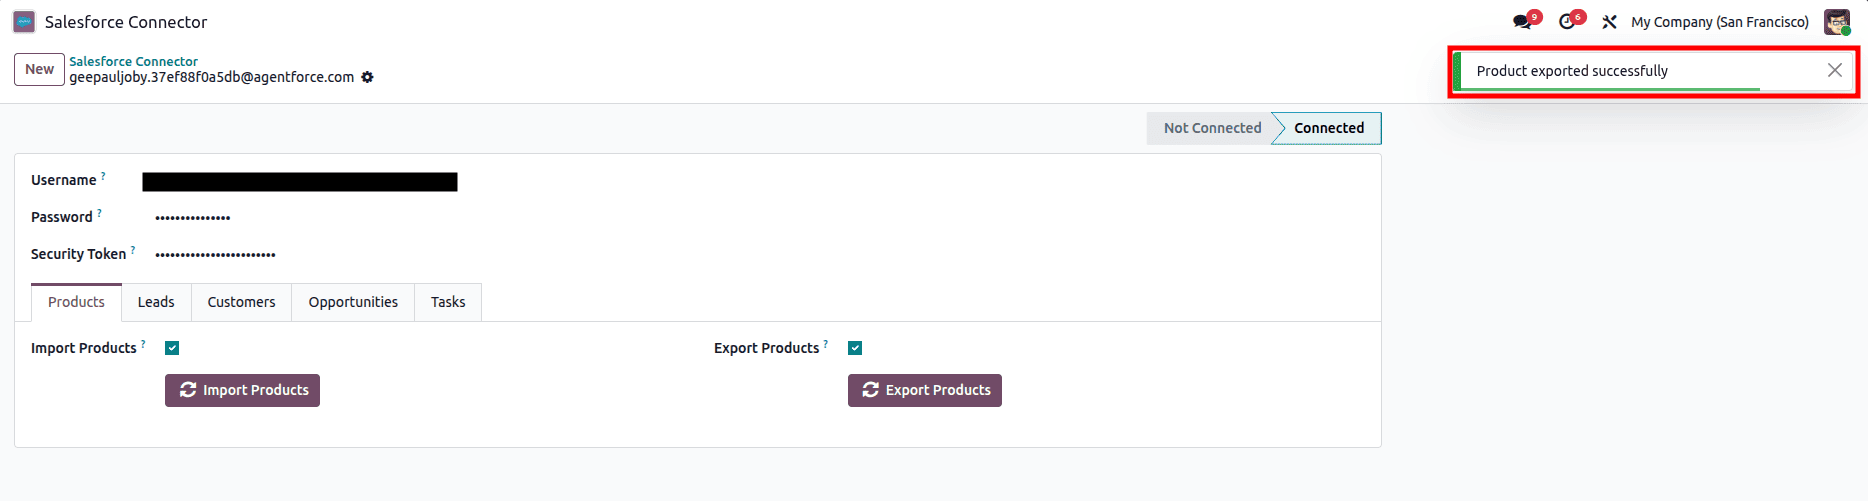
Next, export the products to Salesforce by clicking on the Export Products button; if the Export is successful, it will show a successful notification.
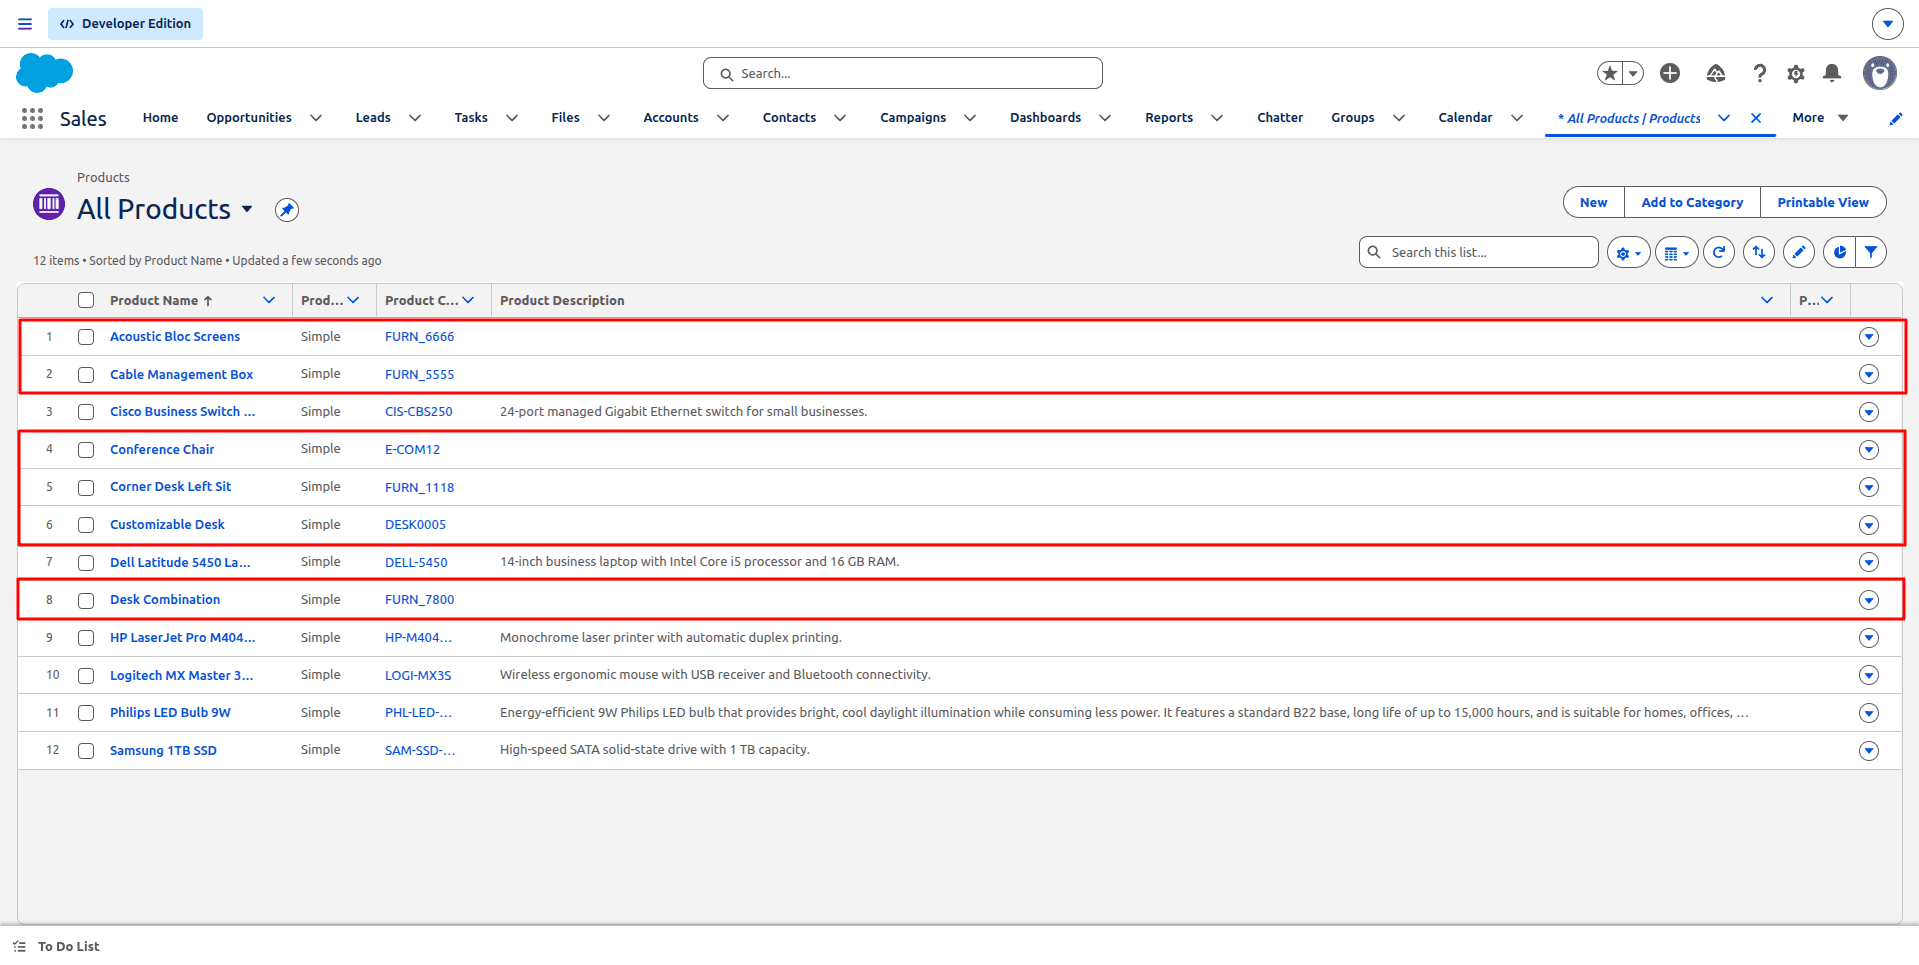
The Exported Products can be seen on the Products Screen.
In the Leads tab, we can see the import and export leads options. Firstly, we can import the Leads from Salesforce.
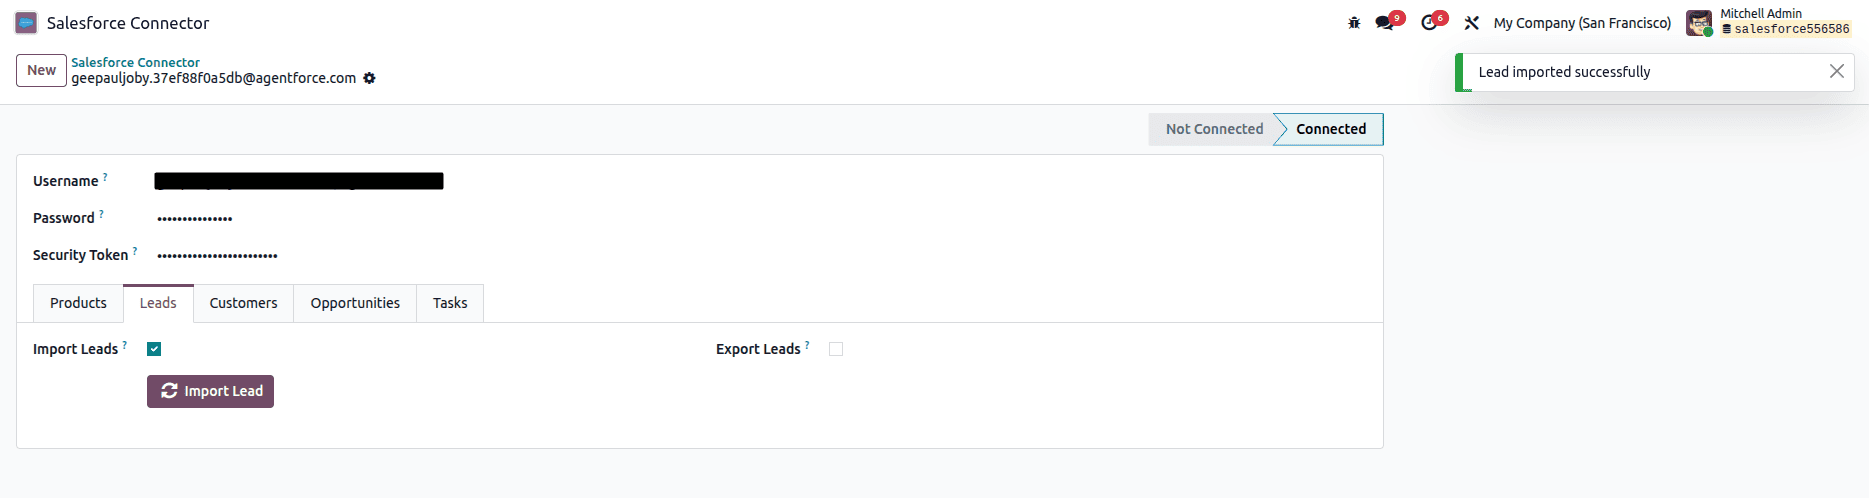
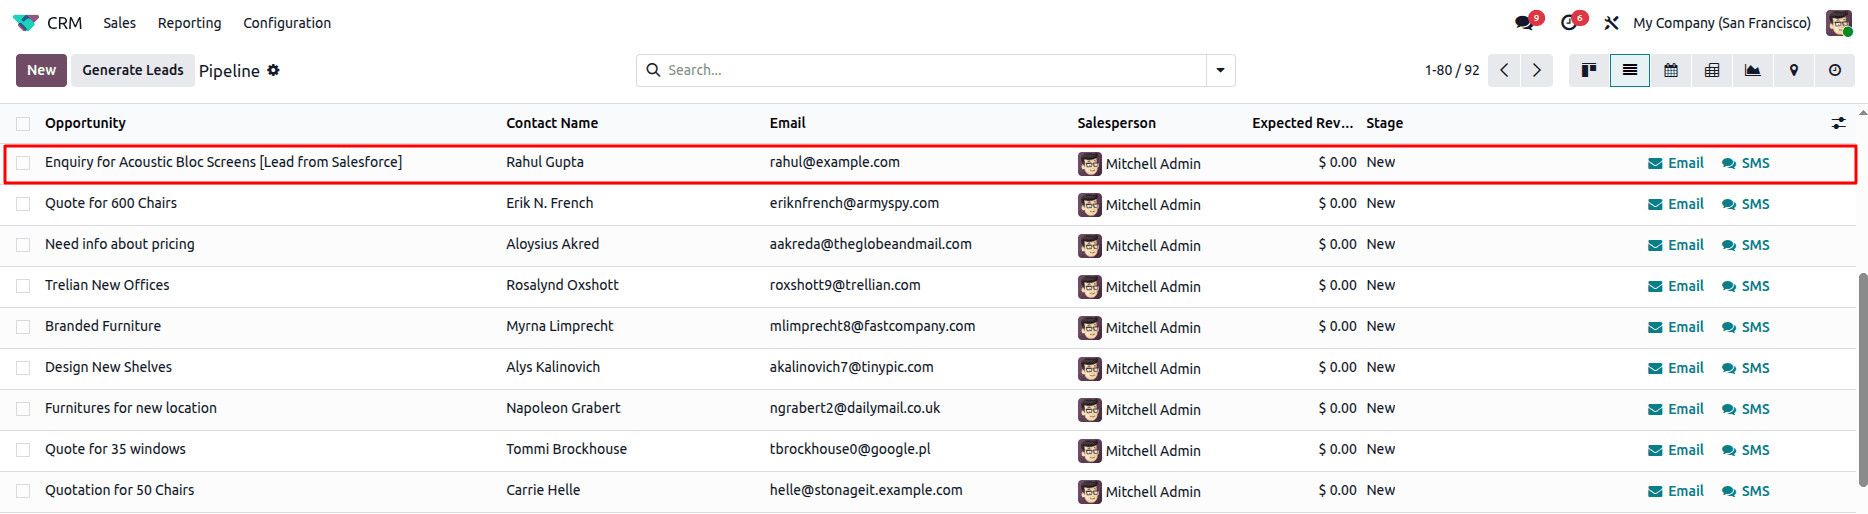
After importing the leads, you can find the Leads that are created in Salesforce are synced to odoo.
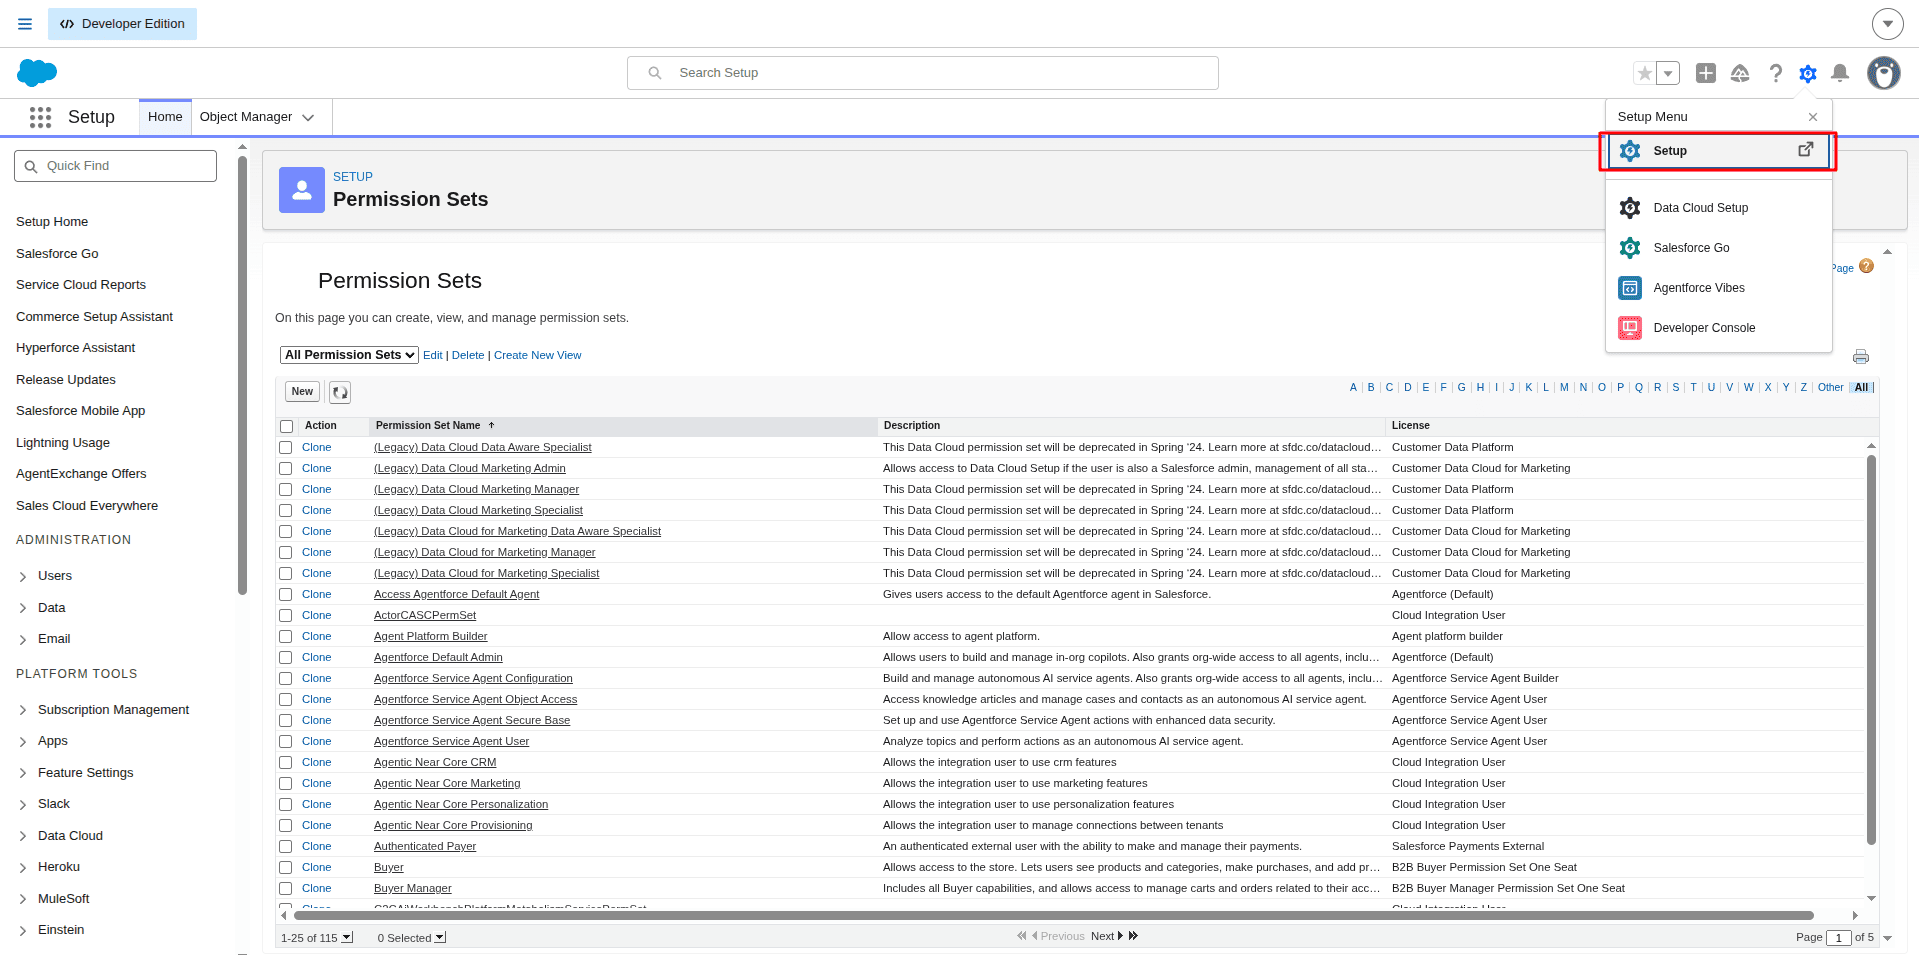
Then, we can export the Leads to Salesforce. Before doing that operation, we need to make sure the Duplicate Rules for leads are either deleted or deactivated. This will block the creation of duplicate leads in Salesforce. For that, go to the Setup menu and open the Setup page.
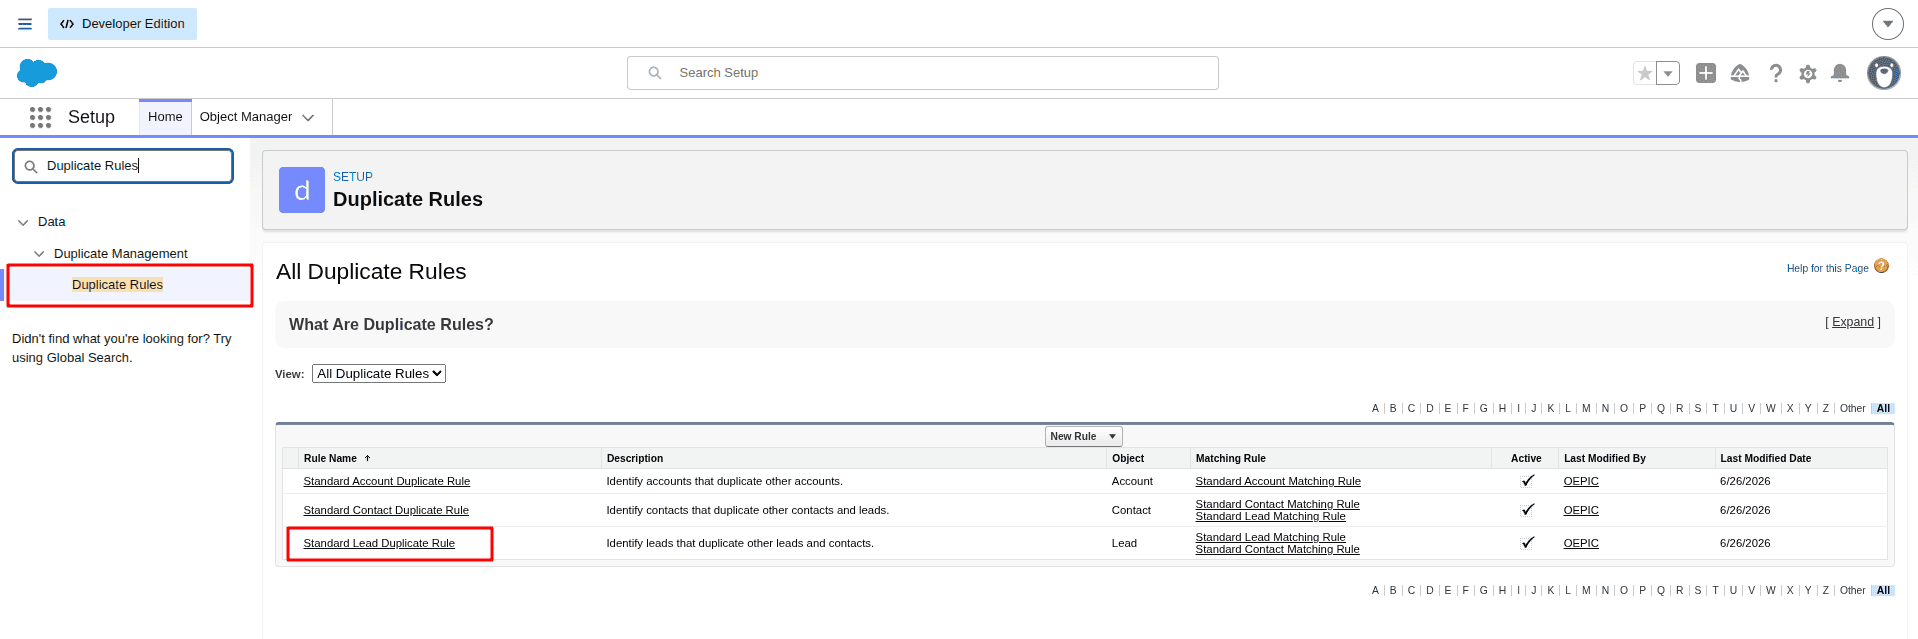
Find Duplicate Rules, then make it deleted or deactivated.
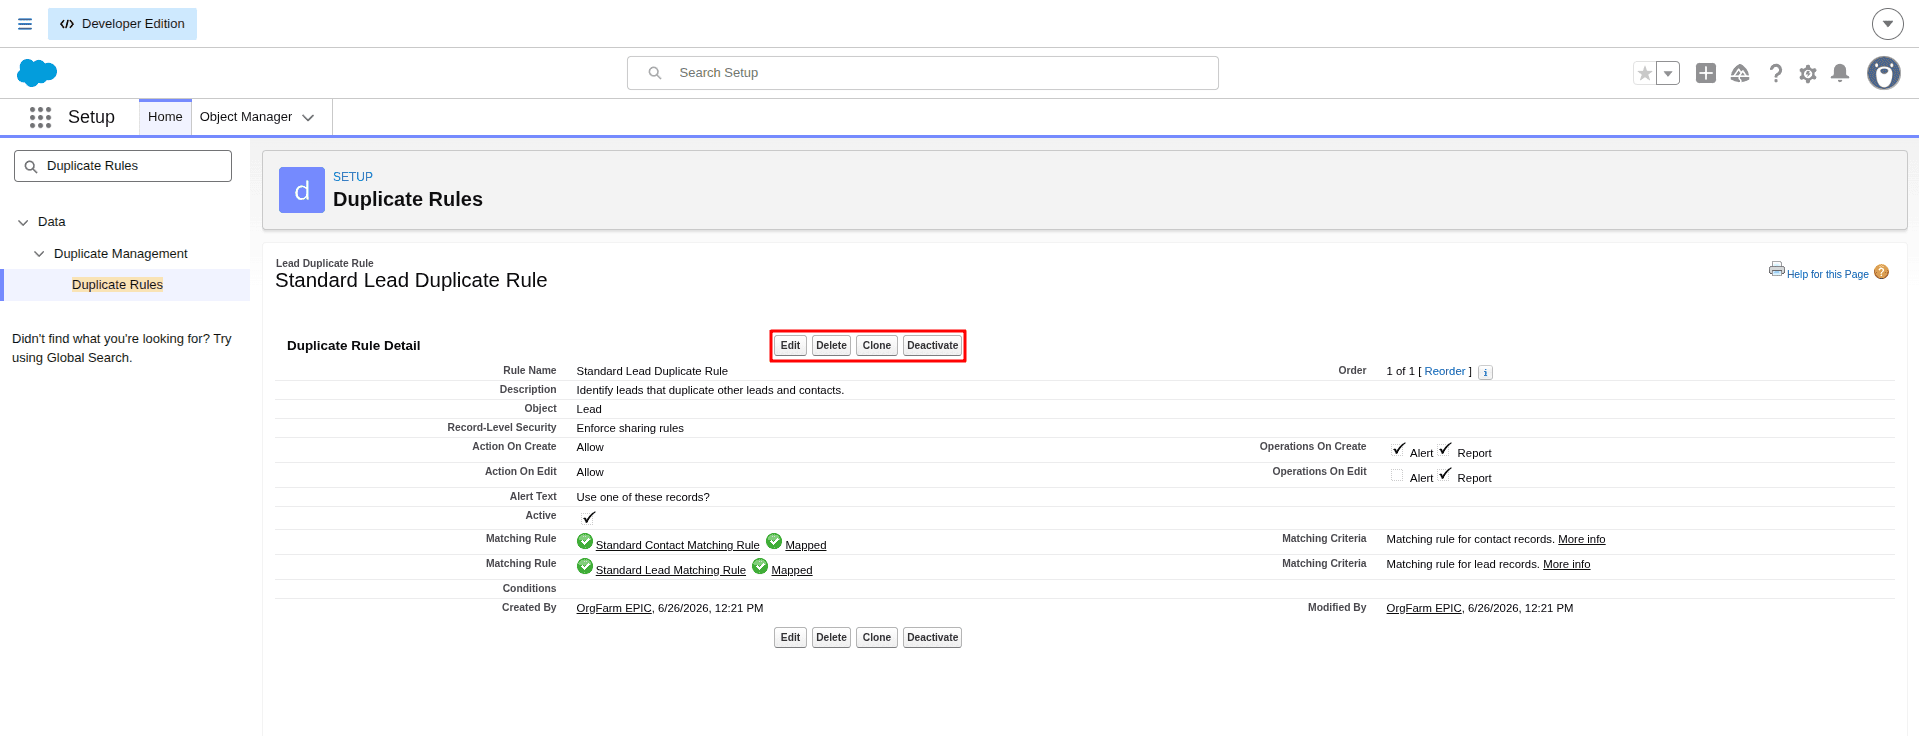
After making the changes to the duplicate rules, try exporting the Leads.
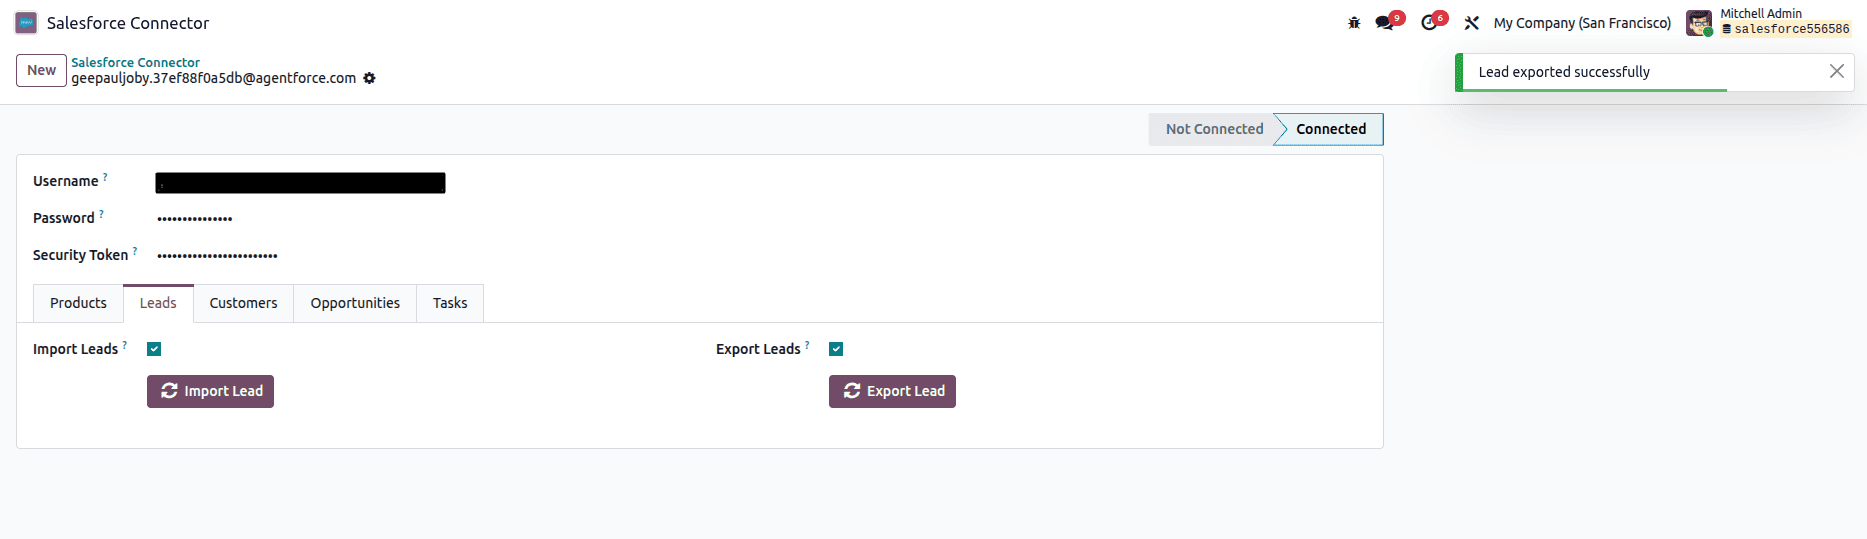
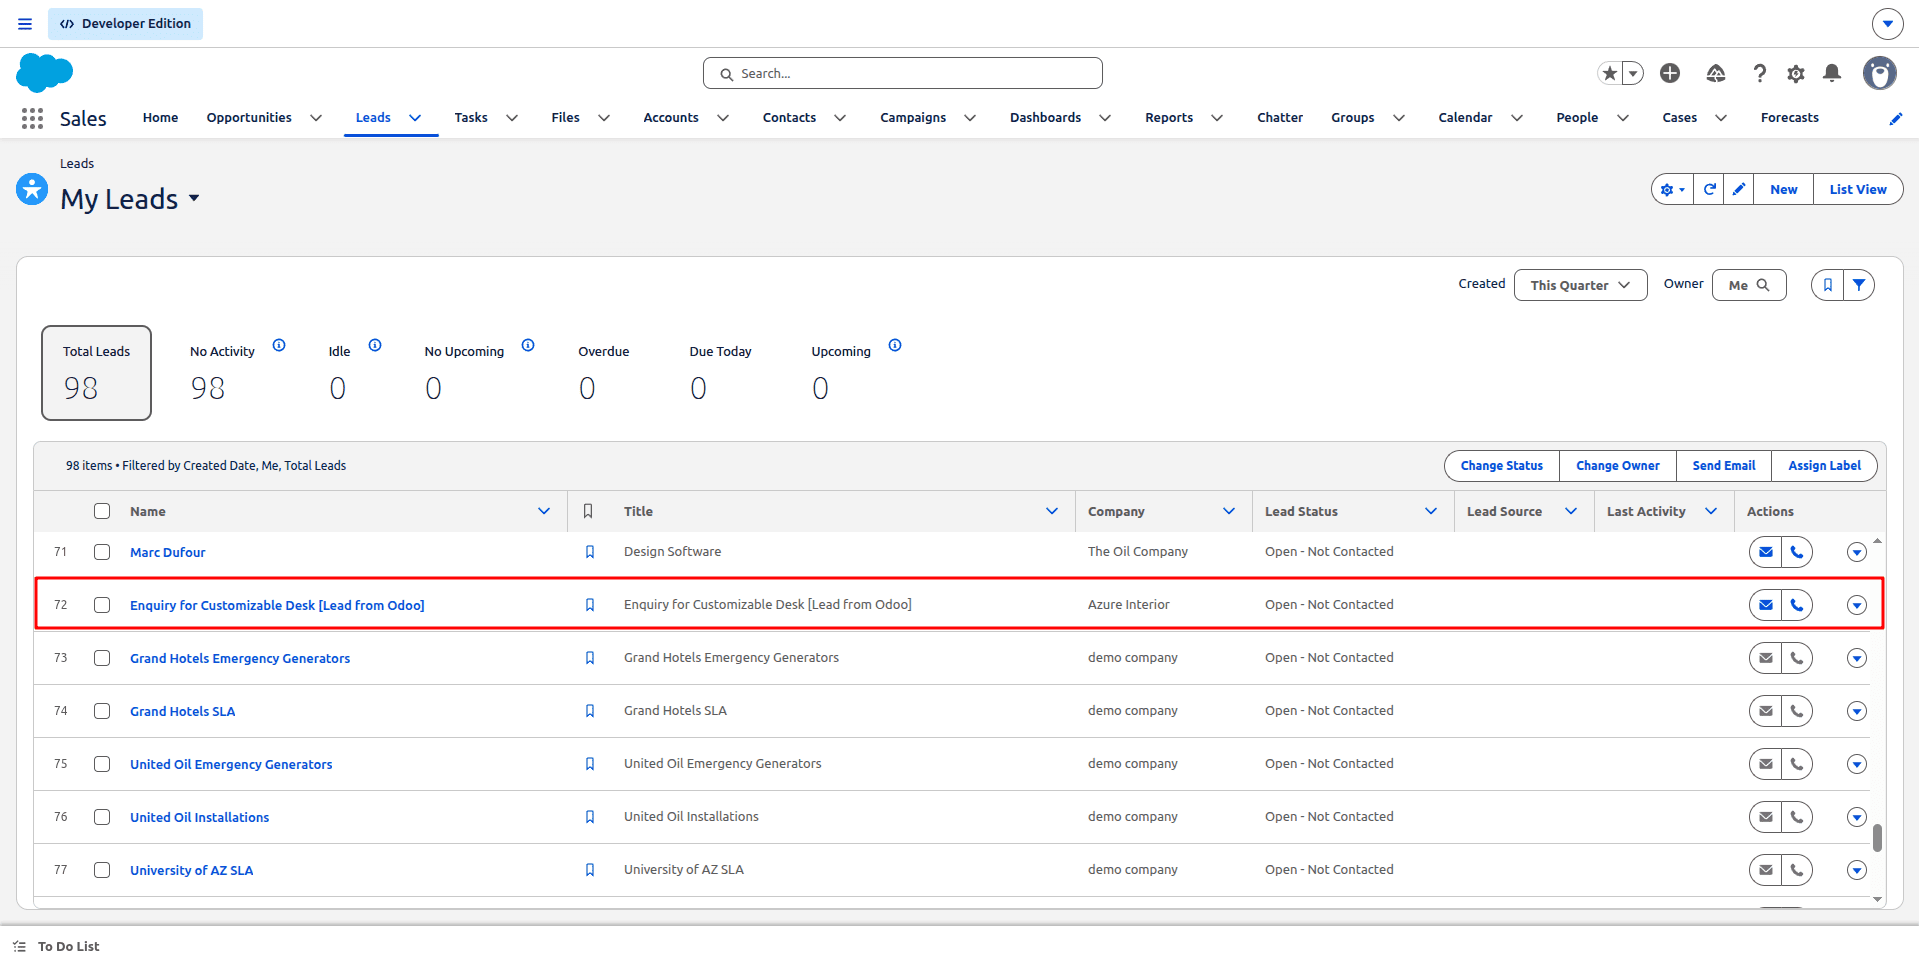
When the Lead Export is successful, you can see the synced leads in Salesforce.
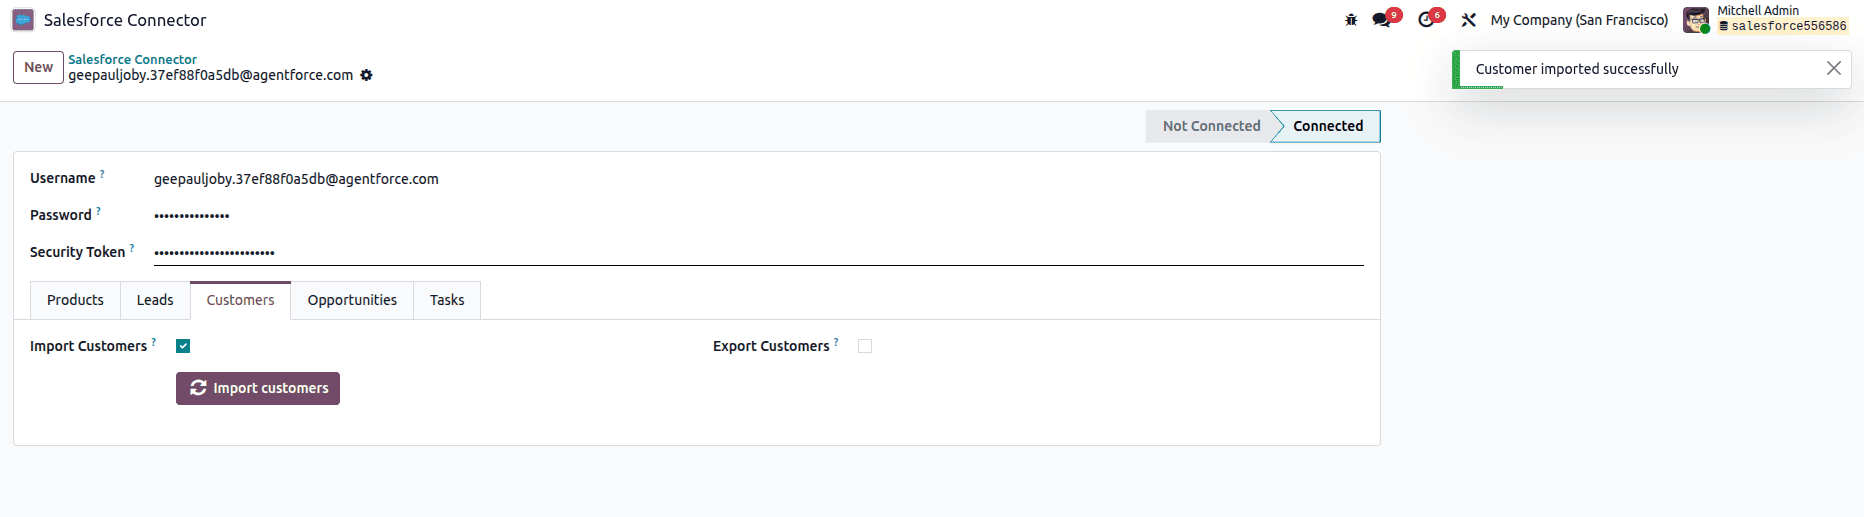
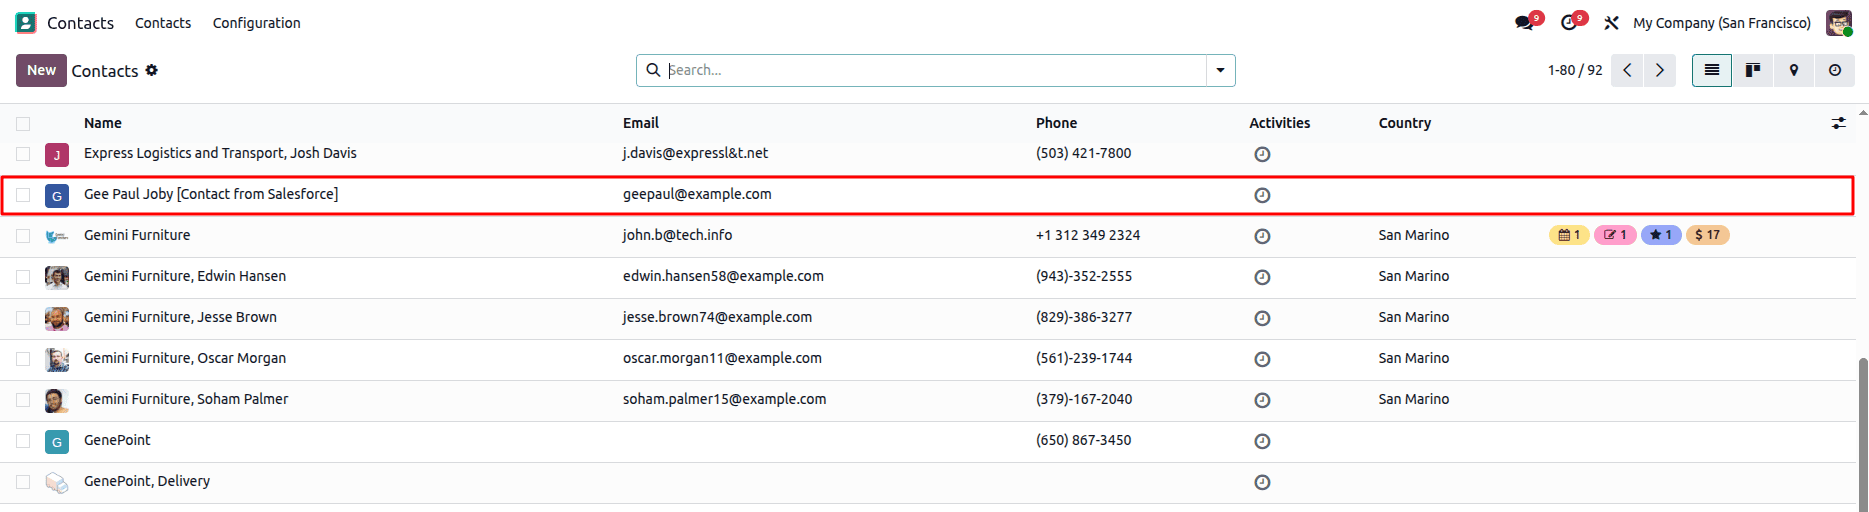
In the Customers Tab, you can find the buttons to import and export the contacts after enabling the checkboxes. Now, the Contacts from Salesforce are imported.
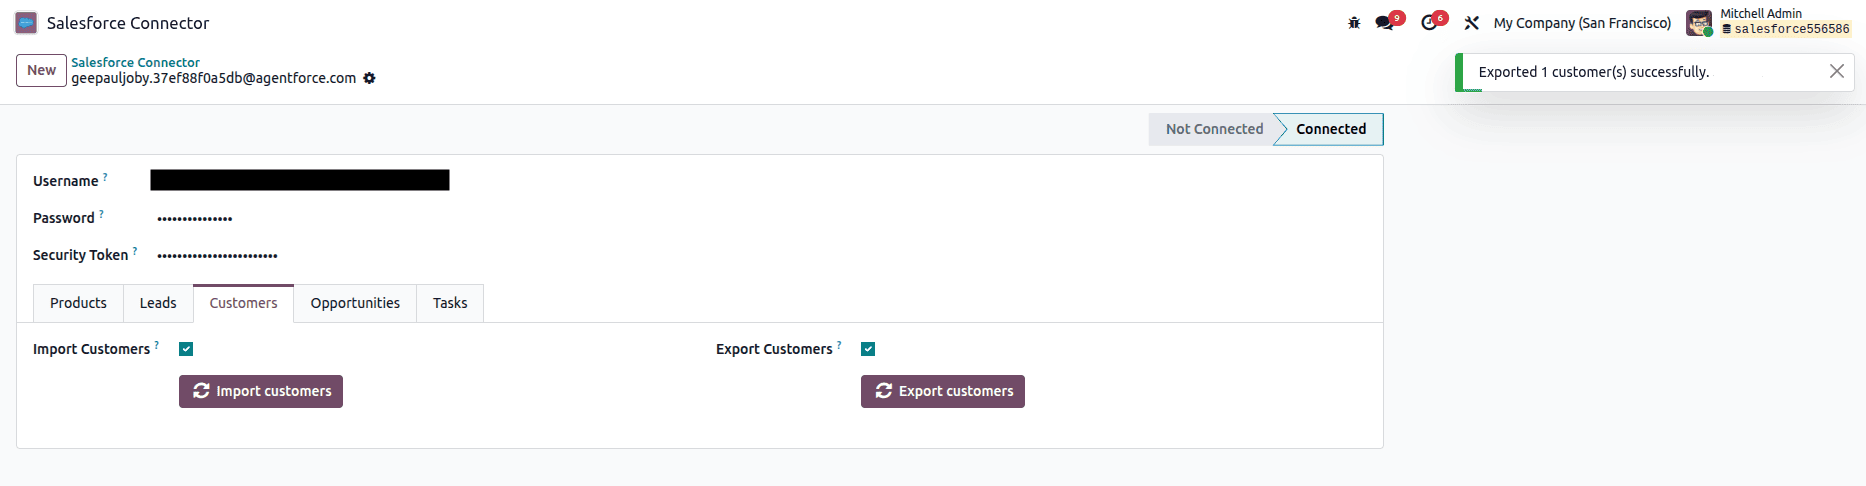
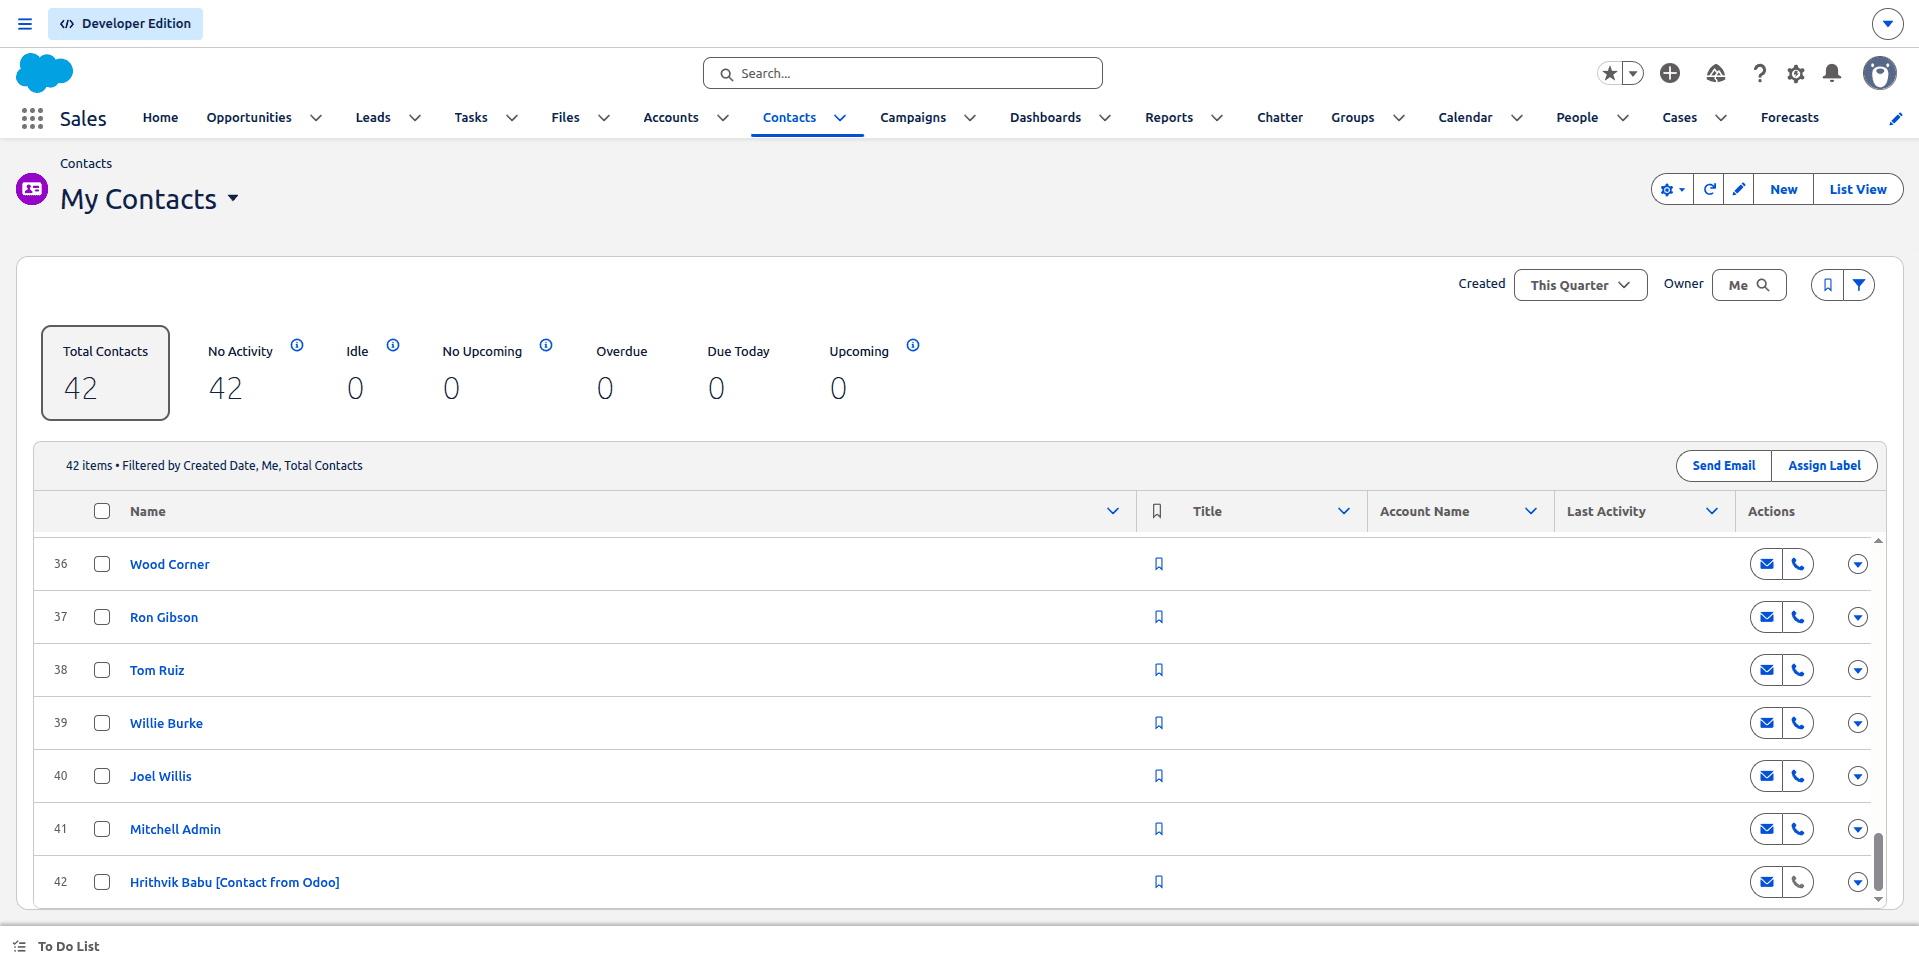
Next, we can export the contacts from odoo.
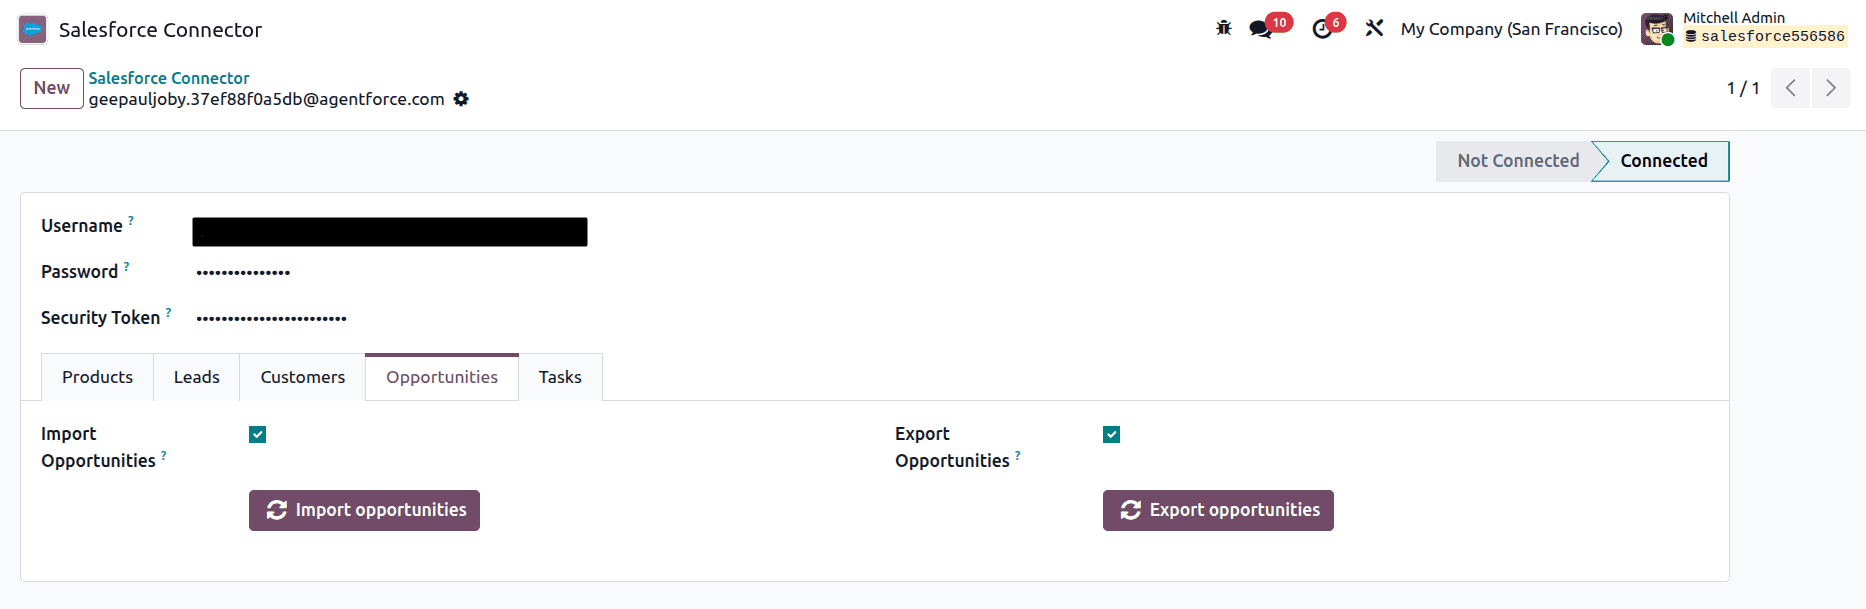
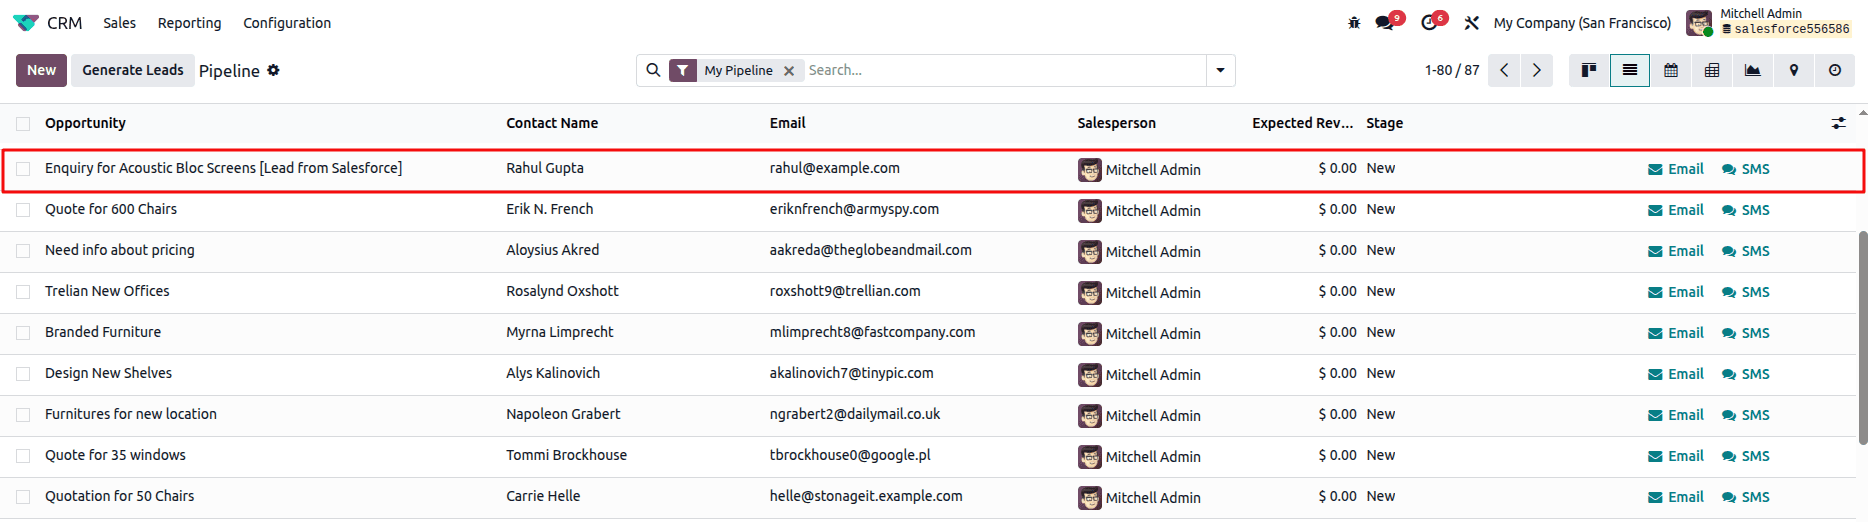
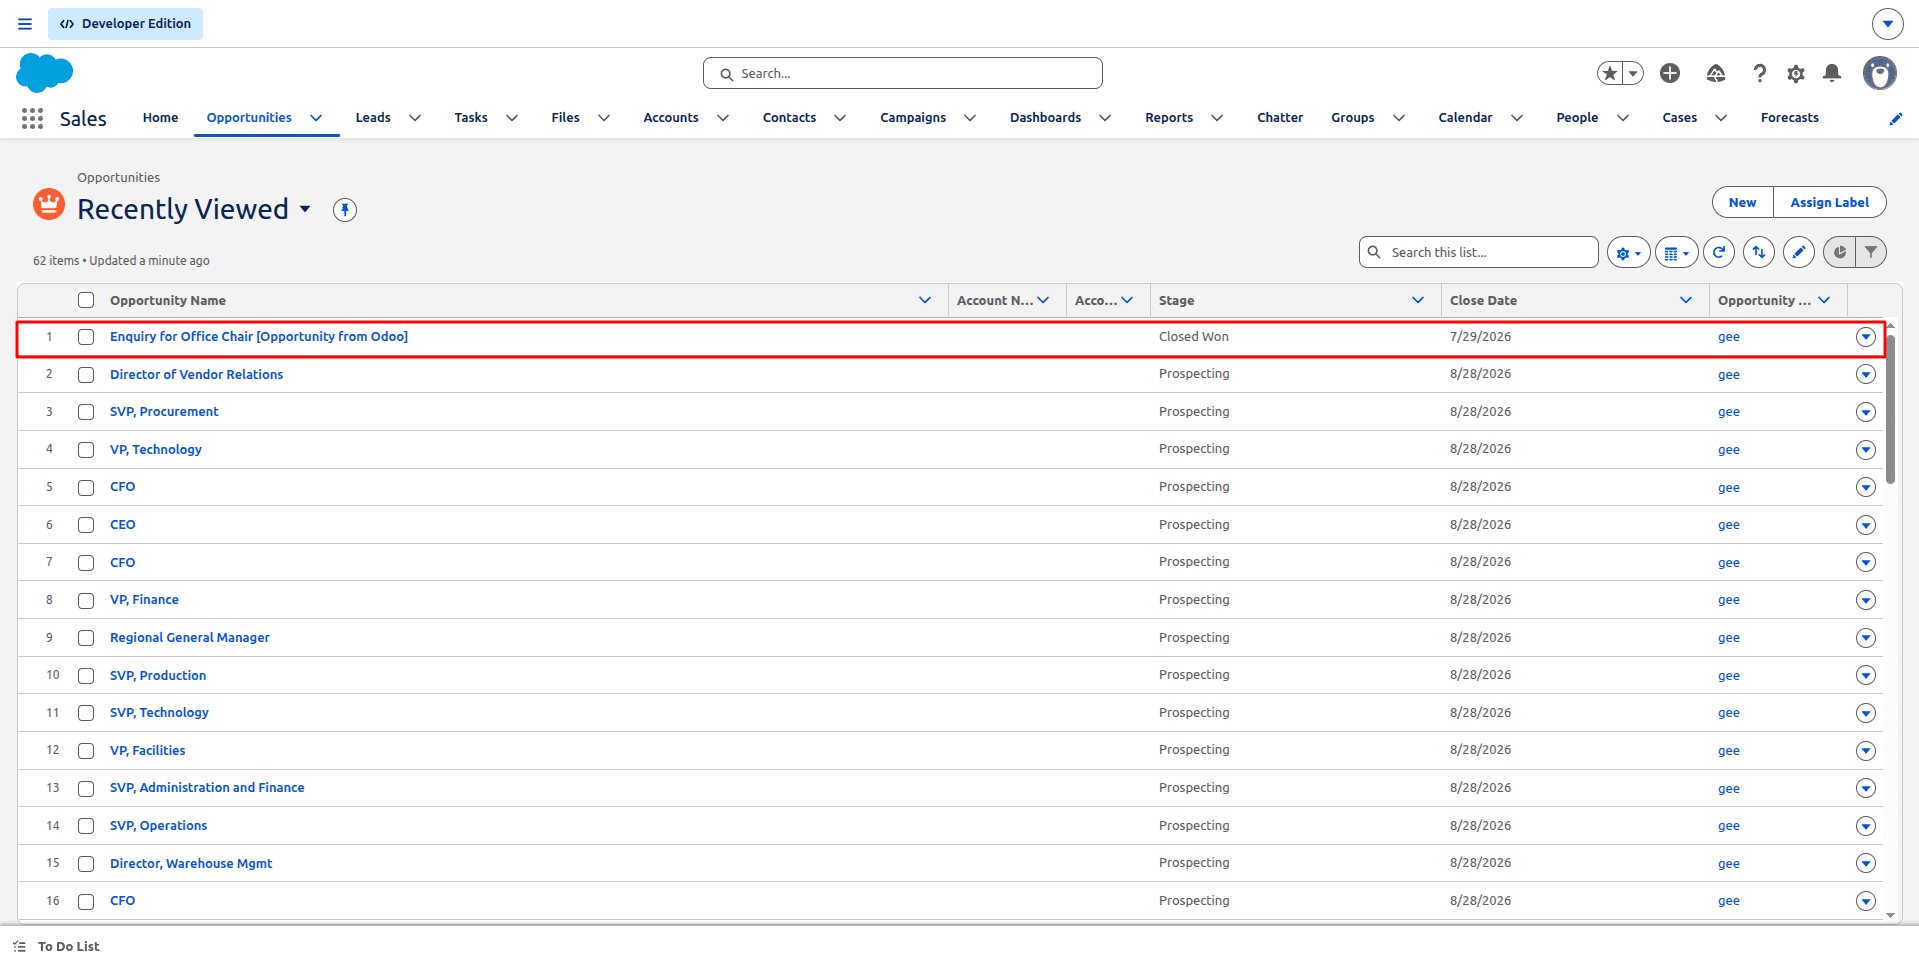
The Opportunities tab keeps your sales pipeline synchronized between the two platforms. Importing opportunities brings Salesforce opportunity records into Odoo CRM, enabling users to track ongoing deals without manually entering information. Exporting opportunities sends opportunity records created in Odoo to Salesforce, allowing sales teams working on either platform to monitor deal progress using the same up-to-date information.
Let’s see the imported opportunities.
Likewise, the exported Opportunities.
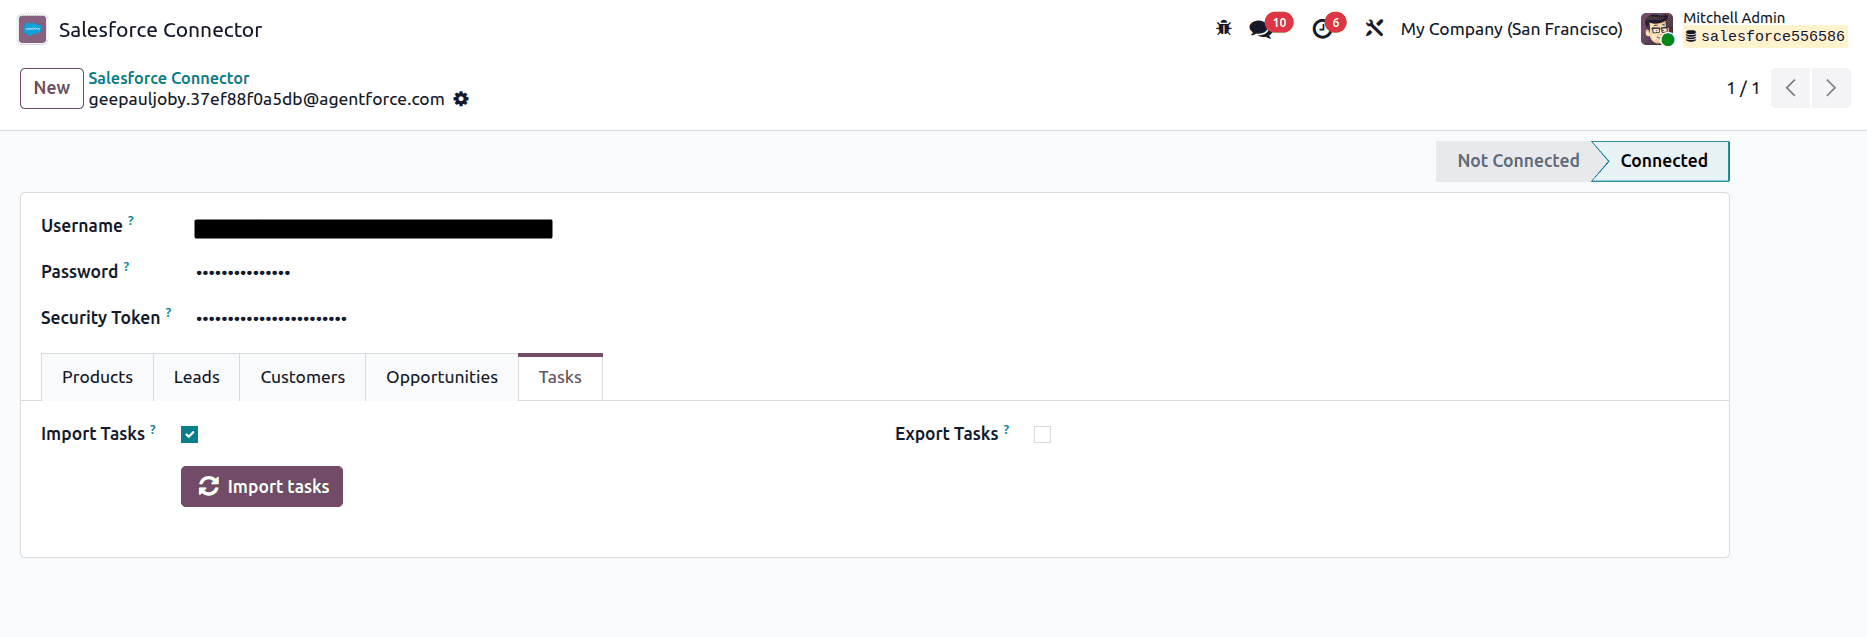
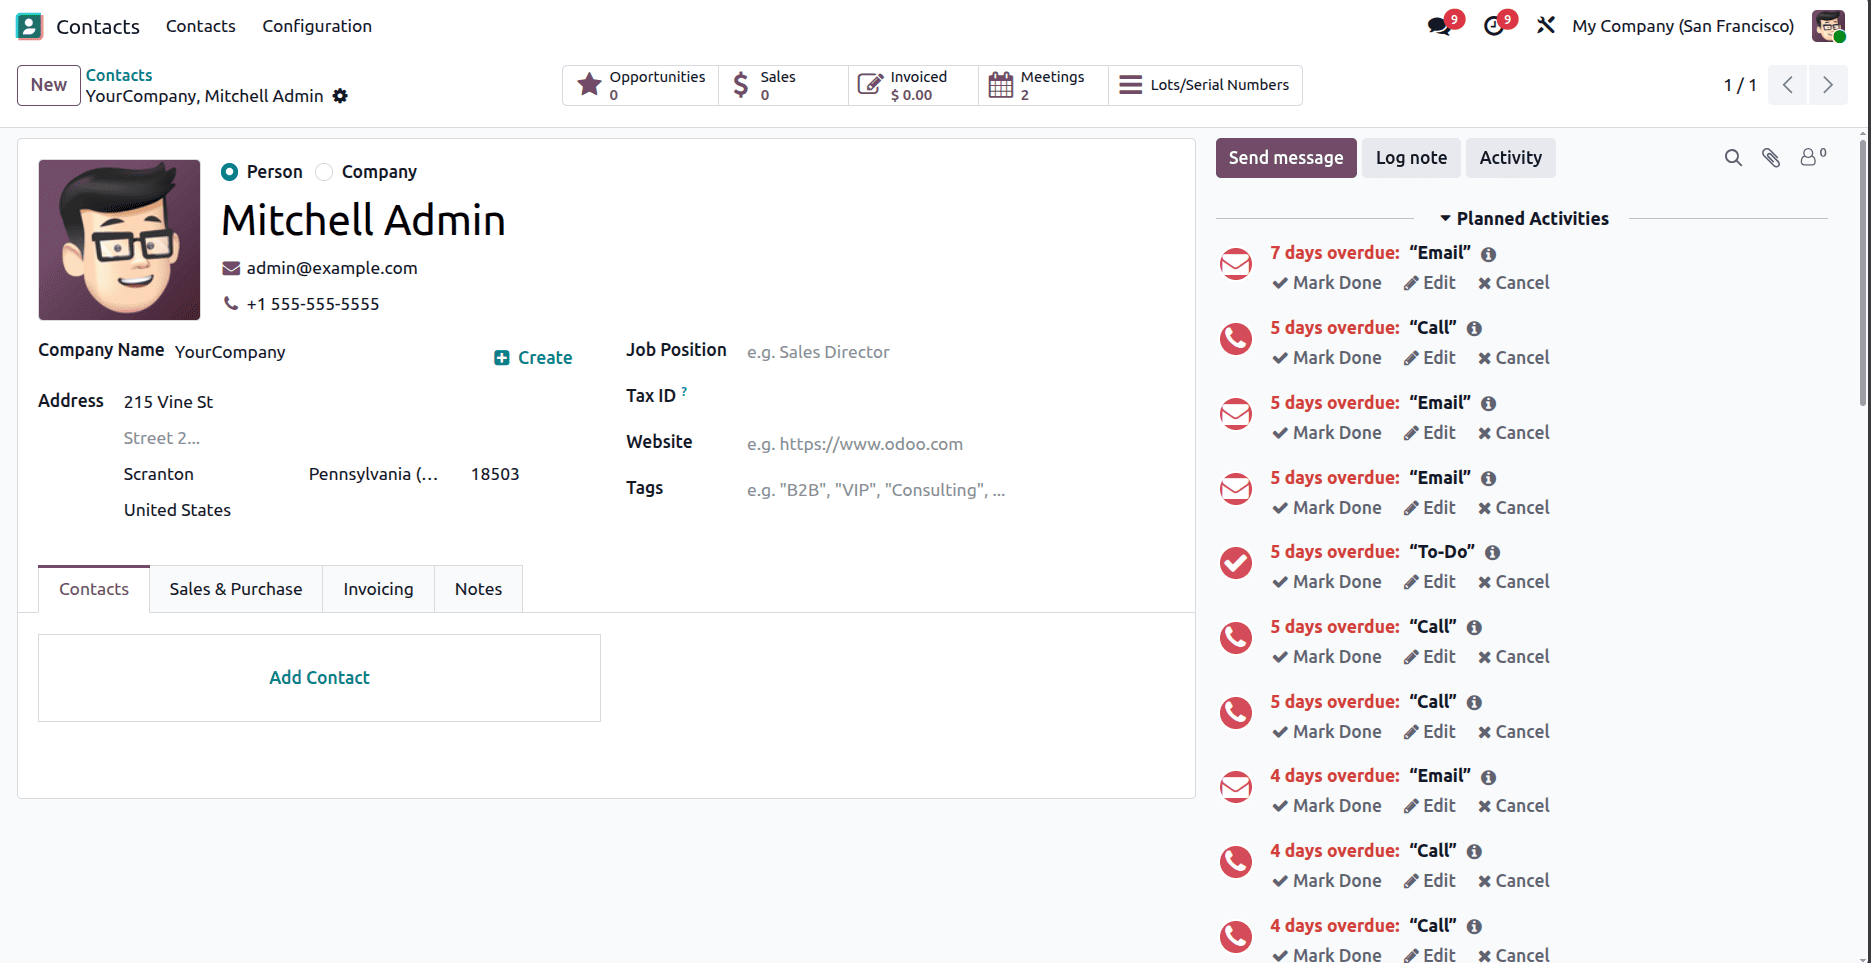
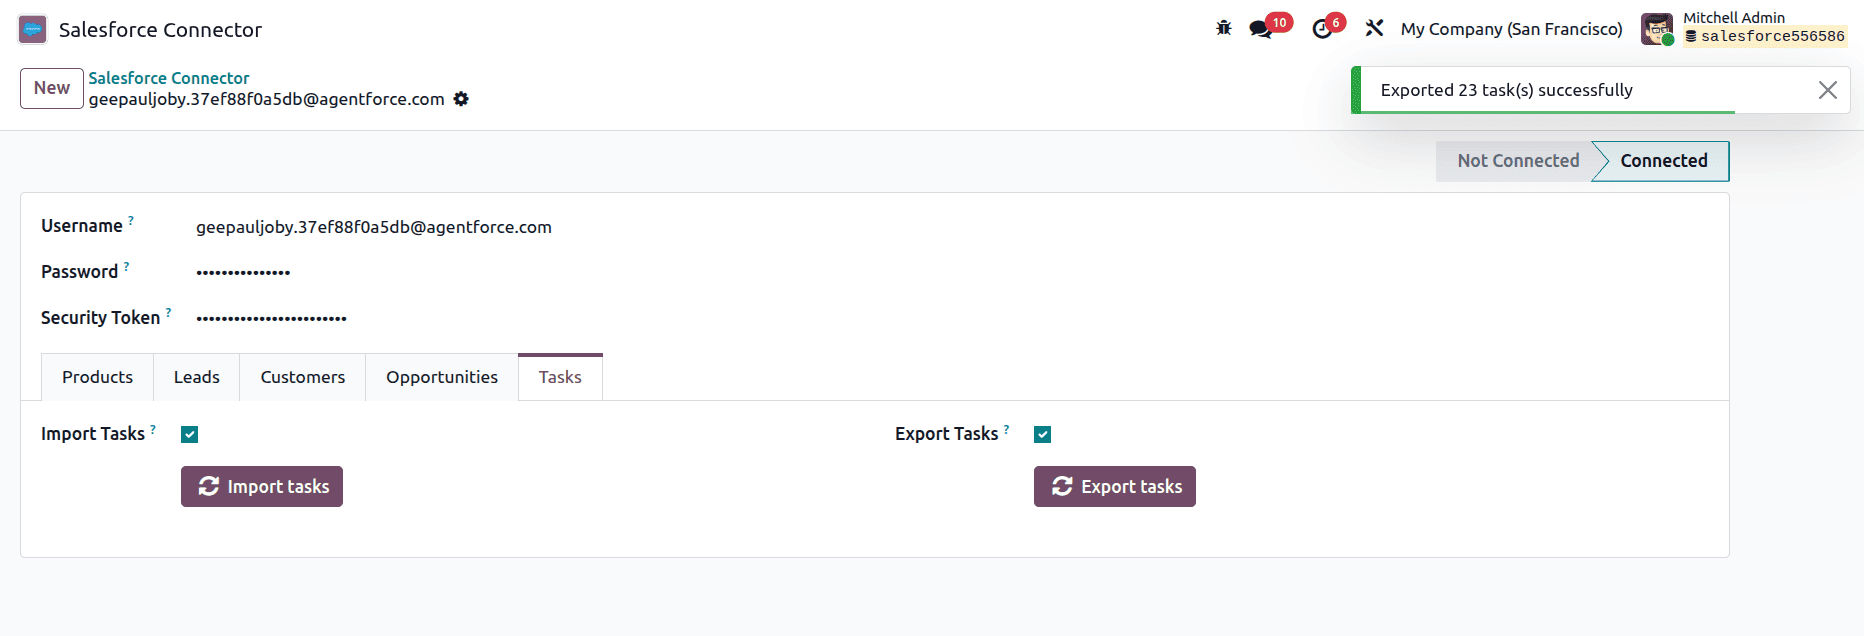
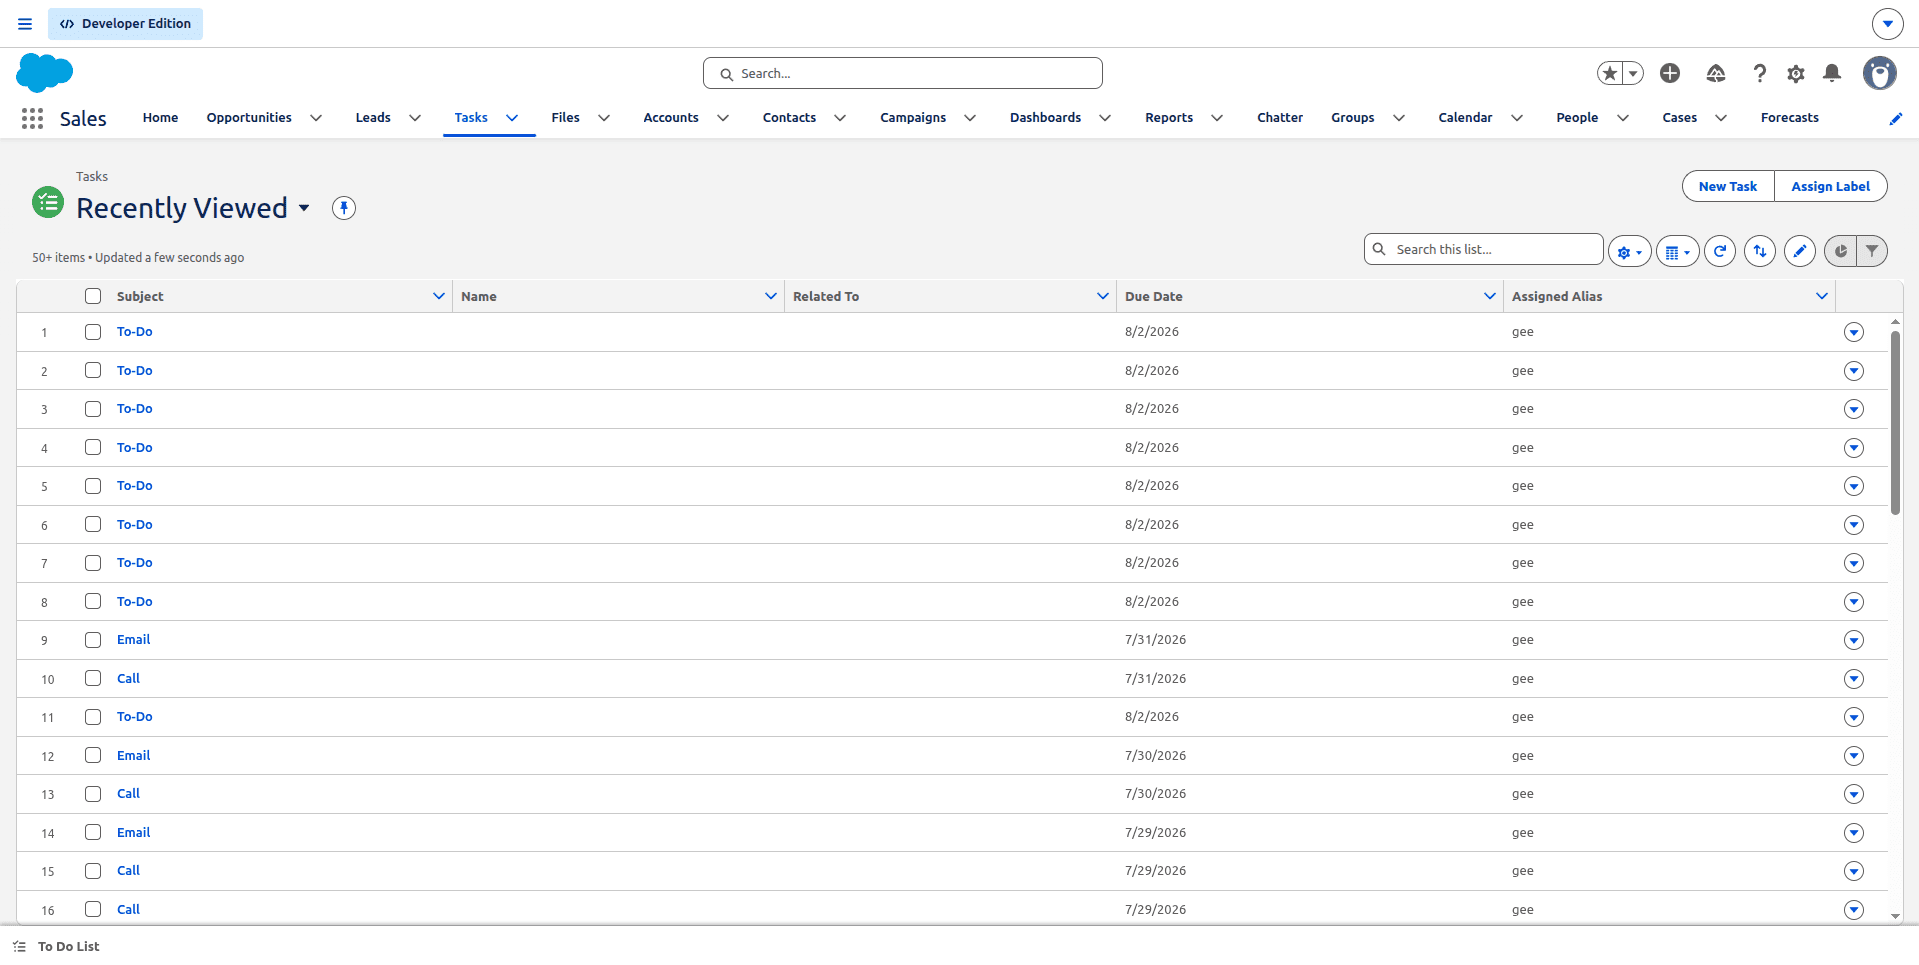
The Tasks tab synchronizes activities and follow-up tasks between Salesforce and Odoo. When tasks are imported, the connector retrieves task records from Salesforce and creates them in Odoo, ensuring important activities and follow-ups are available to Odoo users. Exporting tasks transfers activities created in Odoo to Salesforce, helping teams stay aligned while managing customer interactions from their preferred platform. By keeping task information synchronized, businesses can improve collaboration, avoid missed follow-ups, and maintain a complete record of customer activities across both systems.
The Tasks are imported successfully. Let’s check them.
Finally, the Tasks from Odoo are exported to Salesforce.
The Salesforce Odoo Connector streamlines business operations by synchronizing data between Salesforce and Odoo, reducing manual work, preventing duplicates, and ensuring accurate, real-time information across both platforms.
To read more about How to Configure MyFatoorah Payment Gateway in Odoo 18, refer to our blog How to Configure MyFatoorah Payment Gateway in Odoo 18.