Automation has become an integral part of modern business management, helping organizations improve efficiency, minimize manual effort, and ensure accuracy across operations. Odoo, being a comprehensive ERP platform, provides various tools to simplify automation, among which Server Actions stand out as a powerful feature. Server actions enable users to configure automated operations on records, ensuring that repetitive tasks are executed consistently without the need for complex development.
In this blog, we will discuss how to create and configure server actions in Odoo 19, highlight the new features introduced in this version, and demonstrate practical examples to help you implement automation effectively. Compared to Odoo 18, the latest version brings several improvements: contextual actions that appear as buttons in the Action menu for easier access, multi actions that let you combine multiple operations in one workflow, and an improved user interface where action types are displayed as buttons instead of dropdowns. These updates make automation in Odoo 19 more accessible, faster to configure, and more powerful for real business scenarios.
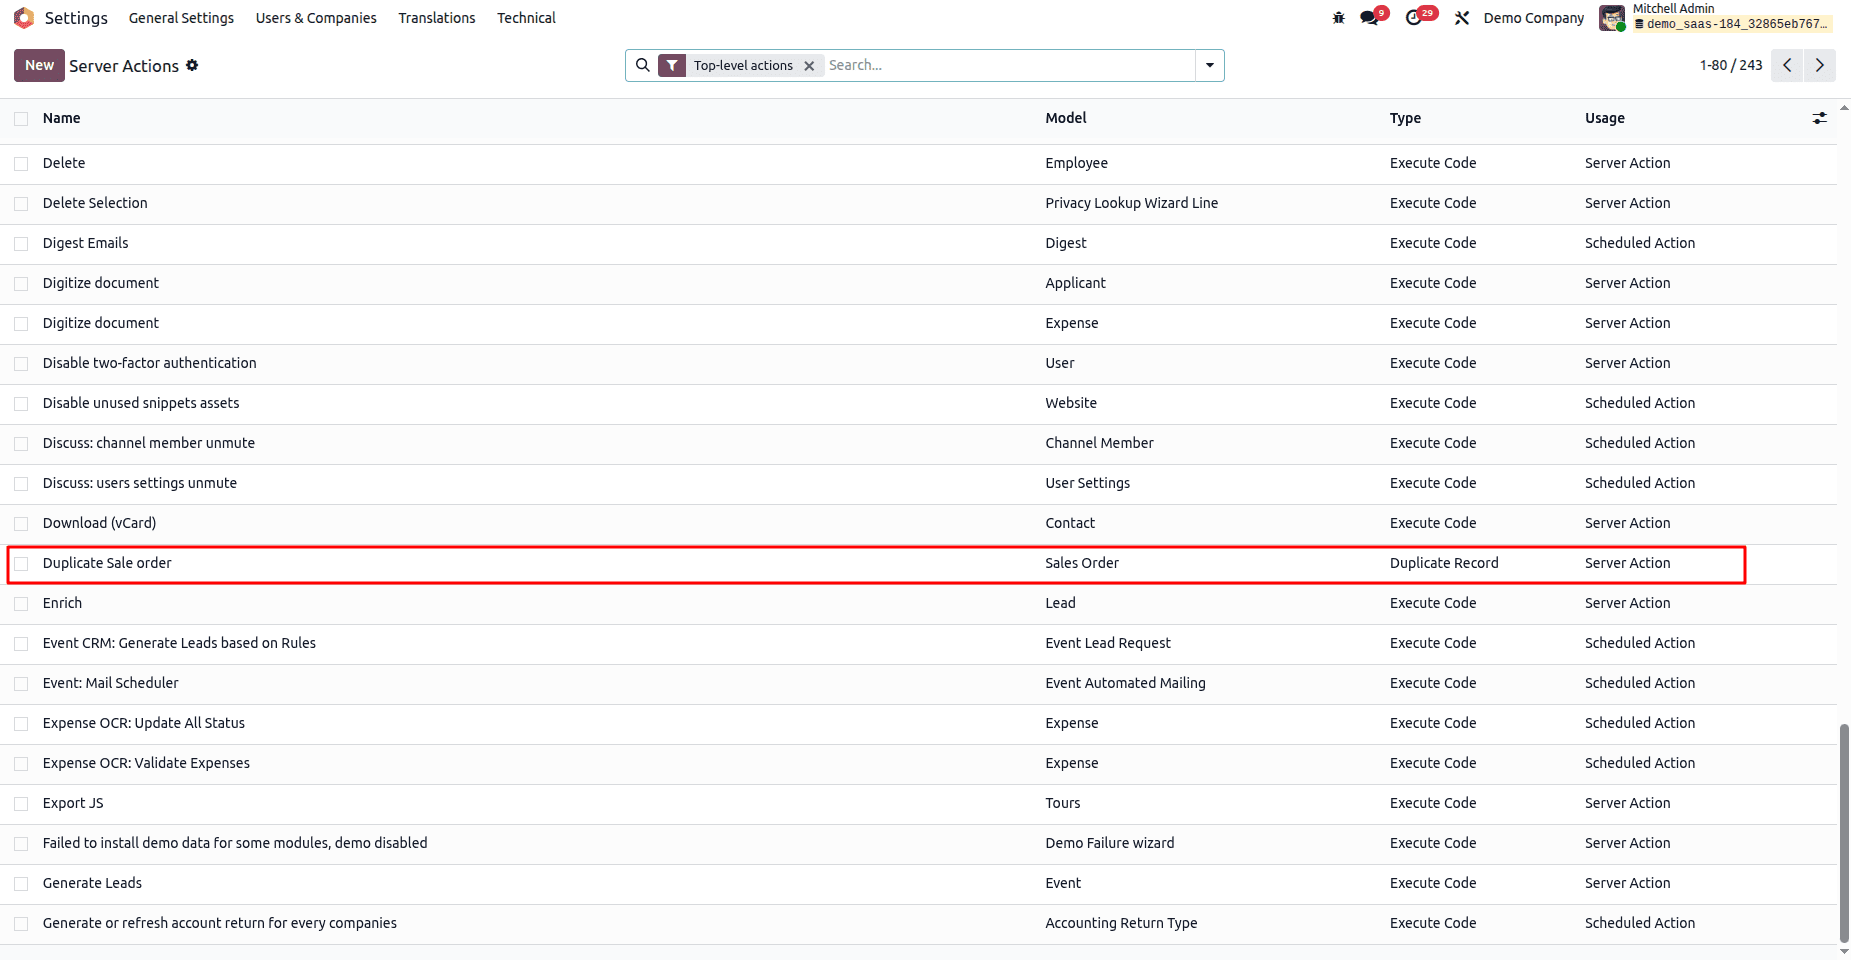
To view all available server actions in Odoo, first enable developer (debug) mode. Once activated, go to the Settings menu, navigate to the Technical section, and select Server Actions.
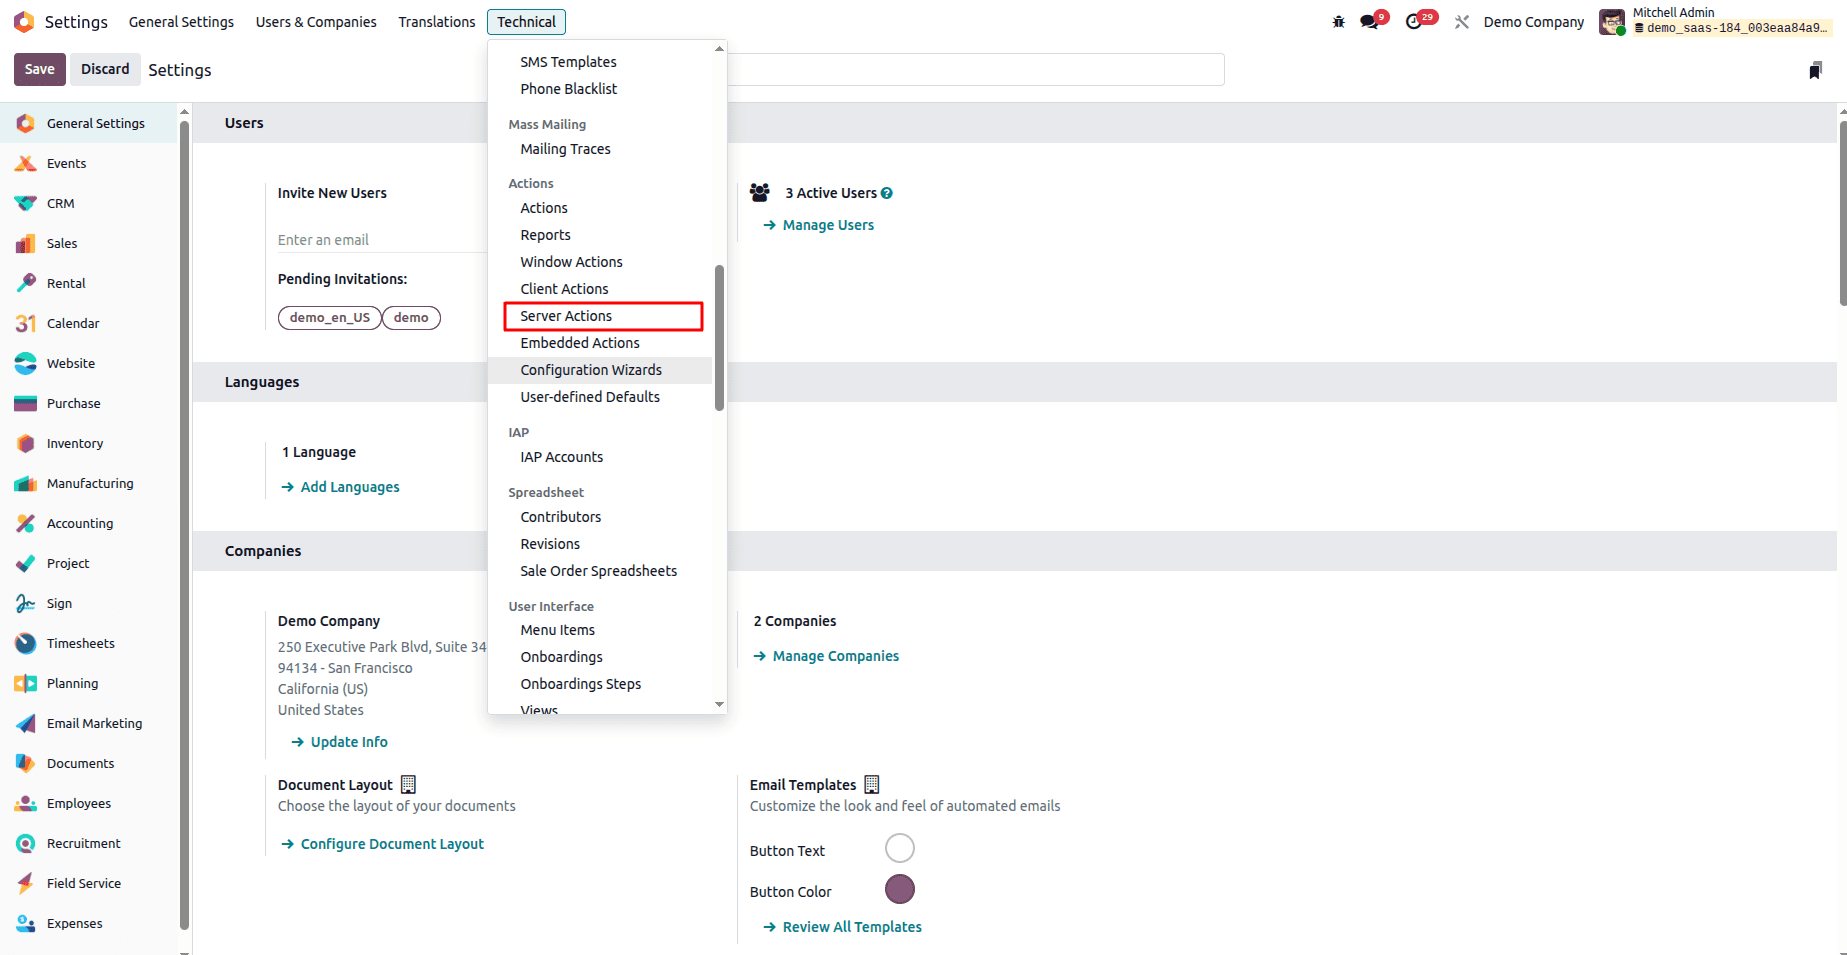
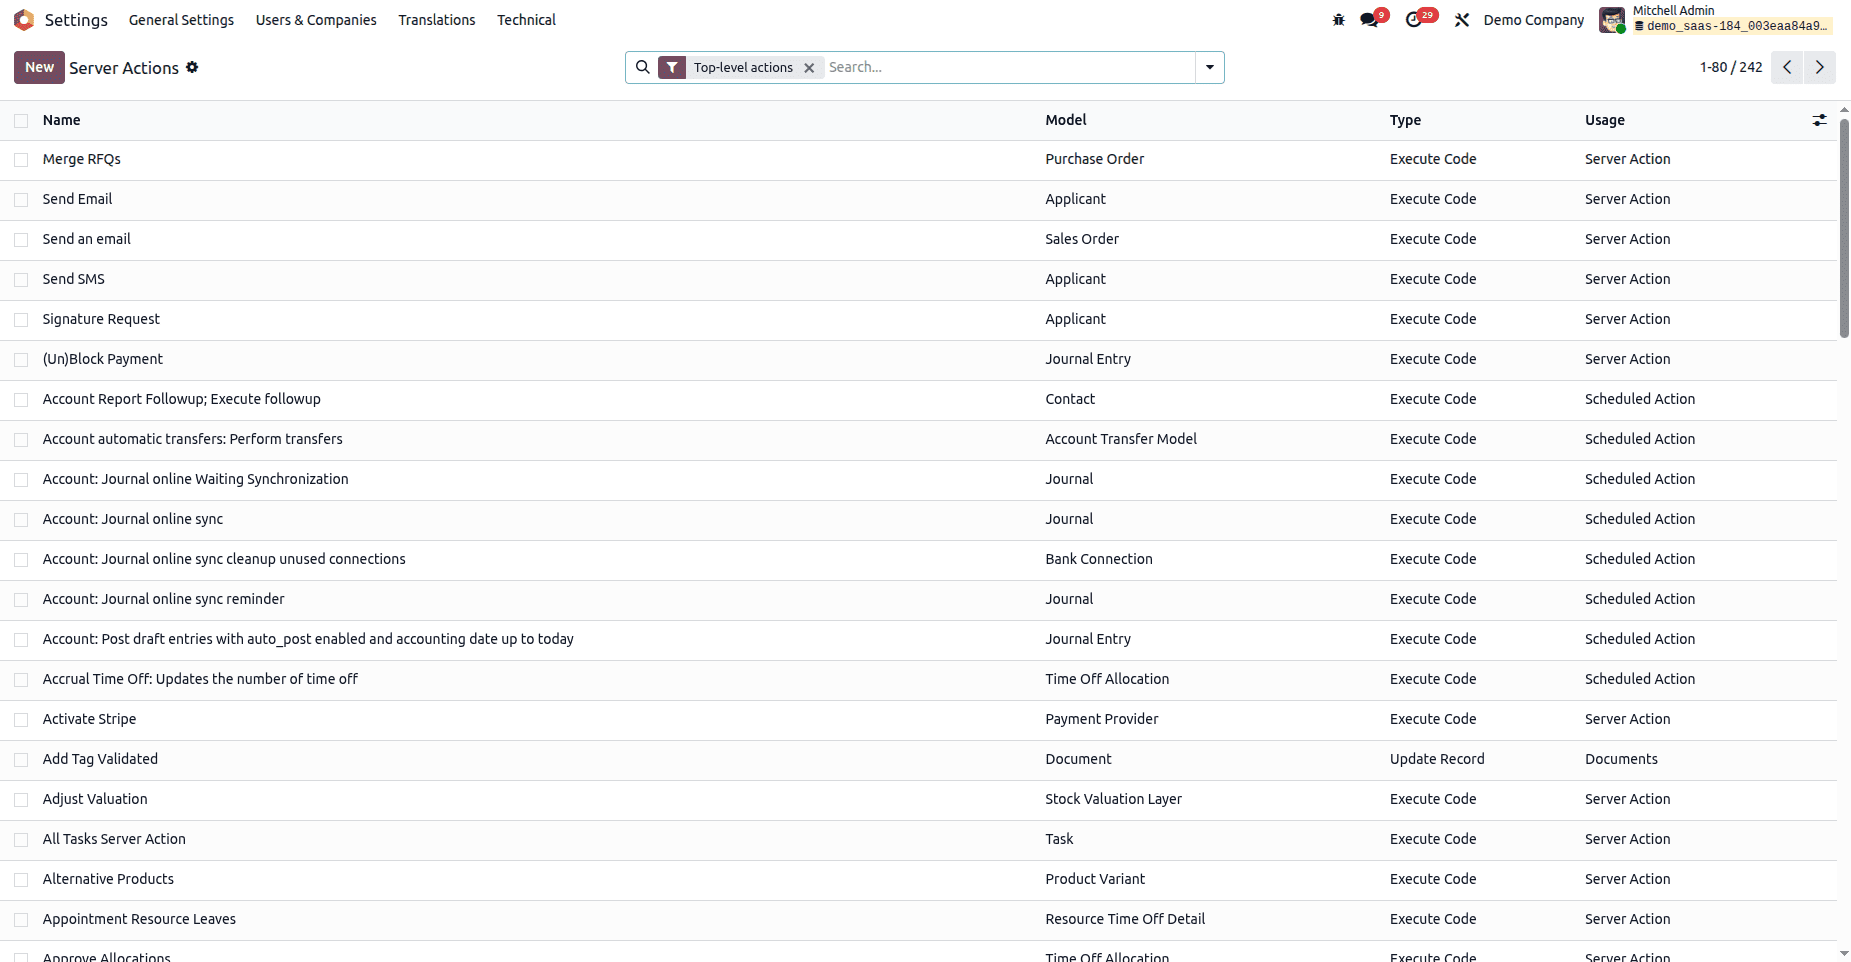
Here, you can view and manage all the server actions configured in your environment.
To Create a New Server Action in Odoo:
Step 1: Open the Server Actions Menu
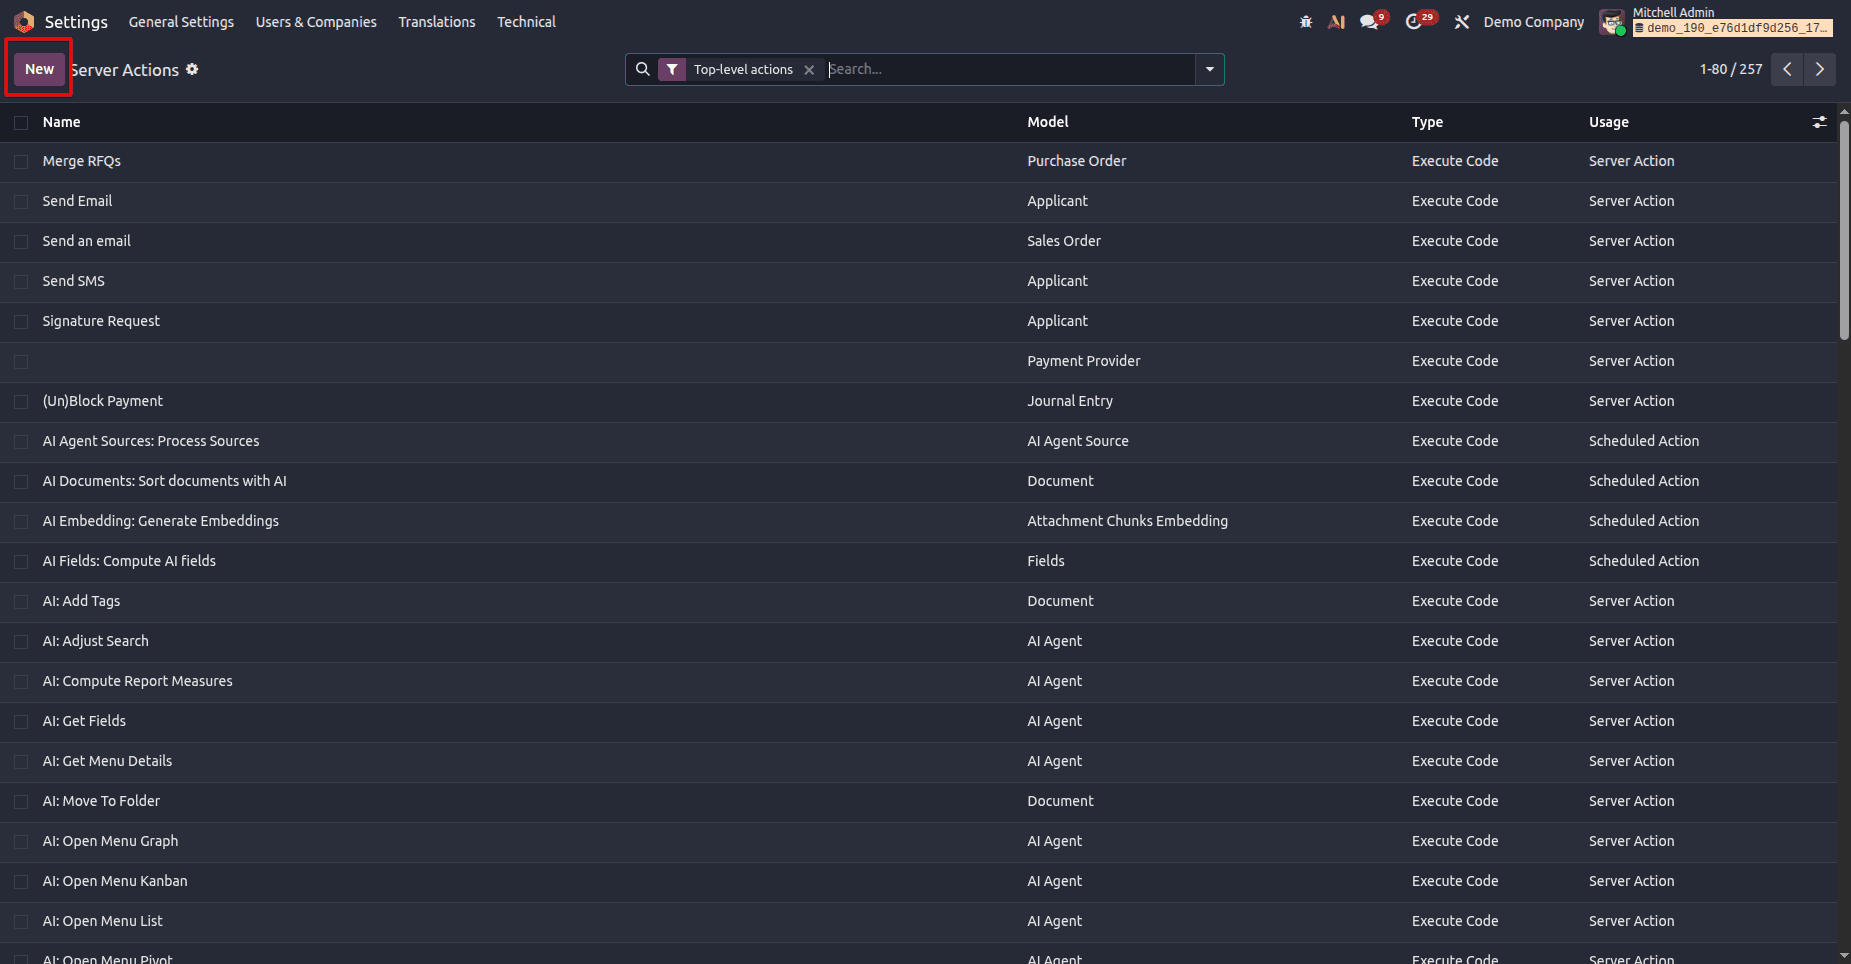
Step 2: Provide Basic Details
- Action Name: Enter a meaningful name for your action.
- Model: Select the Odoo model on which this action will be applied (e.g., Sales Order, Invoice, Contact).

Step 3: Select the Action To Do
- Choose the type of action you want to perform. Available options include:
- Send Webhook Notification
Step 4: Configure the Action
- Depending on the action type, configure the required fields. For example:
- For Update Record: choose the field(s) and value(s) to update.
- For Execute Python Code: write the code snippet.
Step 5: Create Contextual Action
- If you want this server action to be available as a button in the Action menu of list or form views, click the Create Contextual Action button.
- This links your server action with the user interface, making it accessible directly from records.
Step 6: Save and Test the Action
- Click Save to store the server action.
- Test it on the related model to verify that it works as expected.
Types of Server Actions in Odoo 19:
- Update Record – Auto-update a field when conditions are met.Useful for automatically changing order status, updating deadlines, or modifying values without manual input.
- Create Record – Generate a new record automatically.For example, you can create a new task whenever a sales order is confirmed.
- Duplicate Record – Clone an existing record.Handy for recurring business processes like repeating sales orders or invoices.
- Create Activity – Assign a follow-up task/activity.Ensures that reminders, calls, or meetings are automatically scheduled for users.
- Send Email – Trigger email templates automatically.Helps in sending confirmations, payment reminders, or alerts without user intervention.
- Send SMS – Send SMS notifications (if SMS module enabled).Effective for instant customer notifications, such as delivery updates or appointment reminders.
- Add Followers / Remove Followers – Manage record followers.Keeps the right team members informed by automatically adding or removing them from records.
- Execute Code – Automate custom logic using Python scripts.Provides flexibility for advanced users to implement logic that isn’t available through standard options.
- Send Webhook Notification – Notify external systems.Enables integration with third-party apps by pushing real-time data updates.
- Multi Actions – Chain multiple actions together.Useful when you want to perform a sequence of updates, emails, or activities in a single trigger.
Practical Example: Duplicating Sale Order Using Server Actions (UI)
Imagine a sales team frequently needs to duplicate existing sale orders for recurring customers. Instead of manually duplicating, we can create a server action that does this with a single click.
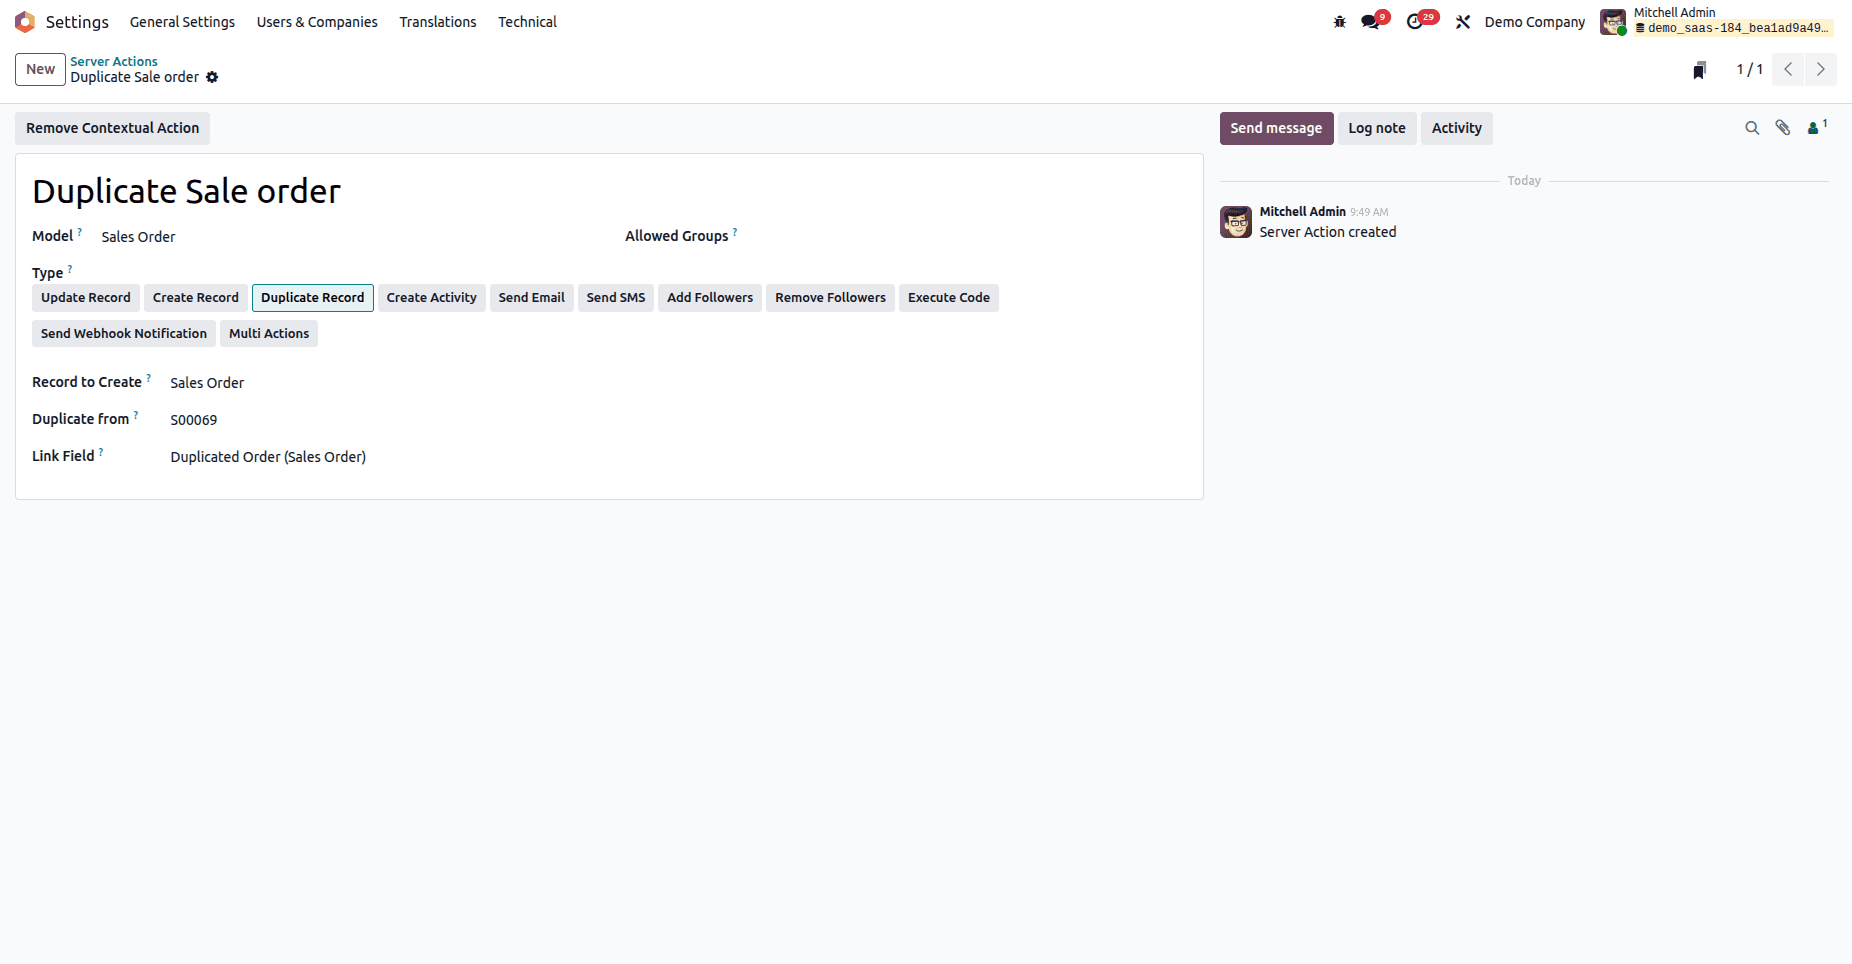
Step 1: Create the Server Action
- Go to Settings > Technical > Server Actions
- Click New
- Enter Action Name as “Duplicate Sale Order”
- Select Model: Sales Order
Step 2: Configure the Action
- In the Type field, select Duplicate Record
- Set the Record to Create as Sales Order
- Select the Duplicate From reference
- Specify the Link Field if required
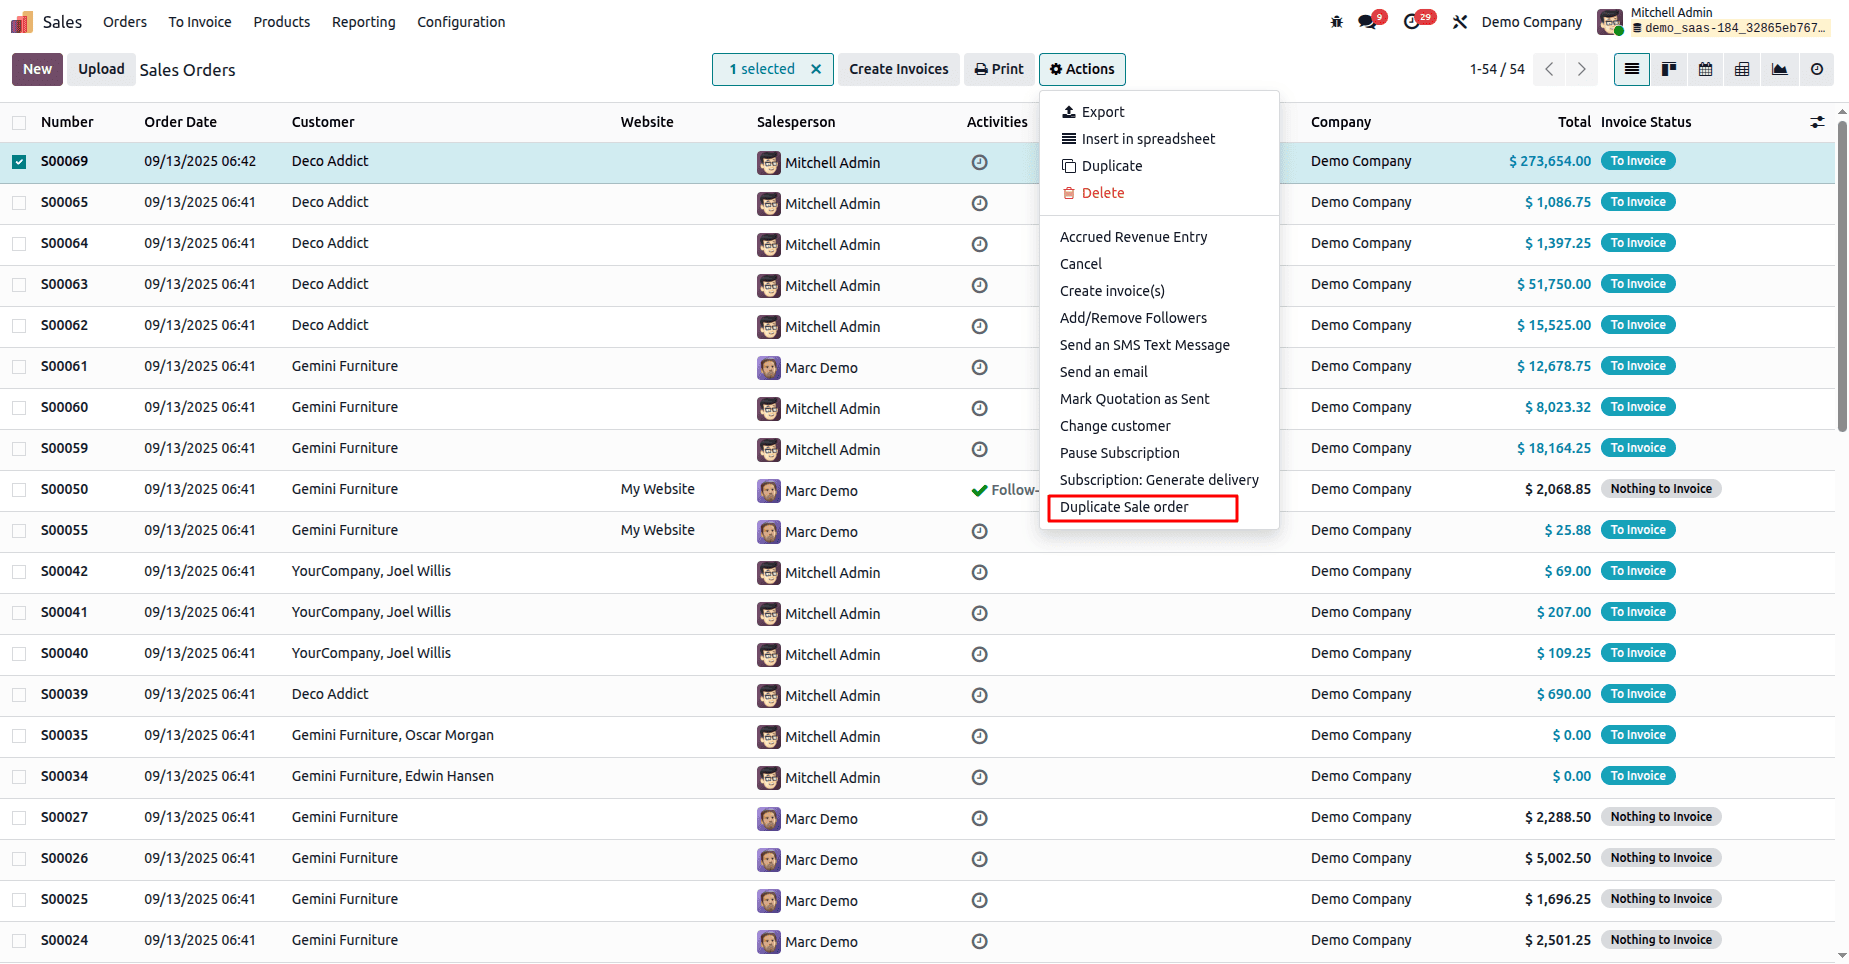
Step 3: Create Contextual Action
- Click Create Contextual Action
- This adds the option under the Action menu in Sales Orders
- Save the Action
- Once you've reviewed the server actions, you'll see that the newly created server action is now available.
Step 4: Execute or Test Server Action
- Go to Sales Orders, select a record,
- From the Action menu, choose Duplicate Sale Order

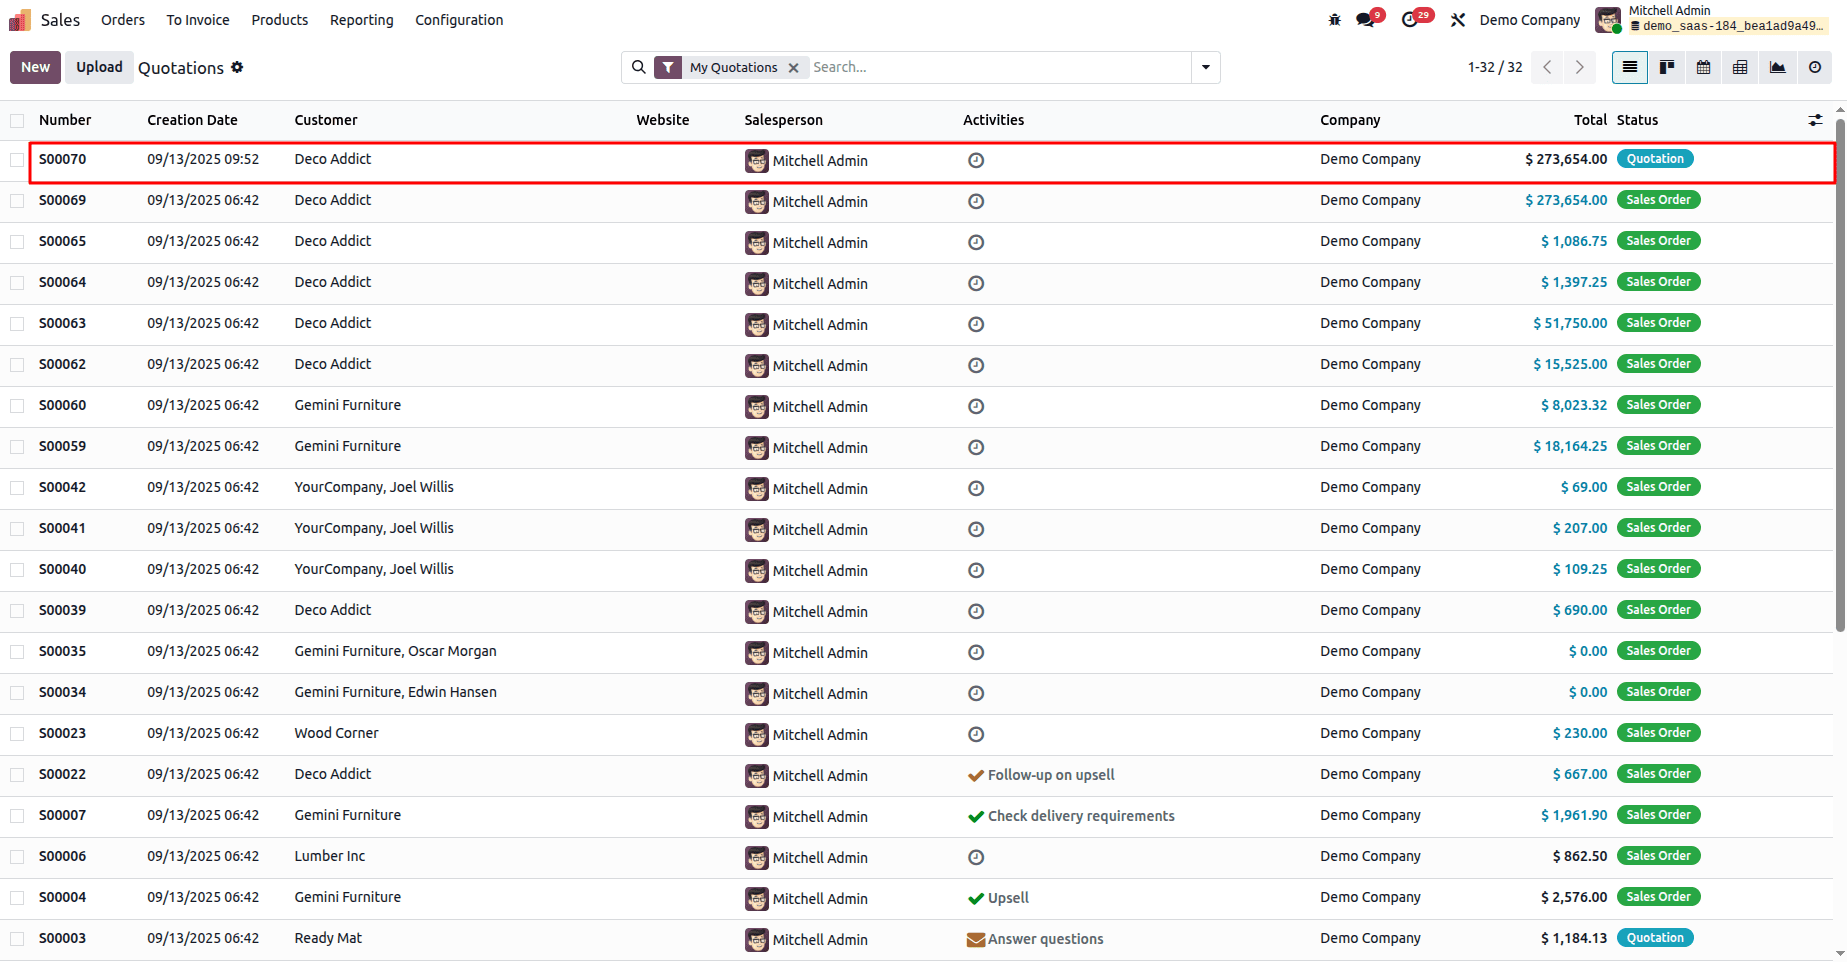
- A New draft order is created.

Practical Example: Duplicating Sale Order Using Python Code (XML + Python)
Let’s create a server action that duplicates a sales order using Python code in Odoo 19. This method is useful when you want to extend duplication logic (e.g., resetting certain fields, changing states, or assigning to a new user).
1. Define the Server Action in XML
In your custom module, navigate to the data directory and create (or edit) a file such as ir_actions_data.xml. Add the following XML definition:
<?xml version="1.0" encoding="UTF-8" ?>
<odoo>
    <record id="duplicate_sale_order_python" model="ir.actions.server">
        <field name="name">Duplicate Sale Order (Python)</field>
        <field name="model_id" ref="sale.model_sale_order"/>
        <field name="binding_model_id" ref="sale.model_sale_order"/>
        <field name="binding_view_types">list</field>
        <field name="state">code</field>
        <field name="code">
            action = records.action_duplicate_sale_order()
        </field>
    </record>
</odoo>
Explanation:
- name: The label shown in the Action menu.
- model_id: Links the action to the sale.order model.
- binding_model_id: Ensures the action is available only when working with Sale Orders.
- binding_view_types: Restricts the action to appear in list view.
- state: code indicates that the action executes Python code.
- code: Calls the Python method action_duplicate_sale_order() that we will implement next.
2. Implement the Python Function
In your custom module, extend the sale.order model and define the method that will perform duplication. For example, in models/sale_order.py:
from odoo import models
class SaleOrder(models.Model):
    _inherit = 'sale.order'
    def action_duplicate_sale_order(self):
        for order in self:
            # Duplicate the sale order
            new_order = order.copy()
            # Ensure the new order is in draft state
            new_order.write({'state': 'draft'})
Explanation:
- The method loops through the selected records.
- Each order is duplicated using the built-in copy() method.
- The duplicated order’s state is explicitly set to Draft.
3. Execute the Server Action
Once the XML and Python code are added and your module is updated:
- Go to the Sales module.
- Select one or more sale orders from the list view.
- Under the Action menu, you’ll find the new action: “Duplicate Sale Order (Python)”.
- Click it, and new draft orders will be automatically created as duplicates.
By implementing server actions, organizations can reduce repetitive manual work, ensure data accuracy, and accelerate routine processes such as sending follow-up emails, duplicating records, or updating important fields automatically. This not only improves productivity but also ensures that teams can focus on strategic tasks rather than day-to-day admin work.
When combined with best practices—such as testing actions in a safe environment, naming them clearly, and securing advanced options like Python code—server actions become a dependable tool that strengthens the overall efficiency of Odoo.
In short, Odoo 19 has transformed server actions from a hidden technical feature into a practical business automation tool that every company can use to save time, maintain consistency, and make their ERP smarter.
To read more about How to Create & Configure Server Actions in Odoo 18, refer to our blog How to Create & Configure Server Actions in Odoo 18.