Odoo 19 offers powerful tools for businesses to manage operations efficiently, and integrating external devices through the IoT Box takes automation to the next level. The IoT Box acts as a bridge between Odoo and other external devices, allowing real-time communication with hardware like barcode scanners, label printers, receipt printers, weighing scales, and more. By connecting these devices, businesses can reduce manual work, minimise errors, and speed up processes such as inventory management, point-of-sale transactions, and product labelling. Setting up an IoT Box in Odoo 19 is straightforward, requiring network configuration, device pairing, and activation within the Odoo interface. Once connected, the devices can be managed directly from Odoo, offering seamless operation and improved productivity. This integration is especially beneficial for retail, warehousing, and manufacturing operations that demand high efficiency and accuracy.
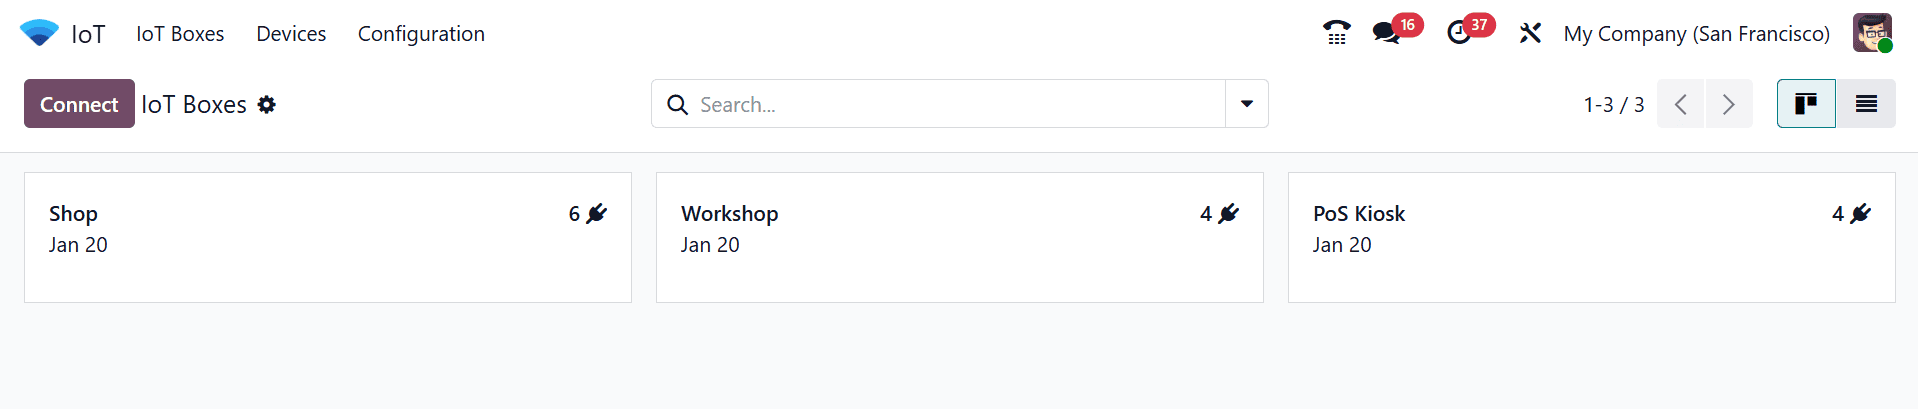
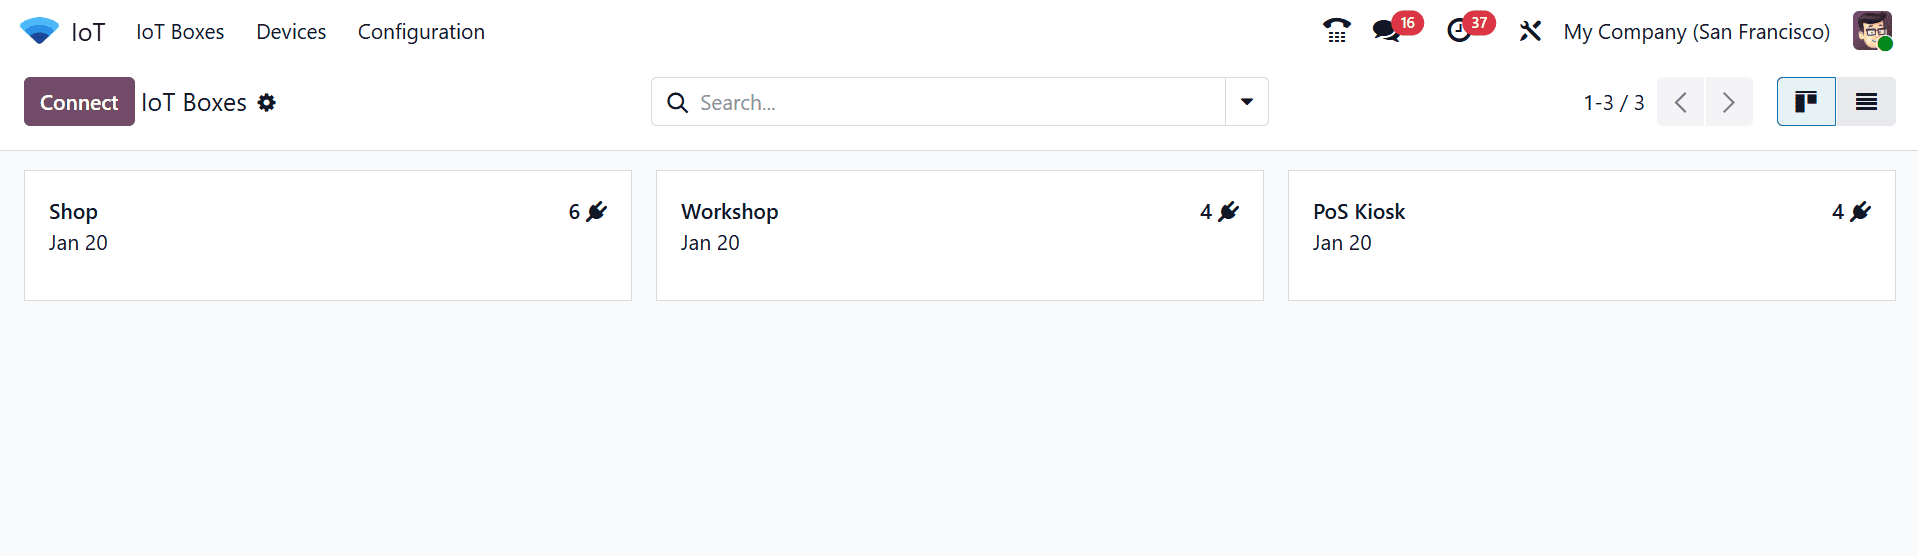
Firstly, navigate to the IoT module in the Odoo 19 ERP package to manage IoT Boxes. The dashboard of the IoT module shows the available IoT Boxes in a Kanban view, which displays the number of connected devices with their connected links.
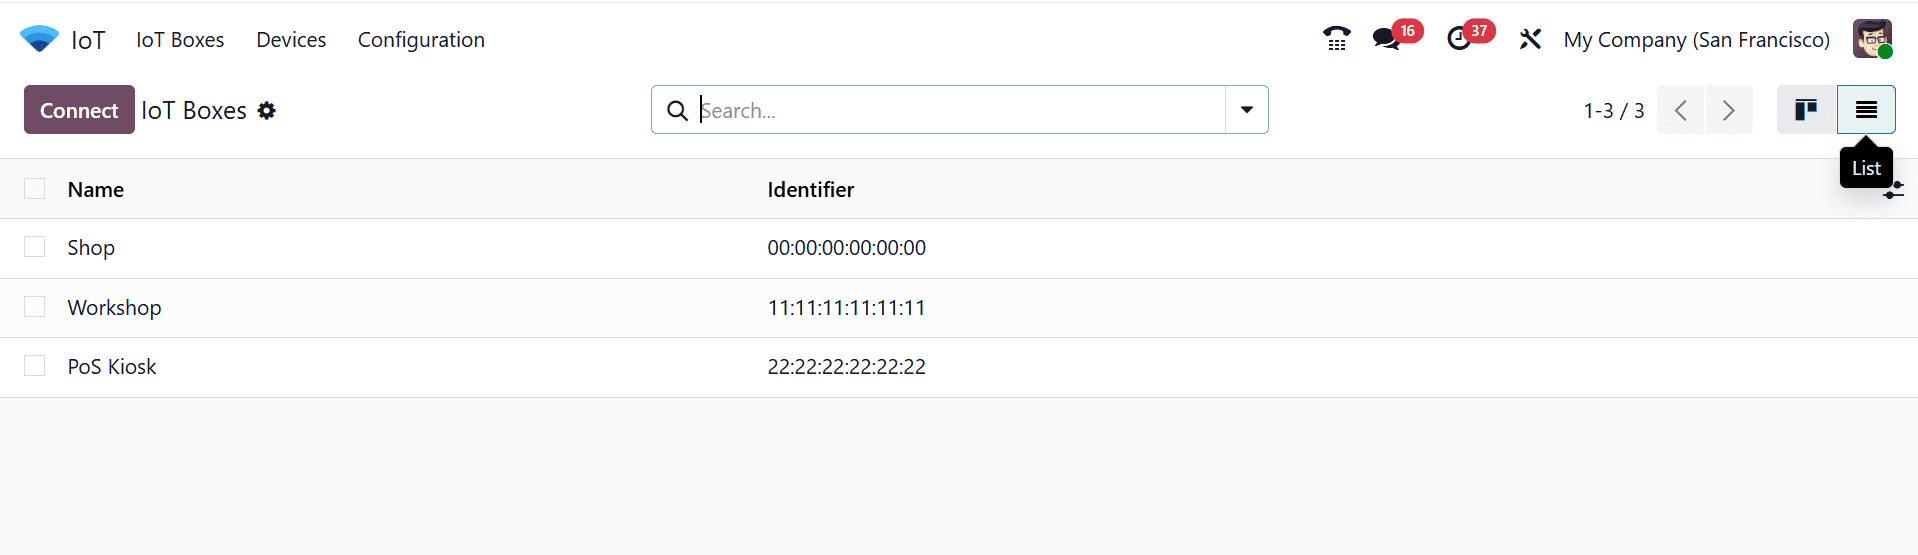
You can also change the dashboard view to List view, as shown below:
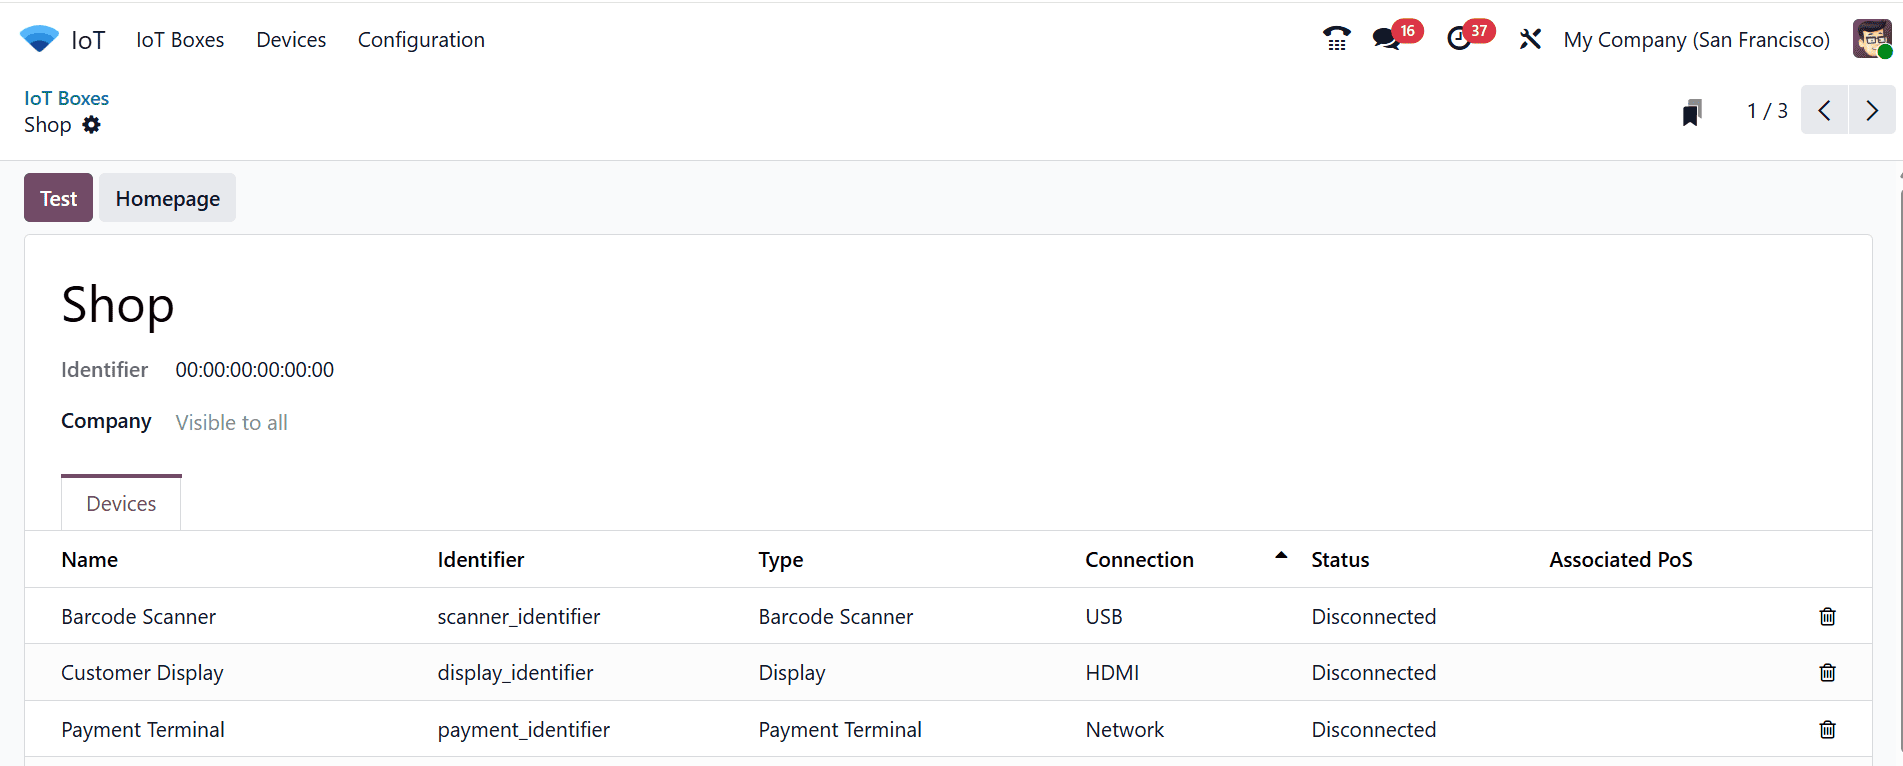
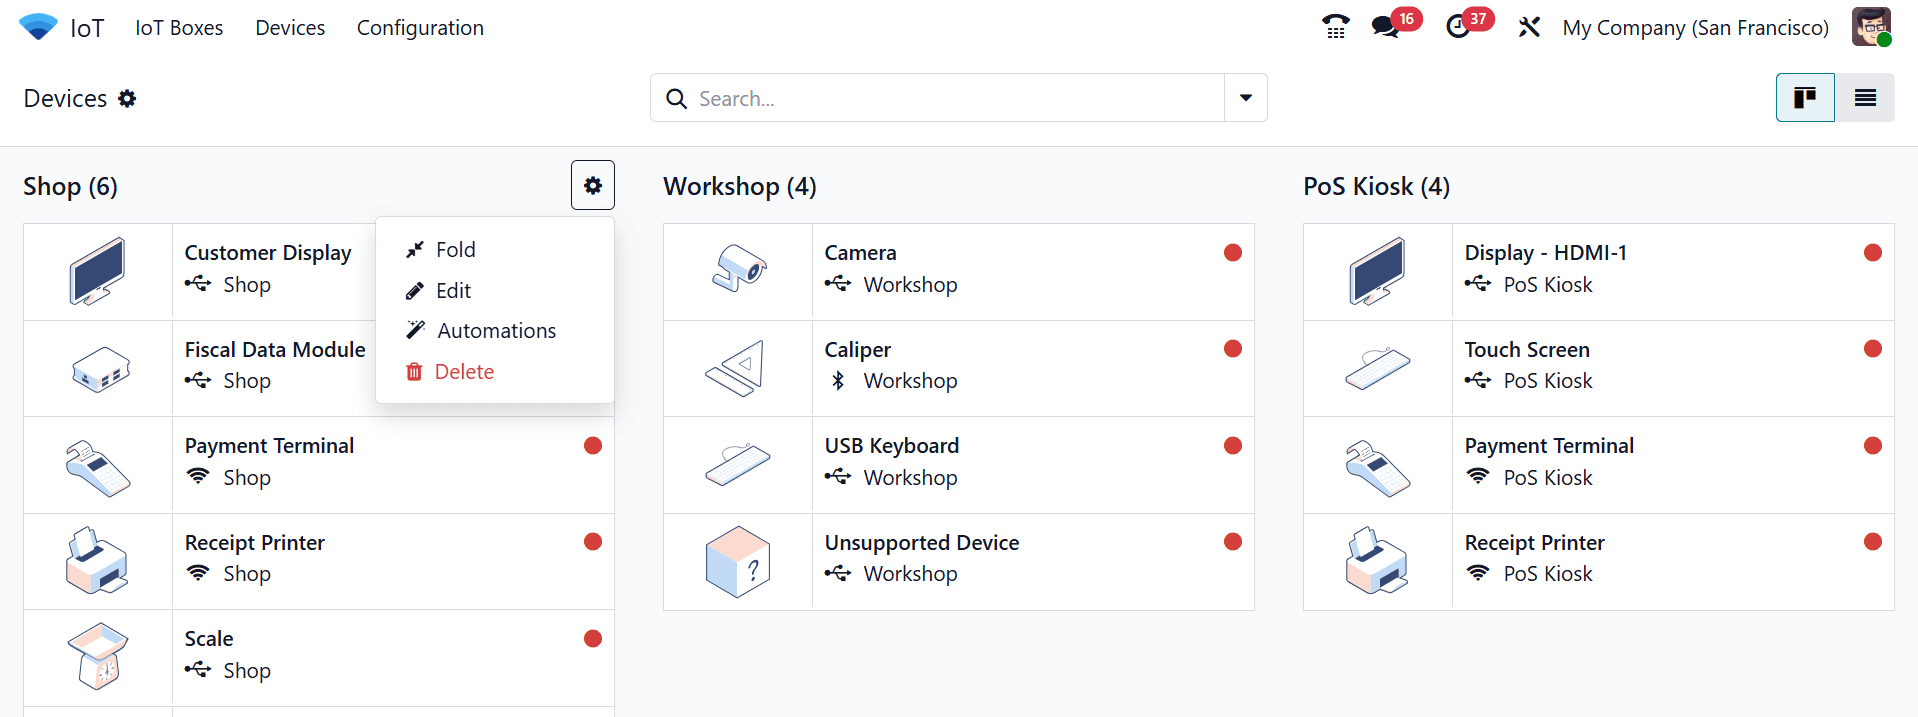
By clicking on each kanban card, you can view the devices linked to the selected IoT Box.
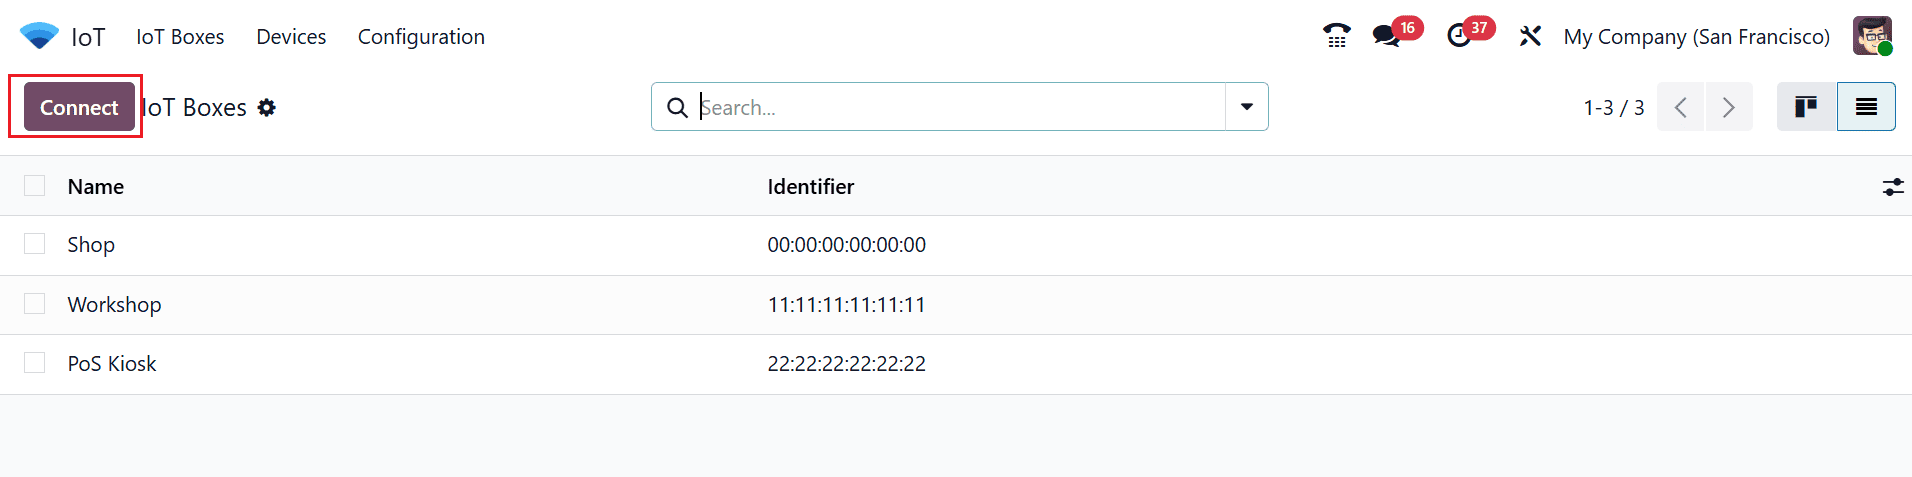
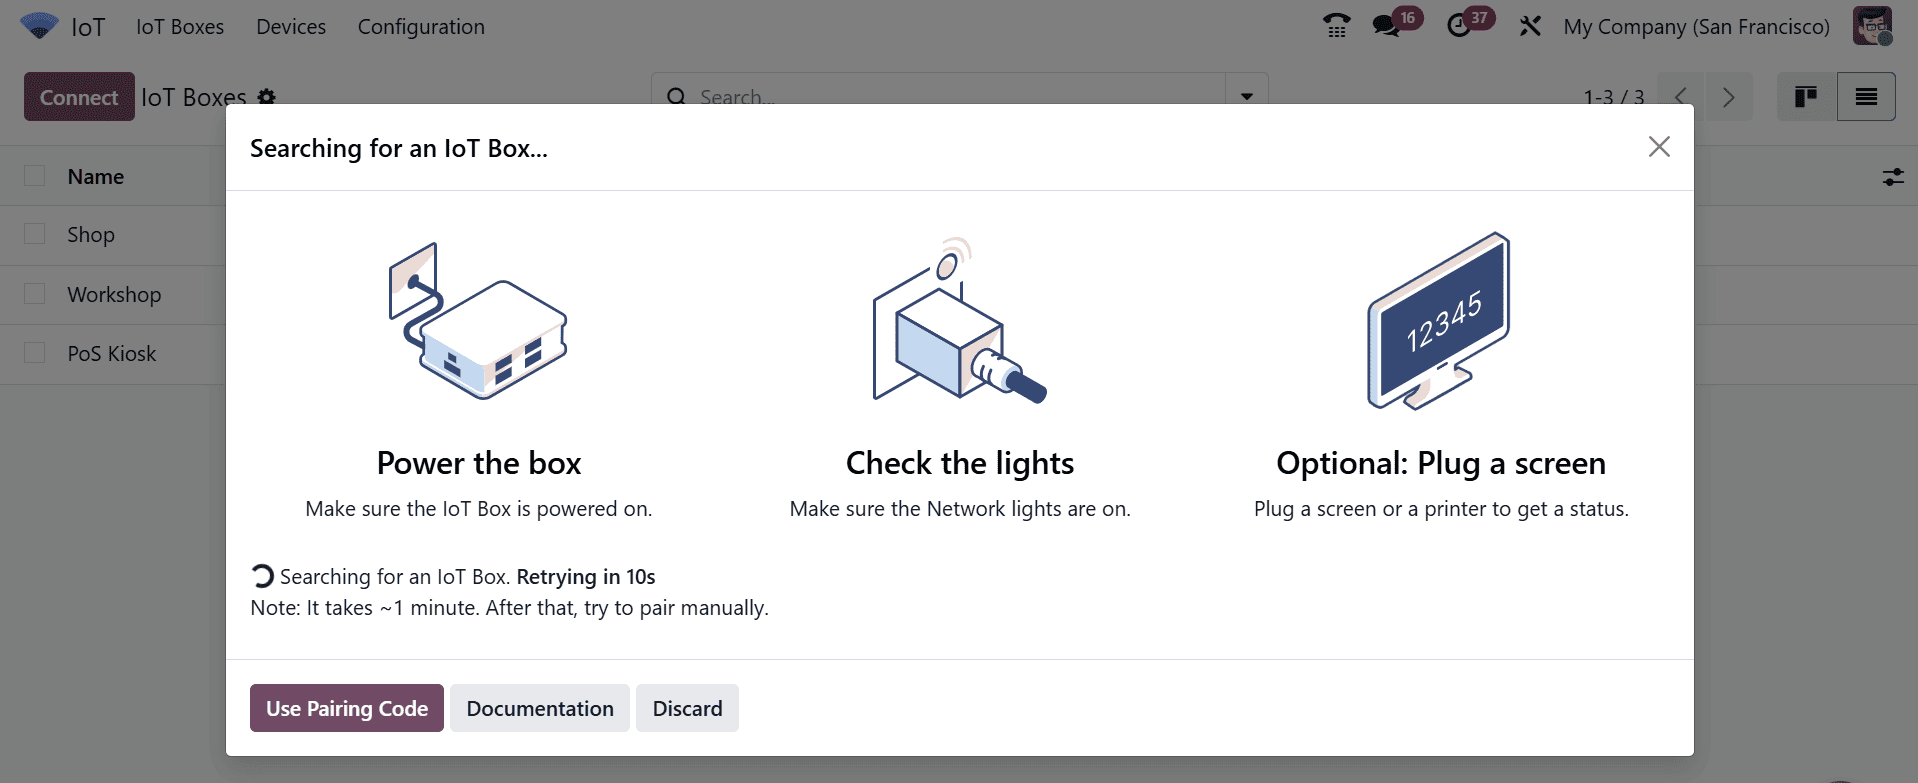
In the IoT Box dashboard, click on the Connect button as shown below:
A pop-up window will appear as shown below. There, you can see the instructions for connecting devices, such as Power the box, Check the lights, and Optional: Plug a screen. The Documentation button helps you to directly move to the Odoo 19 Documentation, which helps to understand the setup.
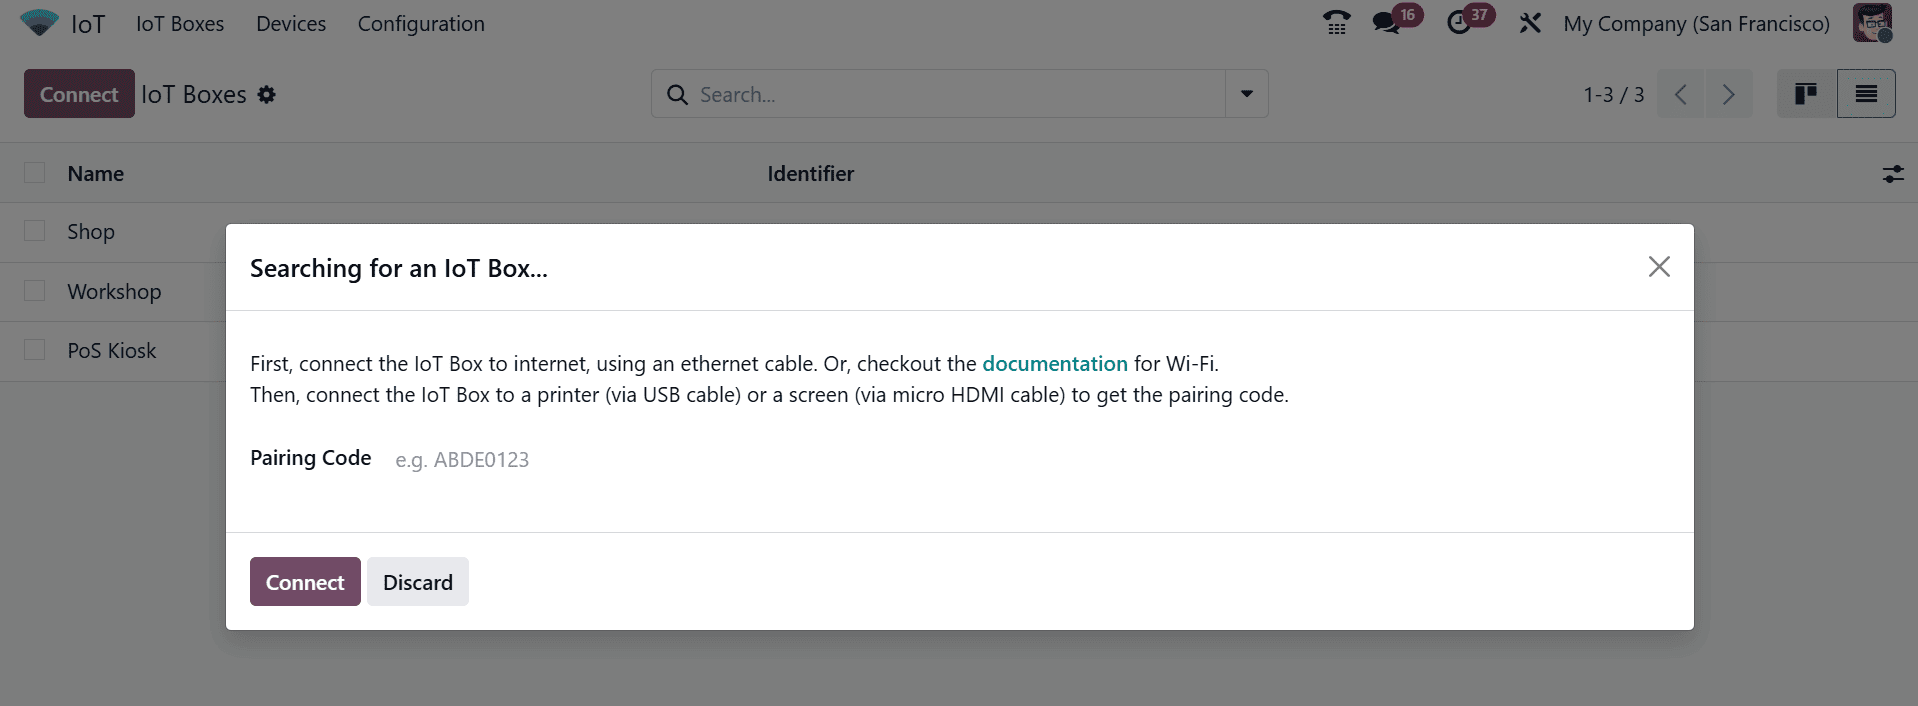
When you click on the Use Pairing Code button, a pop-up screen will appear as shown below. In the Pairing Code field, add the code for the Ethernet connection and click on the Connect button. Once completed, the IoT Box will appear on the IoT Boxes site and be linked to the database. You can also connect the IoT Box using the computer’s Wi-Fi connection. From the IoT Box homepage, click the Configure button located in the Internet Status section. After a few minutes, the available networks will appear. From the list of available networks, select the desired one, enter the Wi-Fi password, and then click Connect.
In the dashboard view, the users can control various devices and display what kind of connection, either Ethernet or Wi-Fi.
By clicking on the gear icon in each IoT Box, you can use options such as Fold, Edit, Automations, and Delete the connected devices.
Integrating external devices in Odoo 19 via the IoT Box transforms business workflows by linking digital management with physical operations. When devices like printers, barcode scanners, and scales are connected, processes become faster, more accurate, and more automated. The IoT Box ensures secure communication between Odoo and hardware, supporting real-time updates and synchronisation. Businesses gain greater visibility into operations, reduce human error, and enhance customer experiences, especially in point-of-sale and warehouse management scenarios. The setup process is user-friendly, and once configured, devices can be easily added, removed, or managed through the Odoo interface. Leveraging the IoT Box empowers companies to embrace automation while maintaining control and flexibility. By connecting external devices, Odoo 19 not only becomes a robust ERP system but also a central hub for operational efficiency, ensuring that businesses can scale effectively without compromising on precision or workflow speed.
To read more about How to Connecting external devices with IoT Box in Odoo 18 IoT, refer to our blog How to Connecting external devices with IoT Box in Odoo 18 IoT.