In business sections, Dashboards are handy for data visualization and finding important information. The dashboard gives insightful information to trigger fast and quick business operations.
In this blog, we can discuss how to create a custom dashboard using client_action in Odoo.
First, we can create a module for that.
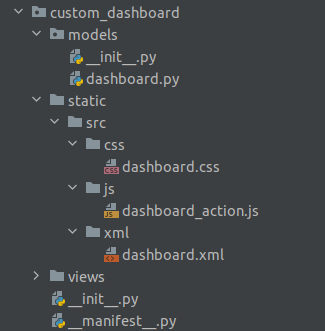
Here, create a module named custom_dashboard and add __init__.py for loading the models and __manifest__.py for mentioning the module name, the author name, version, description, company, category, etc.
The next step is to create a menu item and add an action to the dashboard view.
<record id="custom_dashboard_action" model="ir.actions.client">
   <field name="name">Dashboard</field>
   <field name="tag">custom_dashboard_tags</field>
</record>
This is the action for the menu item this action will be mentioned in the definition of the menu item
name=”name” is the name of the record that name will show when we open the dashboard
name=”tag” is the tag this will connect the js file with our action
<menuitem name="Dashboard" id="custom_dashboard"
         action="custom_dashboard_action"/>
This is the definition of the menu item
name - name of the menu item
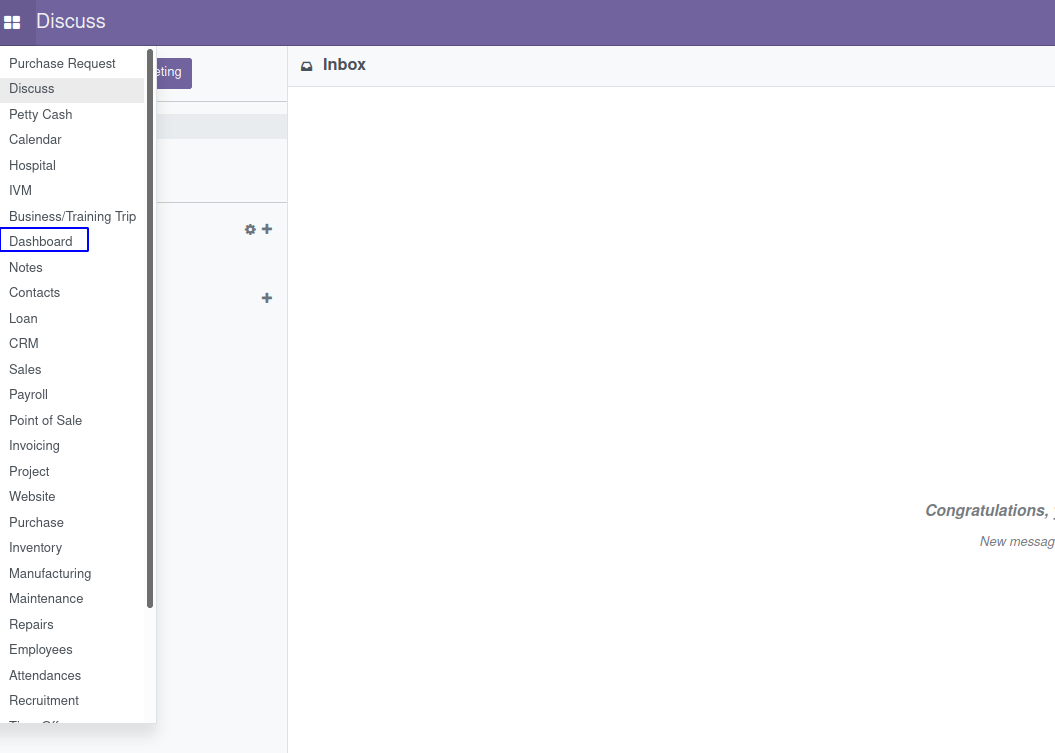
action - action of the menu that will be created before We can see that a menu will come on the menus list.
Next, add a js file to connect with the xml file using the tags.
odoo.define('custom_dashboard.dashboard_action', function (require){
"use strict";
var AbstractAction = require('web.AbstractAction');
var core = require('web.core');
var QWeb = core.qweb;
var rpc = require('web.rpc');
var ajax = require('web.ajax');
var CustomDashBoard = AbstractAction.extend({
   template: 'CustomDashBoard',

})
core.action_registry.add('custom_dashboard_tags', CustomDashBoard);
return CustomDashBoard;
})
We can get a blank dashboard view on the user interface.
Next, we have to create a template to show the view of the template.
Create a XML file on the static > src > XML > dashboard.xml
Add the XML code to the dashboard.xml file.
<?xml version="1.0" encoding="utf-8" ?>
<template>
   <t t-name="CustomDashBoard">
       <div class="oh_dashboards" style="margin-top: 20px;">
           <div class="container-fluid o_pj_dashboard">
           </div>
       </div>
   </t>
       <t t-name="DashboardProject">
       <div class="row main-section" style="margin-left: 170px;">
           <div class="col-md-4 col-sm-6 tot_projects oh-payslip" >
               <div class="oh-card" style="width: 410px;">
                   <div class="oh-card-body">
                       <div class="stat-widget-one">
                           <div class="stat-icon" style="background:#e08048;"><i class="fa fa-puzzle-piece"/></div>
                           <div class="stat-content">
                               <div class="stat-head">Total Project</div>
                               <div class="stat_count"><t t-esc="widget.total_projects"/></div>
                           </div>
                       </div>
                   </div>
               </div>
           </div>
           <div class="col-md-4 col-sm-6 tot_emp oh-payslip">
               <div class="oh-card" style="width: 410px;">
                   <div class="oh-card-body">
                       <div class="stat-widget-one">
                           <div class="stat-icon" style="background:#645bd0"><i class="fa fa-user"/></div>
                           <div class="stat-content">
                               <div class="stat-head">Total Employees</div>
                               <div class="stat_count"><t t-esc="widget.total_employees"/></div>
                           </div>
                       </div>
                   </div>
               </div>
           </div>
           <div class="col-md-4 col-sm-6 tot_tasks oh-payslip">
               <div class="oh-card" style="width: 410px;">
                   <div class="oh-card-body">
                       <div class="stat-widget-one">
                           <div class="stat-icon" style="background:#85d05b"><i class="fa fa-tasks"/></div>
                               <div class="stat-content">
                                   <div class="stat-head">Total tasks</div>
                                   <div class="stat_count"><t t-esc="widget.total_tasks"/></div>
                               </div>
                       </div>
                   </div>
               </div>
           </div>
       </div>
   </t>
</template>
On the template we can specify which data are shown and which information to show. Here shows the count of total project, total employees and total tasks.
We can load the values using the rpc query and we can list the templates that are loaded.
odoo.define('custom_dashboard.dashboard_action', function (require){
"use strict";
var AbstractAction = require('web.AbstractAction');
var core = require('web.core');
var QWeb = core.qweb;
var rpc = require('web.rpc');
var ajax = require('web.ajax');
var CustomDashBoard = AbstractAction.extend({
   template: 'CustomDashBoard',
   init: function(parent, context) {
       this._super(parent, context);
       this.dashboards_templates = ['DashboardProject'];
       this.today_sale = [];
   },
       willStart: function() {
       var self = this;
       return $.when(ajax.loadLibs(this), this._super()).then(function() {
           return self.fetch_data();
       });
   },
   start: function() {
           var self = this;
           this.set("title", 'Dashboard');
           return this._super().then(function() {
               self.render_dashboards();
           });
       },
       render_dashboards: function(){
       var self = this;
       _.each(this.dashboards_templates, function(template) {
               self.$('.o_pj_dashboard').append(QWeb.render(template, {widget: self}));
           });
   },
fetch_data: function() {
       var self = this;
       var def1 =  this._rpc({
               model: 'project.project',
               method: 'get_tiles_data'
   }).then(function(result)
    {
      self.total_projects = result['total_projects'],
      self.total_tasks = result['total_tasks'],
      self.total_employees = result['total_employees']
   });
       return $.when(def1);
   },
})
core.action_registry.add('custom_dashboard_tags', CustomDashBoard);
return CustomDashBoard;
})
From 'get_tiles_data' this function, we take the values shown on the dashboard.
For that, we can create a python file and add the python code.
from odoo import models, api
class PosDashboard(models.Model):
   _inherit = 'project.project'
   @api.model
   def get_tiles_data(self):
       all_project = self.env['project.project'].search([])
       all_task = self.env['project.task'].search([])
       analytic_project = self.env['account.analytic.line'].search([])
       total_time = sum(analytic_project.mapped('unit_amount'))
       employees = self.env['hr.employee'].search([])
       task = self.env['project.task'].search_read([
           ('sale_order_id', '!=', False)
       ], ['sale_order_id'])
       task_so_ids = [o['sale_order_id'][0] for o in task]
       sale_orders = self.mapped('sale_line_id.order_id') | self.env['sale.order'].browse(task_so_ids)
       return {
           'total_projects': len(all_project),
           'total_tasks': len(all_task),
           'total_employees': len(employees),
       }
The data are taken from the project.project model so that will be inherited and add the get_tiles_data() function. The function name must be the same as the method specified on the js file. Then install the module and open the dashboard module to see the dashboard that we created using the above code.
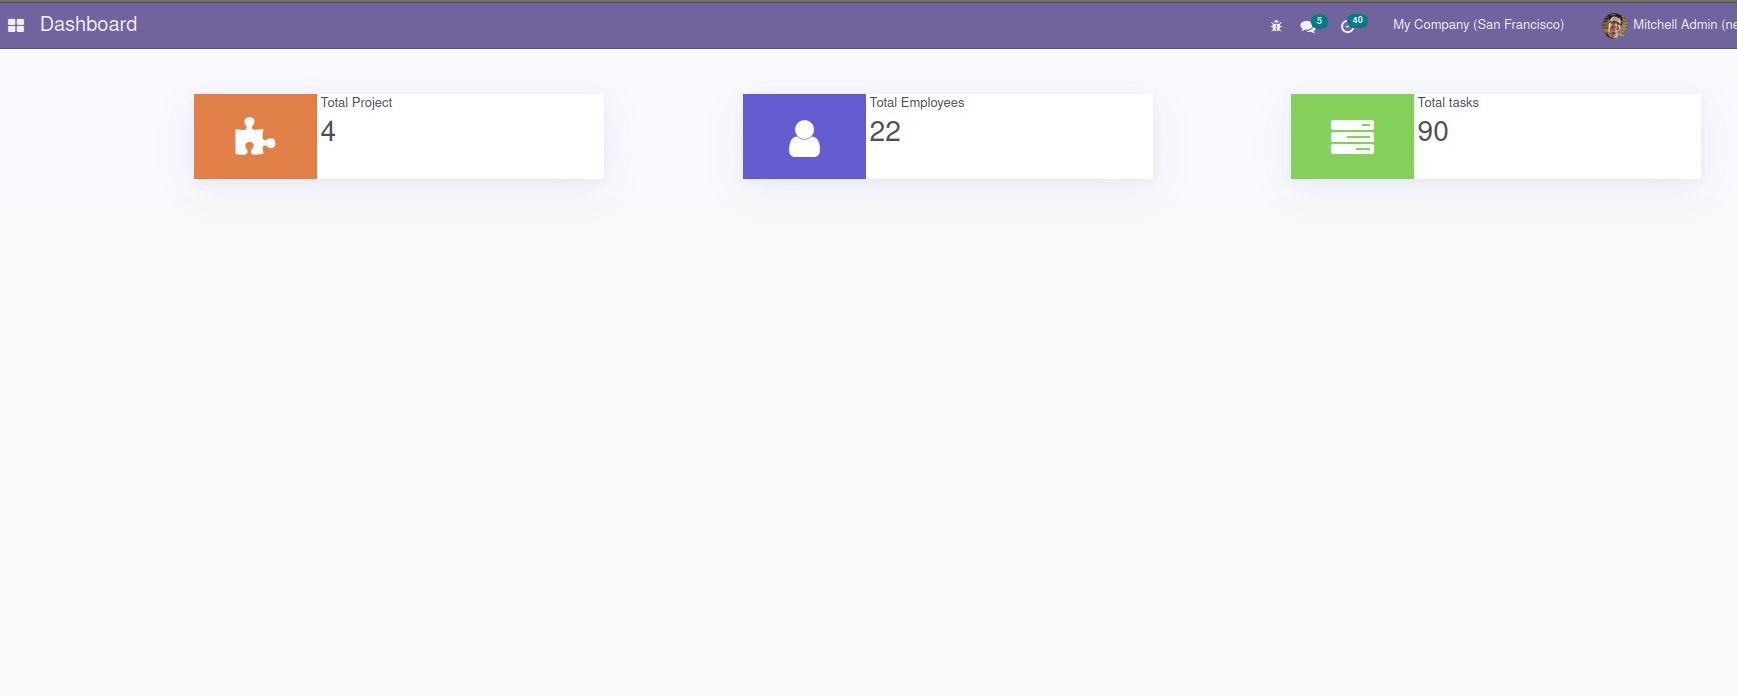
Here we can see the user interface view of the dashboard. In this way, we can create a simple dashboard in odoo. I hope that you can understand the things that can create a dashboard in odoo 15.