Portal users are users who are typically outside the company, such as a customer or clients. We may grant these users access to their Odoo portal so that they can access relevant information.
This blog explains how to create reports in portal view.
Now let's see how to create detailed sales reports in the sales module. The report includes details such as sales-order number, products, price, quantity, and order date.
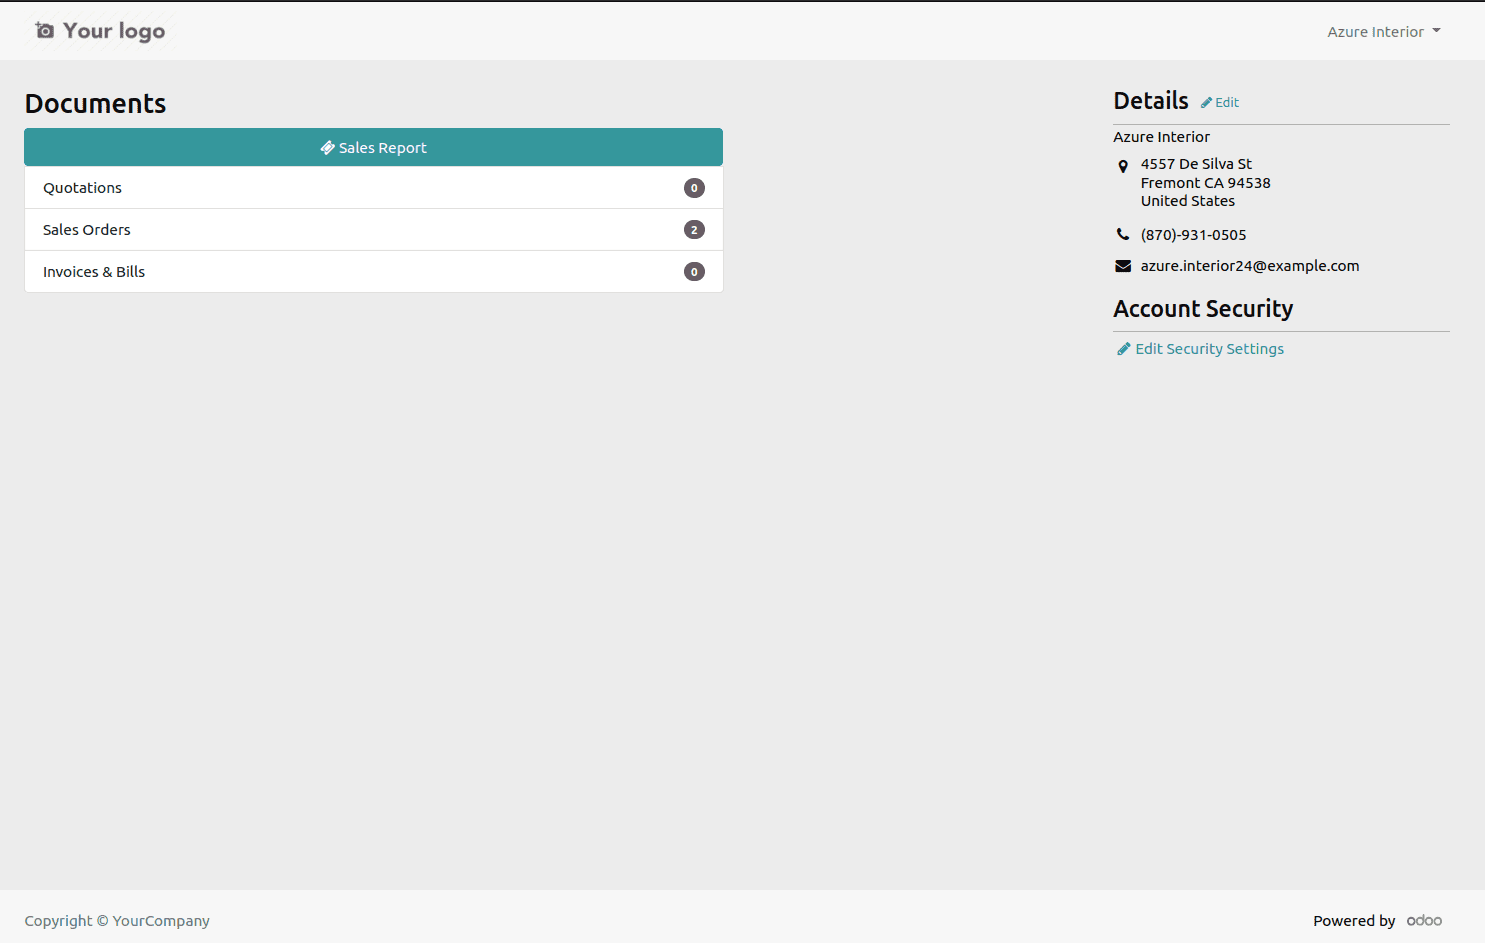
Before that, you can create a button in the portal view to forward the sale report.
For that, we can create a view file(sale_order_button.xml) for the button.
XML File: sale_order_button.xml
<?xml version="1.0" encoding="utf-8" ?>
<odoo>
   <template id="sales_report_portal" name="Sales Report"    inherit_id="portal.portal_my_home">
       <xpath expr="//div[hasclass('o_portal_docs')]" position="before">
           <a id="sales_portal_report" role="button"
              href="/sales/report" style="width: 635px;"
              class="btn btn-primary btn-block">
               <i class="fa fa-ticket"/>
               Sales Report
           </a>
       </xpath>
   </template>
</odoo
After running the code, you can see the button in the portal view.
Now you can create a model for your report. The model must define the fields to be included in the report.
Python File:portal_sale_report.py
from odoo import models, fields, tools
class SalesReport(models.Model):
   _name = 'portal.sales.report'
   _auto = False
   id = fields.Integer("ID")
   order = fields.Char("Order")
   product = fields.Char("product")
   unit_price = fields.Char("Price")
   quantity = fields.Char("Quantity")
   date = fields.Char("Date")
For the sale report of the model we created, we need to create a SQL query defined in the init function.
def init(self):
   tools.drop_view_if_exists(self.env.cr, 'portal_sales_report')
   self.env.cr.execute("""CREATE OR REPLACE VIEW portal_sales_report AS (select row_number() OVER() AS id, so.name as order,pt.name ->> 'en_US' as product,
           sol.price_unit as unit_price,sol.product_uom_qty as quantity, so.date_order as date from
           sale_order_line as sol left join sale_order as so on sol.order_id=so.id
     left join product_product as pp on sol.product_id = pp.id
     left join product_template as pt on pp.product_tmpl_id =pt.id)""")
After creating the model, you can create a sales report view file. First, I created a template (sale_report_page).
The sale_report_page template allows you to define the table header and call fields created with SQL queries.
XML File: sale_report_template.xml
<?xml version="1.0" encoding="utf-8"?>
<odoo>
	<template id="sale_report_page" name="Sales Report">
    	<t t-call="portal.portal_layout">
        	<t t-set="breadcrumbs_searchbar" t-value="True"/>
        	<form>
            	<div id="wrap_sales">
                	<div>
                    	<center>
                        	<h1 style="margin: 20px;">
                            	<b>Sale Report</b>
                        	</h1>
                    	</center>
                	</div>
                	<table class="table table-sm table-bordered">
                    	<thead>
                        	<tr align="center">
                            	<th colspan="6" class="text-left">Sl no.</th>
                            	<th colspan="6" class="text-left">Order</th>
                            	<th colspan="6" class="text-center">Order Date</th>
                            	<th colspan="6" class="text-center">Product</th>
                            	<th colspan="6" class="text-center">Quantity</th>
                            	<th colspan="6" class="text-center">Unit Price</th>
                        	</tr>
                    	</thead>
                    	<tbody class="text-left">
                        	<tr class="sales_table" t-foreach="datas" t-as="main" align="center">
                            	<td colspan="6">
                                	<span id="so_id" t-esc="main['id']"/>
                            	</td>
                            	<td colspan="6">
                                	<span id="so_name" t-esc="main['order']"/>
                            	</td>
                            	<td colspan="6">
                                	<span id="so_date" t-esc="main['date']"/>
                            	</td>
                            	<td colspan="6">
                                	<span id="so_product" t-esc="main['product']"/>
                            	</td>
                            	<td colspan="6">
                                	<span id="p_quantity" t-esc="main['quantity']"/>
                            	</td>
                            	<td colspan="6">
                                	<span id="p_unit_price"    t-esc="main['unit_price']"/>
                            	</td>
                        	</tr>
                    	</tbody>
                	</table>
            	</div>
        	</form>
    	</t>
	</template>
</odoo>
In the sale_order_button XML file, the path "/sales/report" points to the controller. Next, we need to create a Python file for our controller.
Controller: main.py
from odoo import http
from odoo.http import request
class SalesReport(http.Controller):
   @http.route(['/sales/report'], type="http", auth="public", website=True)
   def sale_report(self, **kw):
       report = request.env['portal.sales.report'].sudo().search([])
       values = {
           'datas': report, }
       return request.render("your_module.sale_report_page", values)
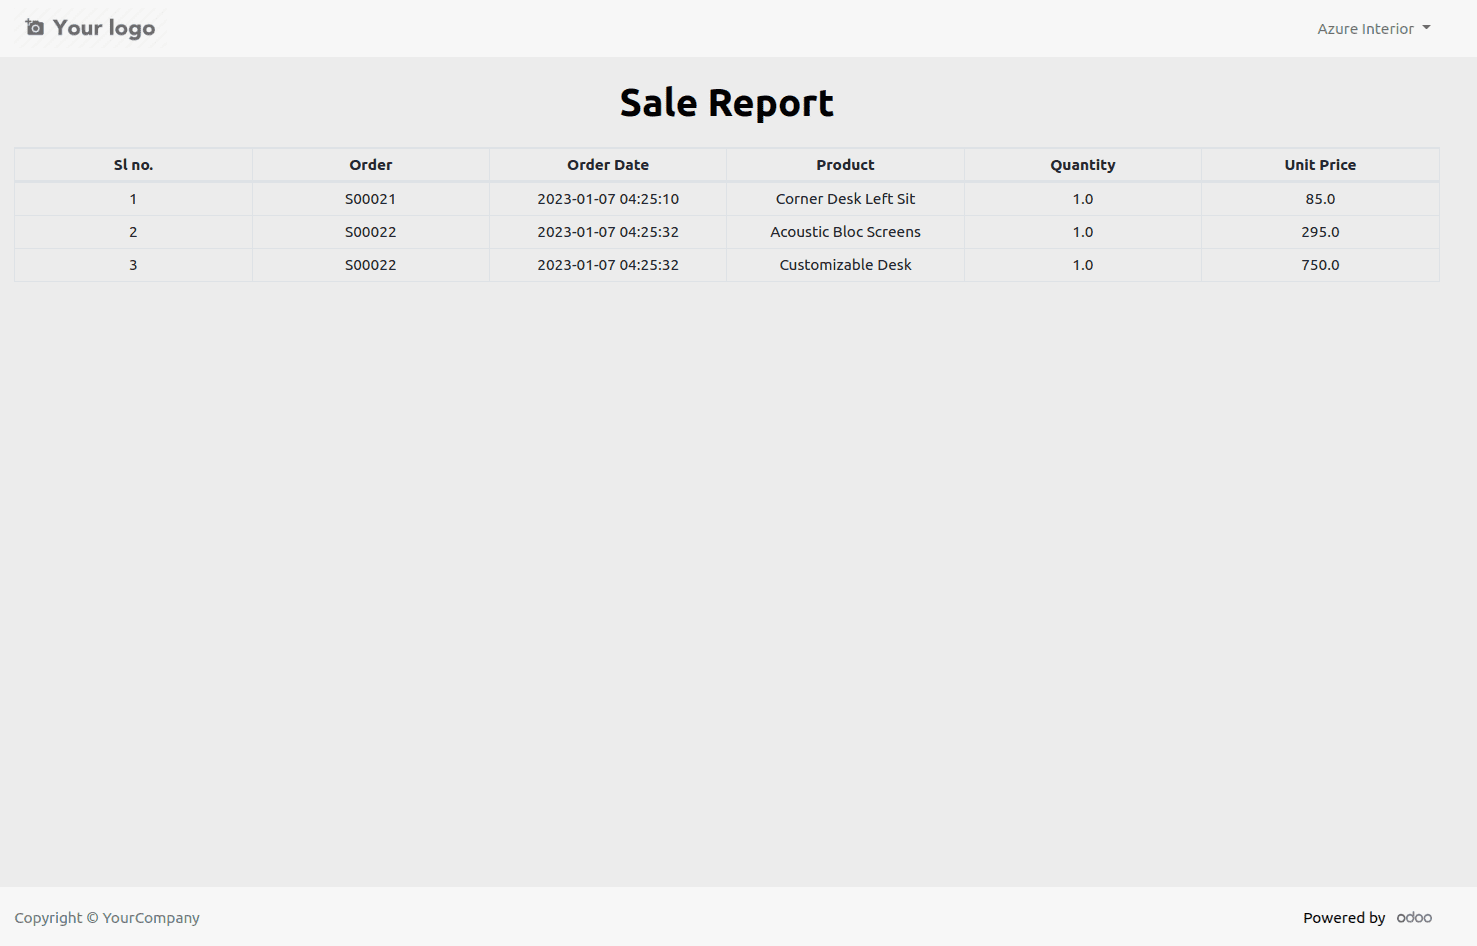
After that, when you click the "Sales Report" button, the controller redirects the template "sale_report_page".
The output will look like the one below.
Additionally, you can add filters to this report and modify the controller function to process relevant data.