Introduction
In Odoo 18 Point of Sale (POS) system, extending functionality by adding custom screens is a common requirement for businesses with unique workflows. Custom screens allow you to display specialized information, collect additional data, or integrate with other systems. This guide will walk you through the process of creating a custom screen in Odoo 18 POS, complete with a custom button to trigger it. We'll cover the necessary XML templates, JavaScript components, and manifest configuration to implement this feature seamlessly.
Module Structure
Before diving deeper into the implementation, let's first examine the directory structure of our custom POS module. A well-organized structure is crucial for maintaining clarity and ensuring all components are properly loaded by Odoo.
Here's the complete module structure for our custom POS screen implementation:
custom_pos/
+-- static/
¦   +-- src/
¦       +-- js/
¦       ¦   +-- custom_button.js
¦       ¦   +-- custom_screen.js
¦       +-- xml/
¦           +-- custom_button.xml
¦           +-- custom_screen.xml
+-- __init__.py
+-- __manifest__.py
Implementation Steps
1. Creating the Custom Screen Template
The first step is to define the visual layout of your custom screen using an XML template:
<?xml version="1.0" encoding="UTF-8"?>
<templates id="template" xml:space="preserve">
<t t-name="custom_pos.CustomScreen">
<div class="screen h-100 bg-100">
<div class="content">
<div class="custom-message screen-full-width d-flex w-100 h-100">
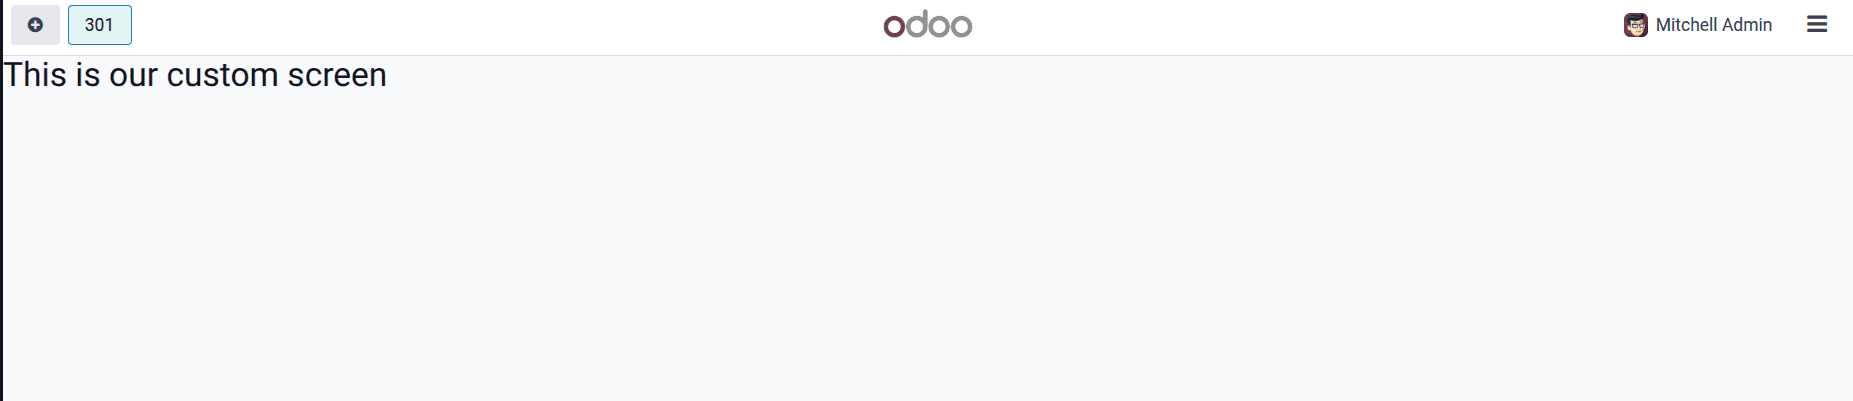
<h1>This is our custom screen</h1>
</div>
</div>
</div>
</t>
</templates>
This template creates a full-screen container with a simple heading. The t-name attribute defines the template's identifier, which we'll reference in our JavaScript component. The structure follows Odoo's POS styling conventions with classes like screen, h-100, and bg-100 for consistent appearance.
2. Creating the JavaScript Component
Next, we need a JavaScript component to handle the screen's logic:
import { Component } from "@odoo/owl";
import { _t } from "@web/core/l10n/translation";
import { registry } from "@web/core/registry";
import { usePos } from "@point_of_sale/app/store/pos_hook";
export class CustomScreen extends Component {
    static template = "custom_pos.CustomScreen";
    setup() {
        super.setup();
        this.pos = usePos();
    }

    closeCustomScreen() {
        this.pos.closeScreen();
    }
}
registry.category("pos_screens").add("CustomScreen", CustomScreen);
This component:
1. Extends Odoo's base Component class
2. Specifies our XML template as its visual representation
3. Accesses the POS store via usePos() hook
4. Includes a method to close the screen (though not currently used in the template)
5. Registers itself in the POS screens registry
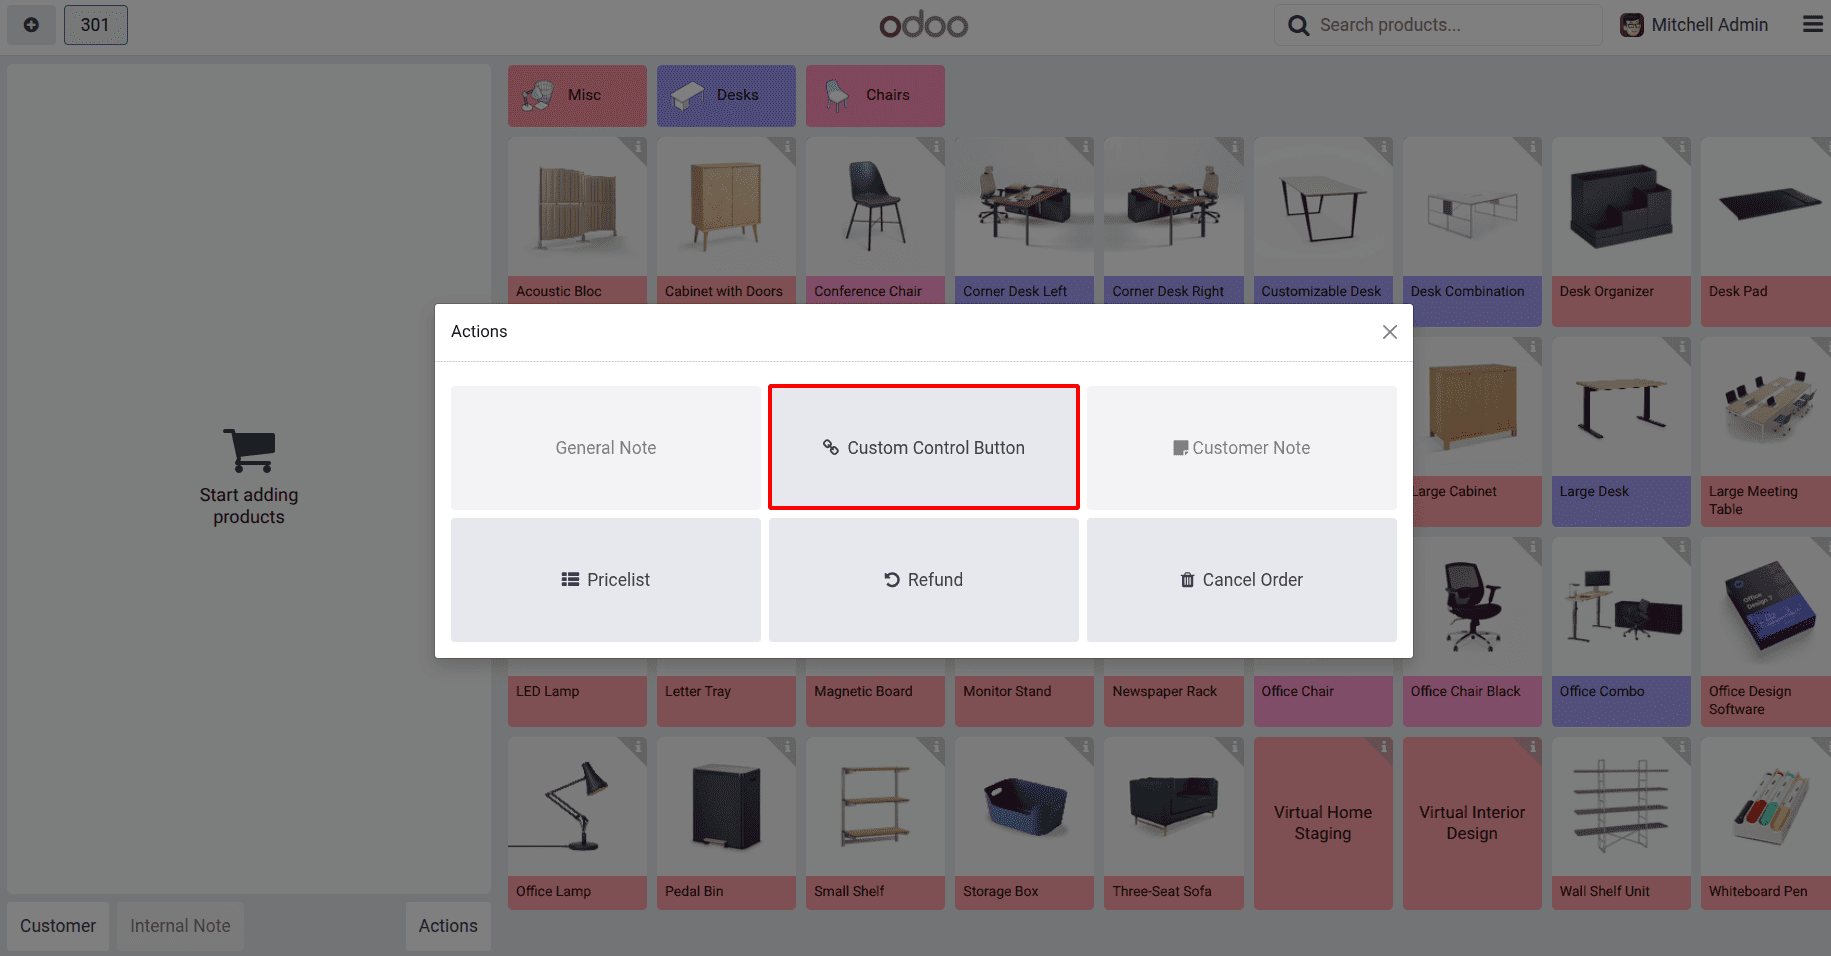
3. Adding a Custom Button to Trigger the Screen
To make our screen accessible, we'll add a button to the POS interface:
Button template (custom_button.xml):
<?xml version="1.0" encoding="UTF-8"?>
<templates id="template" xml:space="preserve">
    <t t-name="pos_sale.ControlButtons"
       t-inherit="point_of_sale.ControlButtons" t-inherit-mode="extension">
        <xpath expr="//t[@t-if='props.showRemainingButtons']/div/OrderlineNoteButton"
               position="after">
            <button t-att-class="buttonClass"
                    t-on-click="() => this.onClick()">
                <i class="fa fa-link me-1" role="img"
                   aria-label="Set Custom Message" title="Set Custom Message"/>
                Custom Control Button
            </button>
        </xpath>
    </t>
</templates>
Button JavaScript (custom_button.js):
import { _t } from "@web/core/l10n/translation";
import { ConfirmationDialog } from "@web/core/confirmation_dialog/confirmation_dialog";
import { patch } from "@web/core/utils/patch";
import { ControlButtons } from "@point_of_sale/app/screens/product_screen/control_buttons/control_buttons";
patch(ControlButtons.prototype, {
    onClick() {
        // Open our custom screen
        this.pos.showScreen("CustomScreen");
    },
});
This code:
1. Patches the existing ControlButtons component
2. Adds a new button after the OrderlineNoteButton
3. Uses Font Awesome's link icon for visual consistency
4. Triggers our custom screen when clicked via showScreen()
4. Configuring the Module Manifest
Finally, we tie everything together in the __manifest__.py file:
{
    'name': 'Custom POS Features',
    'version': '18.0.1.0.0',
    'category': 'Point of Sale',
    'sequence': 6,
    'summary': 'Adds custom button and screen to POS',
    'description': """
This module adds a custom button to POS that opens a custom screen.
    """,
    'depends': ['point_of_sale'],
    'data': [],
    'assets': {
        'point_of_sale._assets_pos': [
            'custom_pos/static/src/js/custom_button.js',
            'custom_pos/static/src/js/custom_screen.js',
            'custom_pos/static/src/xml/custom_button.xml',
            'custom_pos/static/src/xml/custom_screen.xml',
        ],
    },
    'installable': True,
    'auto_install': False,
}
The manifest:
1. Declares dependencies on the POS module
2. Bundles all our assets in the POS interface
3. Makes our files available in the correct loading order
After implementing the custom POS screen module, you should see the following results in your Odoo 18 Point of Sale interface:
On clicking the custom control button, you can see the following:
Conclusion
Creating custom screens in Odoo 18's POS system is a straightforward process when you understand the key components involved. By following this approach, you can extend the POS interface to meet specific business requirements while maintaining the look and feel of the standard interface. The combination of XML templates for layout, JavaScript components for logic, and careful patching of existing components provides a flexible way to enhance Odoo's POS functionality. This foundation can be further expanded with additional features like custom data collection, integration with backend models, or more complex user interactions.
Remember that this is just the starting point - from here you can add forms, buttons, and business logic to make your custom screen truly useful for your specific use case. The Odoo POS framework offers many more capabilities that you can leverage once you've mastered these basic building blocks.
To read more about How to Create a Custom Screen in Odoo 17 POS, refer to our blog How to Create a Custom Screen in Odoo 17 POS.