Running a retail business means you need quick access to sales data. Custom reports from your point of sale sessions help you track what's selling, when it's selling, and how your team is performing. In Odoo 19, building these reports takes a different approach than earlier versions due to the updated component architecture.
Let's walk through creating a custom POS report that generates when you click a button on the Receipt Screen.
Adding Your Report Button to the Receipt Screen
First up, we need a button that users can actually click. In Odoo 19, we'll place this on the Receipt Screen using component patching instead of the older inheritance methods.
Create your XML file at static/src/xml/pos_report_button.xml:
<?xml version="1.0" encoding="UTF-8"?>
<templates id="template" xml:space="preserve">
    <t t-name="point_of_sale.ReceiptScreen"
       t-inherit="point_of_sale.ReceiptScreen"
       t-inherit-mode="extension">
        <xpath expr="//div[hasclass('actions')]" position="inside">
           <button class="btn btn-primary pos-order-report-btn"
              t-on-click="generatePosReport">
              <i class="fa fa-file-pdf-o"/> Generate Report
           </button>
        </xpath>
    </t>
</templates>
Now add some styling in static/src/css/pos_report_button.css:
.pos-order-report-btn {
    padding: 12px 24px;
    margin: 8px;
    background: #007bff;
    color: white;
    border-radius: 4px;
    border: none;
    cursor: pointer;
    font-weight: 500;
    transition: background 0.3s ease;
}
.pos-order-report-btn:hover {
    background: #0056b3;
}
.pos-order-report-btn i {
    margin-right: 8px;
}
Updating Your Module Manifest
Your __manifest__.py needs to know about these new files. Add them to the assets section:
{
    'name': 'POS Order Report',
    'version': '19.0.1.0.0',
    'category': 'Point of Sale',
    'depends': ['point_of_sale'],
    'assets': {
        'point_of_sale._assets_pos': [
            'pos_order_report/static/src/xml/pos_report_button.xml',
            'pos_order_report/static/src/css/pos_report_button.css',
            'pos_order_report/static/src/js/receipt_screen.js',
        ],
    },
    'installable': True,
}
Wiring Up the Button with JavaScript
Here's where Odoo 19 differs significantly from version 16. We use the patch mechanism to extend components.
Create static/src/js/receipt_screen.js:
/** @odoo-module */
import { ReceiptScreen } from "@point_of_sale/app/screens/receipt_screen/receipt_screen";
import { patch } from "@web/core/utils/patch";
import { useService } from "@web/core/utils/hooks";
patch(ReceiptScreen.prototype, {
    setup() {
        super.setup();
        this.orm = useService("orm");
        this.actionService = useService("action");
        this.popup = useService("popup");
    },
    async generatePosReport() {
        const currentOrder = this.pos.getOrder();

        if (!currentOrder) {
            this.popup.add("ErrorPopup", {
                title: "No Order",
                body: "There is no current order to generate a report for.",
            });
            return;
        }

        const orderName = currentOrder.name;

        console.log('Generating report for order:', orderName);

        try {
            const result = await this.orm.call(
                'pos.order.wizard',
                'generate_report',
                [[], orderName]
            );

            this.actionService.doAction(result);

            console.log('Report generated successfully');
        } catch (error) {
            console.error('Report generation failed:', error);
            this.popup.add("ErrorPopup", {
                title: "Report Error",
                body: "Could not generate the report. Please try again.\\n\\nError: " + error.message,
            });
        }
    }
});
Notice how we're using this.orm.call() instead of the old RPC method, and this.actionService.doAction() instead of the legacy action manager.
Building the Backend Report Logic
Now let's handle the server side. Create models/pos_order_wizard.py:
from odoo import models, api
class PosOrderWizard(models.TransientModel):
    _name = 'pos.order.wizard'
    _description = "POS Order Report Wizard"
    @api.model
    def generate_report(self, order_name):
        """Generate PDF report for POS order"""
        return self.env.ref(
            'pos_order_report.action_pos_order_report'
        ).report_action(self, data={'order_name': order_name})
Don't forget to add this to your models/__init__.py:
from . import pos_order_wizard
Defining the Report Action
Create report/pos_order_report.xml to register your report:
<?xml version="1.0" encoding="UTF-8"?>
<odoo>
    <record id="action_pos_order_report" model="ir.actions.report">
        <field name="name">POS Order Report</field>
        <field name="model">pos.order.wizard</field>
        <field name="report_type">qweb-pdf</field>
        <field name="report_name">pos_order_report.pos_order_template</field>
        <field name="report_file">pos_order_report.pos_order_template</field>
        <field name="print_report_name">'POS_Order_%s' % (object.id)</field>
        <field name="binding_model_id" ref="model_pos_order_wizard"/>
    </record>
</odoo>
Creating Your Report Template
Design what the actual report looks like in report/pos_order_template.xml:
<?xml version="1.0" encoding="utf-8"?>
<odoo>
    <template id="pos_order_template">
        <t t-call="web.html_container">
            <t t-call="web.external_layout">
                <div class="page">
                    <h2 class="text-center">POS Order Report</h2>
                    <p class="text-center text-muted">
                        Generated on <span t-esc="context_timestamp(datetime.datetime.now()).strftime('%Y-%m-%d')"/>
                    </p>

                    <div class="mt-4">
                        <h4>Order Information</h4>
                        <p><strong>Order Name:</strong> <span t-esc="data.get('order_name', 'N/A')"/></p>
                        <p><strong>Report Type:</strong> <span t-esc="data.get('report_type', 'PDF')"/></p>
                    </div>

                    <table class="table table-sm mt-4">
                        <thead>
                            <tr>
                                <th>Product</th>
                                <th>Quantity</th>
                                <th>Price</th>
                                <th>Total</th>
                            </tr>
                        </thead>
                        <tbody>
                            <tr>
                                <td colspan="4" class="text-center text-muted">
                                    Order details here
                                </td>
                            </tr>
                        </tbody>
                    </table>

                    <div class="mt-5 text-center">
                        <p class="text-muted">
                            This is a sample report template. You can customize it to include
                            detailed order lines, payment information, and more.
                        </p>
                    </div>
                </div>
            </t>
        </t>
    </template>
</odoo>
Manifest Configuration
Update your __manifest__.py:
{
'name': 'POS Order Report',
'version': '19.0.1.0.0',
'depends': ['point_of_sale'],
'data': [
'security/ir.model.access.csv',
'report/pos_order_report.xml',
'report/pos_order_template.xml',
],
'assets': {
'point_of_sale._assets_pos': [
'pos_order_report/static/src/xml/pos_report_button.xml',
'pos_order_report/static/src/css/pos_report_button.css',
'pos_order_report/static/src/js/receipt_screen.js',
],
},
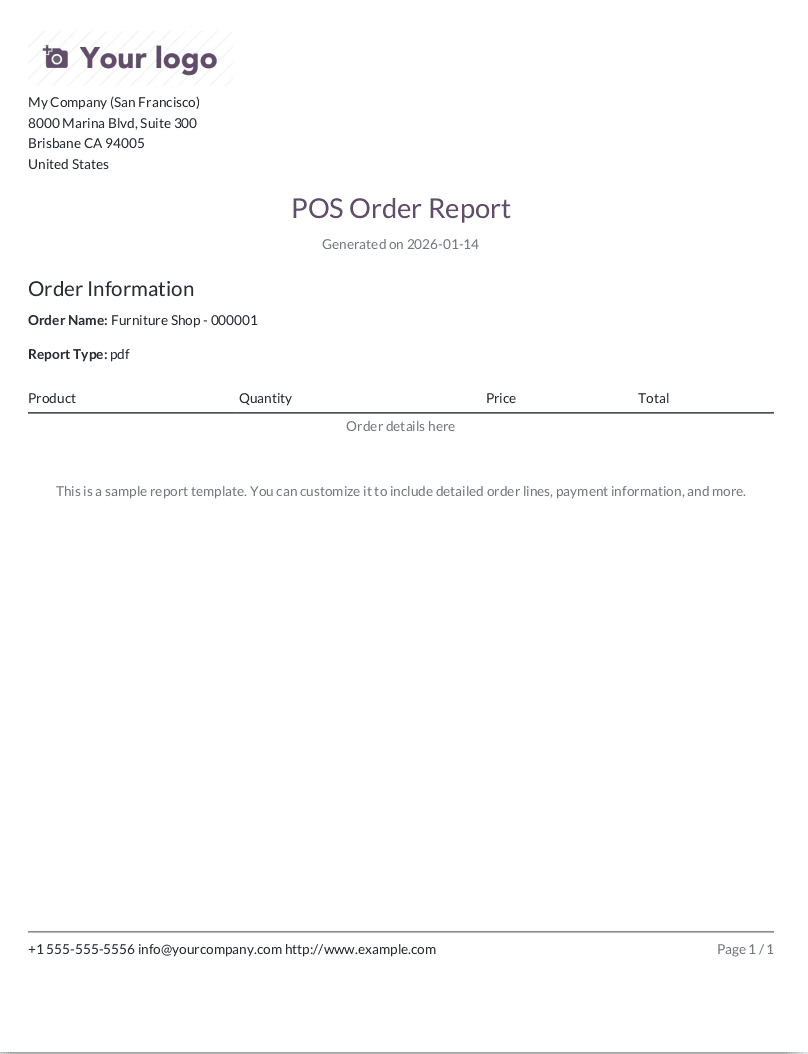
}Finally, after rendering the report, this is a demo report that has been generated to showcase the final output and layout.
Wrapping It Up
With these pieces in place, your POS users get a simple but powerful workflow: validate an order, land on the Receipt Screen, click “Generate Report,” and instantly receive a PDF summarizing the sale. You stay fully aligned with Odoo 19’s frontend architecture by using patching, services, and camelCase APIs, while keeping the backend clean and focused on a single transient wizard. From here, you can extend the template to pull in real order lines, totals, payments, and anything else your reporting needs demand.
To read more about Overview of Reporting in Odoo 18 Point of Sale, refer to our blog Overview of Reporting in Odoo 18 Point of Sale.